

Previous Step
 0xBEN
0xBENOverview
You can refer back to Getting Windows ISOs if you need a Windows 7 image. I recommend a 64-bit image for your VM in case you want to graduate up to 64-bit buffer overflows.
Installation
- Turn on the VM
- Install using the 64 bit Windows 7
.ISOfile - Create a user account
- Once signed in, follow the steps below
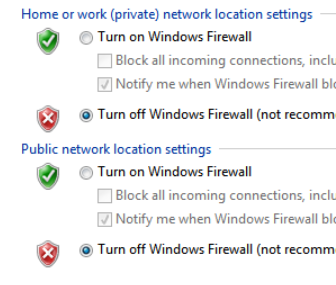
Disable Windows Firewall
Open the Start Menu and search for Control Panel
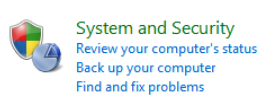
Click System Security
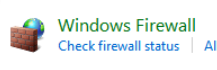
Click Windows Firewall
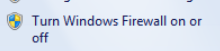
Turn off both zones
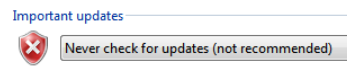
Disable Windows Updates


Disable Windows Defender
In the Control Panel, click the View by option
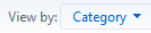
Change this to small icons.

Go to Tools > Options

Uncheck this box

Click Administrator and uncheck this box

Click Save
Uninstall Security Updates
I wrote a script for just this purpose. All the instructions for running the script can be found on the GitHub repo.
 0xBEN
0xBENInstall Prerequisites on the VM
- Google Chrome (or any browser other than IE)
- Git (for cloning mona.py)
- Python 2.7
- Immunity Debugger
- Mona.py (Goes in C:\Program Files (x86)\Immunity Inc\Immunity Debugger\PyCommands)
- 7-Zip
- Runtime libraries for vulnerable apps (some programs might require this)
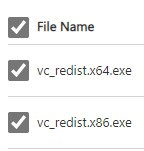
- Visual C++ Redistributable for Visual Studio 2015
- https://www.microsoft.com/en-us/download/details.aspx?id=48145
- Download both files
Install a Vulnerable App on the VM
-
Vulnserver: https://github.com/stephenbradshaw/vulnserver
- Clone the repo to the VM
- Run
vulnserver.exeas admin - Attach the process to Immunity Debugger
- Have fun
-
dostackbufferoverflowgood: https://github.com/justinsteven/dostackbufferoverflowgood
- Clone the repo to the VM
- Run
dostackbufferoverflowgood.exeas admin - Attach the process to Immunity Debugger
- Have fun
Take a Snapshot of the VM
Take a snapshot of the VM in its current state, so that you can revert to a clean slate after running some exploits on the VM, or if any licensing or activation issues occur.
Next Step
0xBEN