
Previous Step
 0xBEN
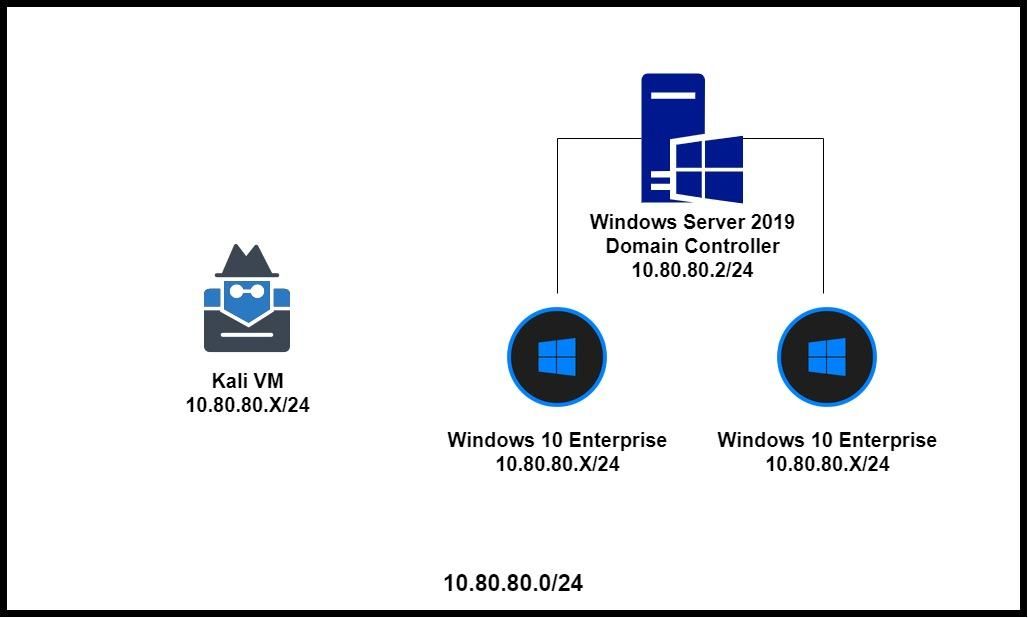
0xBENActive Directory Lab Overview
Note: if you don't want your AD lab to have Internet access, modify the firewall rules. I will not be showing you how to do this, as I've already shown you how to craft this kind of firewall rule when first configuring pfSense.
Putting Kali on the Active Directory Network
Note: Some attacks require Kali to be on the same LAN as the targets. To change Kali's network configurations, do the following:
- Stop the VM
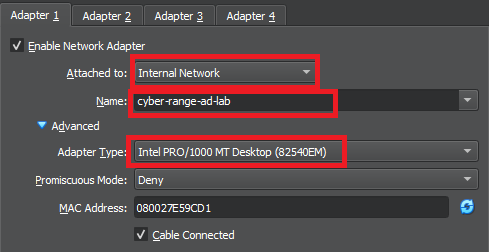
- Go to VirtualBox settings for Kali VM
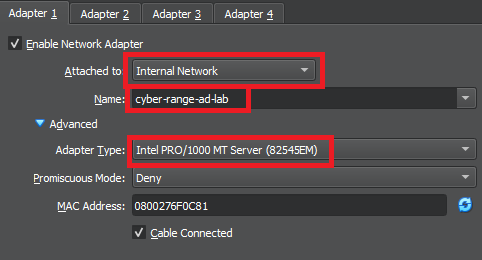
- Change the network adapter to be on the AD_LAB LAN
- Start Kali again
To put Kali back on the default LAN, just follow the steps from above, but set the network adapter to be on the internal LAN.
Getting the Windows ISO Files
We will be getting the ISO files from the Microsoft Evaluation Center. Most of the ISOs you encounter here will have a lifespan of 90 -- 180 days of usage. Some say that you can extend beyond the lifespan and the VMs will still function just fine
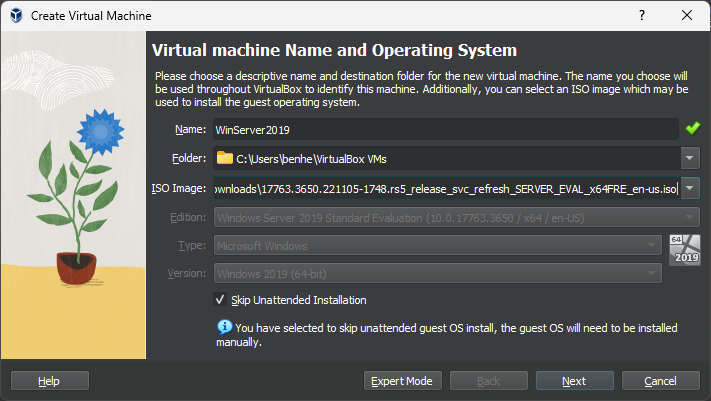
Windows Server 2019
- Please select your experience: ISO
- Fill out your information (uncheck the box for additional communications)
- Select your language and click Download
Windows 10 Enterprise
- Please select your experience: ISO - Enterprise
- Fill out your information (uncheck the box for additional communications)
- Select 64bit and Select your language and click Download
Windows 7
When this page was initially written, these download links — on download.microsoft.com — for Windows 7 were functional. At last check — June 23, 2023 — these links are all dead.
I am leaving the links here in case anyone reading this would like to try and look for them on the Internet Archive.
Windows 7 Ultimate (x64) ISO(dead link)Windows 7 Ultimate (x32) ISO(dead link)Windows 7 Professional (x64) ISO(dead link)Windows 7 Professional (x32) ISO(dead link)


Staging the VMs
Windows Server 2019
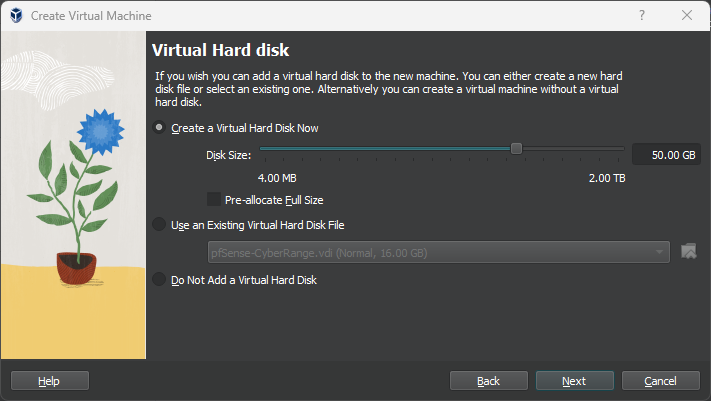
Click the New VM button


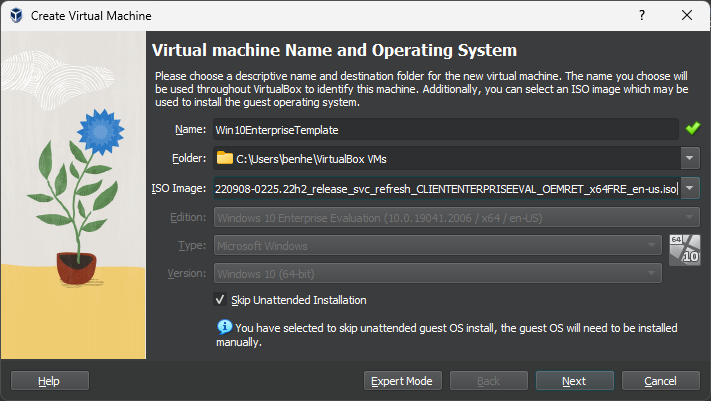
Windows 10 Enterprise Template
Create a new VM and give it the name: Win10EnterpriseTempalte

Install the Operating Systems
Windows Server 2019
Start the VM

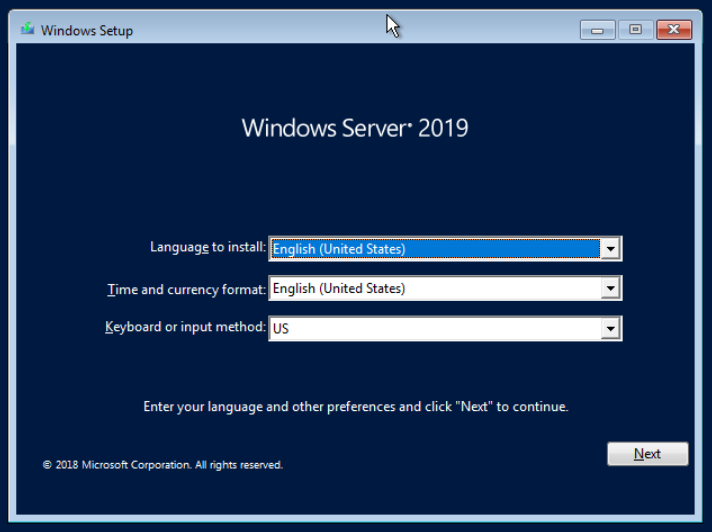
Click Install Now
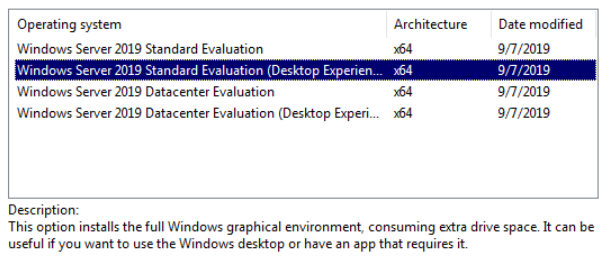
Click Next and accept the terms and conditions.

Click Next and wait for the installation to finish.

Enter a local administrator password and save it to a password vault.
Press CTRL + ALT + DEL and log in with you local Administrator password.
Configure the Network Interface
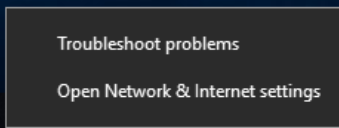
Right-click the network interface icon.

Choose Open Network & Internet Settings
Scroll down and choose Change adapter options

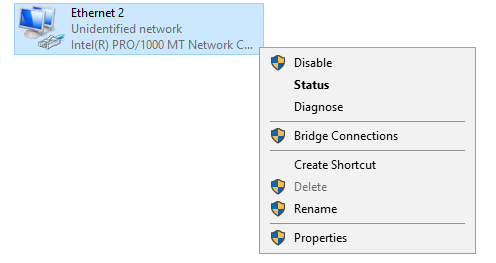
Right-click the adapter and choose Properties
Double-click Internet Protocol Version 4 (TCP/IPv4)

Configure your adapter as such:
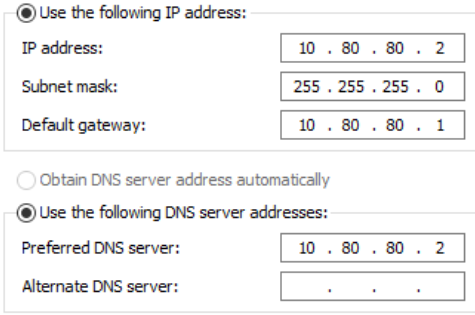
For the DNS servers, the following will happen:
- First, check with the DNS server running on the domain controller (we will install this a bit later)
- If the DNS server doesn't know the answer, it will forward the DNS query to the default gateway and pfSense will resolve it
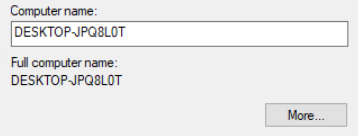
Rename the Server
Click the Start Menu and click Settings

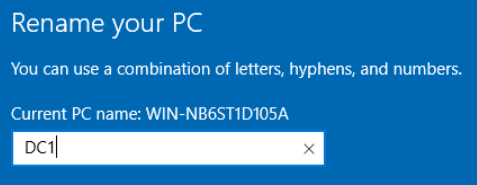
Choose Restart Now. If a reason is required, choose Other (planned).
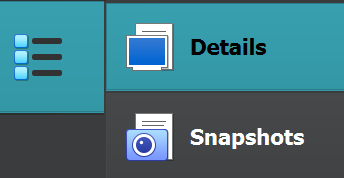
Take a Snapshot of the VM
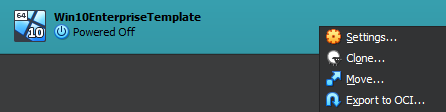
In VirtualBox, next to your Windows Server 2019 VM, click the menu icon and choose Snapshots.
Click the Take button.
You can fill it out with something like this.
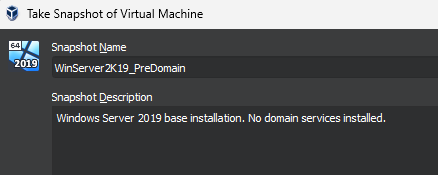
Click OK. Now, we can restore this snapshot any time if we want to roll back to a pre-domain install.
Configure Domain Services
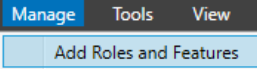
Click Manage > Add Roles and Features

Click Next > Next > Next until you reach Server Roles. Check the following boxes:
- Active Directory Domain Services
- DNS Server (so we can resolve the domain controller by DNS name)
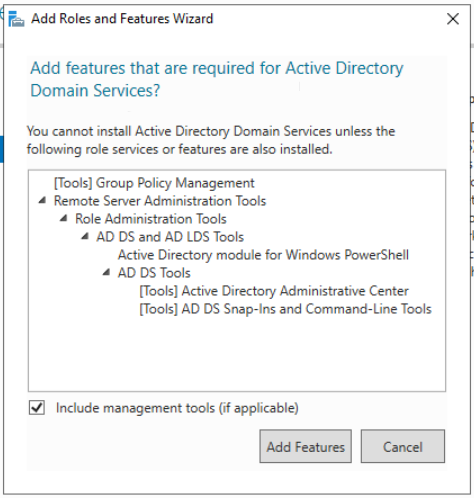
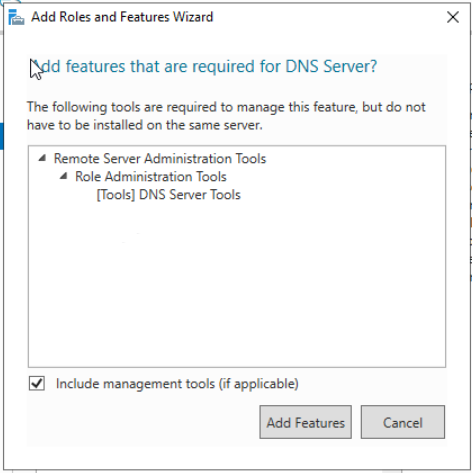
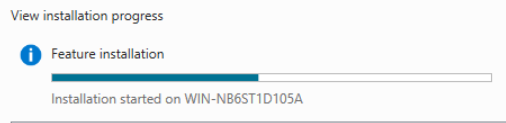
Click Next > Install. Wait for the install to finish and click Close.
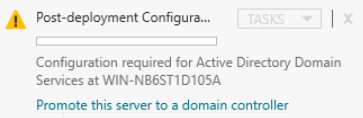
Configure Active Directory Domain Services
Log back into the domain controller as the local administrator and wait for the Server Manager app to load.

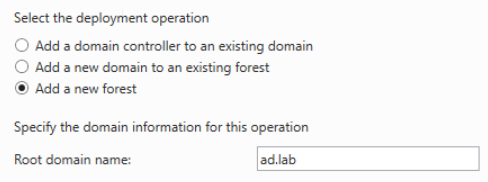
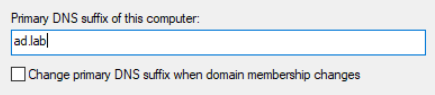
Choose Add a new forest and specify a root domain name. I chose ad.lab as my domain name, but you can choose any other local TLD.
TLDs such as .com, .org, .net will work as a local domain. Also, best not to use .local either, because that can interfere with multicast traffic.
Click Next. The default options are fine. Specify a restore password. You can use the same password as the local admin or something different. It doesn’t matter. Click Next.
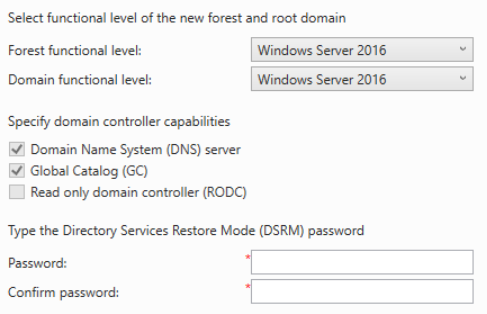
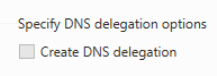
Click Next and continue with the defaults.
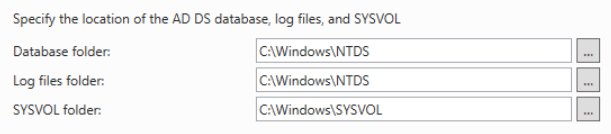
Looks good. Click Install and wait for it to complete.
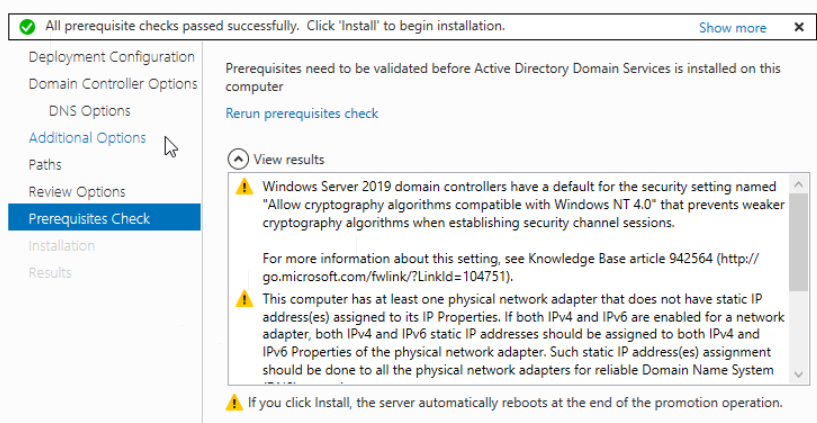
The server will automatically reboot.
Configure Active Directory Certificate Services
Active Directory Certificate Services will be installed to enable LDAPS. Log back into the domain controller as the local administrator and wait for the Server Manager app to load.
Open Server Manager and go to Manage > Add Roles and Features
Click Next > Next > Next > Choose Active Directory Certificate Services
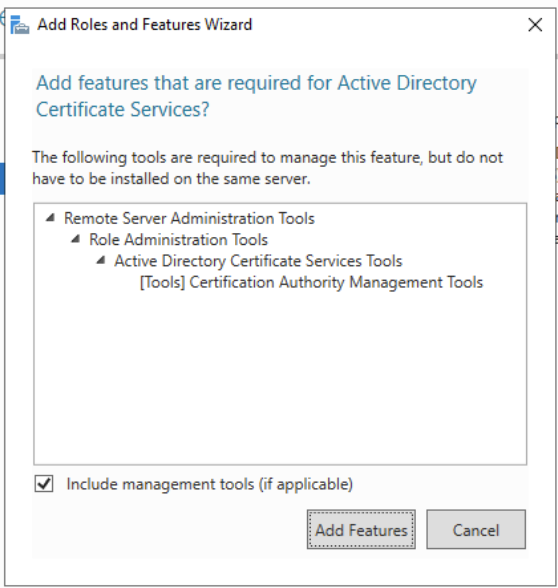
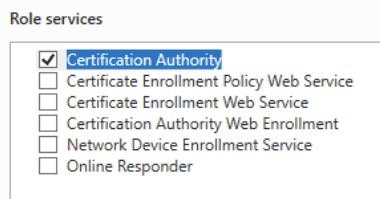
Click Next > Next > Next > Next. For AD CS, choose the Certificate Authority role service.
Click on the alert icon and click on the text to Configure Active Directory Certificate Services.

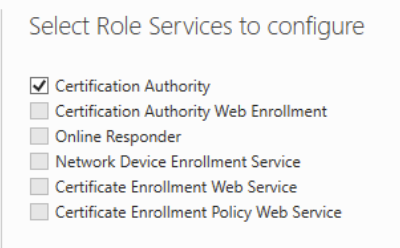
Click Next, then select the service role to configure. Click Next.
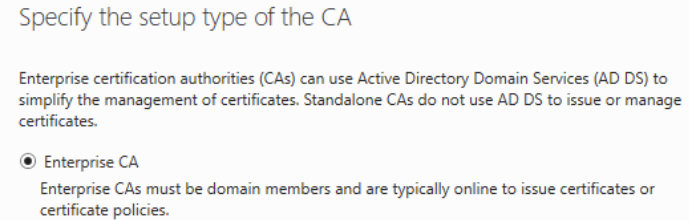
Choose Enterprise CA and click Next.
We're just going to use the default settings. Click Next > Next > Next > Next > Next > Next > Configure.
Configure DNS Forwarders

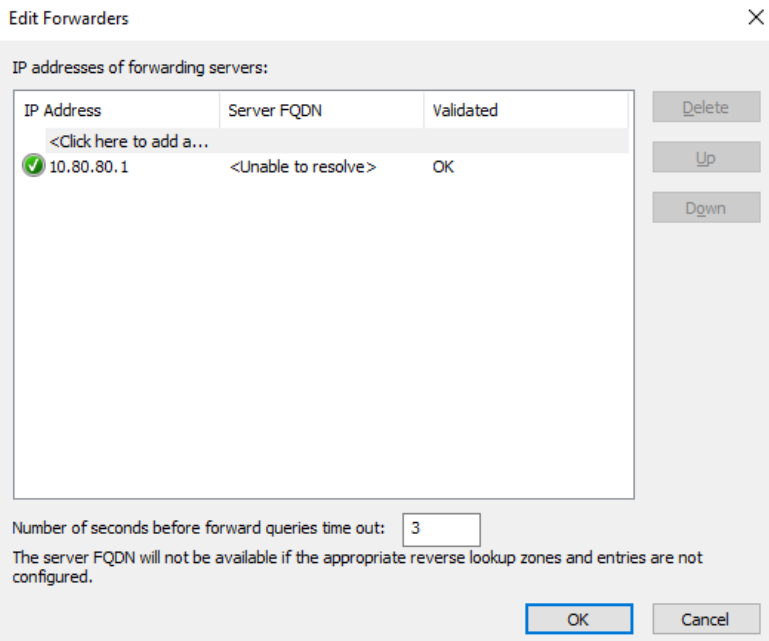
The DNS server running on the domain controller will act as a resolver for the ad.lab domain (or whichever local domain you chose). We need a forwarder for any DNS query for which the DNS server does not know the answer.
We can use the pfSense default gateway as a downstream DNS server that the domain controller can pass queries to for any unknown hostnames.
Open up the Start Menu and search for DNS.
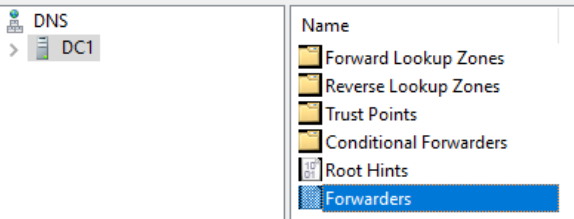
Expand DNS > DC1 and double-click Forwarders.
Click Edit and add the IP address of the default gateway. Click OK.

Add and Configure a DHCP Server
Open Server Manager and go to Manage > Add Roles and Features
Click Next > Next > Next
Click DHCP Server

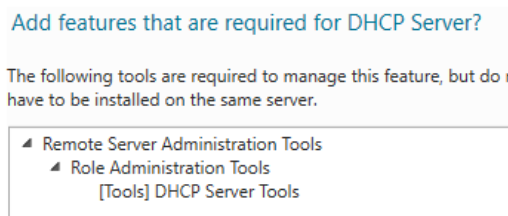
Click Add Features and click Next > Next > Next > Install
Once the installation is complete, click on Complete DHCP Configuration

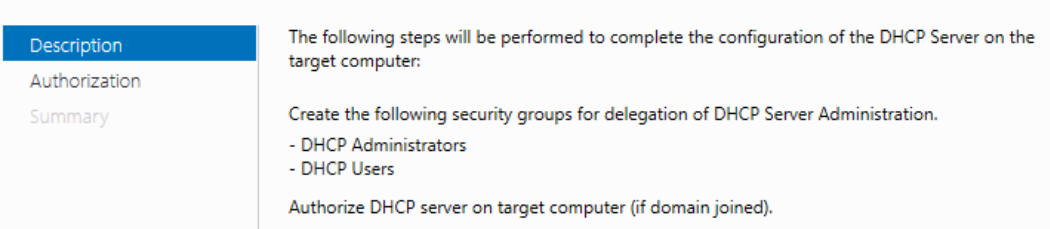
Click Next > Commit > Close > Close
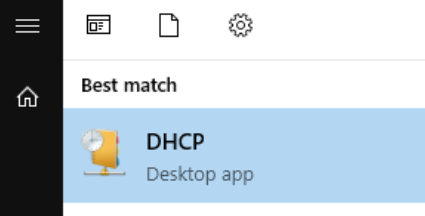
Go to the Start Menu and search DHCP
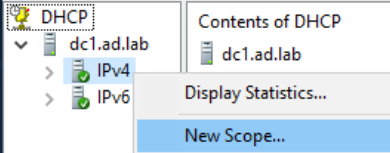
Expand the DHCP server tree and right-click IPv4 and choose New Scope
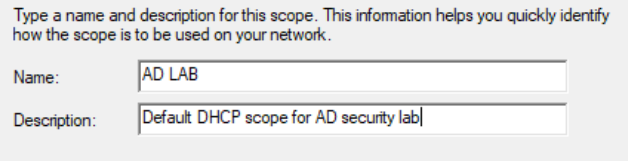
Click Next and give your DHCP configuration a name and description. Then, click Next.
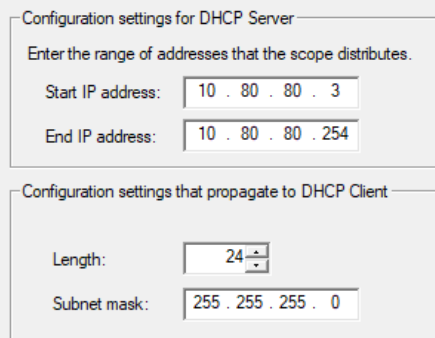
Configure the DHCP address space and subnet mask. Then, click Next.
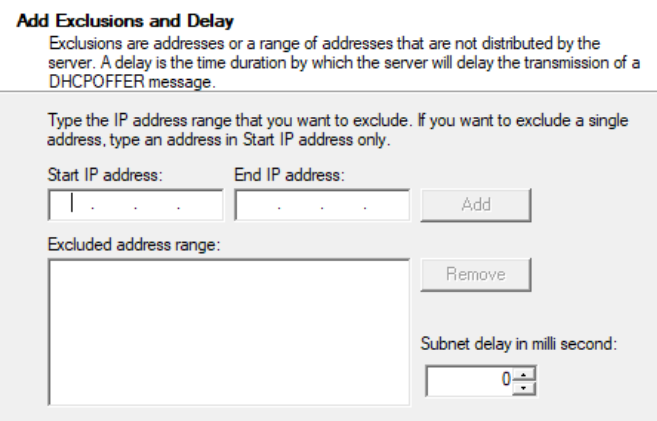
We're not configuring any DHCP exclusions (reservations), so click Next.
We'll make it so clients' leases are good for one year. Click Next.

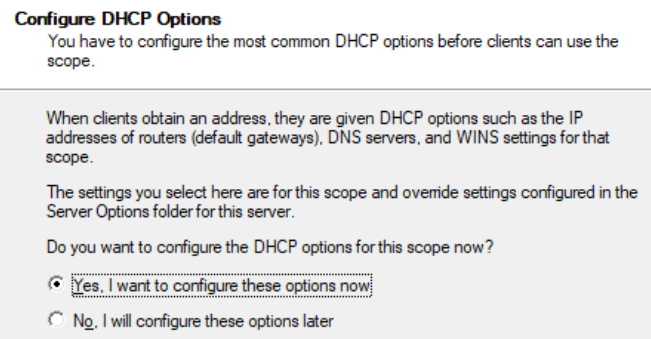
Click Next to configure it now.
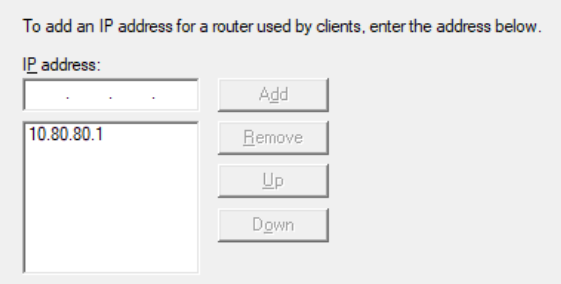
Enter the address of the default gateway and click Add.
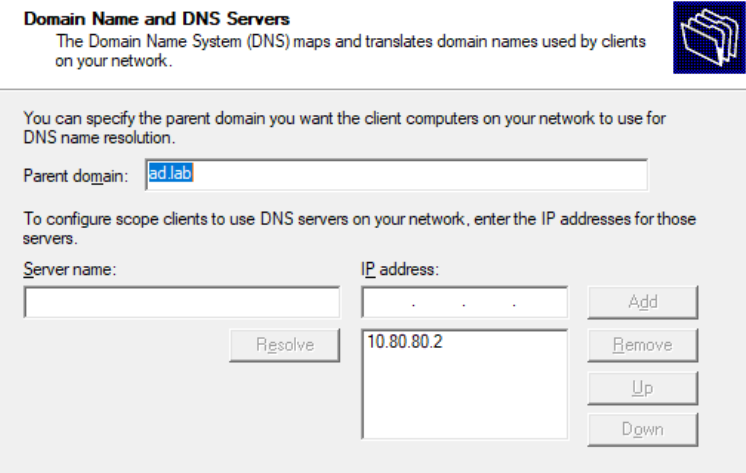
The default DNS configuration for DHCP clients is good here. Click Next.
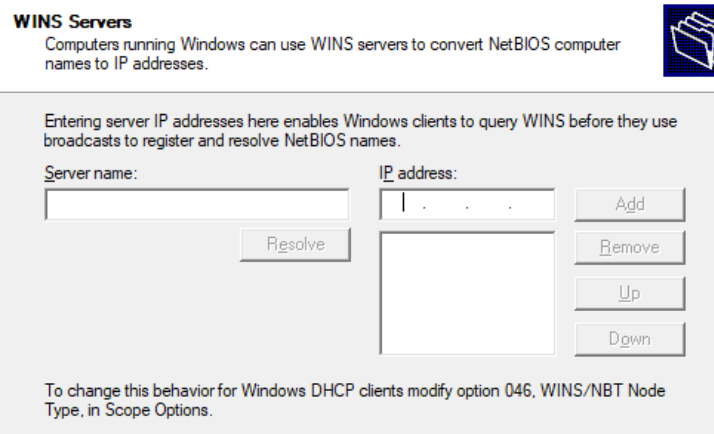
We don't have a WINS server in our lab environment. Click Next.
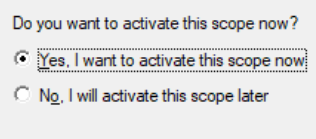
Click Next to activate the DHCP scope and click Finish.
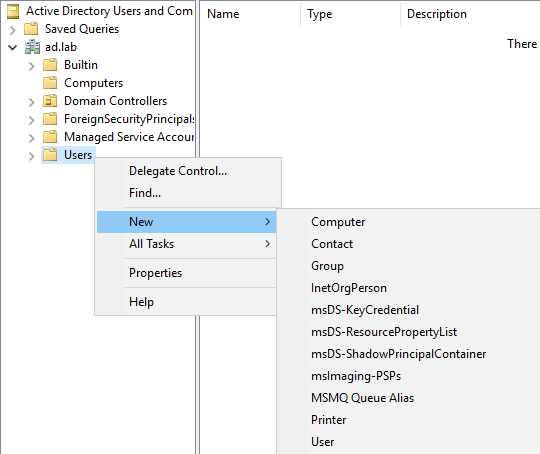
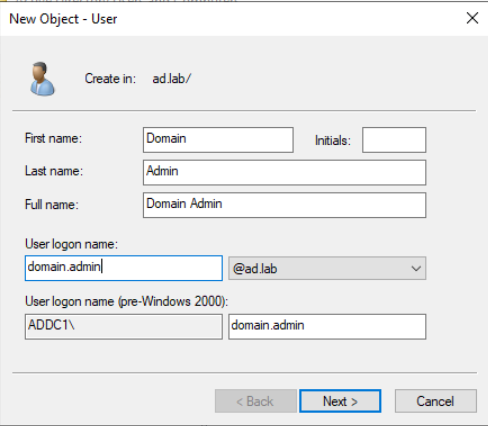
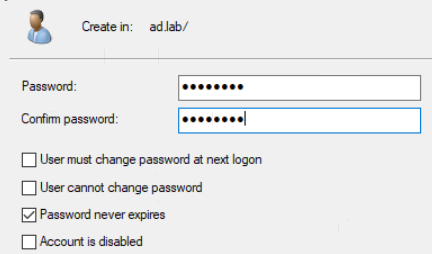
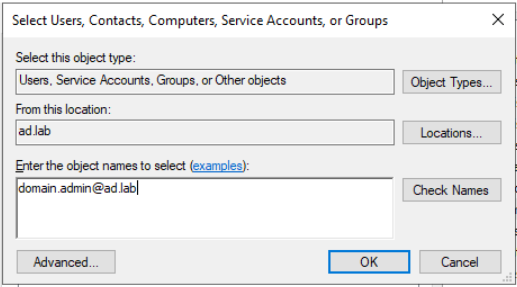
Adding a Domain Administrator Account
Go the Start Menu. Search for Active Directory Users and Computers and open the app.

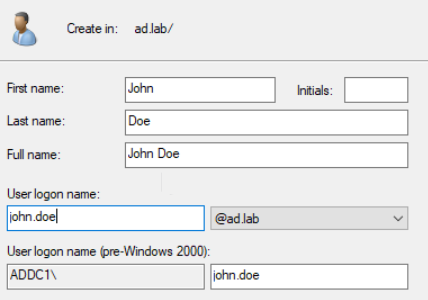
Add Some Users to the Lab
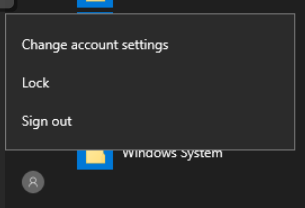
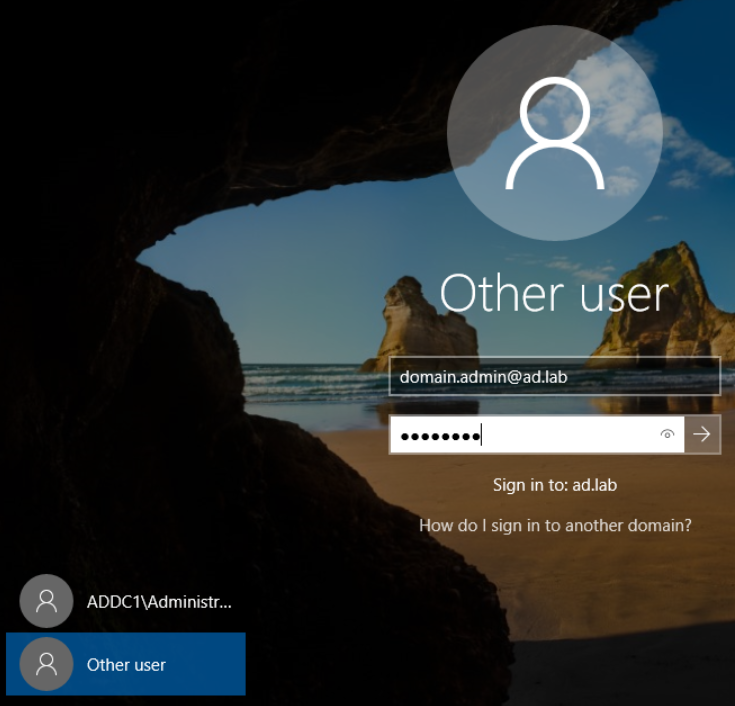
Log in as the new domain administrator.
Go the Start Menu. Search for Active Directory Users and Computers and open the app.

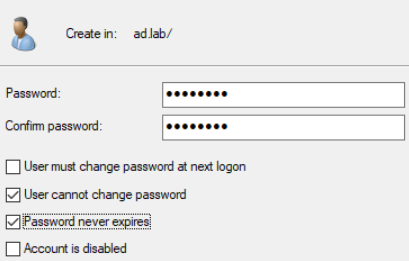
John Doe
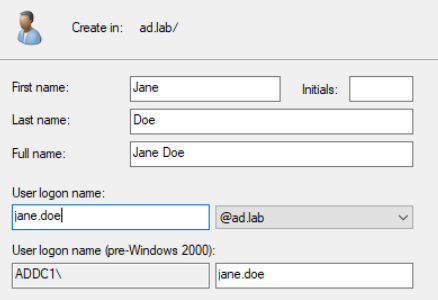
Jane Doe

Windows 10 Enterprise Template
Power on the VM.

Choose your language and click Next

Choose Install Now and accept the terms and conditions. Choose Custom: Install Windows Only.

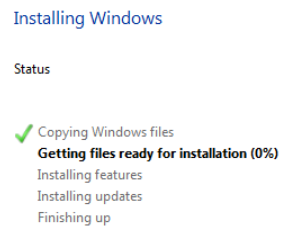
Click Next. Wait for the installation to finish.
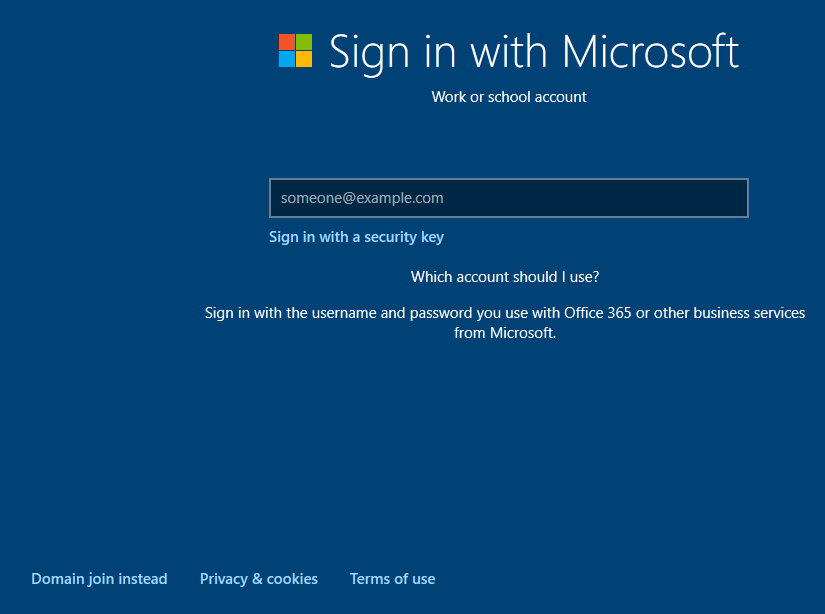
Select your regional and language settings. Choose Domain join instead.
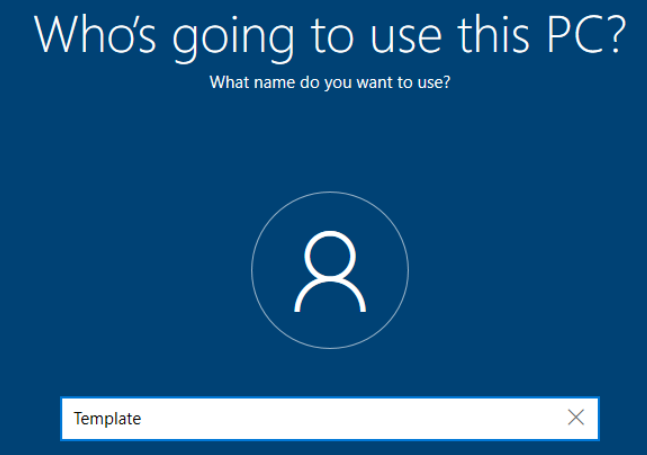
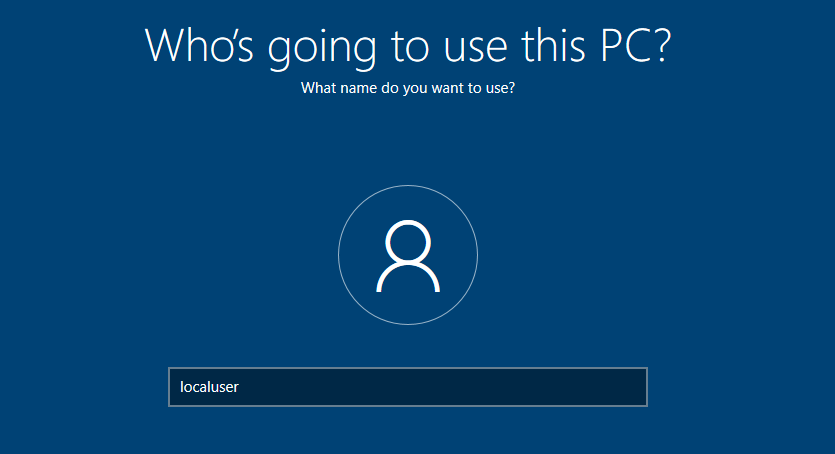
Enter the username Template, as this is going to be our template VM.
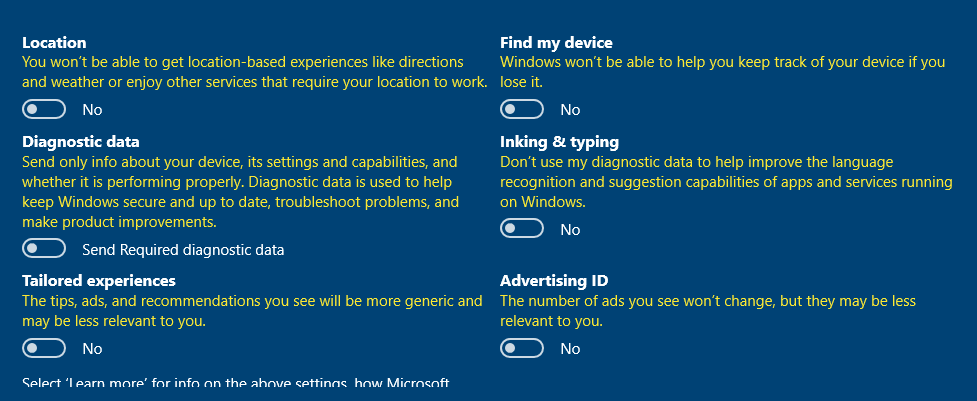
Enter a password and set security questions. Save the information in a password vault. Turn off all the services here.

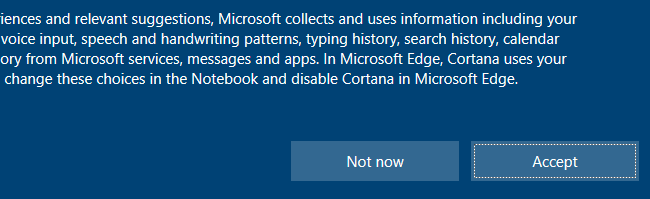
Choose Not now for Cortana.

Sysprep the Template
sysprep to create a template VM, so that when we clone the VM, the Windows systems will always have a unique SID when joining to the domain.Log into the system using the template credentials and open a PowerShell terminal as administrator.
Run the command:
C:\Windows\System32\Sysprep\sysprep.exe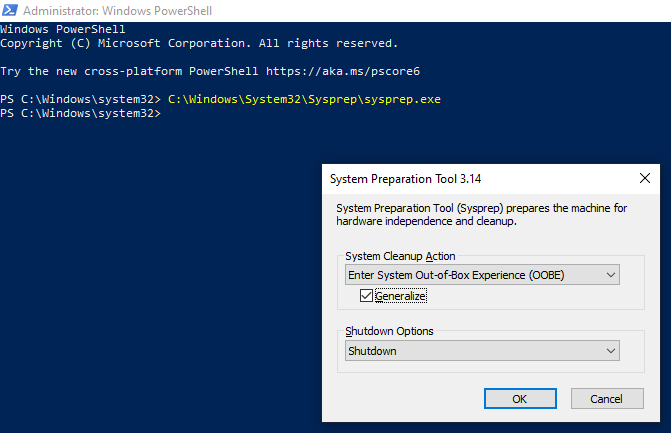
Click OK. Let the sysprep process run to completion. The VM should shutdown.
Windows 10 Enterprise VM 1
Right click the Windows 10 Enterprise Template and choose Clone. Give the cloned VM a name such as Win10Ent1.

Click Clone and move on to clone the next one.
Windows 10 Enterprise VM 2
Right click the Windows 10 Enterprise Template and choose Clone. Give the cloned VM a name such as Win10Ent2.
Click Clone and wait for the process to complete.
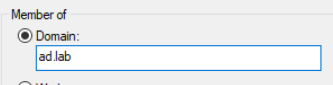
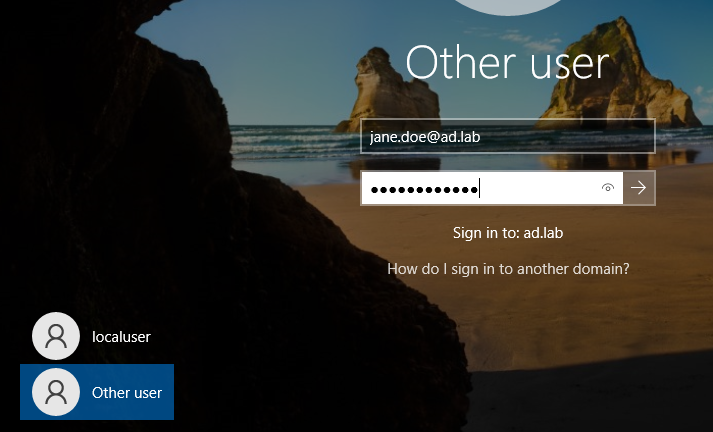
Joining the Computers to the Domain
Windows 10 Enterprise VM 1
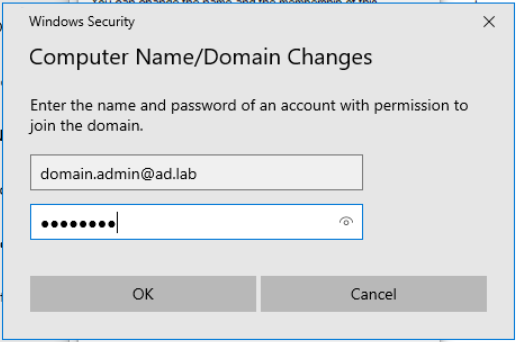
Out-of-Box-Experience (OOBE) when running sysprep on the template — which is the correct choice — we are required to run the through the Windows setup again as a newly issued computer.This is essentially the same thing as receiving a newly imaged Windows computer from your employer and joining it to the local domain.
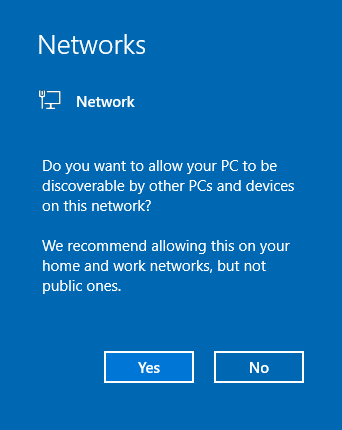
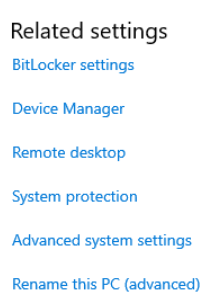
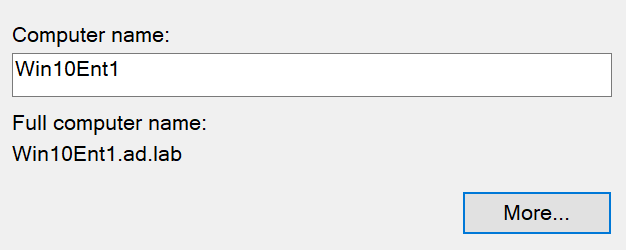
Go to the Start Menu > Search for This PC > Right-click > choose Properties


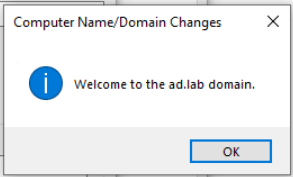
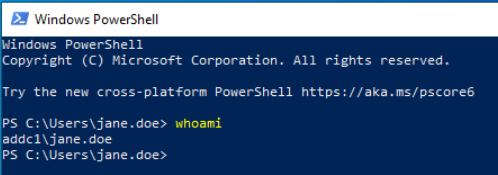
whoami commandYou Now Have a Small AD Forest
Congratulations! You now have a domain controller and two Windows 10 Enterprise clients joined to the domain controller.
If the VMs seem a little sluggish, you should probably increase the RAM on the VMs. Other than that, you are now ready for the next phase of your adventures.
Start of Authority (SOA) for the ad.lab local domain. If you are having trouble resolving computer hostnames to IP addresses, compare what is in DNS with what is in the DHCP pool.
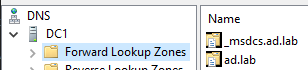
ad.lab forward lookup zone (or whatever your local domain is)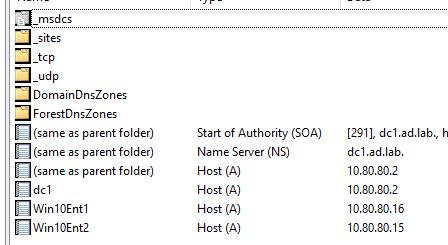


Starting with a Clean Slate
If you want to roll back your Active Directory lab to the very beginning, run these steps in this order:
- Power off the Windows Server 2019 VM and both Windows 10 Enterprise VMs
- Delete both Windows 10 Enterprise VMs
- Roll back to the pre-domain snapshot of the domain controller we took before
- Follow the steps to re-provision the
ad.labdomain, the DNS server, and the DHCP server - Clone the Windows 10 Enterprise Template as many times as needed
- Join your clients to the domain
Next Step
A lot of the attacks you'll see in this next section have a lot of overlap with what's in TheCyberMentor's "Practical Ethical Hacking" course. Just bear in mind that your environment and his environment will have different domain names, usernames, etc. But, the substance is in the methodology.
0xBEN