
Previous Step
 0xBEN
0xBEN
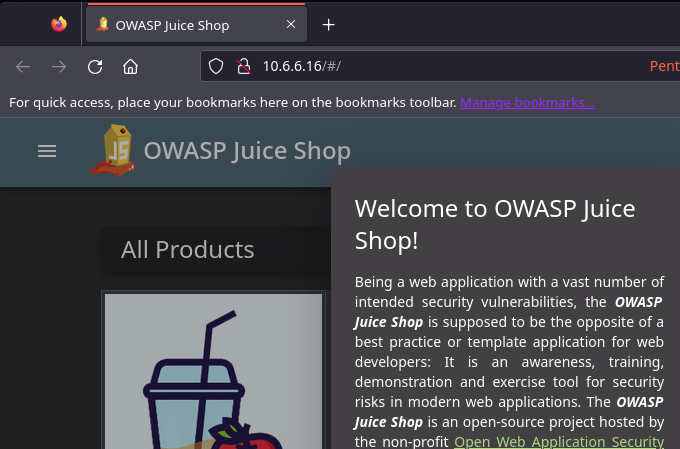
What is OWASP Juice Shop?
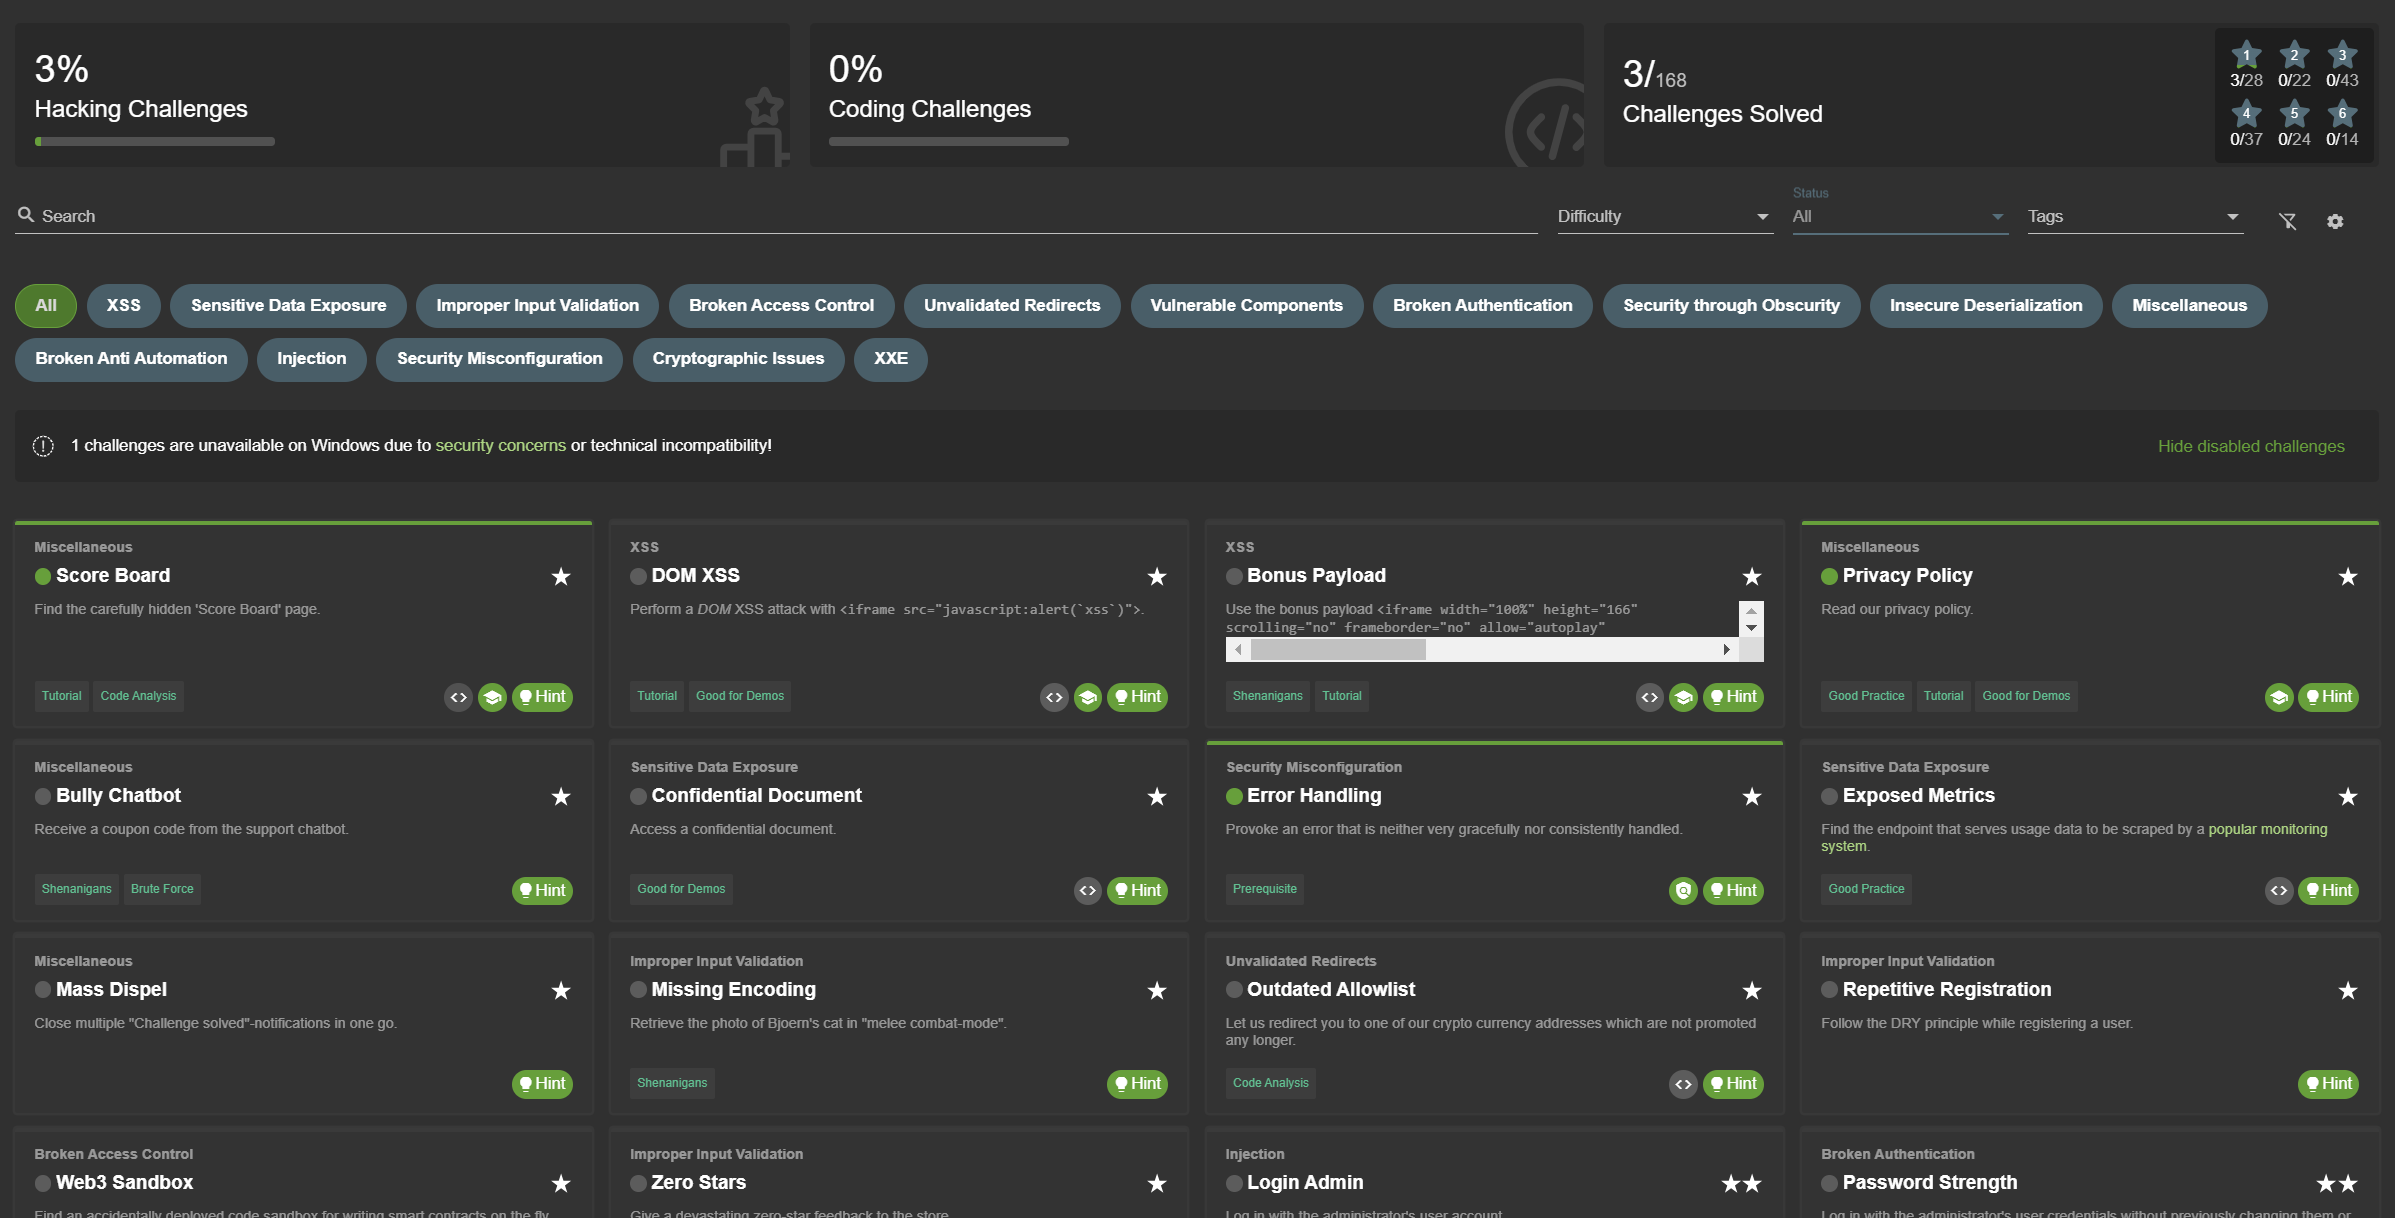
Juice Shop is a deliberately vulnerable web application where you can practice a wide variety of web attacks.
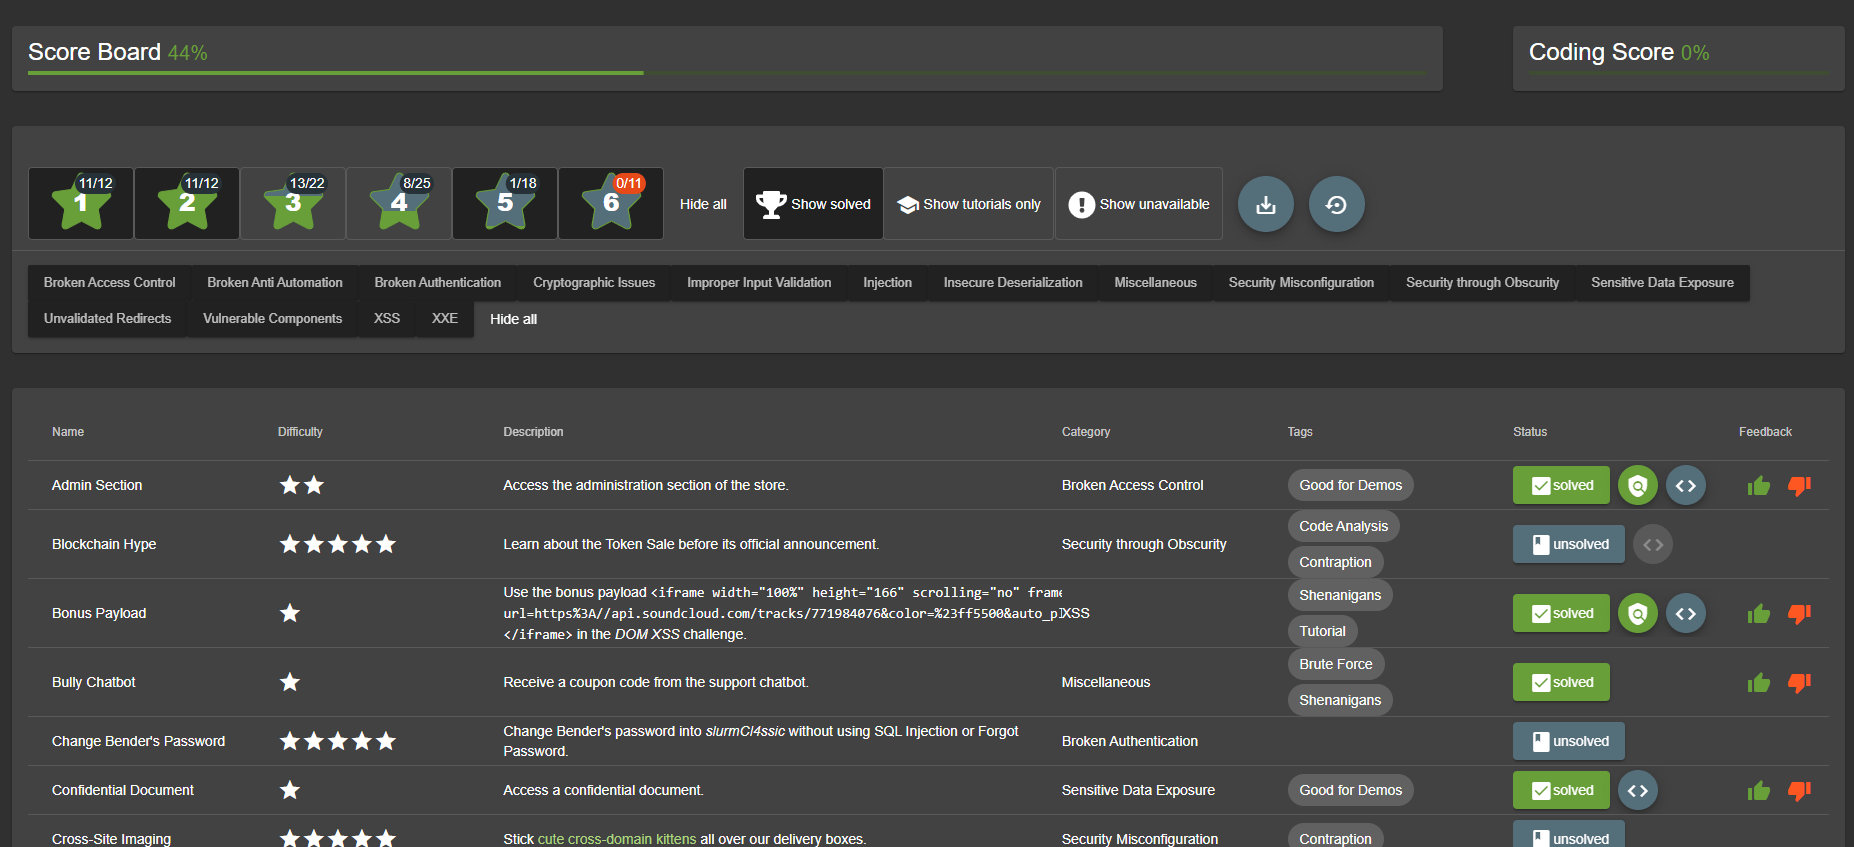
The application contains a vast number of hacking challenges of varying difficulty where the user is supposed to exploit the underlying vulnerabilities. The hacking progress is tracked on a score board. Finding this score board is actually one of the (easy) challenges!
The official project page can be found here:
Dockerized Installation
When I first wrote this guide, I don't believe Juice Shop was available as a Docker image. Previously, I had shown readers how to get up and running using the packaged distributions and Node.JS.
There is — however — a Docker image available now and this latest iteration of Juice Shop step of my Proxmox security lab guide makes several improvements over the previous version.
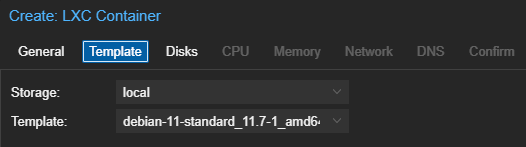
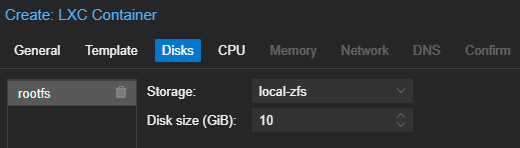
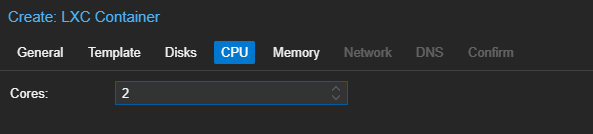
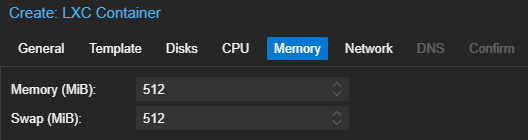
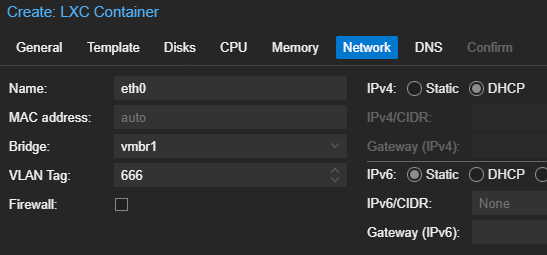
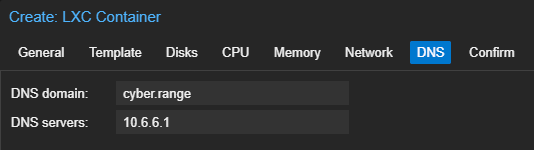
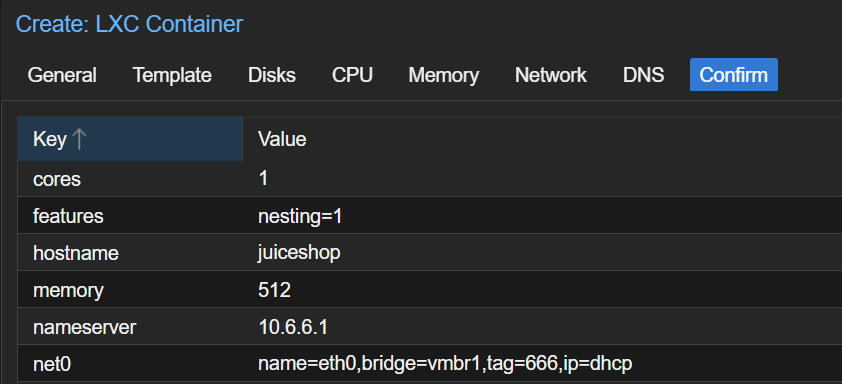
Create the Linux Container

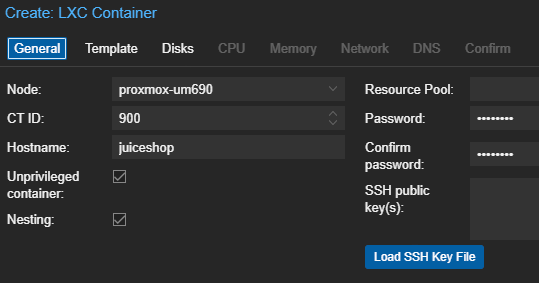
Prepare to Run Docker on LXC
I've already written a post some time ago showing readers how to get Docker Engine up and running on a Linux Container in Proxmox.
Come back here when you've finished getting the Docker environment all set up.
Pull and Run the OWASP Juice Shop Image
If you've successfully followed along with the post linked above, the following should be true:
- FUSE OverlayFS is installed on the PVE hypervisor
- FUSE OverlayFS is installed on the LXC
- Docker Engine is installed on the LXC and the Docker Hello World image was pulled and run, indicating Docker is installed and ready
Now, we're ready to pull the OWASP Juice Shop Docker Image and test. Open a shell on the Linux Container.
# Download the latest Juice Shop Docker iamge
docker pull bkimminich/juice-shop

# The OWASP documentation runs Juice Shop on TCP/3000, I prefer TCP/80
# Also, pass in some options to ensure the container always runs at boot, and always restarts for any reason other than manual stoppage
docker run -d -p 80:3000 --restart unless-stopped bkimminich/juice-shop
Managing the Docker Process
docker ps
ss -tanup | grep -i 80
docker stop <container_id>
However, your hacking progress is stored in your cookie and is retained between restarts.
docker run -d -p 80:3000 --restart unless-stopped bkimminich/juice-shop
docker pull bkimminich/juice-shop
docker system prune -f
Check Kali Connectivity
Take a Snapshot
Once you've got the Linux Container and the Juice Shop Docker image configured, take a snapshot of the container in its last known good state. That way, you can roll back to this snapshot in case anything breaks during the penetration test.
Optional: Reverse Proxy
In the default deployment, we're running Docker to expose the Node.js server directly on TCP/80. Node.js is not going to tolerate high-volume traffic, so you're almost certainly going to break it if you use any brute force tools such as gobuster, feroxbuster, and the like.
By putting the Juice Shop Docker container behind a reverse proxy, you'll equip it with more resiliency and the ability to rate-limit traffic.
docker stop $(docker ps | grep juice-shop | cut -d ' ' -f 1)Stop the juice-shop container
apt update && apt install -y nginxInstall Nginx web server
unlink /etc/nginx/sites-enabled/defaultDisable the default configuration
nano /etc/nginx/sites-available/juiceshop.confCreate a configuration for Juice Shop
Since this is our pentest lab, we're not necessarily worried about the most production-ready configuration. I found this to be a reasonable configuration for a Juice Shop LXC with minimal resources.
# Define the rate limit of 100 requests per second
limit_req_zone $binary_remote_addr zone=juiceshop:10m rate=100r/s;

server {
    # Listen on tcp/80 and make this the default nginx config
    listen 80 default_server;

    location / {
        # Memory and file buffers for the proxy
        proxy_buffer_size 8k;
        proxy_buffers 4 8k;
        proxy_busy_buffers_size 16k;
        proxy_max_temp_file_size 64m;

        # Headers to send to Juice Shop
        proxy_set_header Upgrade $http_upgrade;
        proxy_set_header Connection "upgrade";
        proxy_set_header X-Forwarded-For $remote_addr;
        proxy_set_header X-Forwarded-Proto $scheme;
        proxy_set_header Host $host;

        # Enforce the rate limit for every resource below
        # Site root, as defined by path "/"
        # Client can queue up to 100 requests before rate limit
        # Is enforced
        limit_req zone=juiceshop burst=100;
        limit_req_log_level error;
        limit_req_status 429;

        # Pass HTTP traffic downstream to Juice Shop
        proxy_pass http://127.0.0.1:8080;
    }
}/etc/nginx/sites-available/.ln -s /etc/nginx/sites-available/juiceshop.conf /etc/nginx/sites-enabled/juiceshop.confSymbolically link the configuration file to enable it.
nginx -t && systemctl enable --now nginxTest the configuration file and if all checks pass, enable and start Nginx
docker system prune --forceClean up old Docker data
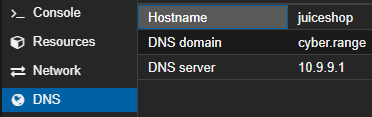
TCP/8080 and listening on 127.0.0.1, which matches the target in the Nginx proxy_pass directive.docker run -d -p 127.0.0.1:8080:3000 --restart unless-stopped bkimminich/juice-shopTCP/80 and proxying to http://127.0.0.1:8080 -- the internal binding for Juice Shop. So you should be able to reach Juice Shop the same way as before: http://juiceshop.cyber.range.And even if you update the Docker container, nothing changes. As long as Nginx and Juice Shop Docker are both running, you should be all set.
Optional: Move to Isolated VLAN


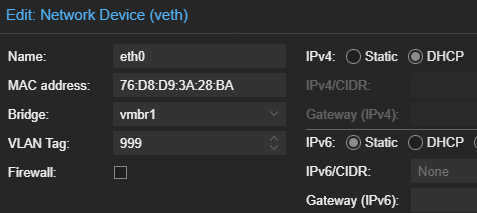
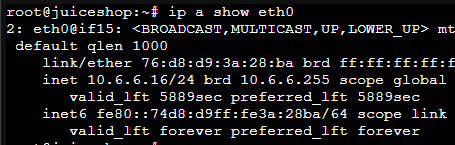
systemctl restart networking.serviceRestart the networking stack on the LXC
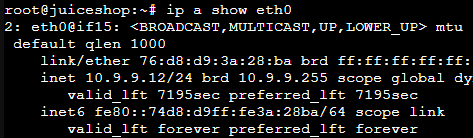
Confirm Kali Connectivity
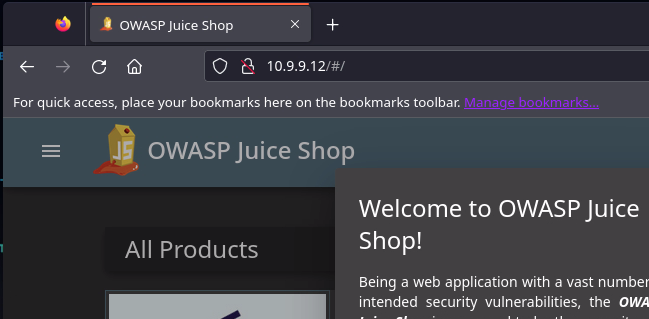
My firewall rules (and yours if you've followed this guide) should be such that you can access the Juice Shop container at its new address on the Isolated VLAN.
Need to Update your Container?
Just reverse the steps above and put your LXC back on VLAN 666 to reallow Internet access while you perform your update activities. When finished, repeat the procedure shown above to place it back on VLAN 999.
Optional: Enable Dangerous Challenges
docker stop $(docker ps | grep juice-shop | cut -d ' ' -f 1)Stop the juice-shop container
docker system prune --forceClean up old Docker data
-p assumes you're using the Nginx reverse proxy above.docker run -d -e "NODE_ENV=unsafe" -p 127.0.0.1:8080:3000 --restart unless-stopped bkimminich/juice-shopStart the Juice Shop container with the unsafe environment variable set.
Study Guide
The link below will take you to a guided walkthrough of the various Juice Shop challenges if you're not sure where to start, or feel like you want a hand.
Shows you how to use instructor mode
Find hints and solutions for challenges
Next Step
0xBEN