
Previous Step
 0xBEN
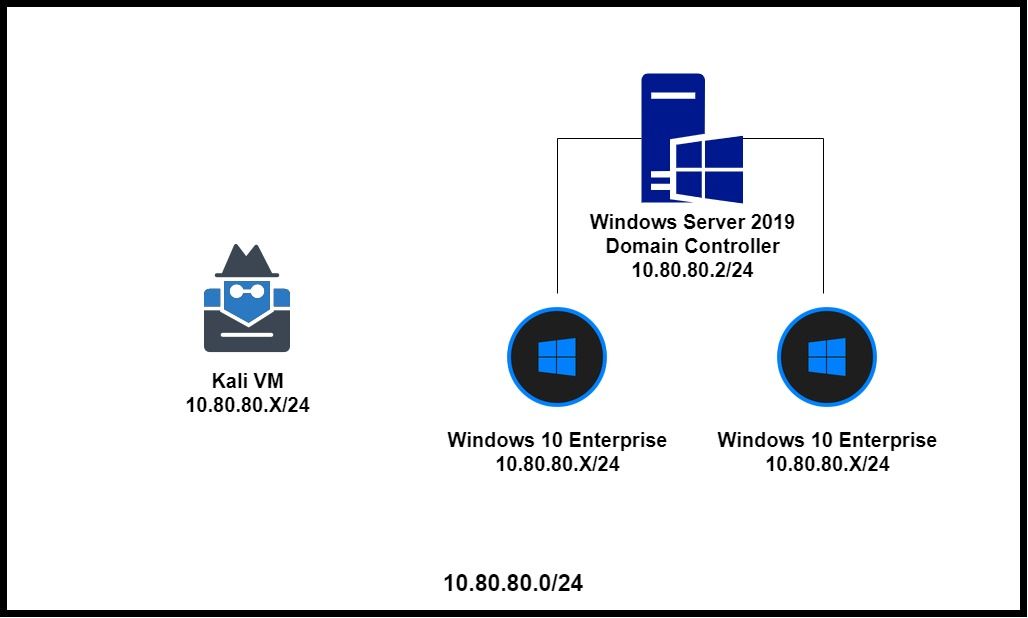
0xBENThe nature of this section is to help you get the following components added and connected to form a small Active Directory (AD) forest:
- Domain Controller (DC)
- 2 Windows 10 Enterprise hosts
This is not intended to be an exhaustive resource on AD.
Warning: Additional Compute Resources Required
Windows is a very demanding operating system. If your Proxmox node is running out of resources as you have been building out your lab, you have the following options:
- Upgrade any hardware components where possible
- Power off some other VMs or containers and see if you can free up resources
- Keep the Windows hosts off whenever you do not need them
- Remember, you will need the resources available whenever you want to run the Windows hosts
- Add another Proxmox server and build out your lab over there
- This option will require you to rebuild a pfSense lab with Open vSwitch and any desired VLANs. It won’t need to be an exact copy of the one we already set up
Getting the ISO Files
Refer back to this page for links to download Windows ISOs.
0xBENOnce the ISOs are downloaded, be sure to transfer them to your Proxmox node.
Staging the Network
Adding a VLAN for the AD Lab
Trunk the VLAN on VMBR1
On the project home page, we already did the following:
- Created a SDN VLAN Zone
- Created a VNet and attached it to the VLAN Zone and set the VLAN tag
- Applied the SDN changes
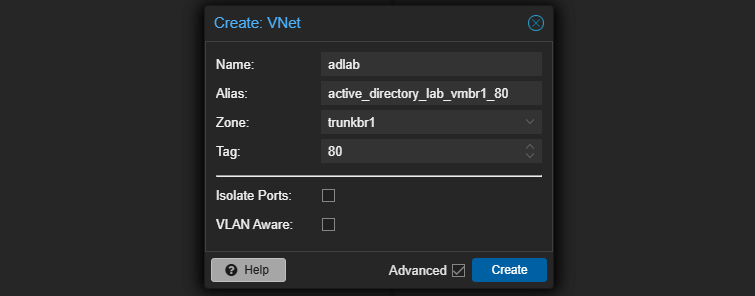
Let's add a new VNet for the Active Directory VLAN.
- Click on Datacenter
- SDN
- VNets
- SDN


Create the VLAN in pfSense
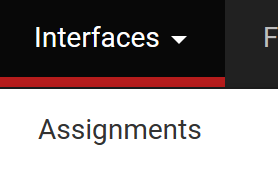
Go to Interfaces and then, Assignments.
Click on VLANs.

Click on Add.

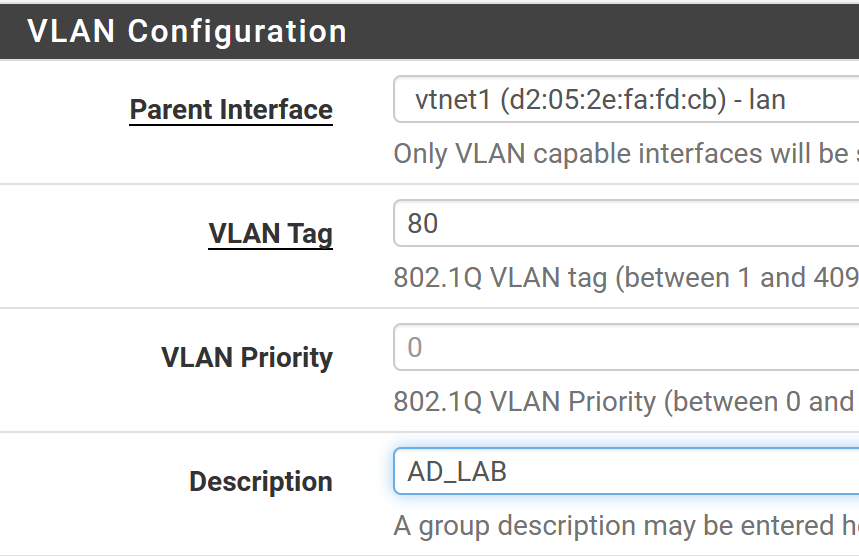
Fill out the form as shown below. Effectively, we're saying that the VLAN ID of 80 is a child of the vtnet1 interface, which makes a virtual interface off the LAN. Any traffic assigned this VLAN will be on its own subnet.
Click on Interface Assignments.
You'll see the newly available network port. Click Add and then click Save.

Configure the VLAN Interface
Click on OPT1.

Fill out the forms as shown below.
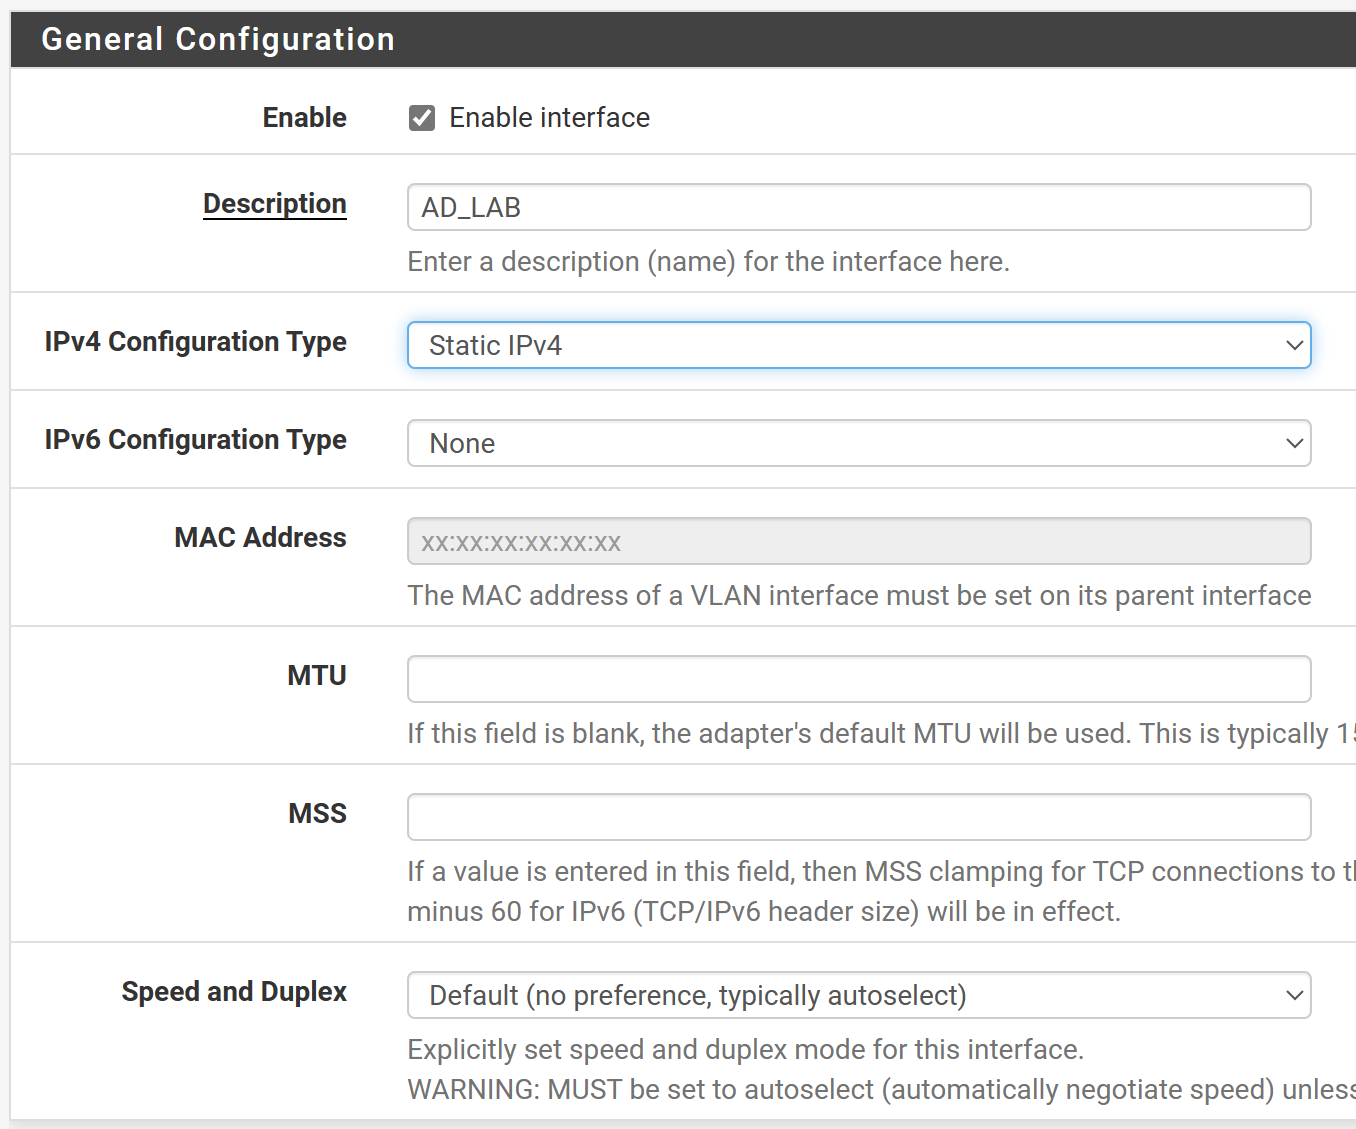
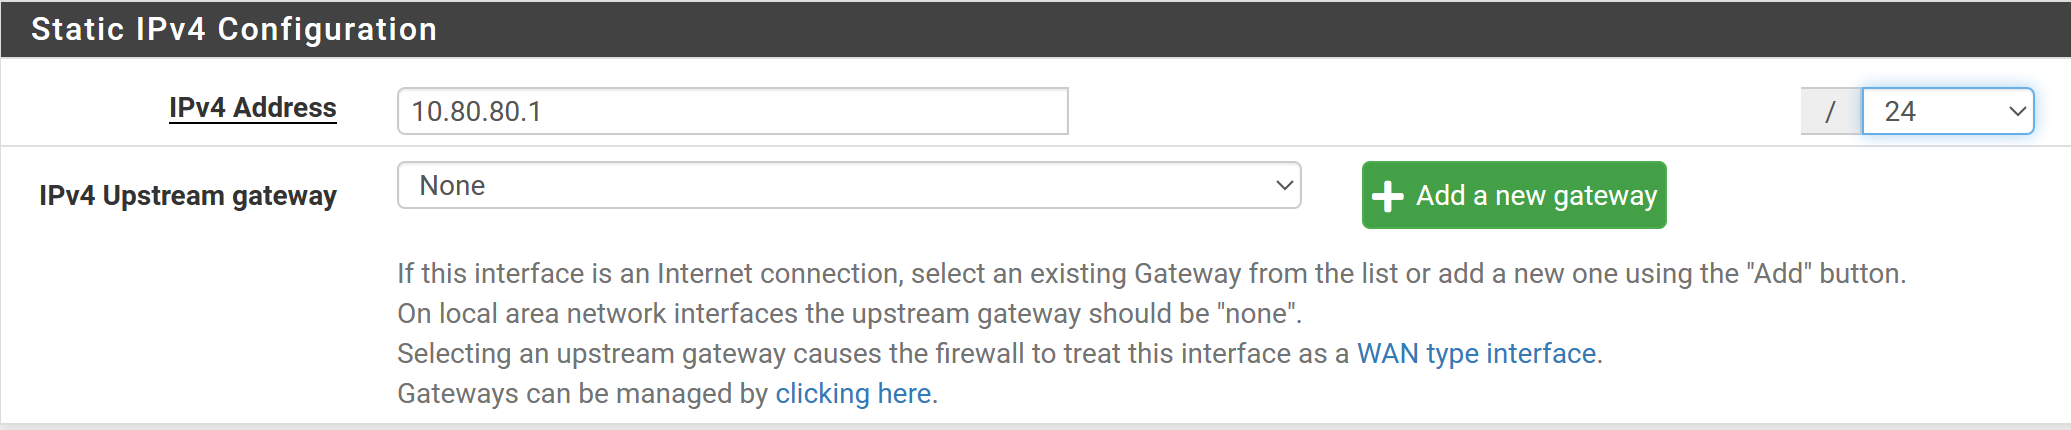

Click Save and Apply Changes at the top.
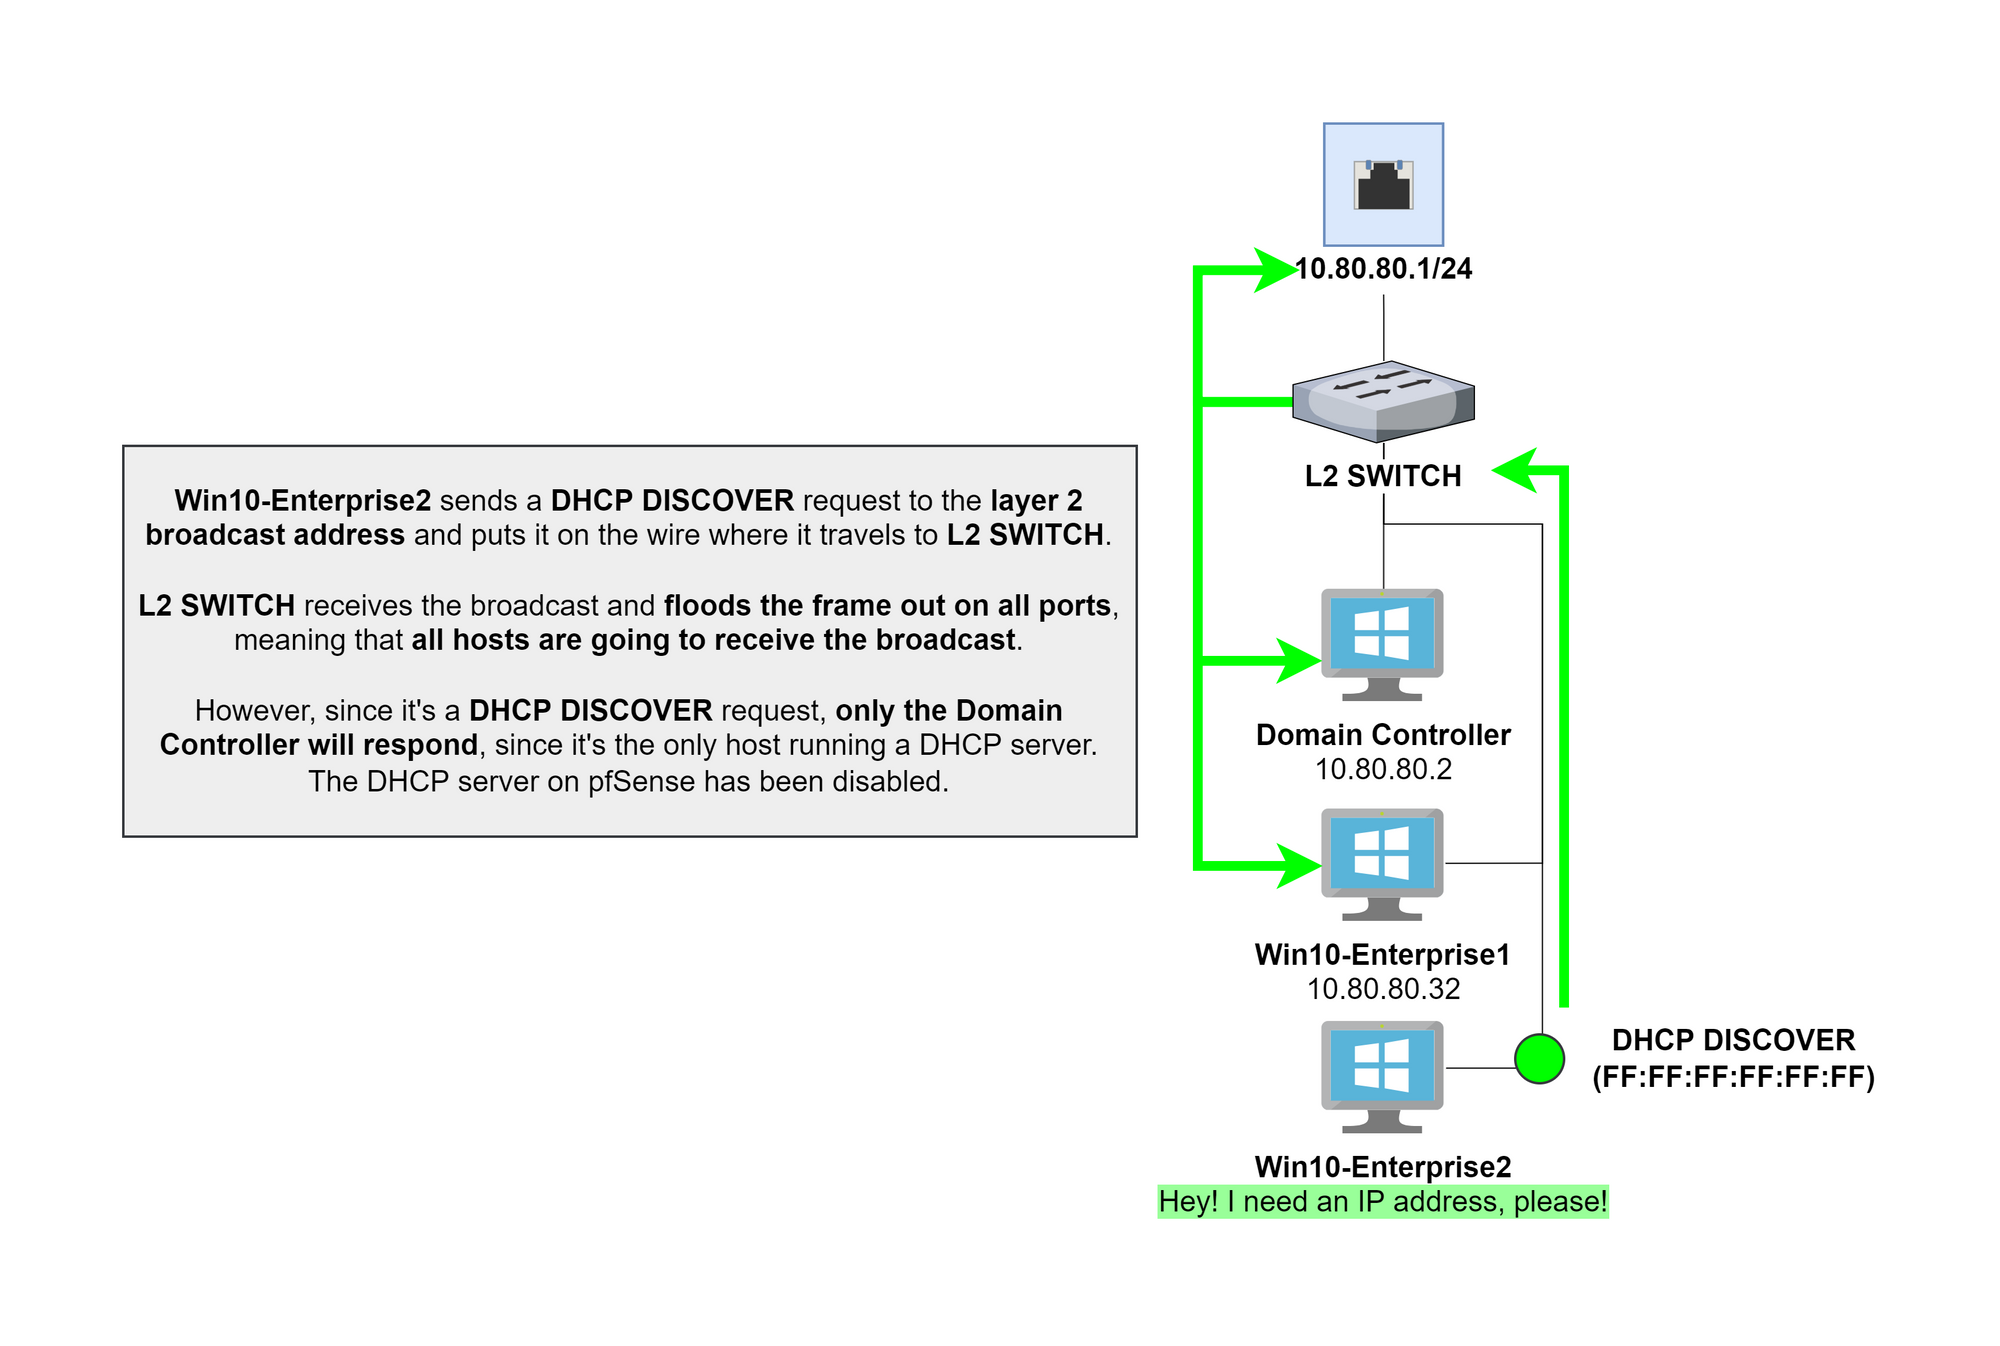
A Note on the DHCP Server
AD_LAB VLAN as shown below.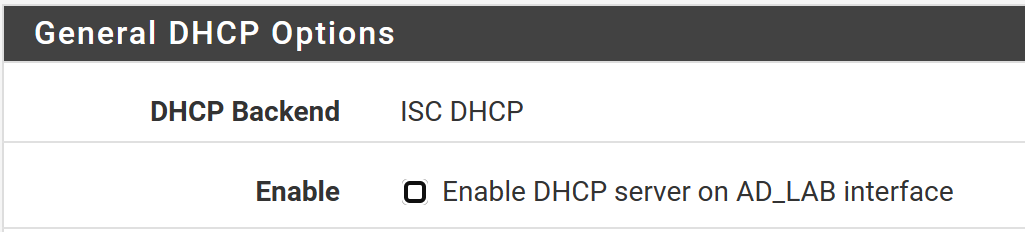
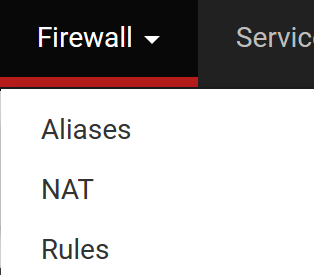
Configure the AD Lab Firewall Rules
Go to Firewall and then, Rules.
Click AD_LAB or whatever you named your interface.
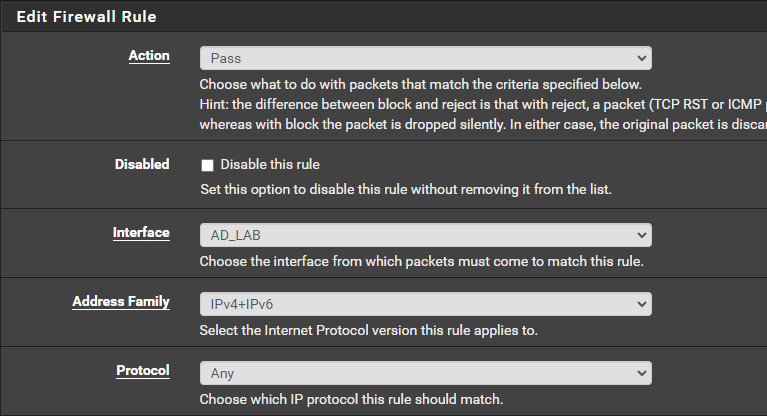
Allow Traffic to Kali VM
Click the Add (up) button.


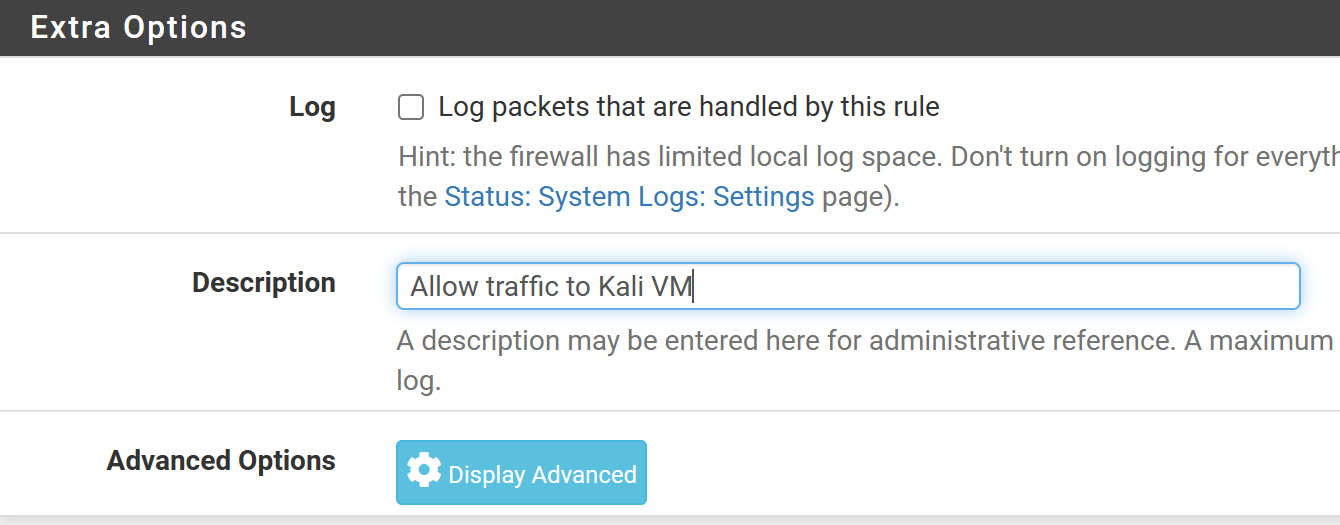
Click Save. However, you do not need to Apply Changes yet.
Allow Traffic to Default Gateway
Click the Add (up) button.
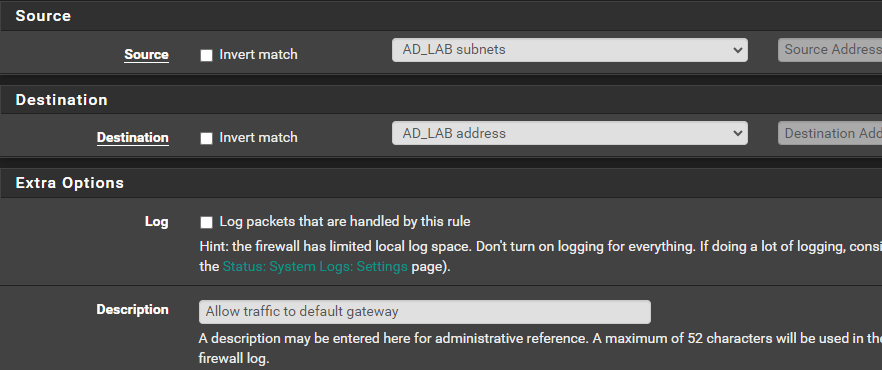
Click Save. However, you do not need to Apply Changes yet.
Allow Traffic to Internet
Click Add (down).
Fill out the rule as shown below.
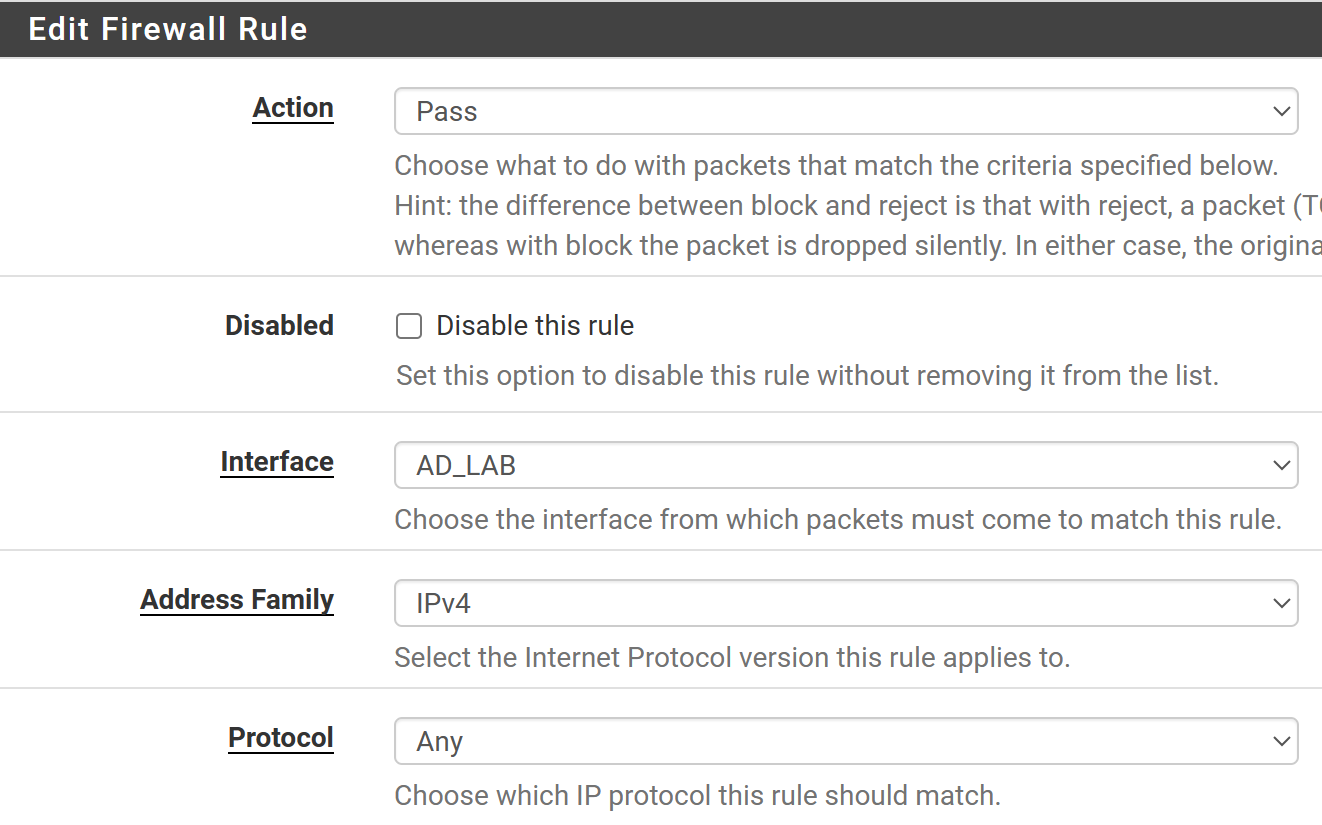

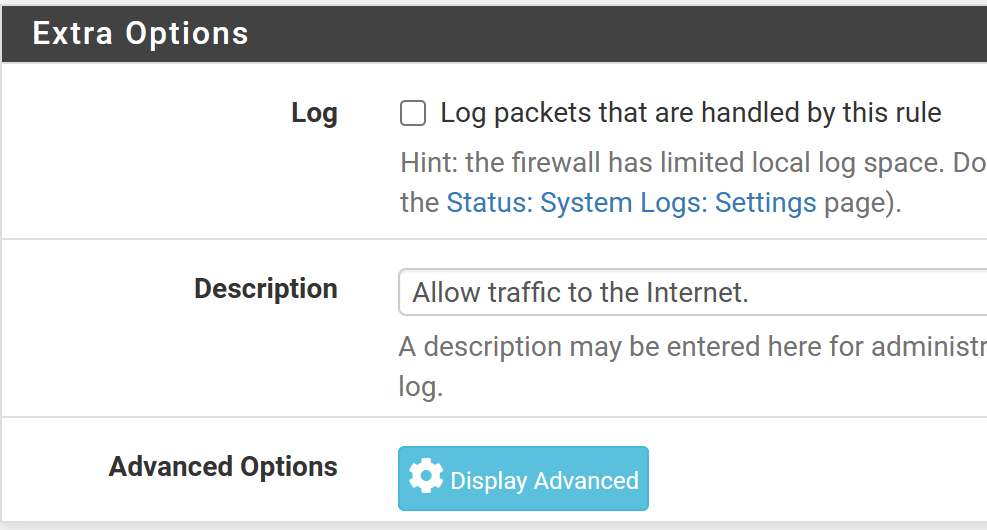
Click Save and then, Apply Changes at the top.
Block Access to Firewall Management


CTRL key and select the AD_LAB interface to include it
Creating an AD Lab the Insecure Way
Typically, you should not put your domain controllers (DC) on the same subnet as the clients. You create a separate /29 subnet and put your DCs there. Then, create a separate subnet for your clients and make them routable.
While it would be good to adhere to best practices, this is a learning environment. Therefore, you will be creating a flat AD lab network, and putting all of the infrastructure on the same broadcast domain. That way you can leverage as many attacks as possible.
Getting Kali on the AD VLAN
See this step for a refresher on adding static routes
And, see this step for an example of a WAN firewall rule
We started out by putting Kali on the native LAN. We need to move Kali to the AD VLAN in order to learn about as many attacks as possible. It's easy to make the change.
- In Proxmox, change the Kali VM's network interface so that it is on VLAN 80
- In Kali, run these commands:
Replace <interface-name> with your Kali VM's interface
sudo ip link set <interface-name> down
sudo ip link set <interface-name> up
Putting Kali Back on the Native VLAN
If you want to move Kali back to the native VLAN, just reverse your steps:
If you want to move Kali back to the native VLAN, just reverse your steps:
- In Proxmox, change the Kali VM's network interface so that there is no VLAN ID
- In Kali, run these commands:
Replace <interface-name> with your Kali VM's interface
sudo ip link set <interface-name> down
sudo ip link set <interface-name> up
Windows Server 2019: The Domain Controller
Installation and Initial Setup
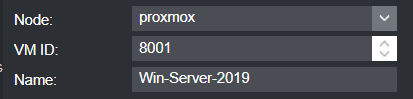
This is your template when creating the VM in Proxmox.
General
OS

System

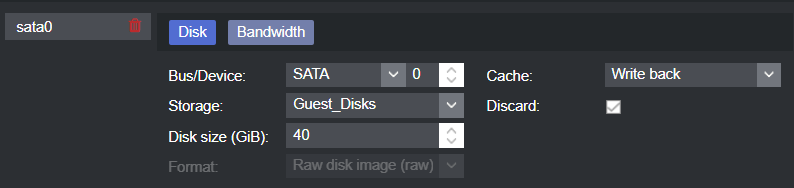
Hard Disk
CPU

Memory

Network

Installing Windows Server 2019
Power on the VM and open a NoVNC console.

Choose your language and click Next.
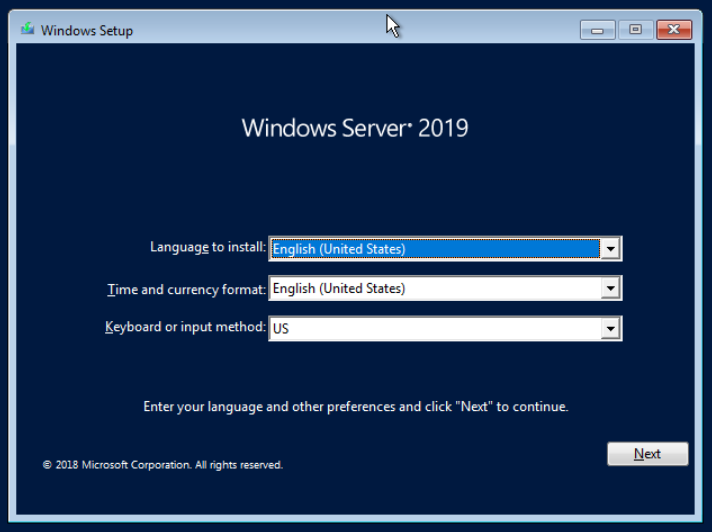
Choose Install Now and choose Windows Server 2019 Standard Evaluation (Desktop Experience)
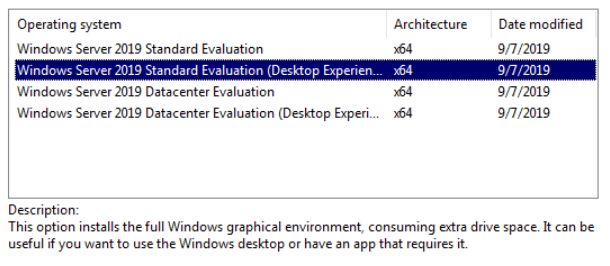
Click Next. Accept the terms and conditions. Choose Custom: Install Windows Only.

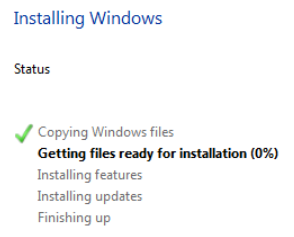
Click Next and wait for the installation to finish.
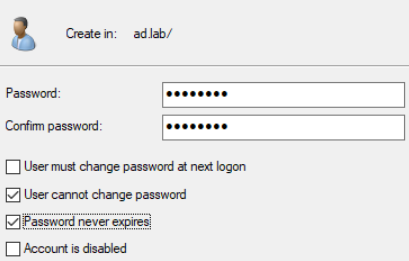
Once the installation is finished, set the local administrator password and save it. You could put it in a password manager, or you can put it in the Notes field of the VM.

Configure the Network Interface
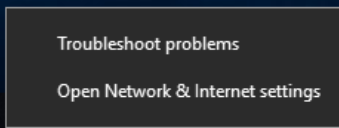
Right-click the network interface icon.

Choose Open Network & Internet Settings
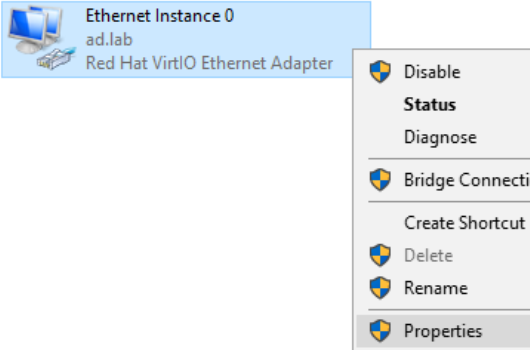
Scroll down and choose Change adapter options

Right-click the adapter and choose Properties
Double-click Internet Protocol Version 4 (TCP/IPv4)

Configure your adapter as such:
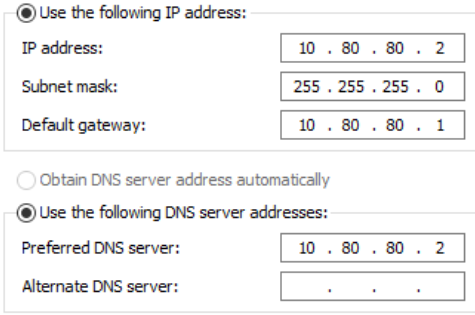
For the DNS servers, the following will happen:
- First, check with the DNS server running on the domain controller (we will install this a bit later)
- If the DNS server doesn't know the answer, it will forward the DNS query to the default gateway and pfSense will resolve it
Rename the Server
Open the Start Menu and click the Settings icon.

Enter a name for your server
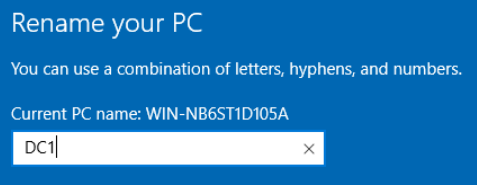
Choose Restart Now. Enter Other (planned) for the reason.
Take a Snapshot of the VM
In Proxmox, click on your Windows Server 2019 VM and go to Snapshots. Click Take Snapshot. Set the following values:
- Name:
WinServer2k19_PreDomain - Include RAM:
yes - Description:
Windows Server 2019 - Pre-domain-controller configuration.
Now, we can restore this snapshot any time if we want to roll back to a pre-domain install.
Configure Domain Services
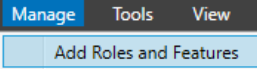
Click Manage > Add Roles and Features

Click Next > Next > Next until you reach Server Roles. Check the following boxes:
- Active Directory Domain Services
- DNS Server (so we can resolve the domain controller by DNS name)
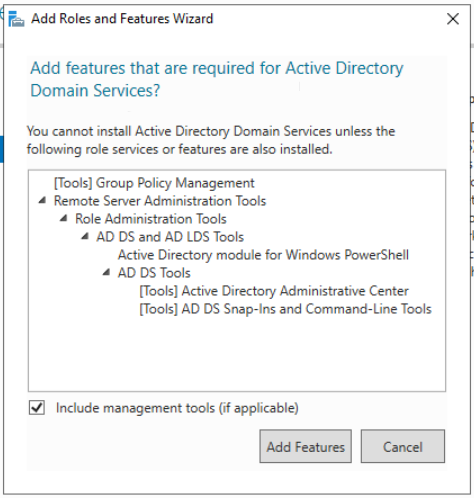
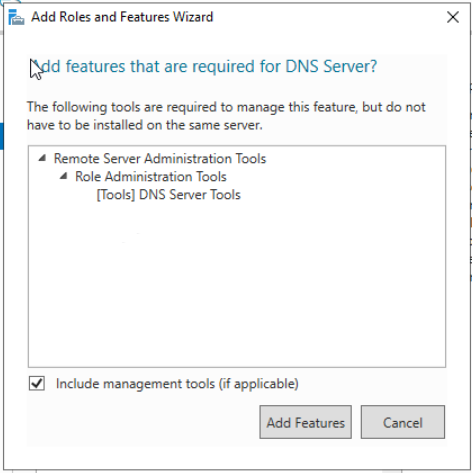
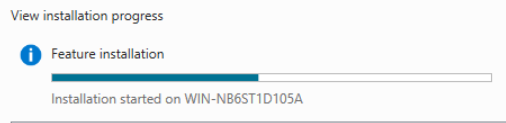
Click Next > Install. Wait for the install to finish and click Close.
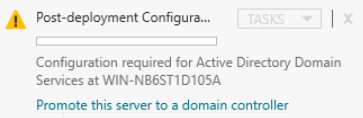
Configure Active Directory Domain Services
Log back into the domain controller as the local administrator and wait for the Server Manager app to load.

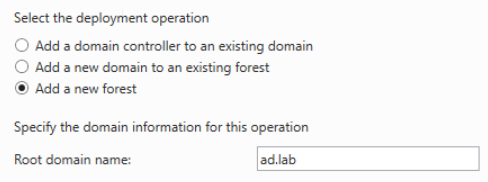
Choose Add a new forest and specify a root domain name. I chose ad.lab as my domain name, but you can choose any other local TLD.
TLDs such as .com, .org, .net will work as a local domain. Also, best not to use .local either, because that can interfere with multicast traffic.
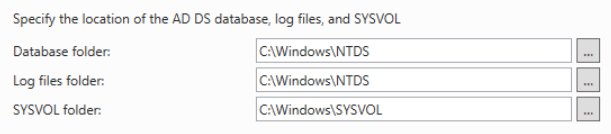
Click Next. The default options are fine. Specify a restore password. You can use the same password as the local admin or something different. It doesn’t matter. Click Next.
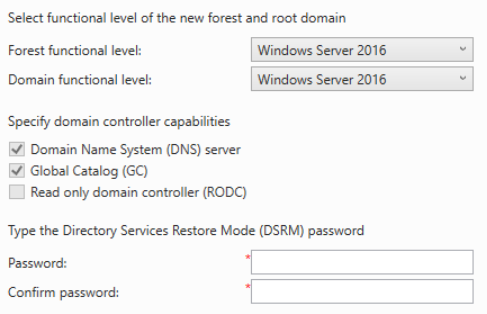
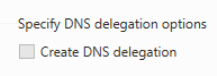
Click Next and continue with the defaults.
Looks good. Click Install and wait for it to complete.
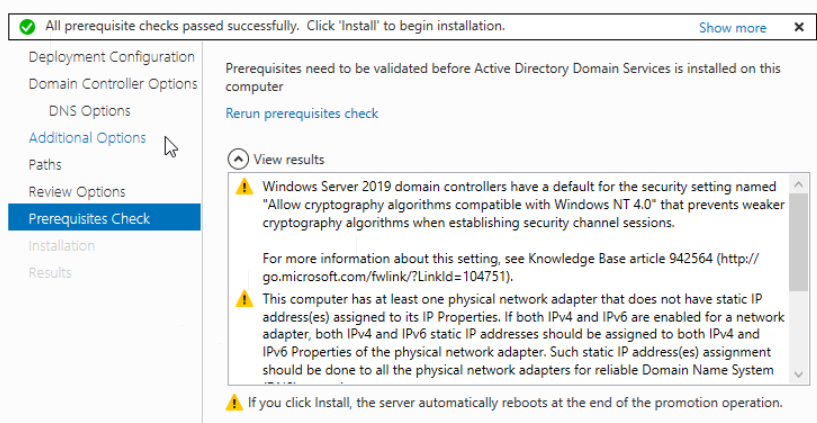
The server will automatically reboot.
Configure Active Directory Certificate Services
Active Directory Certificate Services will be installed to enable LDAPS. Log back into the domain controller as the local administrator and wait for the Server Manager app to load.
Open Server Manager and go to Manage > Add Roles and Features
Click Next > Next > Next > Click Active Directory Certificate Services
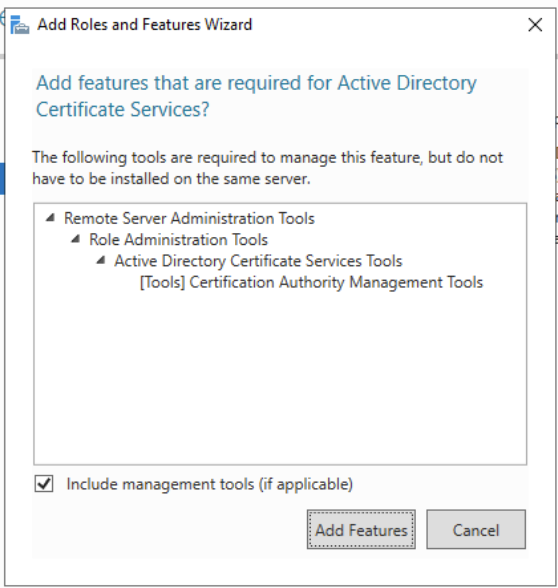
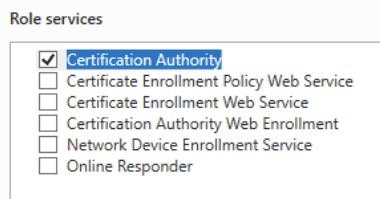
Click Next > Next > Next > Next. For AD CS, choose the Certificate Authority role service.
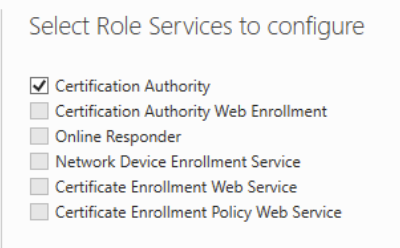
Click on the alert icon and click on the text to Configure Active Directory Certificate Services.

Click Next, then select the service role to configure. Click Next.
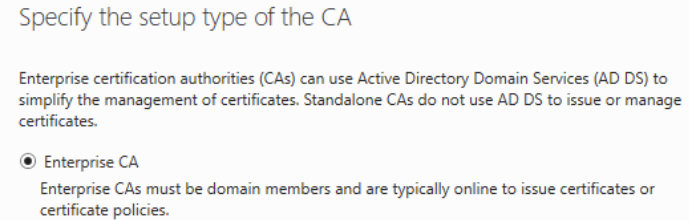
Choose Enterprise CA and click Next.
We're just going to use the default settings. Click Next > Next > Next > Next > Next > Next > Configure.
Configure DNS Forwarders
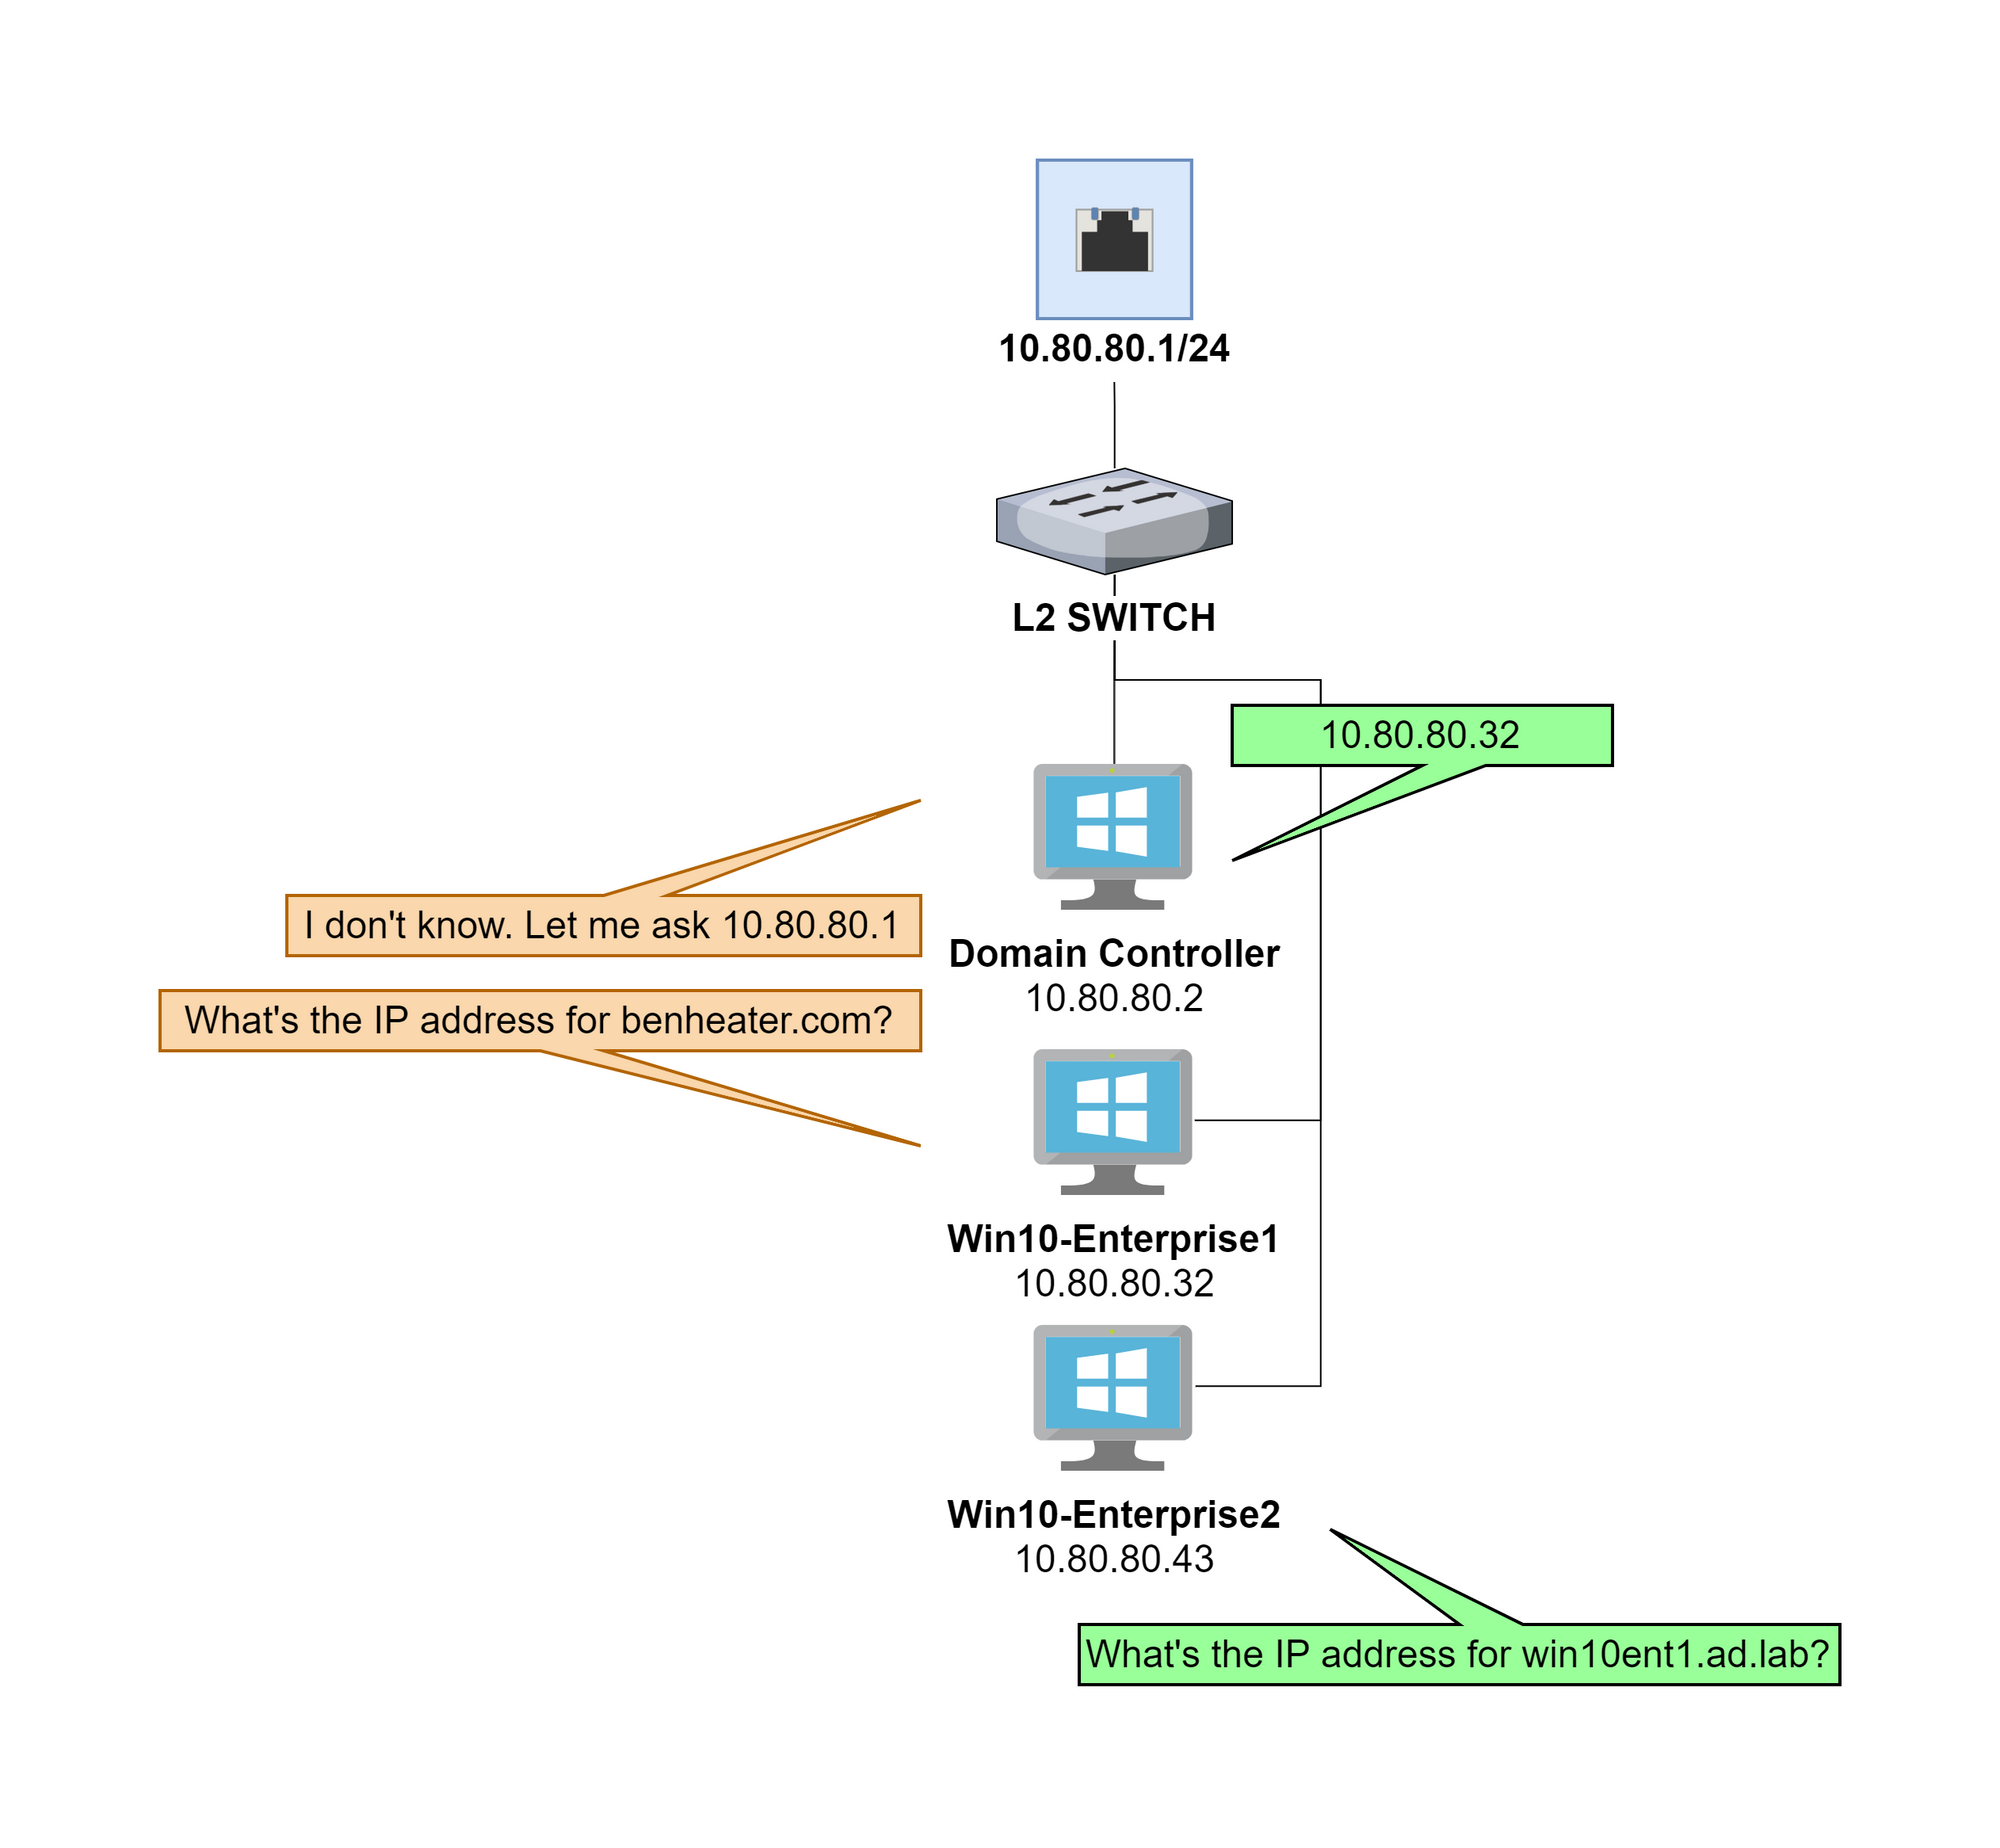
The DNS server running on the domain controller will act as a resolver for the ad.lab domain (or whichever local domain you chose). We need a forwarder for any DNS query for which the DNS server does not know the answer.
We can use the pfSense default gateway as a downstream DNS server that the domain controller can pass queries to for any unknown hostnames.
Open up the Start Menu and search for DNS.
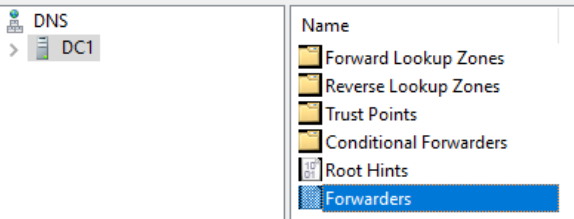
Expand DNS > DC1 and double-click Forwarders.
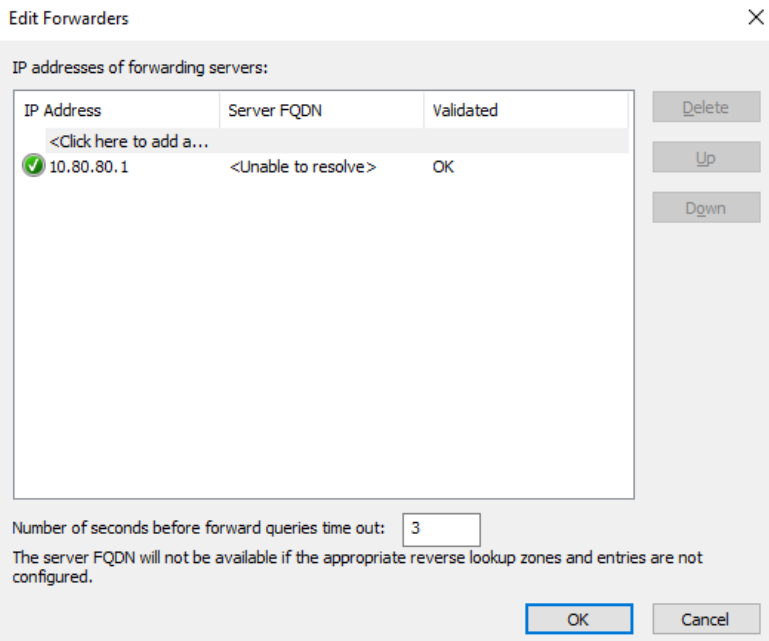
Click Edit and add the IP address of the default gateway. Click OK.

Add and Configure a DHCP Server
Open Server Manager and go to Manage > Add Roles and Features
Click Next > Next > Next
Click DHCP Server

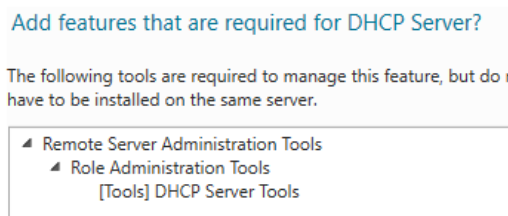
Click Add Features and click Next > Next > Next > Install
Once the installation is complete, click on Complete DHCP Configuration

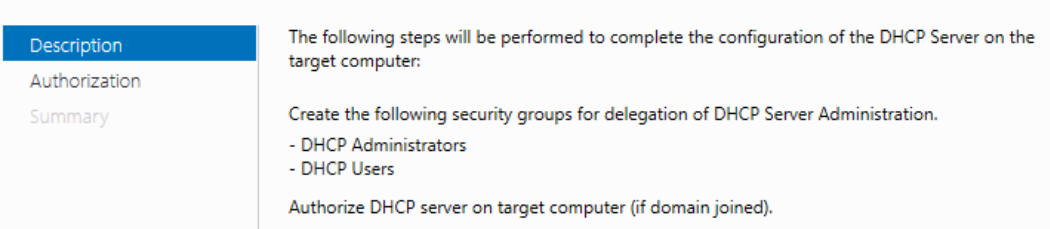
Click Next > Commit > Close > Close
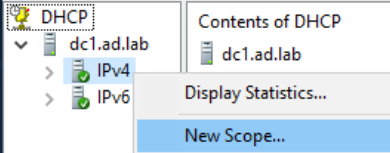
Go to the Start Menu and search DHCP
Expand the DHCP server tree and right-click IPv4 and choose New Scope
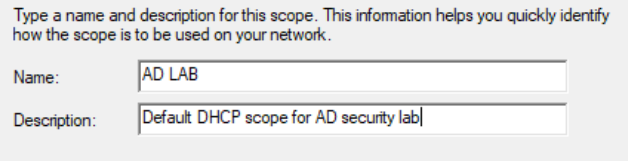
Click Next and give your DHCP configuration a name and description. Then, click Next.
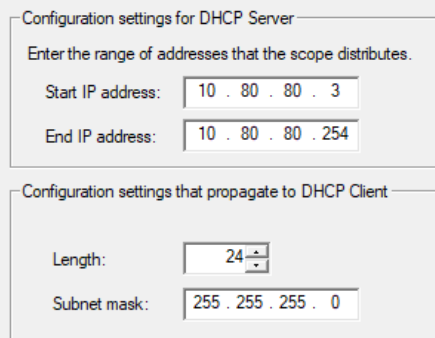
Configure the DHCP address space and subnet mask. Then, click Next.
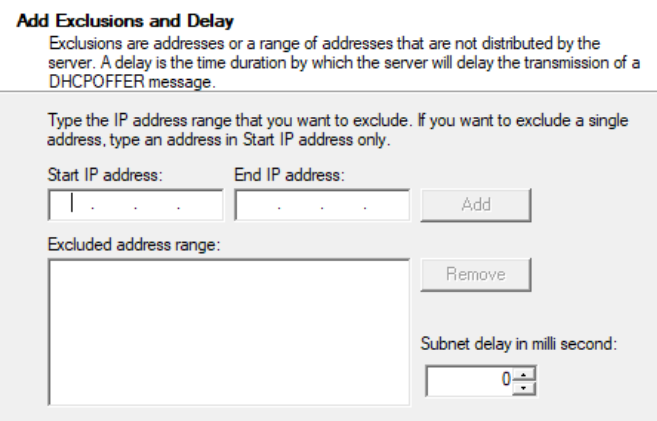
We're not configuring any DHCP exclusions (reservations), so click Next.
We'll make it so clients' leases are good for one year. Click Next.

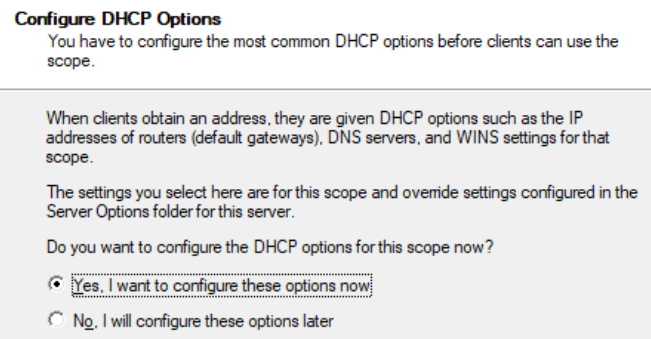
Click Next to configure it now.
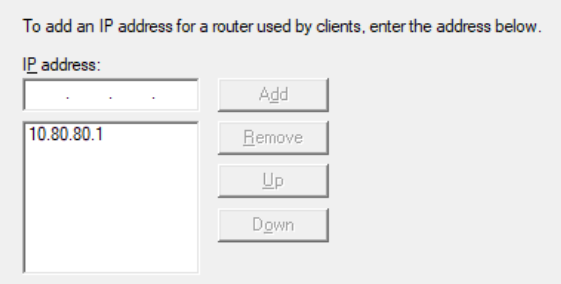
Enter the address of the default gateway and click Add.
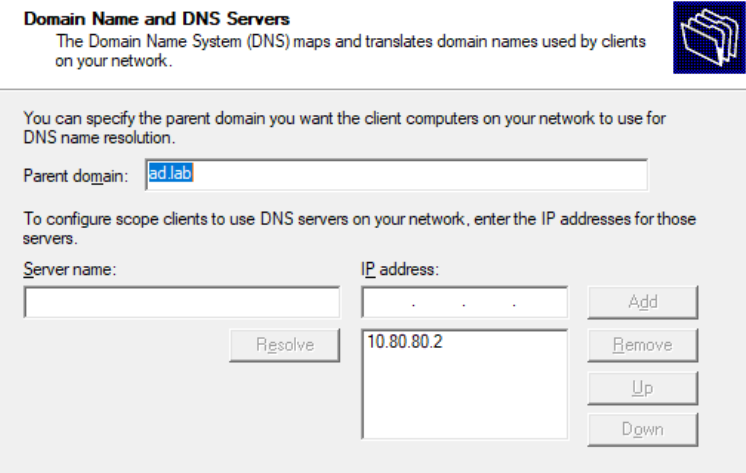
The default DNS configuration for DHCP clients is good here. Click Next.
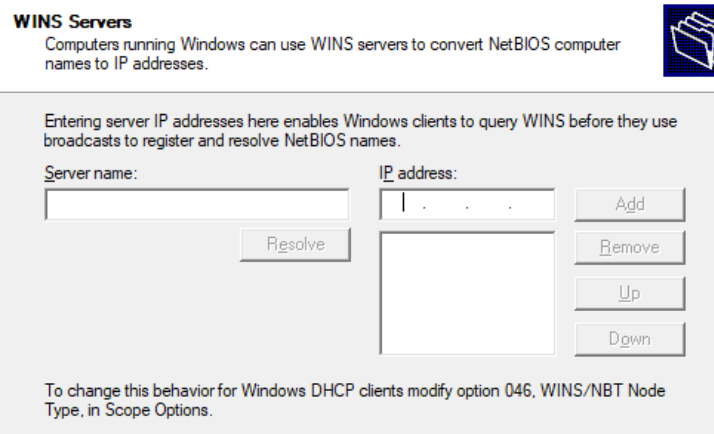
We don't have a WINS server in our lab environment. Click Next.
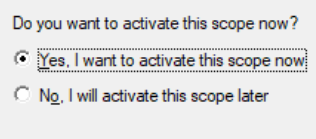
Click Next to activate the DHCP scope and click Finish.
Add a Domain Administrator Account
Go the Start Menu. Search for Active Directory Users and Computers and open the app.
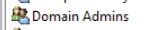
Click on Users and choose Domain Admins

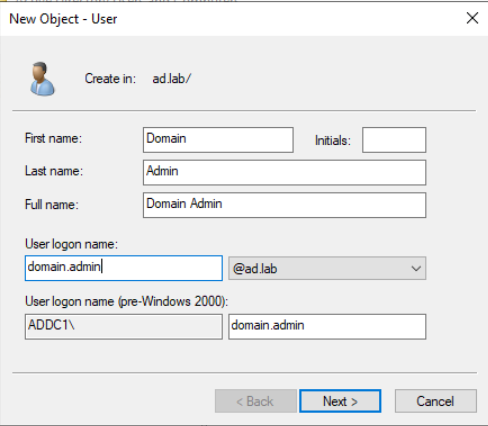
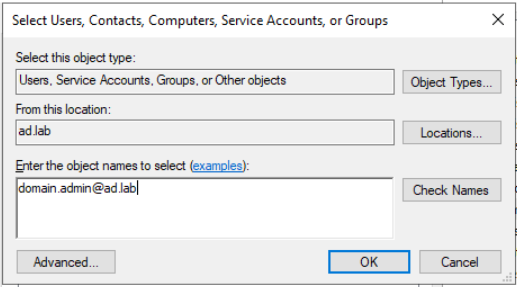
Click on Members > Add. Enter the username, click Check Names. Click OK > OK.
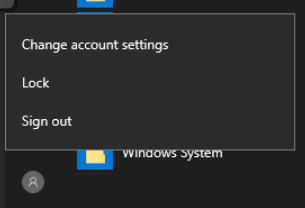
Log out of the local administrator account.
Add Some Users to the Lab
Log in as the domain administrator.
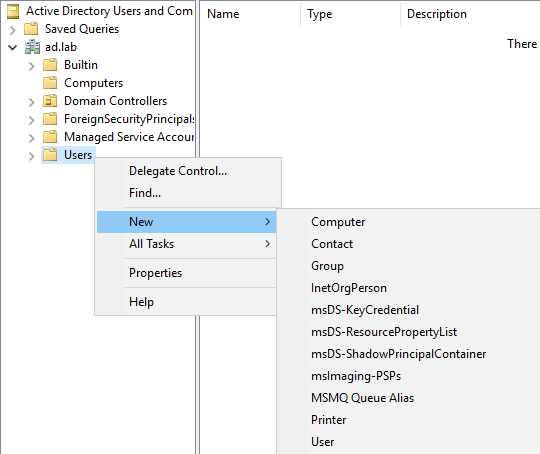
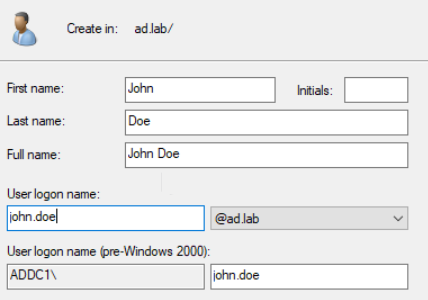
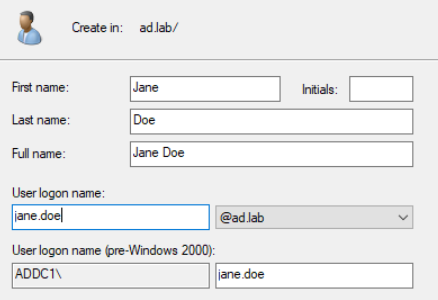
Go the Start Menu. Search for Active Directory Users and Computers and open the app.

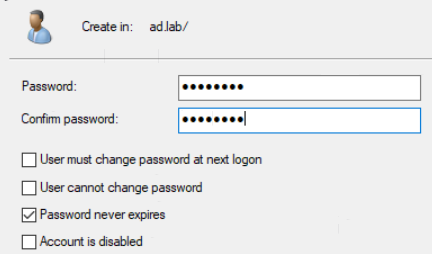
John Doe
Jane Doe

Windows 10 Enterprise Clients
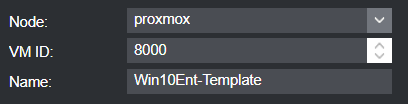
Preparing a Template VM
General
OS

System
Hard Disk
CPU
Memory
Network
Installation and Initial Setup
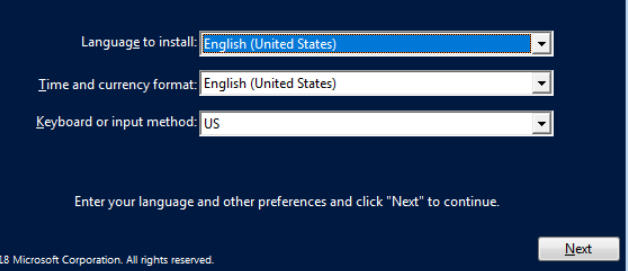
Choose your language and click Next.
Click Next. Accept the terms and conditions. Choose Custom: Install Windows Only.

Click Next and wait for the installation to finish.

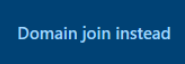
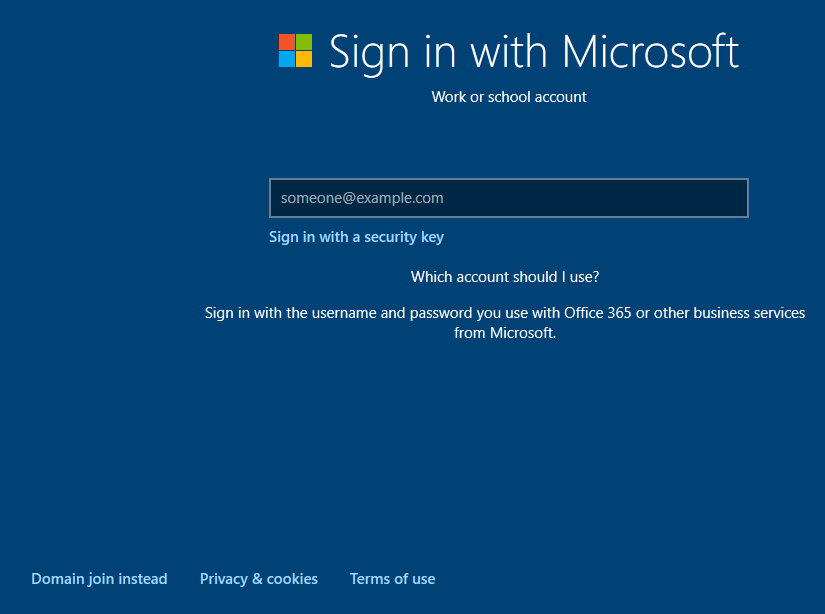
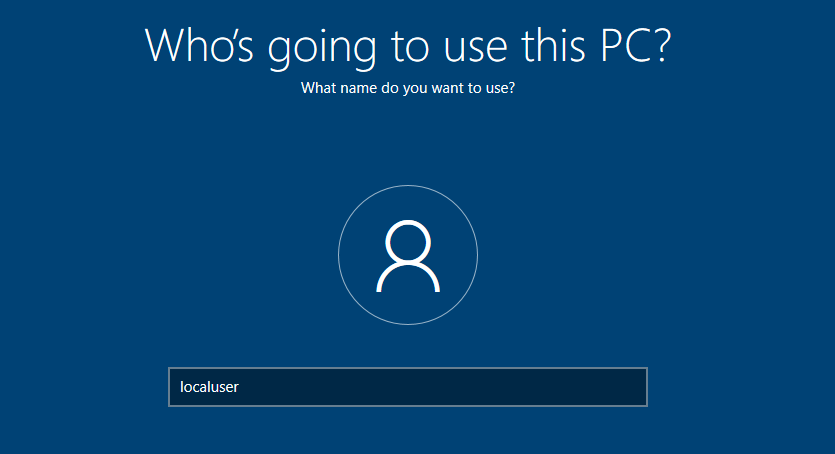
Select your regional and language settings. Then, choose Domain join instead.
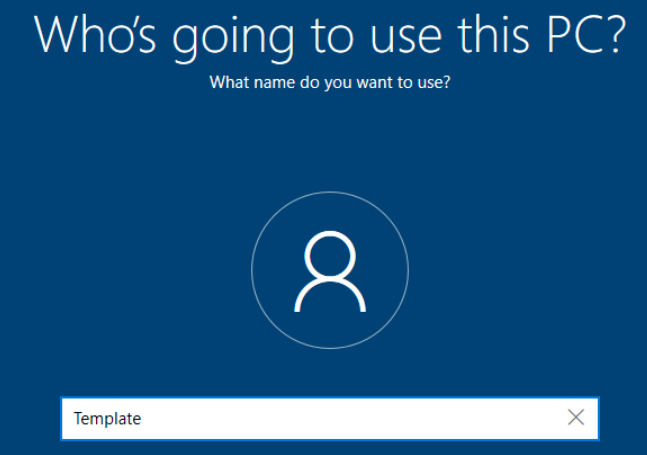
Enter Template and click Next.
Enter a password and set security questions. I recommend saving them somewhere. You can use the Notes field of the VM in Proxmox.
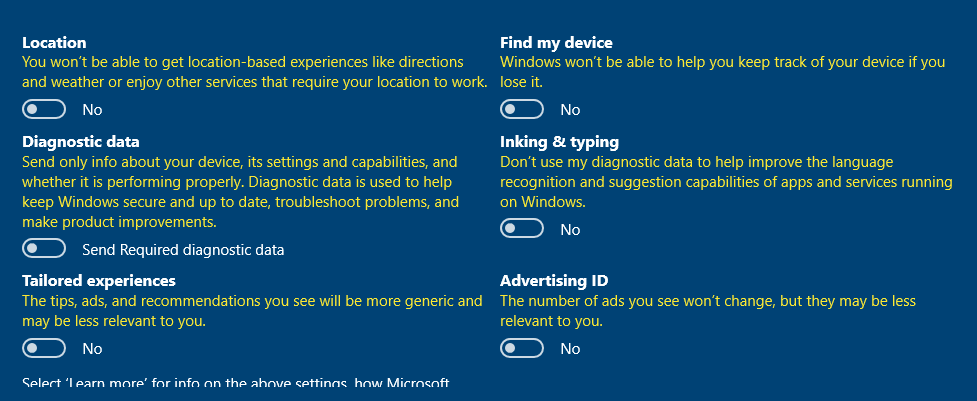
Turn off all the services.
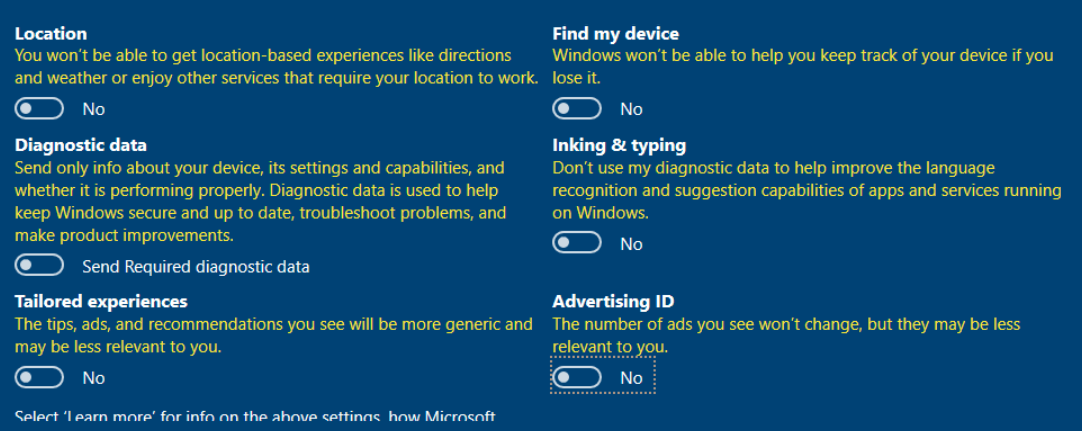
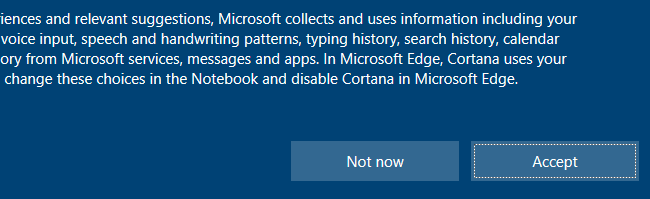
Choose Not now for Cortana

Sysprep the Template
sysprep on to create a template VM, so that when we clone the VM, the Windows systems will always have a unique SID when joining to the domain.Log into the system using the template credentials and open a PowerShell terminal as administrator.
Run the command:
C:\Windows\System32\Sysprep\sysprep.exe
Click OK. Let the sysprep process run to completion. The VM should shutdown.
Convert the VM to a Template
Go to Proxmox and right-click the Windows 10 Enterprise VM. Then, choose Convert to template.
We will use this template any time we want to create a new Windows 10 Enterprise VM, rather than go through this build process every time.
Create the Domain Computers
In Proxmox, you can identify a template by its icon.

Right-click the template and choose clone
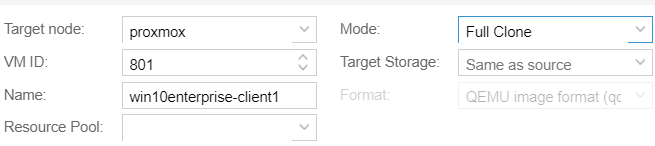
Create one more clone
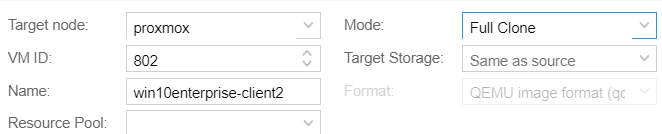
Start up both VMs.
Joining the Computers to the Domain
Windows 10 Enterprise VM 1
Out-of-Box-Experience (OOBE) when running sysprep on the template — which is the correct choice — we are required to run the through the Windows setup again as a newly issued computer.This is essentially the same thing as receiving a newly imaged Windows computer from your employer and joining it to the local domain.
Go to the Start Menu > Search This PC > Right-click > choose Properties.

Go to Advanced System Settings
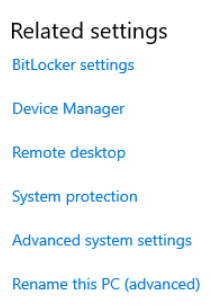
Click on Computer Name

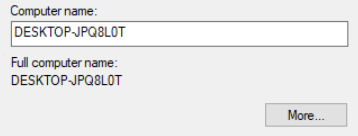
Click Change

Click More
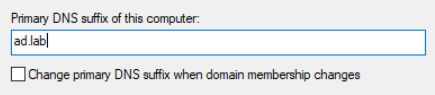
Set the DNS suffix to match your domain forest. Uncheck the box.
Change the computer name to anything you'd like
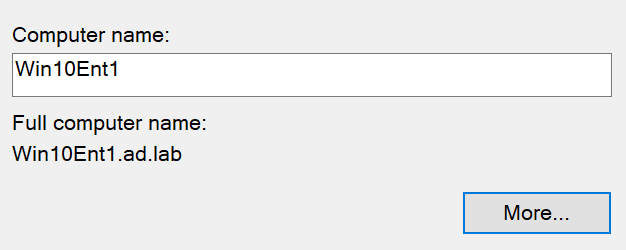
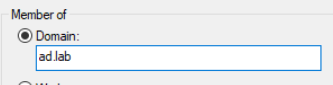
Choose Member of domain and set it to your domain forest
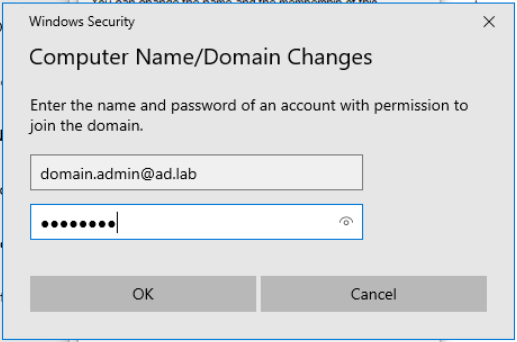
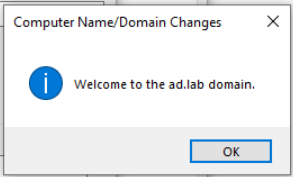
You will get a prompt. Enter the domain admin credentials.
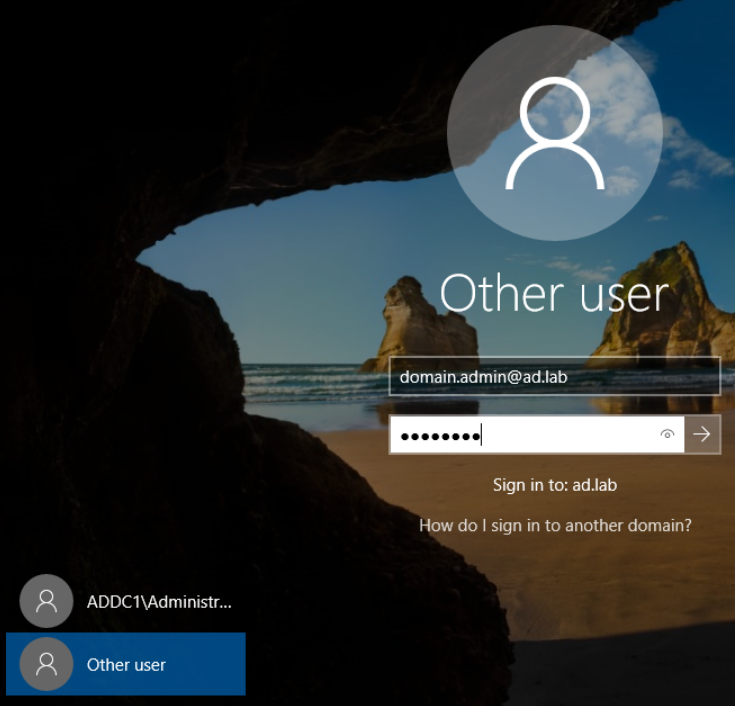
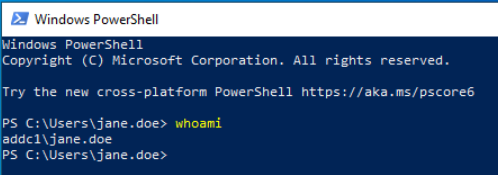
Reboot the VM. You can now login to the computer as john.doe@ad.lab or jane.doe@ad.lab.

Repeat this process on the other Windows 10 Enterprise VM.
You Now Have a Small AD Forest
Congratulations! You now have a domain controller and two Windows 10 Enterprise clients joined to the domain controller.
If the VMs seem a little sluggish, you should probably increase the RAM on the VMs. Other than that, you are now ready for the next phase of your adventures.
Start of Authority (SOA) for the ad.lab local domain. If you are having trouble resolving computer hostnames to IP addresses, compare what is in DNS with what is in the DHCP pool.
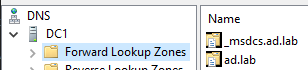
ad.lab forward lookup zone (or whatever your local domain is)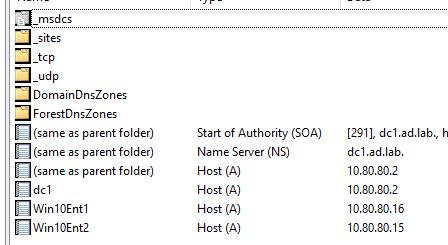

Starting with a Clean Slate
If you want to roll back your Active Directory lab to the very beginning, run the steps in this order:
- Power off the Windows Server 2019 VM and both Windows 10 Enterprise VMs
- Delete both Windows 10 Enterprise VMs
- Roll back to the pre-domain snapshot of the domain controller we took before
- Follow the steps to re-provision the
ad.labdomain, the DNS server, and the DHCP server - Clone the Windows 10 Enterprise Template as many times as needed
- Join your clients to the domain
Next Step
A lot of the attacks you'll see in this next section have a lot of overlap with what's in TheCyberMentor's "Practical Ethical Hacking" course. Just bear in mind that your environment and his environment will have different domain names, usernames, etc. But, the substance is in the methodology.
0xBEN