
Previous Step
 0xBEN
0xBEN
Log into the Web Portal
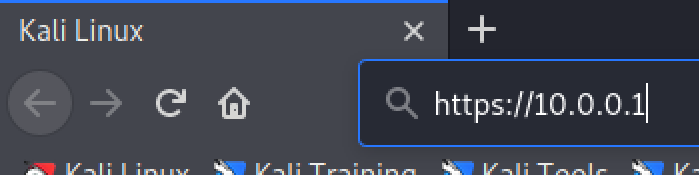
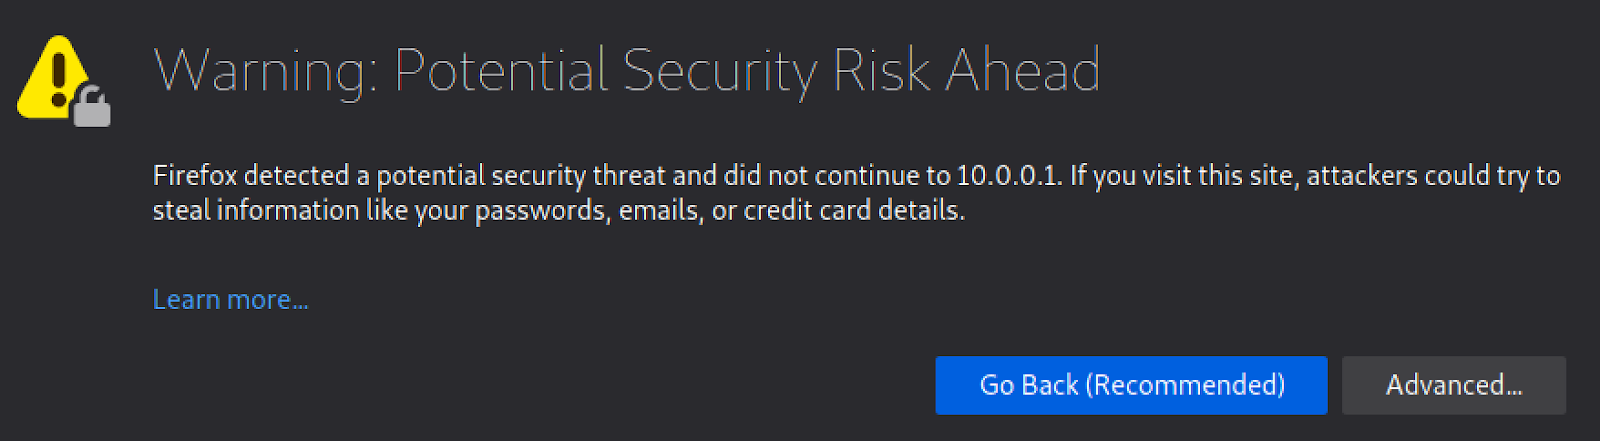
In Kali, open your web browser and navigate to: https://10.0.0.1

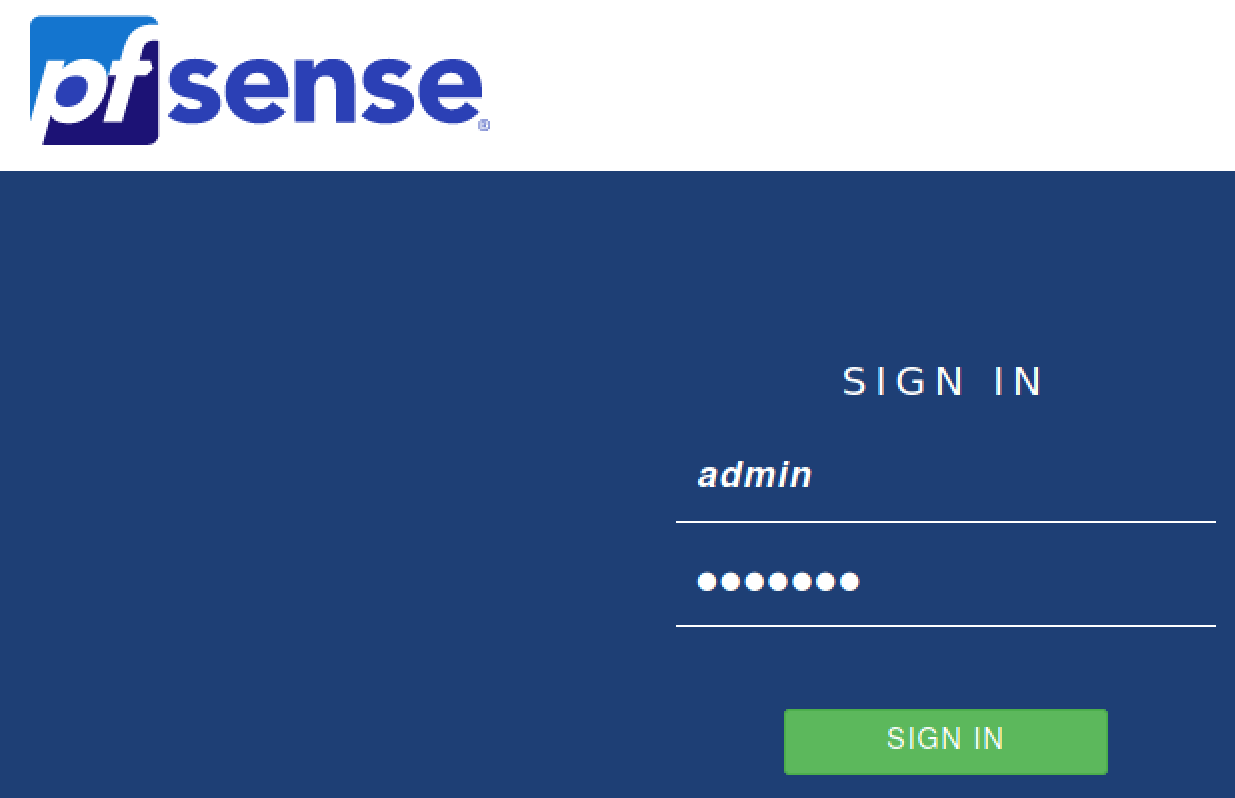
The default credentials are:
- Username:
admin - Password:
pfsense
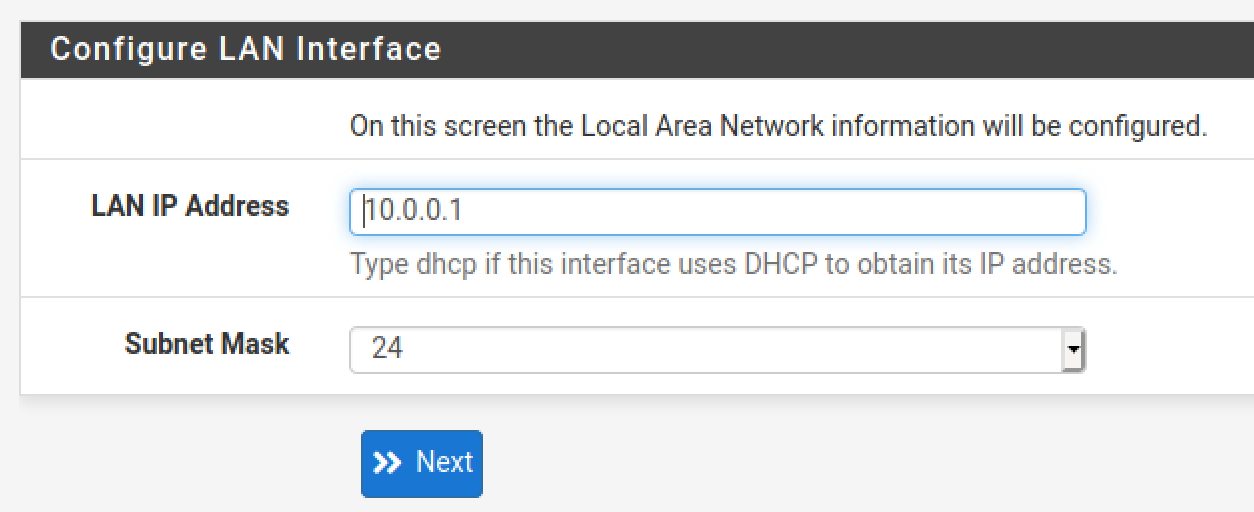
Click Next
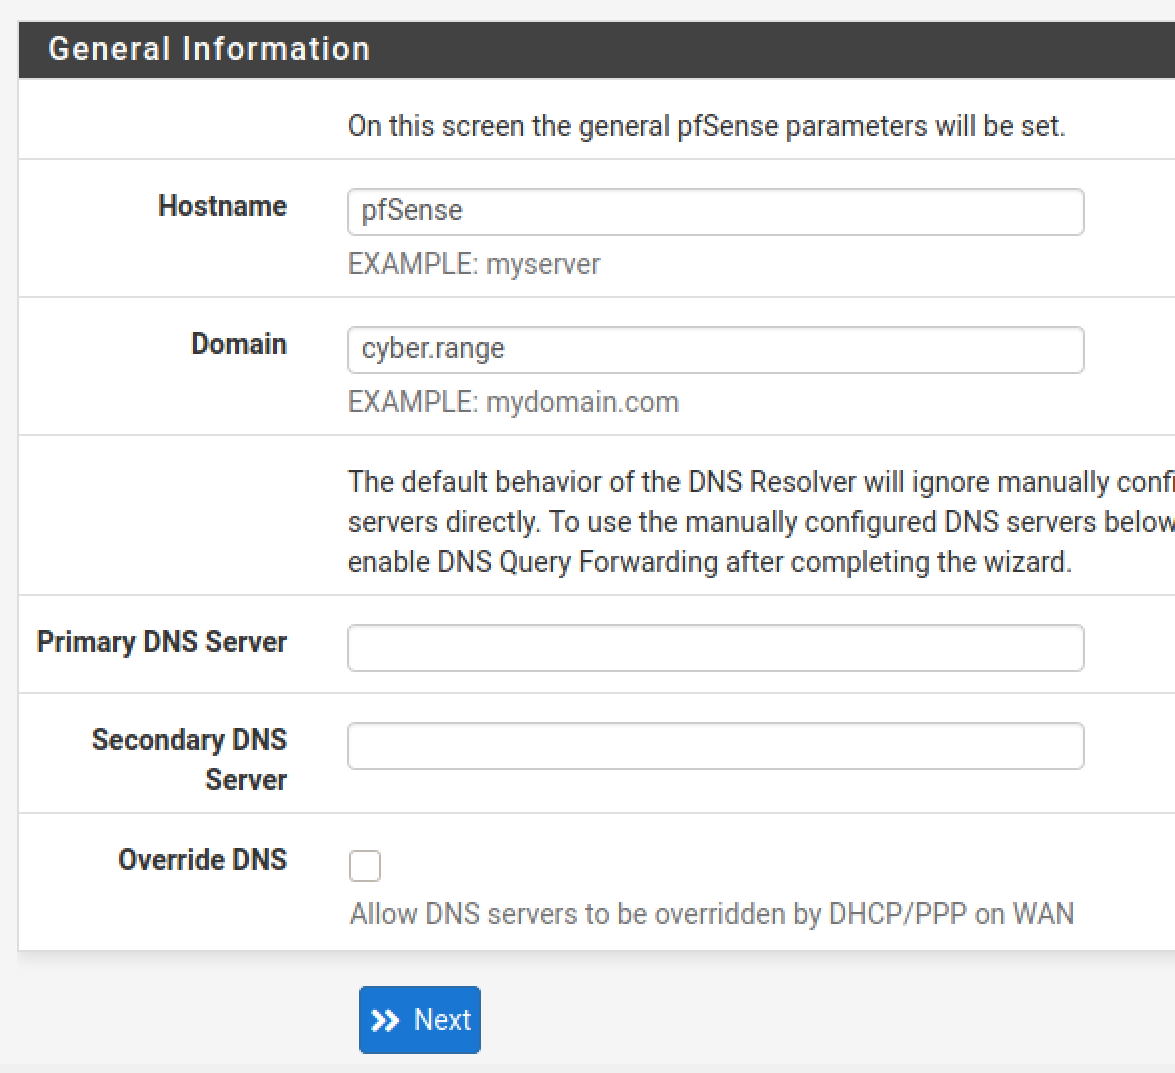
Click Next (again). Fill out the Hostname and Domain. Uncheck Override DNS. Click Next.
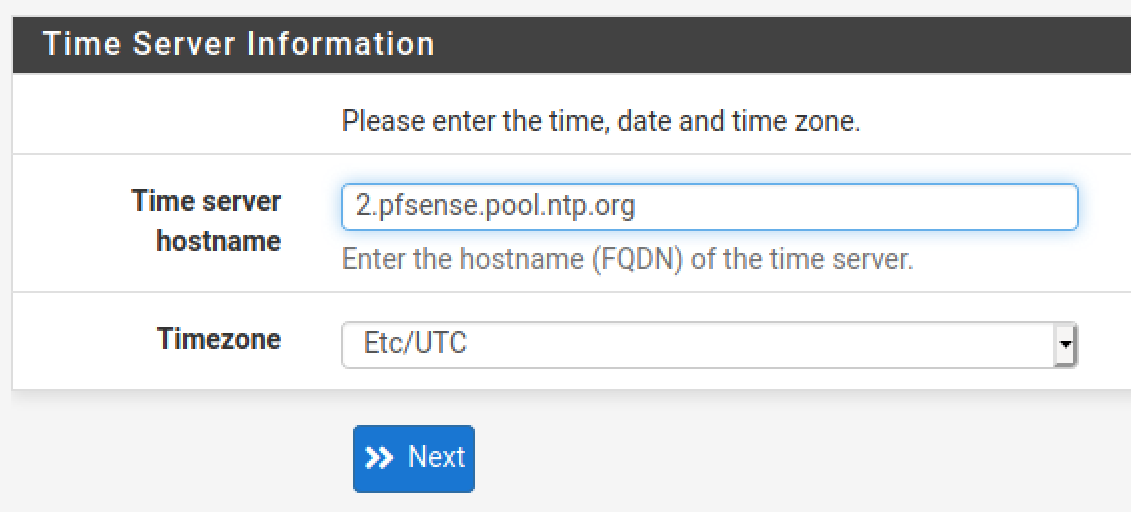
Double check your timezone and click Next.
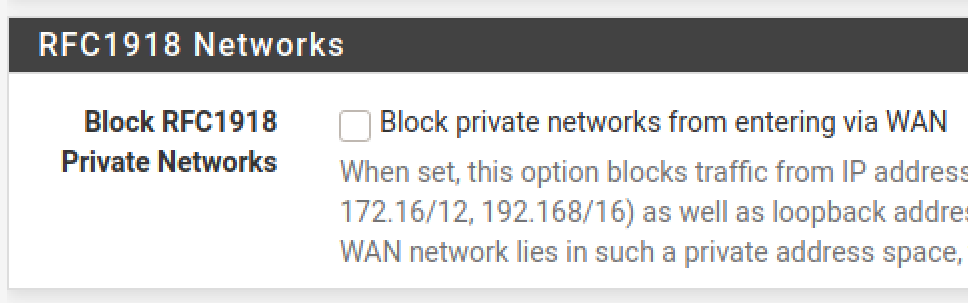
Scroll down and uncheck this box. We’re double-NAT, which means that the WAN network is also a private network, so we want to allow this. Click Next.
Leave this alone. Click Next.
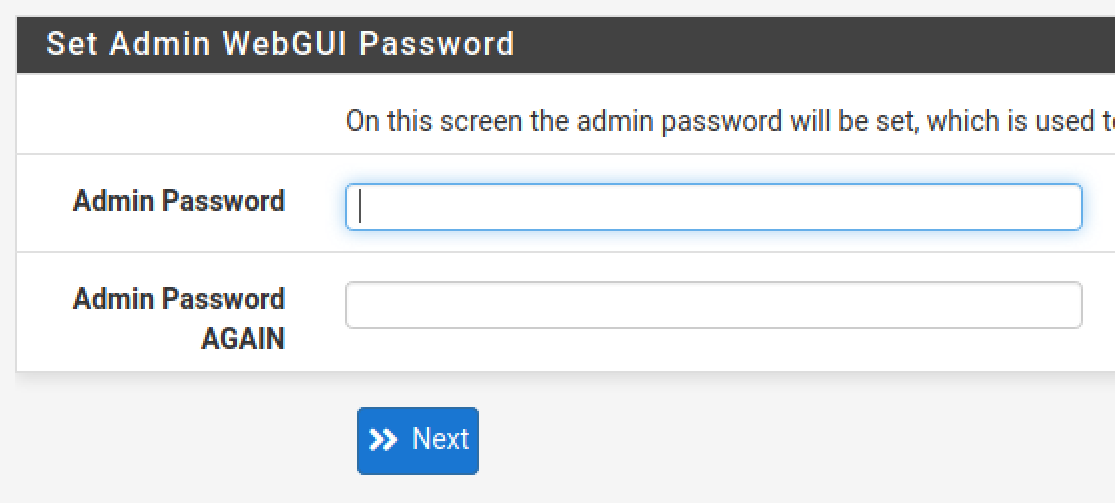
Change the admin password. Save it in a password vault. Click next.
Click Reload and wait for the web configurator to refresh. Click Finish.
Configure the Interfaces
Isolated Interface
Choose OPT1
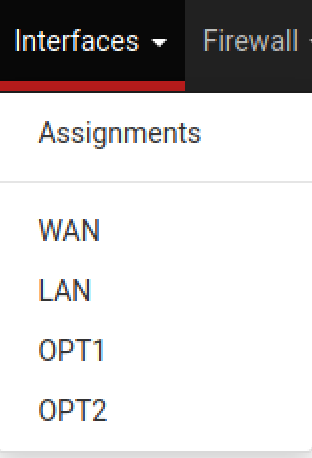
Set the Description to Isolated. Scroll down and click Save .

AD_LAB Interface
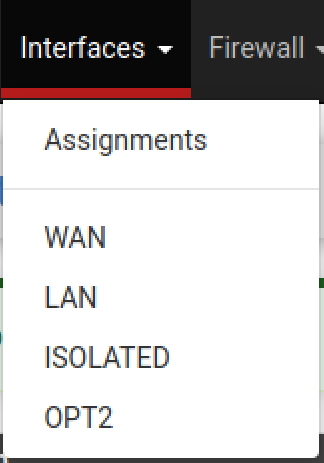
Choose OPT2
Set the Description to AD_LAB. Scroll down and click Save and Apply Changes.

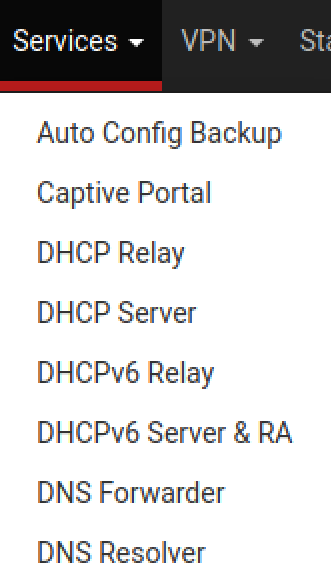
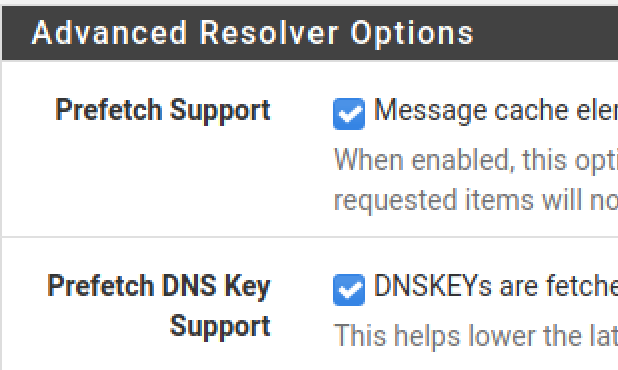
Optimize the DNS Resolver Service
Go to Services > DNS Resolver
Netgate is pushing people to the Kea DHCP daemon, as they're deprecating the ISC DHCP daemon. If you opt to move to the Kea DHCP daemon, these options will not be available.
You will need to switch back to ISC DHCP, make your desired selections, then switch back to Kea DHCP.
https://redmine.pfsense.org/issues/14972#:~:text=Seems%20like%20it%20is%20already,Reactivate%20KEA

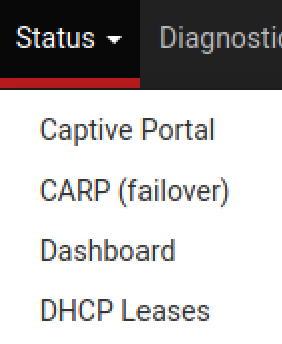
Give Kali a Static DHCP Lease
Go to Status > DHCP Leases

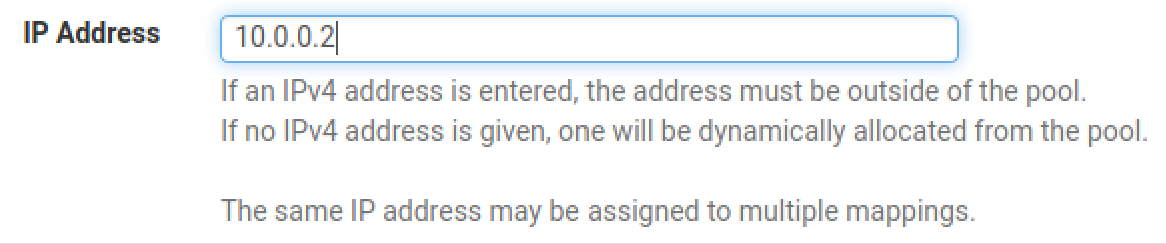
Click Save and Apply Changes.
Configure the Firewall Rules
Create an Alias for RFC1918
This alias will be used in some future firewall rules to reference all private IPv4 address spaces.
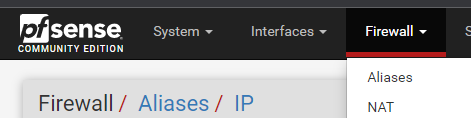
Go to Firewall > Aliases
Click Add
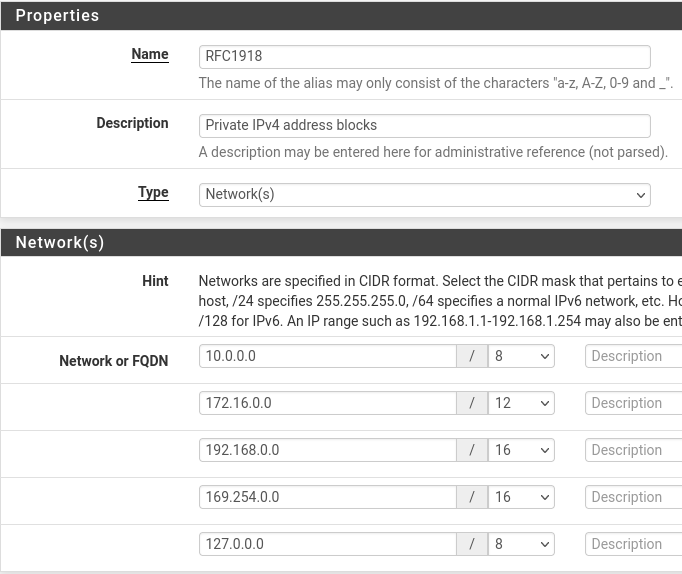
Click Save
Create an Alias for Kali
Click Add
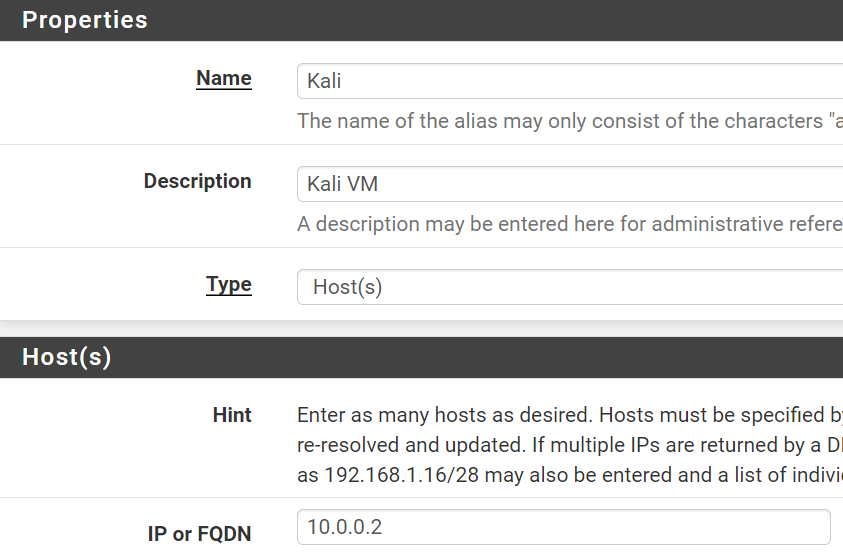
Click Save and Apply Changes
LAN
Click on Firewall > Rules
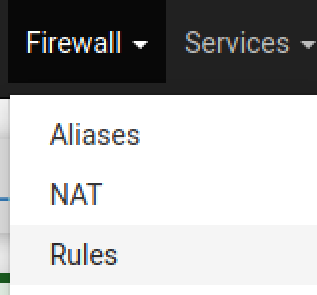
Click on LAN.
Add a rule

- Action: Block
- Interface: LAN
- Address Family: IPv4 + IPv6
- Protocol: Any
- Source: Any
- Destination: WAN subnets
- Description: Block access to any on same network as host OS
- Click Save
LAN Desired End-State
Block bogon networks rule, it's not entirely necessary on LAN interfaces. But if you wish to enable it, go to Interfaces > LAN, then scroll to the bottom and check the box for Block bogon networks. Then, save and apply your changes and it should automatically be applied to the rules table.
ISOLATED
Click on ISOLATED
Add a rule

- Action: Pass
- Interface: Isolated
- Address Family: IPv4
- Protocol: UDP
- Source: ISOLATED subnets
- Destination: ISOLATED address
- Destination Port Range:
- From: DNS (53)
- To: DNS (53)
- Description: Allow DNS lookups to the default gateway
- Click Save
Add a rule
- Action: Pass
- Interface: Isolated
- Address Family: IPv4
- Protocol: Any
- Source: ISOLATED subnets
- Destination: Address or alias =
Kali - Description: Allow packets to Kali VM
- Click Save
Final Isolated rule
- Action: Block
- Interface: Isolated
- Address Family: IPv4 + IPv6
- Protocol: Any
- Source: Any
- Destination: Any
- Description: Block access to everything
- Click Save
ISOLATED Desired End-State

AD_LAB
Click on AD_LAB
Add a rule

- Action: Pass
- Interface: AD_LAB
- Address Family: IPv4
- Protocol: Any
- Source: AD_LAB subnets
- Destination: Address or Alias =
RFC1918(✅invert match) - Description: Allow packets to any non-private address
- Click Save
10.0.0.2.Moving forward, if there are additional private IPv4 addresses you want your
AD_LAB hosts to be able to talk to, you'll need to place the firewall rules above this one, as rules are evaluated from top to bottom.Add another rule
- Action: Pass
- Interface: AD_LAB
- Address Family: IPv4
- Protocol: Any
- Source: AD_LAB subnets
- Destination: Address or Alias =
Kali - Description: Allow packets to Kali VM
- Click Save
Add another rule
- Action: Pass
- Interface: AD_LAB
- Address Family: IPv4
- Protocol: Any
- Source: AD_LAB subnets
- Destination: AD_LAB address
- Description: Allow packets to default gateway
- Click Save
Final AD lab rule

- Action: Block
- Interface: AD_LAB
- Address Family: IPv4 + IPv6
- Protocol: Any
- Source: Any
- Destination: Any
- Description: Block everything else
- Click Save
AD_LAB Desired End-State
Kali rule is above the RFC1918 rule, as having the rule below it would prevent the traffic from reaching Kali.If you put Kali on the same subnet as the rest of the AD hosts, the firewall rules don't really matter, since the packets are switched locally on the same network.

FLOATING Rules
Add the Port Alias


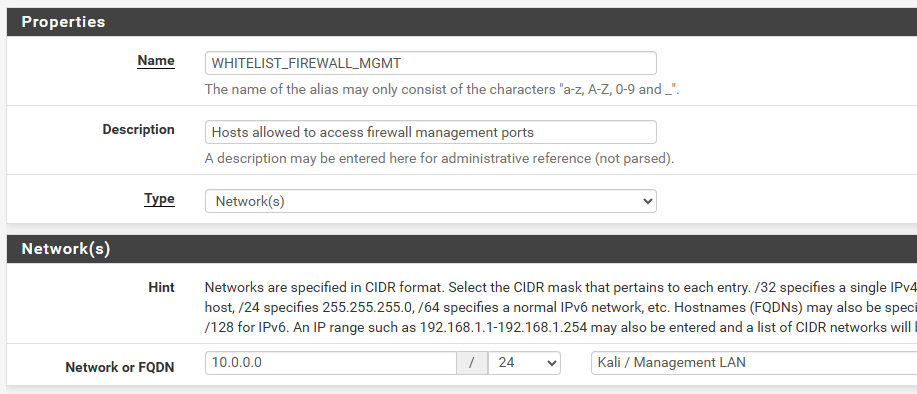
Add the Whitelist Alias

Add the Separators


Block Logins to the Firewall

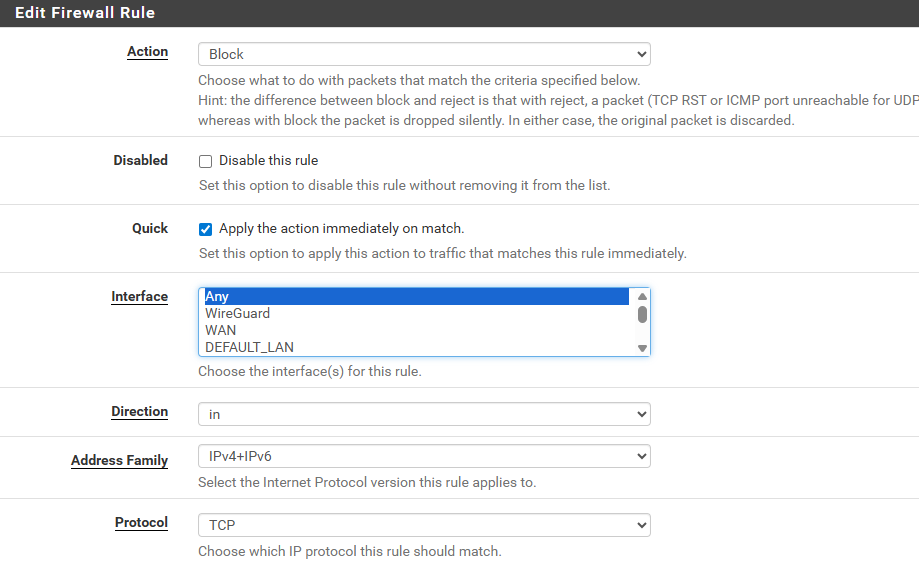
- Action: Block
- Quick: ✅
- Interface: Any
- Direction: in (packets entering the pfSense interface)
- Address Family: IPv4+IPv6
- Protocol: TCP

WHITELIST_FIREWALL_MGMT alias we created before, will be blocked by the rule.

FLOATING Rules Desired End State

Make Some System Tweaks to pfSense
Go to System > Advanced
Go to Networking
Scroll down and check this box
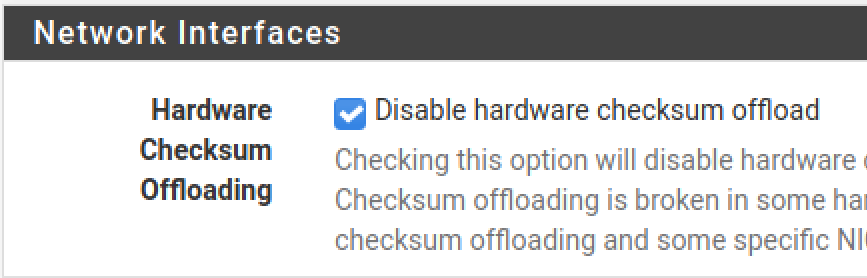
Click Save and Apply Changes. Click Reboot and "Normal Reboot".
Grab Kali's New DHCP Reservation
Log into your Kali VM and open a terminal. Run the command as pictured below.
sudo ip link set eth0 down && sudo ip link set eth0 up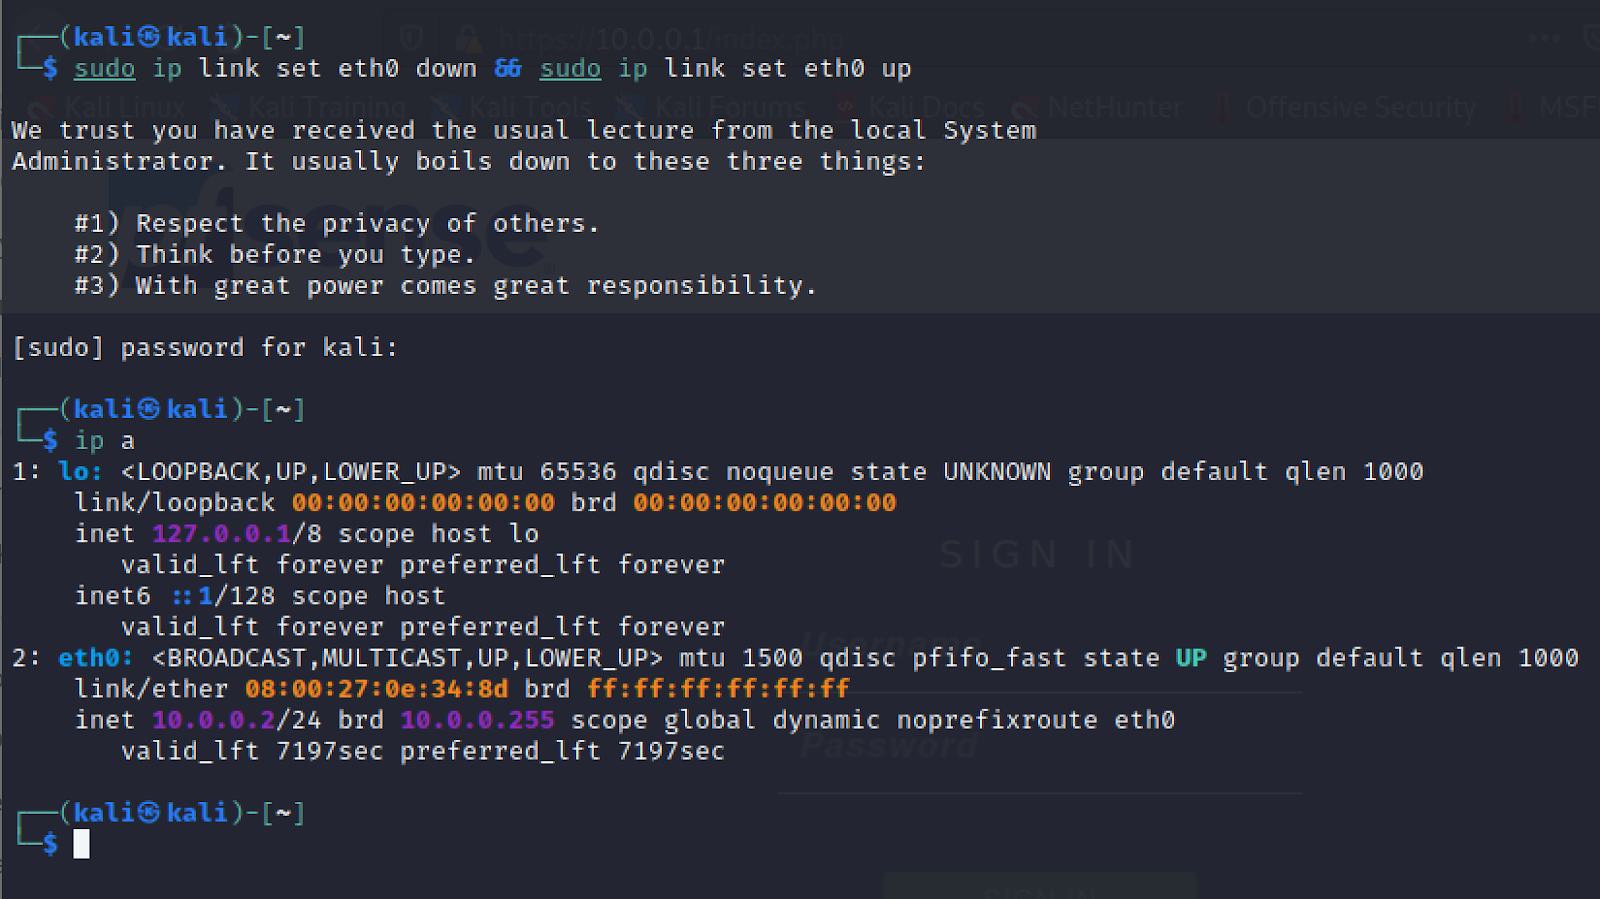
Your IP address should now be 10.0.0.2 as configured.
Next Step
0xBEN