

Why Kali in a LXC?
To be honest... no reason at all, other than just to try it. Linux Containers do present some advantages over VMs, as they boot more quickly and can generally run on fewer resources.
Potential Pitfalls
Lack of Graphics Driver
You can install a desktop environment on your Kali LXC and use a remote desktop solution to access said environment. However, since the Linux Container does not ship with a graphics display driver, Kali will not be able to virtualize a display.
This means that your desktop sessions will be running under a temporary graphical session and if the display server crashes, is restarted, stopped, etc, then any unsaved user data running under that desktop session will be lost. This is not something you'd anticipate to happen often, so not a huge concern. It's merely something to be aware of.
Security Mitigations
Running Kali in a LXC comes with its own set of challenges as well. For security reasons, Proxmox developers recommend using unprivileged containers at all times, except extraordinary cases where privileged containers are required.
Unprivileged Containers vs. Privileged Containers
Unprivileged Containers
Unprivileged containers use a new kernel feature called user namespaces. The root UID 0 inside the container is mapped to an unprivileged user outside the container. This means that most security issues (container escape, resource abuse, etc.) in these containers will affect a random unprivileged user, and would be a generic kernel security bug rather than an LXC issue. The LXC team thinks unprivileged containers are safe by design.
Privileged Containers
The LXC team considers this kind of container as unsafe, and they will not consider new container escape exploits to be security issues worthy of a CVE and quick fix. That’s why privileged containers should only be used in trusted environments.
As we can see, root in an unprivileged container does not map to root on the host. This means that you may not be able to make modifications to certain files on the host, or make specific system calls. And, this MAY yield unexpected behaviors in Kali Linux.
/dev/net/tun or /dev/net/tap files without a workaround.A potential solution? Run your Kali LXC as a privileged container, but you do so at your own risk. I am in no way advising you to do so.
The most ideal solution? If your Kali container is not running ideally, destroy it and run Kali in a VM. That will make all the aforementioned problems go away.
 0xBEN
0xBEN
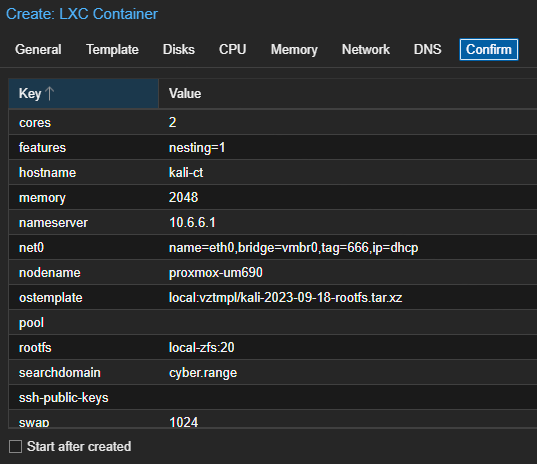
Importing the Container Template
Now that we've got the doom and gloom out of the way, let's have some fun. 😊
In this article, I show you how to import a container image from an external source and use it to build Linux Containers in Proxmox.
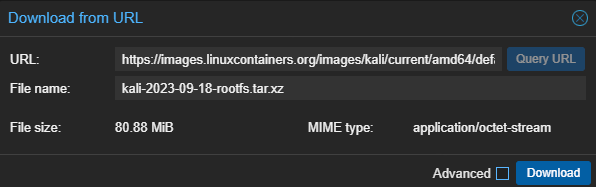
I'll be using this container repository to pull the Kali container template:

And, I'll be downloading the container template accordingly:
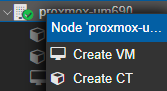
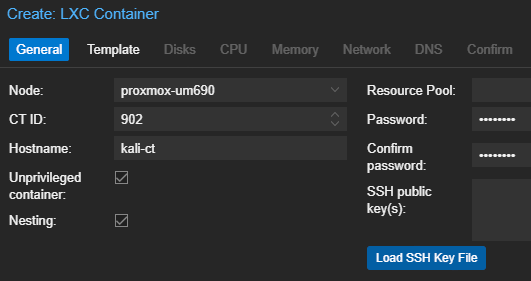
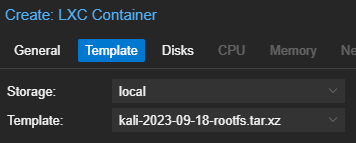
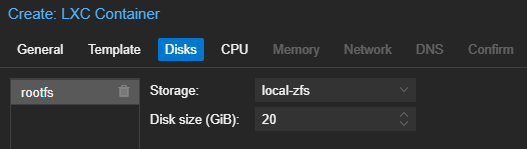
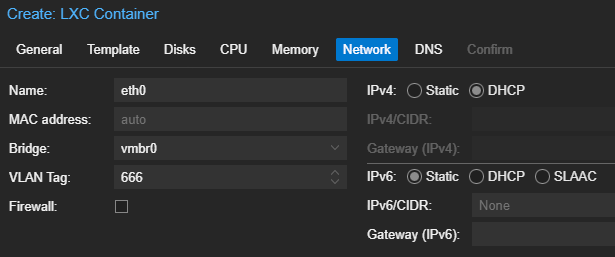
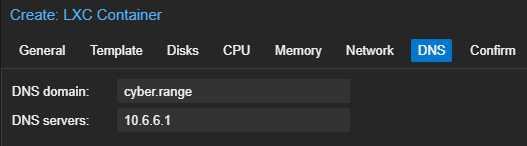
Building the Container
The official documentation I'm referencing for the next steps can be found here:


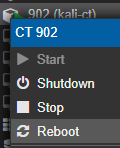
Start and Configure the Container
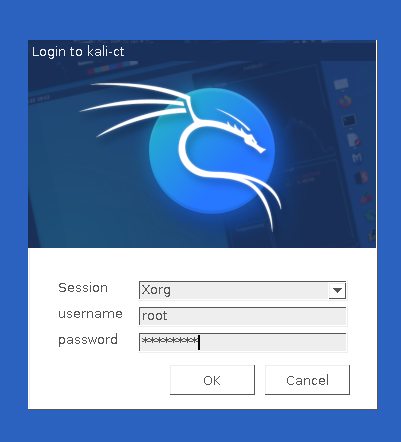
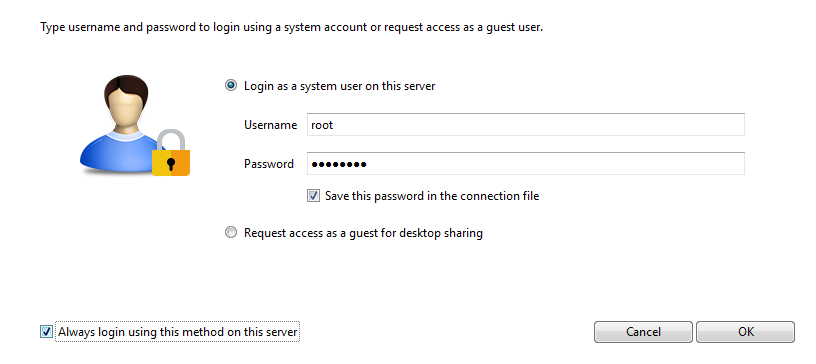
Open the container console after starting it and log in. The username is root and the password and/or SSH key was set by you.

Install Required Packages
When you first boot up a LXC, there is only an extremely minimal set of core files and applications. In terms of getting the GUI (desktop environment) up and running, I'll be referencing the official documentation here:
apt clean && apt update && apt full-upgrade -y
apt install -y kali-linux-default
chsh -s $(which zsh)
Now, reboot your container in the Proxmox GUI.
Be patient! The kali-linux-default metapackage will install the core toolset that ships with a default Kali installation. We'll use the default selections at every prompt.


Install the Desktop Environment
By default, Kali Linux uses the xfce desktop environment, but you can choose whichever desktop environment you prefer. To keep this experience as close to the out-of-box-experience you'd get with a default Kali Linux install, I'm going to demonstrate installing xfce.
apt install -y kali-desktop-xfceIf you're interested in switching from XFCE to KDE...
I wrote some brief notes on changing the desktop environment from the default XFCE to KDE Plasma. I prefer the overall functionality of KDE, especially the built-in window tiling.

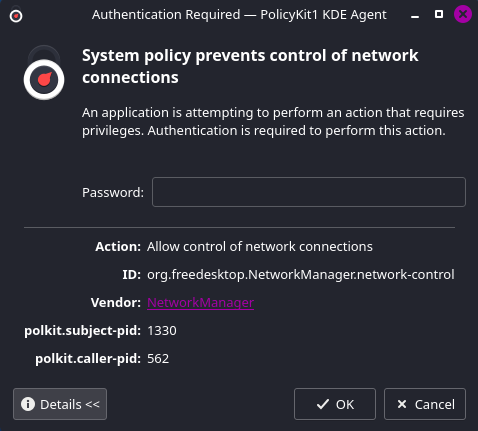
Networking Issue Fix
kali-desktop-xfce metapackage, I repeatedly noticed that this would cause the networking stack to fail to initialize. This is because this metapackage also installs the NetworkManager package, which is typically used for desktop environments.Linux Containers are shipped with the systemd-networkd manager, as they are typically operating as headless servers without a desktop environment. NetworkManager is typically used in desktop environments, as it provides a nice GUI front end for managing network interfaces.
systemd-netword and NetworkManager can exist on the same host, so long as they're managing distinct interfaces. In the case of our container, they're both trying to manage eth0 and creating a conflict.
I'm going to opt to use systemd-networkd on my container, due to the tighter integration with Linux Containers on Proxmox.
# Remove and purge all configuration files for NetworkManager
apt remove -y --purge --auto-remove network-manager
Once finished, reboot the container.
Install Remote Desktop Server(s)
Install XRDP Server
apt install -y xorg xrdpInstall the requisite display server and RDP server packages
cat <<EOF | sudo tee /etc/polkit-1/localauthority/50-local.d/45-allow-colord.pkla
[Allow Colord all Users]
Identity=unix-user:*
Action=org.freedesktop.color-manager.create-device;org.freedesktop.color-manager.create-profile;org.freedesktop.color-manager.delete-device;org.freedesktop.color-manager.delete-profile;org.freedesktop.color-manager.modify-device;org.freedesktop.color-manager.modify-profile
ResultAny=no
ResultInactive=no
ResultActive=yes
EOF
Add PolKit policy to allow controlling any color devices
systemctl enable --now xrdpIf you're running on KDE Plasma...
I have a short guide on getting up and running with XRDP server on KDE Plasma. The installation process is a bit different than what we did above with XFCE.
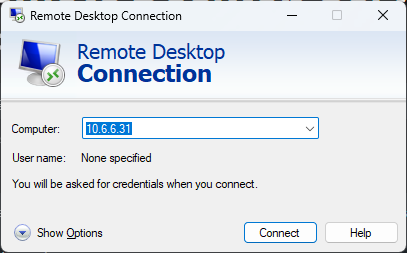
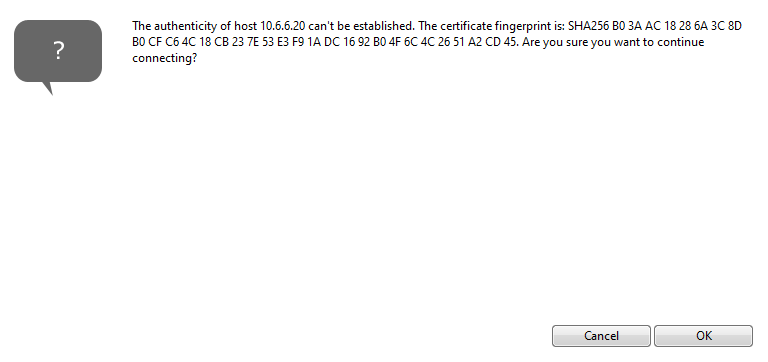
Test RDP Connectivity
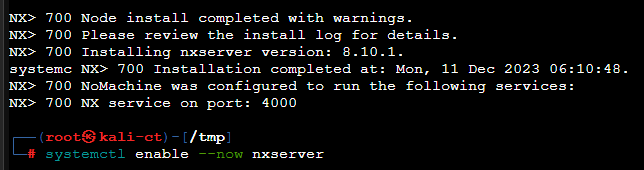
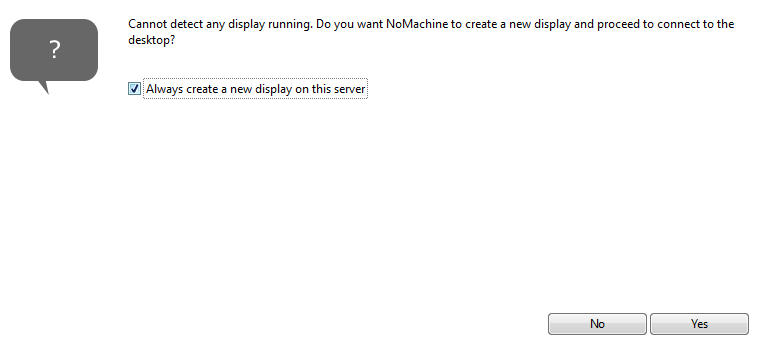
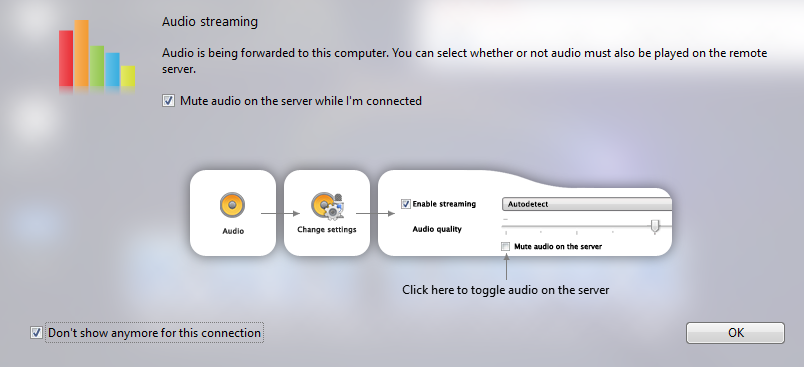
Install NoMachine Server
I like to use the NoMachine server on my Linux (and Windows) guests, as it will run on a huge variety of operating systems. It works very well with clipboard support, drive mapping, dynamic screen resizing, and much more.


cd /tmp
wget https://download.nomachine.com/download/8.8/Linux/nomachine_8.8.1_1_amd64.deb
dpkg -i ./nomachine_8.8.1_1_amd64.deb
systemctl enable --now nxserver
Run these commands on your LXC to install NoMachine
Fix NoMachine Server Slow Startup
NetworkManager. Fortunately, it's a simple fix.In my troubleshooting, I noticed that NoMachine works better with the NetworkManager service over systemd-networkd. NoMachine waits for the network to come up in a ready state before starting, and with NetworkManager, this happens much more promptly due to a cron job I had previously used.
To disable this wait for the network when using systemd-networkd, and cause NoMachine server to start up much more quickly, issue this command in the Kali container:
systemctl disable systemd-networkd-wait-onlinecrontab -e@reboot systemctl restart networking.serviceSave and exit the crontab editor
plasma-nm package:sudo apt remove -y --auto-remove --purge plasma-nm && sudo sudo apt-mark hold plasma-nmThen, reboot the container.
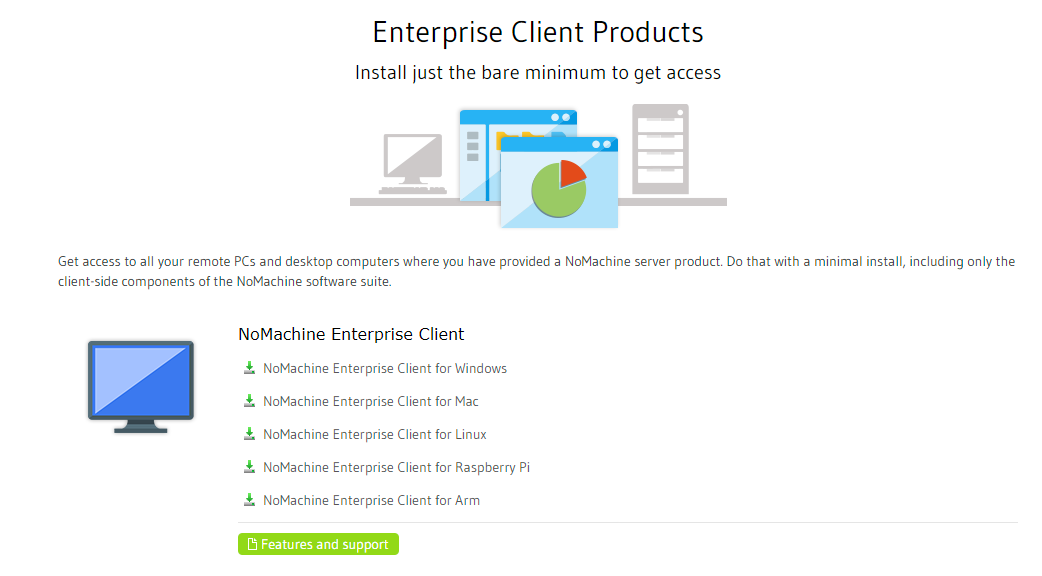
Install the NoMachine Enterprise Client
I'll be using the NoMachine Enterprise Client for Windows installer. Download the correct package for your operating system and complete the installation.


Issue Workarounds
OpenVPN Workaround
As mentioned in an earlier paragraph, your unprivileged container won't be able to create the necessary /dev/net/tun or /dev/net/tap files when initializing OpenVPN tunnels. This is because the container does not have it's own kernel or drivers and needs to create those devices on the host machine and map to them internally.
The workaround in this case is to modify the container's configuration files to add the necessary permissions to create these files on the host. Open a shell on your Proxmox node and follow along.
# Stop the container
pct stop [id-number]

# Edit the configuration file
nano /etc/pve/lxc/[id-number].conf
Swap out '[id-number]' with your container's ID from Proxmox
lxc.cgroup.devices.allow: c 10:200 rwm
lxc.mount.entry: /dev/net dev/net none bind,create=dir
Append these lines
# Start the container again
pct start [id-number]
Or, start the container in the GUI
Now, open a shell on your Kali LXC and connect to your VPN as you normally would.
Wrapping Up
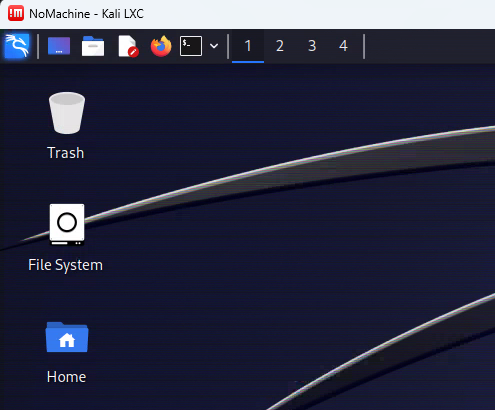
The key takeaway with this exercise is that the experience of running Kali in a Linux Container is blazing fast. It boots quickly, applications start and run quickly, the UI is snappy. It's difficult to go back to a VM when things are this smooth, especially considering it's running on a fraction of the resources.
However, if you experience issues such as data loss, or things just generally aren't working as well as you think they could be, it may be time to go back to a VM. At the very least, take a snapshot, power off the container for a bit, and ponder on it.
