Potential Pitfalls
In another post, I went over the process of installing Kali Linux in a Proxmox Linux Container. I also discussed some of the potential pitfalls to doing so.
Rather than re-write everything here, I'll just refer you to that section of the write-up, because frankly, running Parrot OS in a LXC comes with the same challenges.
Creating the Container
Download the Latest Debian Image
- Click on your Proxmox node
- Open a shell and run
pveam update - Click on your
localstorage (or whichever storage pool is allocated to store CT templates)


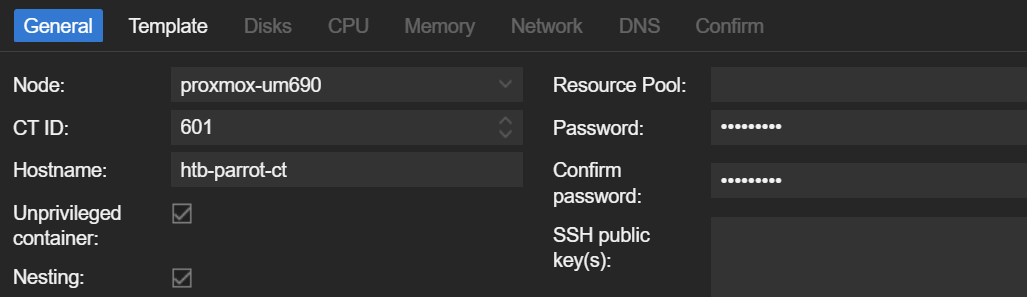
Build the Container
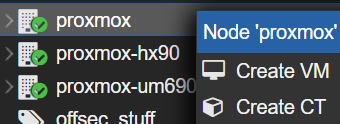
- Right-Click the Proxmox node where you want to create the LXC
- Click
Create CT


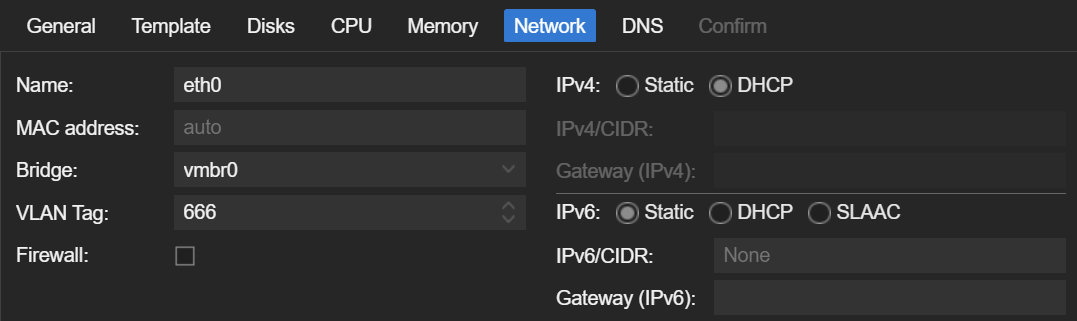
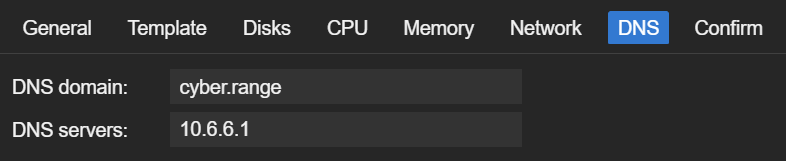
Install Parrot OS
Update the Base Debian Installation
- Start and log into your new container
- Run these commands in the terminal
apt clean && apt update && apt upgrade -y
apt install -y gnupg sudo git curl wget
Clone and run the Install Script
cd /tmp
git clone https://gitlab.com/parrotsec/project/installer-script
cd installer-script
chmod u+x install.sh
Install Parrot OS Core
./install.shChoose 1) Install Core Edition.
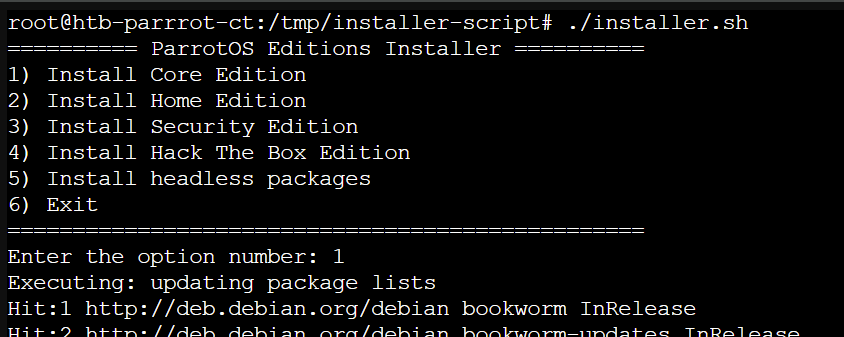
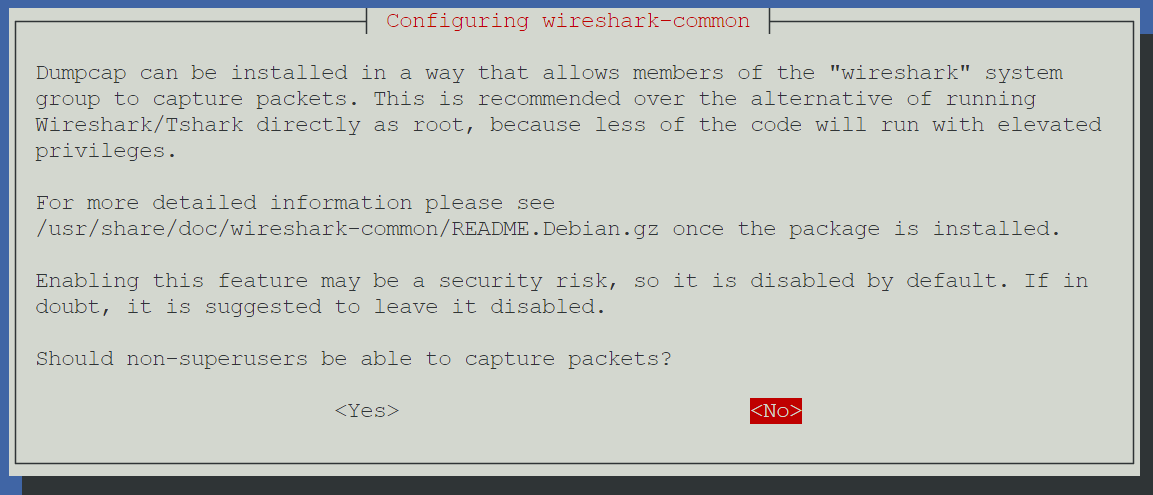
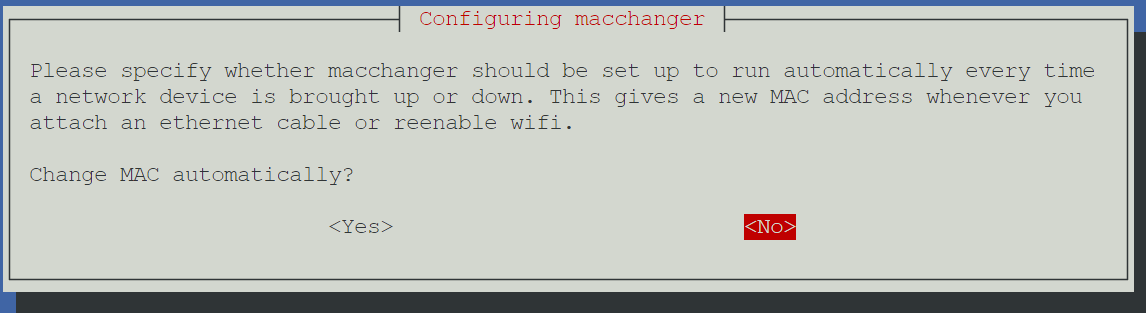
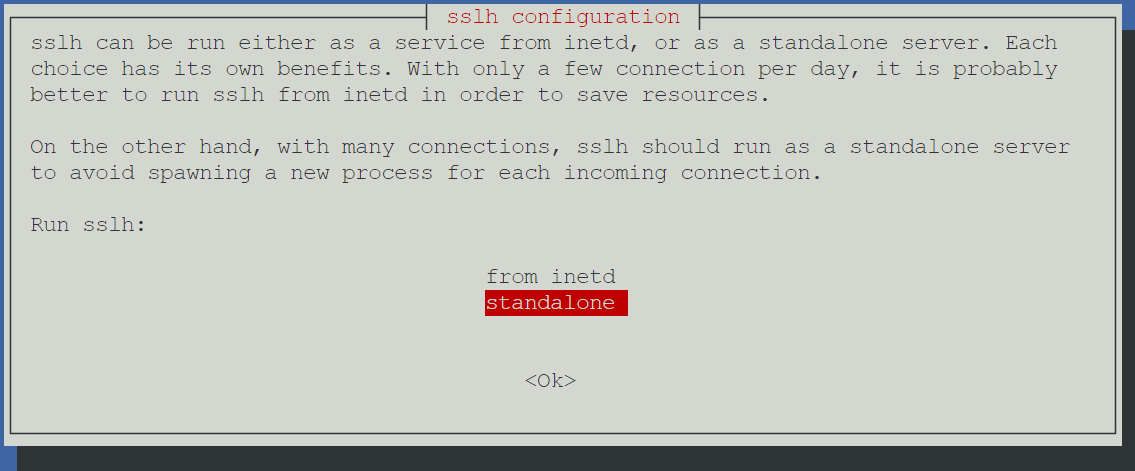
Y or N prompts. Just use the default selections.Install HTB Edition
Once the Core installation finishes, you'll be re-routed to the installation prompt. Choose 4) Install Hack The Box Edition (or whichever flavor you prefer).
4, just rerun the installer script again../install.shThen, choose option 4 again and it should work this time.
Install Remote Desktop Server

Take a Snapshot
Before making significant changes to the operating system, I like to take a snapshot of my guests, so that I can roll back to the last known good state just before those changes.
- Click on your Proxmox node running Parrot OS
- Click on your Parrot OS container
- Click Snapshots
- Click
Take Snapshot - Name it something like
pre_rdp_installand save the snapshot
Install XRDP Server
apt install -y xorg xrdpInstall the core services
cat <<EOF | sudo tee /etc/polkit-1/localauthority/50-local.d/45-allow-colord.pkla
[Allow Colord all Users]
Identity=unix-user:*
Action=org.freedesktop.color-manager.create-device;org.freedesktop.color-manager.create-profile;org.freedesktop.color-manager.delete-device;org.freedesktop.color-manager.delete-profile;org.freedesktop.color-manager.modify-device;org.freedesktop.color-manager.modify-profile
ResultAny=no
ResultInactive=no
ResultActive=yes
EOF
Add PolKit policy to allow controlling any color devices
systemctl enable --now xrdpEnable and start the XRDP server
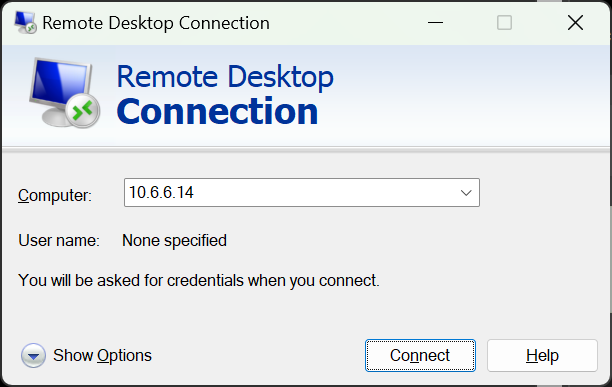
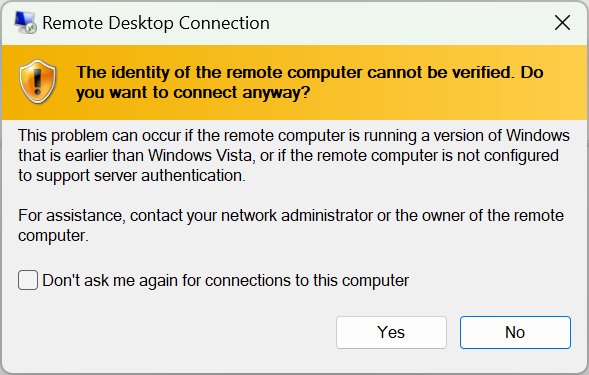
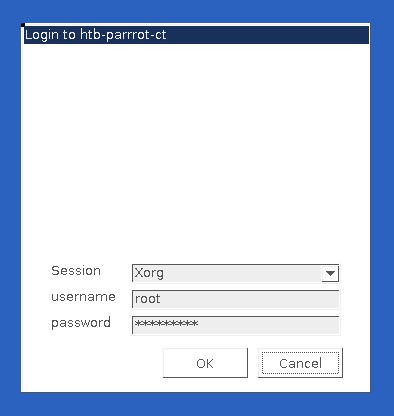
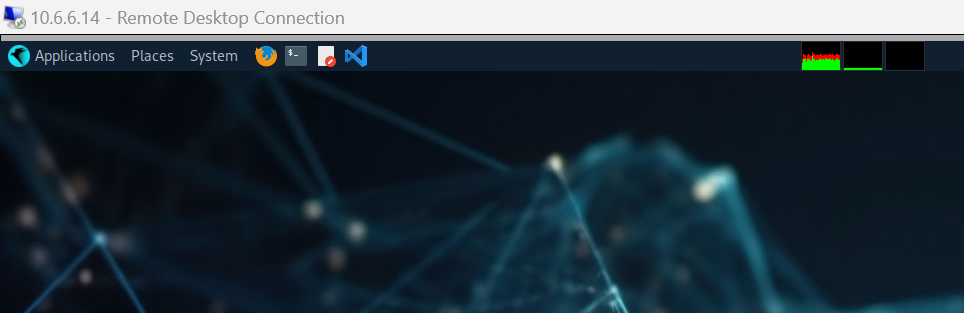
Test RDP Connectivity
Set Your Time Zone
timedatectl set-timezone <tab_key>Press the TAB key with this command for a list of timezones
Add a Non-Root User Login
# I prefer zsh and choosing to install accordingly
sudo apt install zsh

# Create a new user
NEW_USER='ben'
NEW_USER_GROUPS='adm,dialout,cdrom,floppy,sudo,dip,video,plugdev,users,netdev,bluetooth'
useradd -m -s $(which zsh) -G $NEW_USER_GROUPS $NEW_USER

# Set the user passwd
passwd $NEW_USER
Issue Workarounds
Again, referring you to my write-up on running Kali Linux in a LXC, I've already written about an issue experienced when trying to run the openvpn client to VPN servers (e.g. HackTheBox and TryHackMe).
Because Parrot OS is running as an unprivileged container, the container does not have permissions to create necessary device files on the Proxmox node. You will need to make some adjustments to the Linux Container's configuration to allow it to do so.
 0xBEN
0xBEN
Conclusion
As mentioned in my write-up on running Kali in a Linux Container, if you experience stability issues, or find yourself inconvenienced by the multiple workarounds required to get Parrot OS running in an unprivileged Linux Container, I advise you to scrap the install and just run it in a VM.