LXC the Typical Way
Typically in Proxmox, you would create a Linux Container by first updating the database using this command in PVE:
pveam updateUpdate the Linux Container database
Then, you'd choose your designated storage volume for Linux Container templates, for example:


Finally, you'd browse the list of Linux Container templates and download your preferred image:
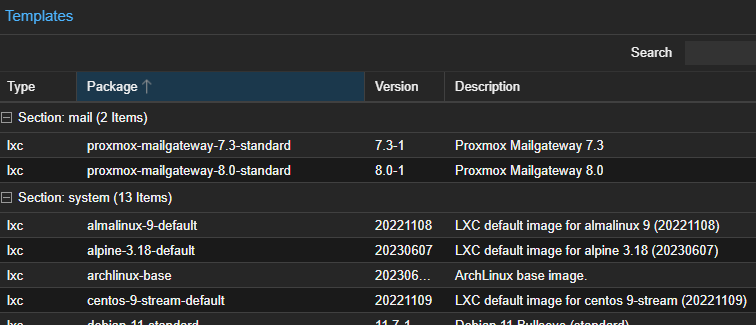
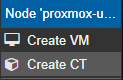
From there, when you go to create a new container, you choose your downloaded image as the base and proceed with your installation.
Using External Templates
Why would you want to do this?
It's fair to say that the list of container templates in PVE is extensive, containing most of the common Linux distributions; as well as a lengthy list of TurnKey images.
However, there are other image repositories that make available many more options for your Linux Container needs. Here is a couple for starters:
Using the Linux Mint base as an example, here is how you would use that to create Linux Containers in Proxmox.
Considerations
Managed vs. Unmanaged Containers
That there is a list of official containers supported by Proxmox is not for nothing. These are containers that the developers have added to tightly integrate with the Linux Container subsystem in Proxmox.
Proxmox VE tries to detect the Linux distribution in the container, and modifies some files. Here is a short list of things done at container startup...
Most modifications are OS dependent, so they differ between different distributions and versions. You can completely disable modifications by manually setting theostypetounmanaged.
If you use one of the container templates in the links mentioned above, you may want to ensure the proper ostype is set in /etc/pve/lxc/<ct-id>.conf.
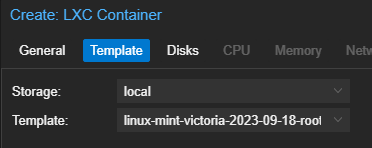
Choose Your Image Base
Proceed through the following order directories: Mint > {VERSION_NAME} > amd64 > default > {DATE}. From my research, the difference between cloud and default is one contains support for cloud-init while the other doesn't.
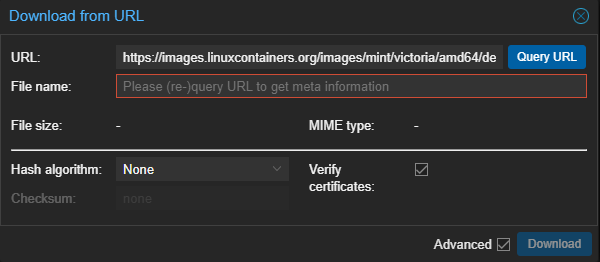
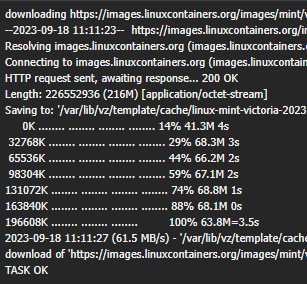
Download the Image to Proxmox
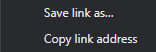
We want the rootfs.tar.xz file from the directory listing.


Paste the URL into the URL field and click the Query URL button to populate the
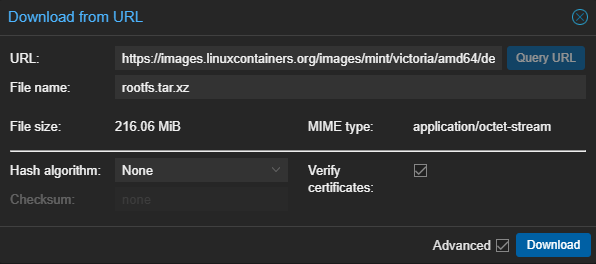
Add some context, since you probably won't remember which rootfs.tar.xz file this is in the future.

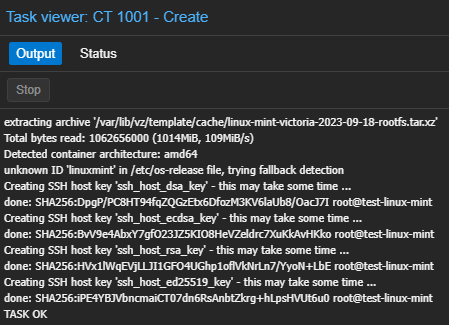
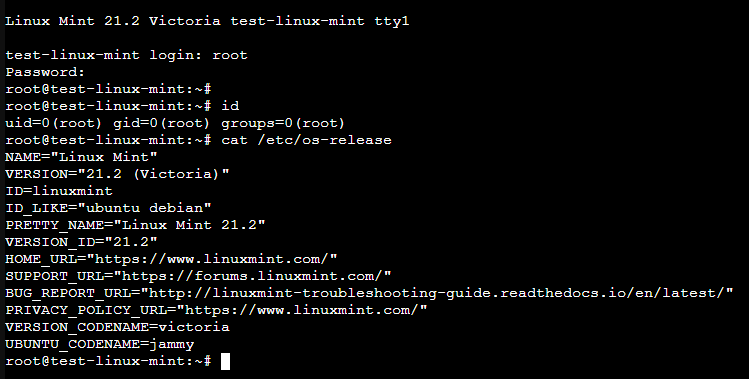
Create a Container to Test