ℹ️
This page is part of a larger series on building a cybersecurity lab using VMware Workstation Pro. Click here to be taken back to the project home page.
Previous Step
Adding Vulnhub VMs to Our VMware Cyber Range
In this module, we will look at two different ways, based on file type, to import VMs from Vulnhub into our VMware cyber range.
Why this Post?
This post was added to this guide much later after the original publication, because as of this writing, Vulnhub is more or less out of commission. Since OffSec acquired Vulnhub, they have been steering people over to their OffSec Proving Grounds platform, but you still have access to past-published Vulnhub VMs.
Using HackMyVM Responsibly
The VMs you find on HackMyVM are developed by the community, and we thank them for their efforts, but your network and the security of said network are paramount.
❗
Always put untrusted hosts on a secure, segmented network behind your pfSense firewall, preferably your ISOLATED network.
VMware Workstation and HackMyVM Boxes
ℹ️
The process with HackMyVM boxes and Vulnhub VMs is nearly identical with respect to VMware Workstation Pro. So, I'll be condensing the information here and referring you back to the Vulnhub step for more clarification, so that I don't need to repeat myself.
Importing a HackMyVM Box
Two Ways to Use HackMyVM
- Anonymously — you can use the platform without creating an account, but you need to use the RSS feed to see the full list of VMs
- Registered — you can register for an account on the platform and have access to more features, either way the platform costs nothing
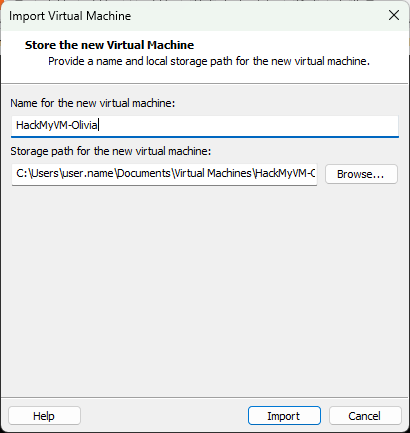
Example Import Process

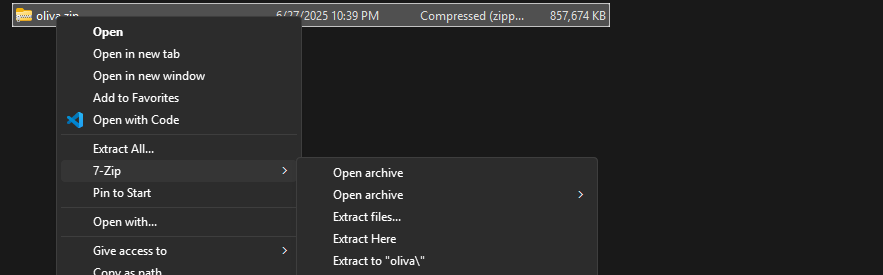
Download Source: https://downloads.hackmyvm.eu/oliva.zip


⚠️
If you receive the error stating:
The import failed because the
Click Retry
The import failed because the
.ova file did not pass OVF specification conformance or virtual hardware compliance checks... Click Retry

🛑
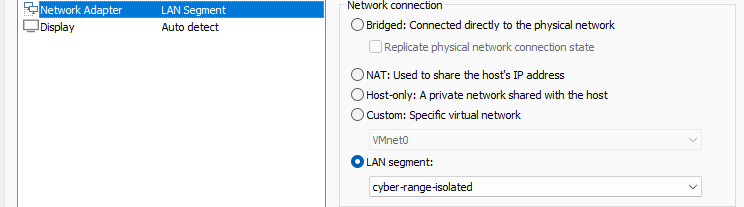
Do not start the VM as we need to put it on the right LAN segment


Troubleshooting Vulnhub VM Network Interface Issues in Proxmox
In this post, I show you how to troubleshoot when a VM you’ve imported from Vulnhub won’t receive an IP address from the DHCP server.
Visit this page for troubleshooting guidance

ens32
/etc/network/interfaces, the current NIC name does not exist, so let's add it
ens32 and hit CTRL + X and then Y to save the changes. Then, run exec /sbin/init to boot the system. This change is only required once.
✅
Import successful! Take a snapshot of your VM in its current state before starting the pentest and roll back in case of issues. Power up your VM and then, go and do your
nmap scans and have fun!Next Step
Adding an Active Directory Forest to Our VMware Lab
In this module, we will cover the steps to set up a small Active Directory forest in VMware, including a domain controller and two client computers