This page is part of a larger series on building a cybersecurity lab using VirtualBox. Click here to be taken back to the project home page.
Download pfSense
⚠️
pfSense is acting as the NAT router and firewall for the lab environment. Therefore, pfSense will need to be the first VM to boot when running your lab. After pfSense boots, you can start your other VMs.
Whenever you are building a lab – whether in the cloud or on premise – you should always plan your network first. You should factor in future growth as well. It's much more difficult to change network design later than planning for it now.
❗
As of recently, Netgate is requiring users to create an account and provide personal information in order to download the pfSense CE ISO images, which I am not thrilled to see.
I understand that this is a mitigation strategy to combat piracy of their pfSense Plus software by third-party firewall appliance vendors (among other reasons). That said, I will show you a way to download the file whilst protecting your privacy.
Download an archive file handler such as 7-Zip or simialr
The .iso file will be stored in this folder
Create the VM
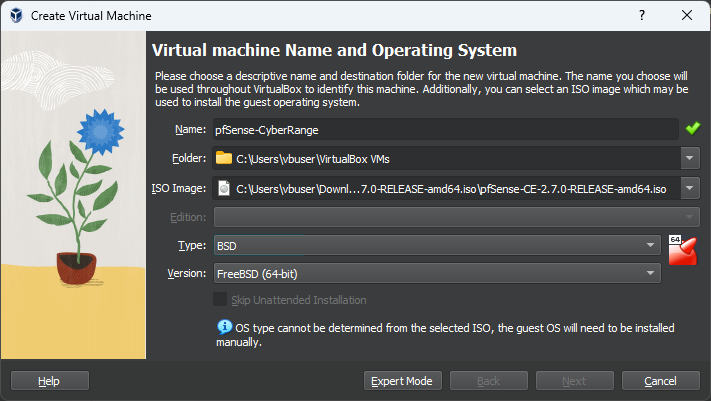
Click the New button
The Name and Machine Folder are specific to your computer. Ensure you choose the correct Type and Version as shown here.
❗
Do not start the VM yet!
Customize the VM
Right-click the VM and choose Settings
ℹ️
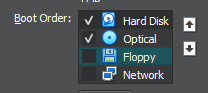
Move Hard Disk above Optical and disable Floppy
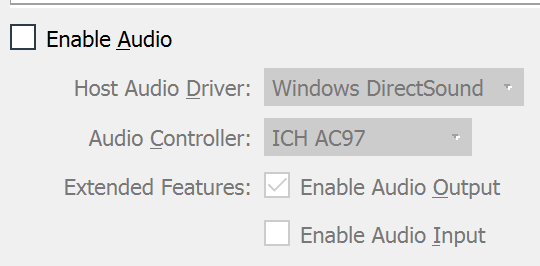
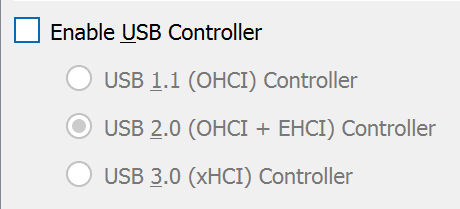
This boot order ensures the operating system boots upon installation from disc.Disable audioDisable USB
Configure the Network Interfaces
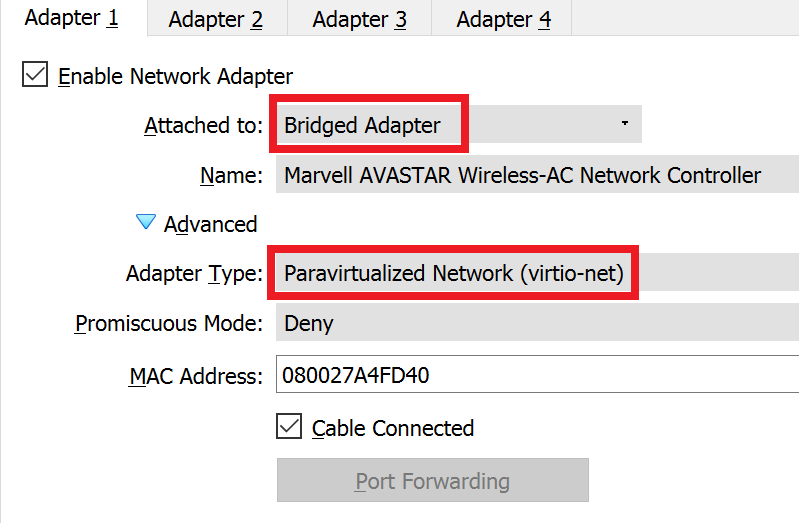
Adapter 1: WAN
Paravirtualized drivers provide the best performance
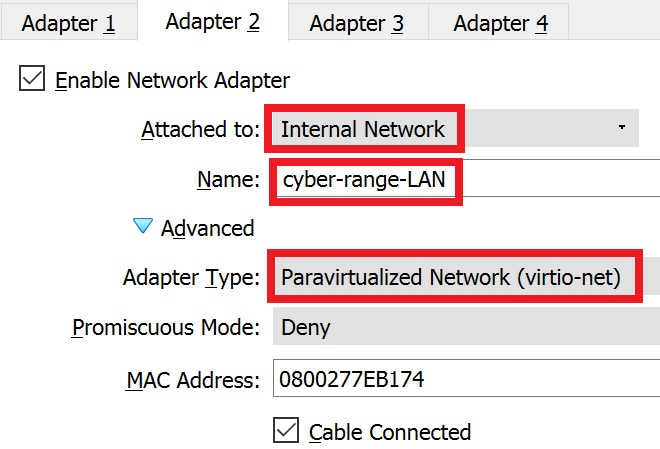
Adapter 2: LAN
Paravirtualized drivers provide the best performance
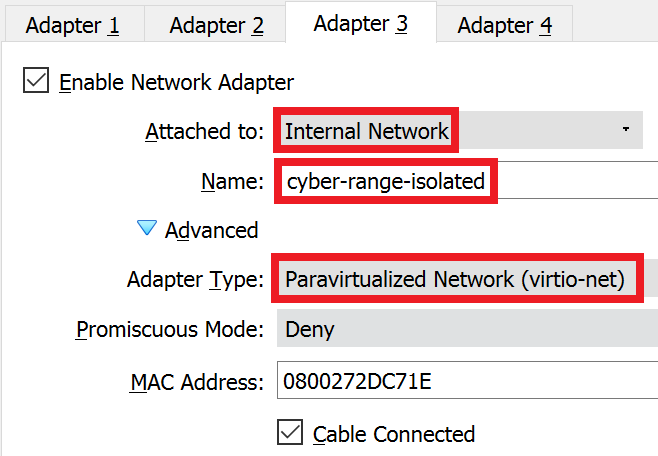
Adapter 3: ISOLATED
Paravirtualized drivers provide the best performance
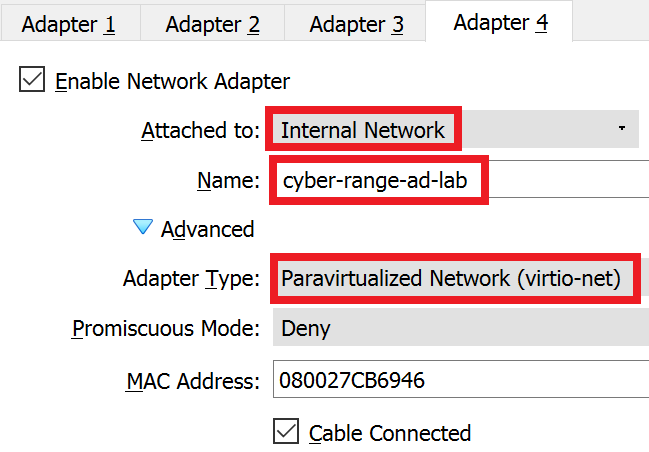
Adapter 4: AD_LAB
Paravirtualized drivers provide the best performance
✅
All done. Click OK.
Installing pfSense
⚠️
If it asks for the startup disk, just choose the .iso disk we downloaded earlier. Press Enter.
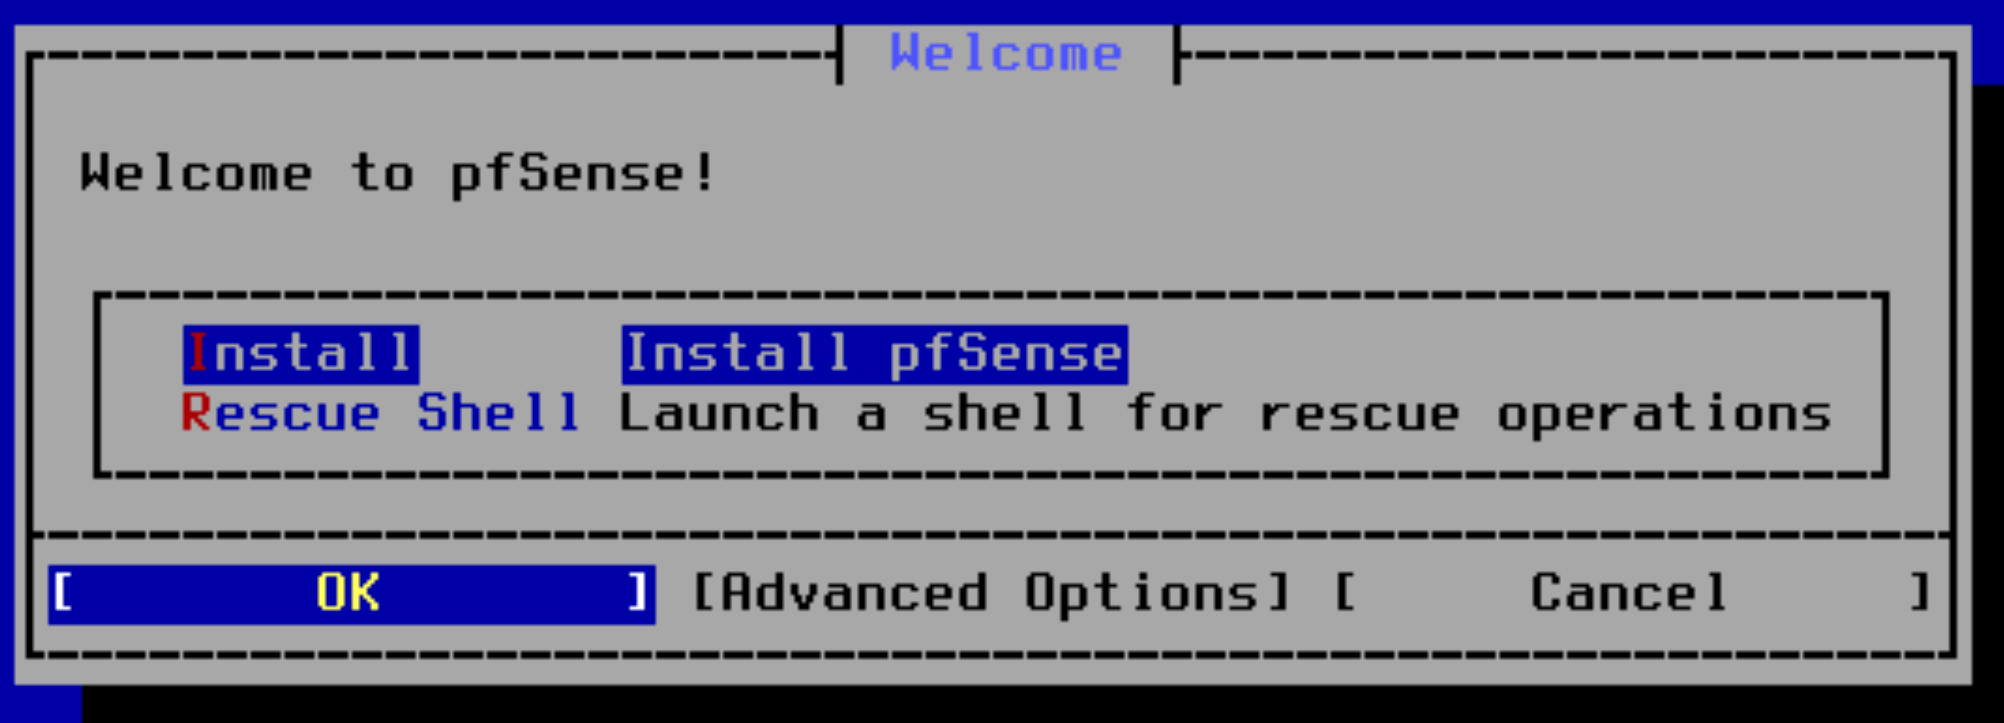
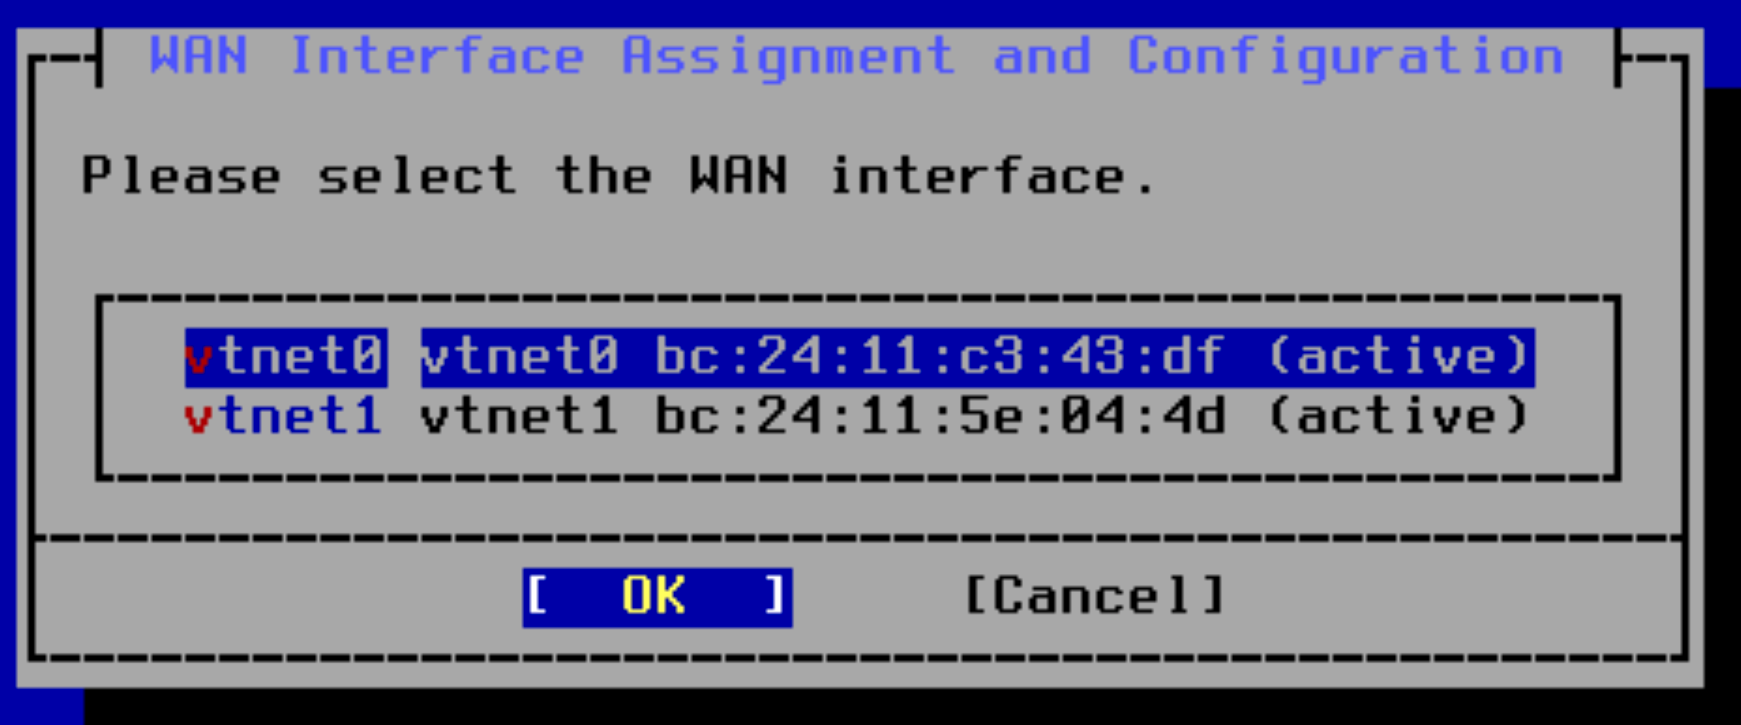
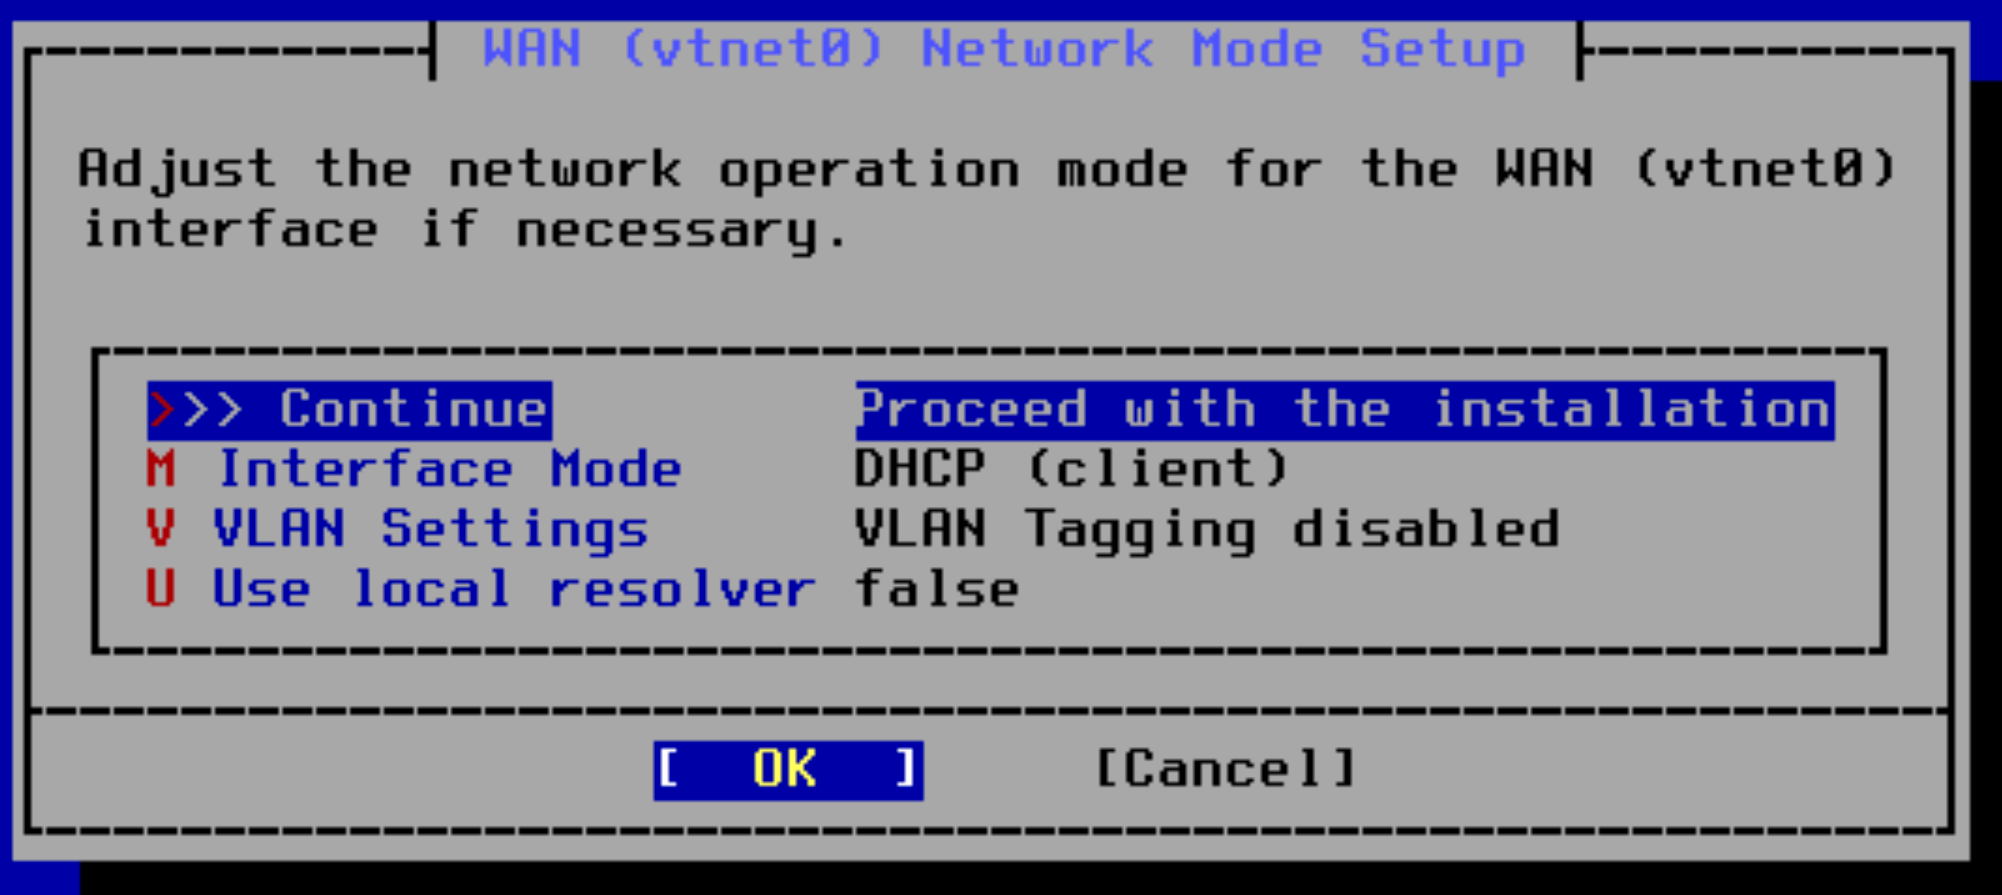
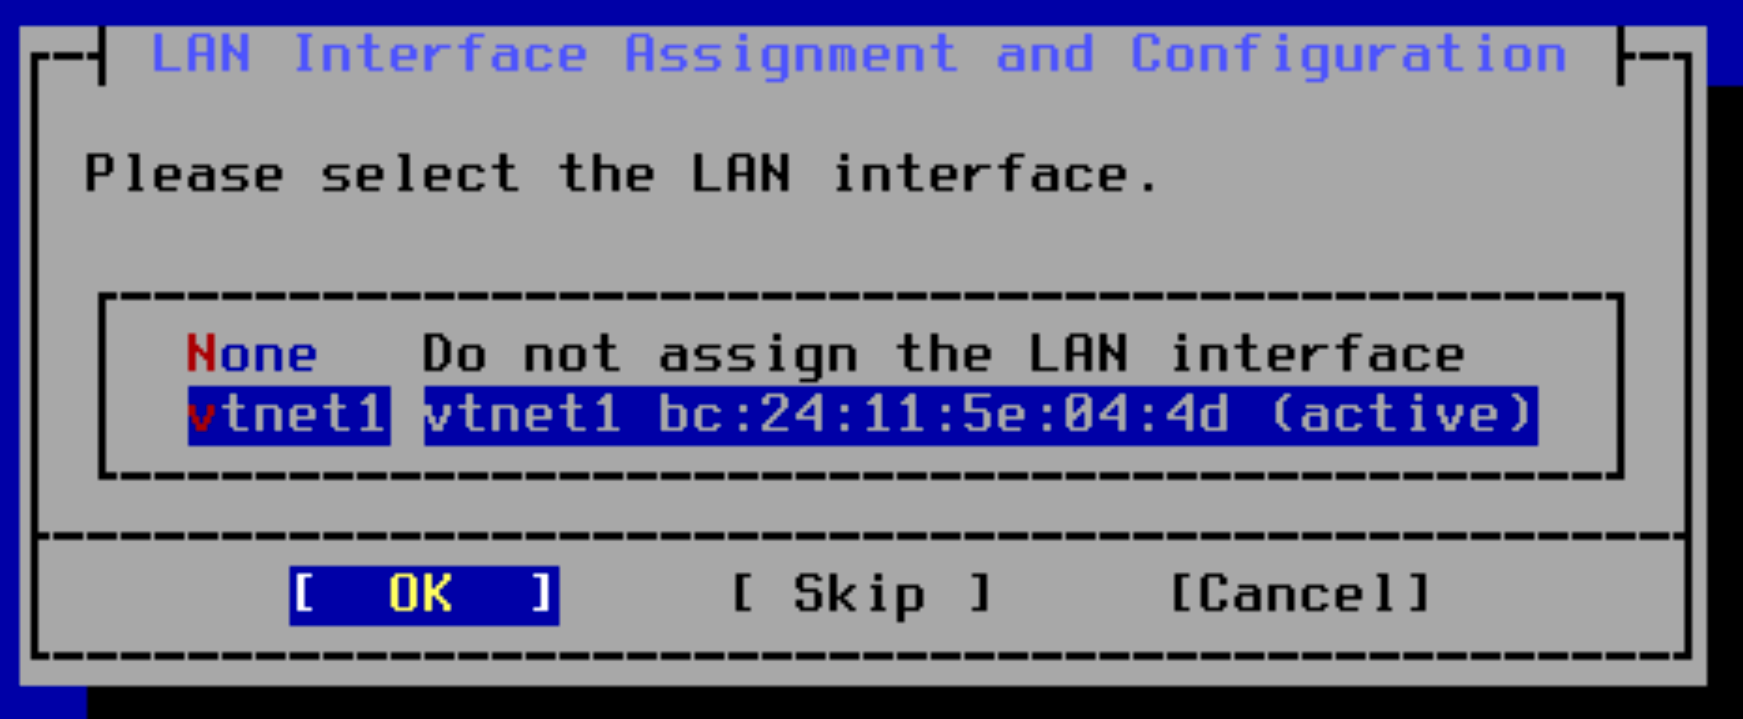
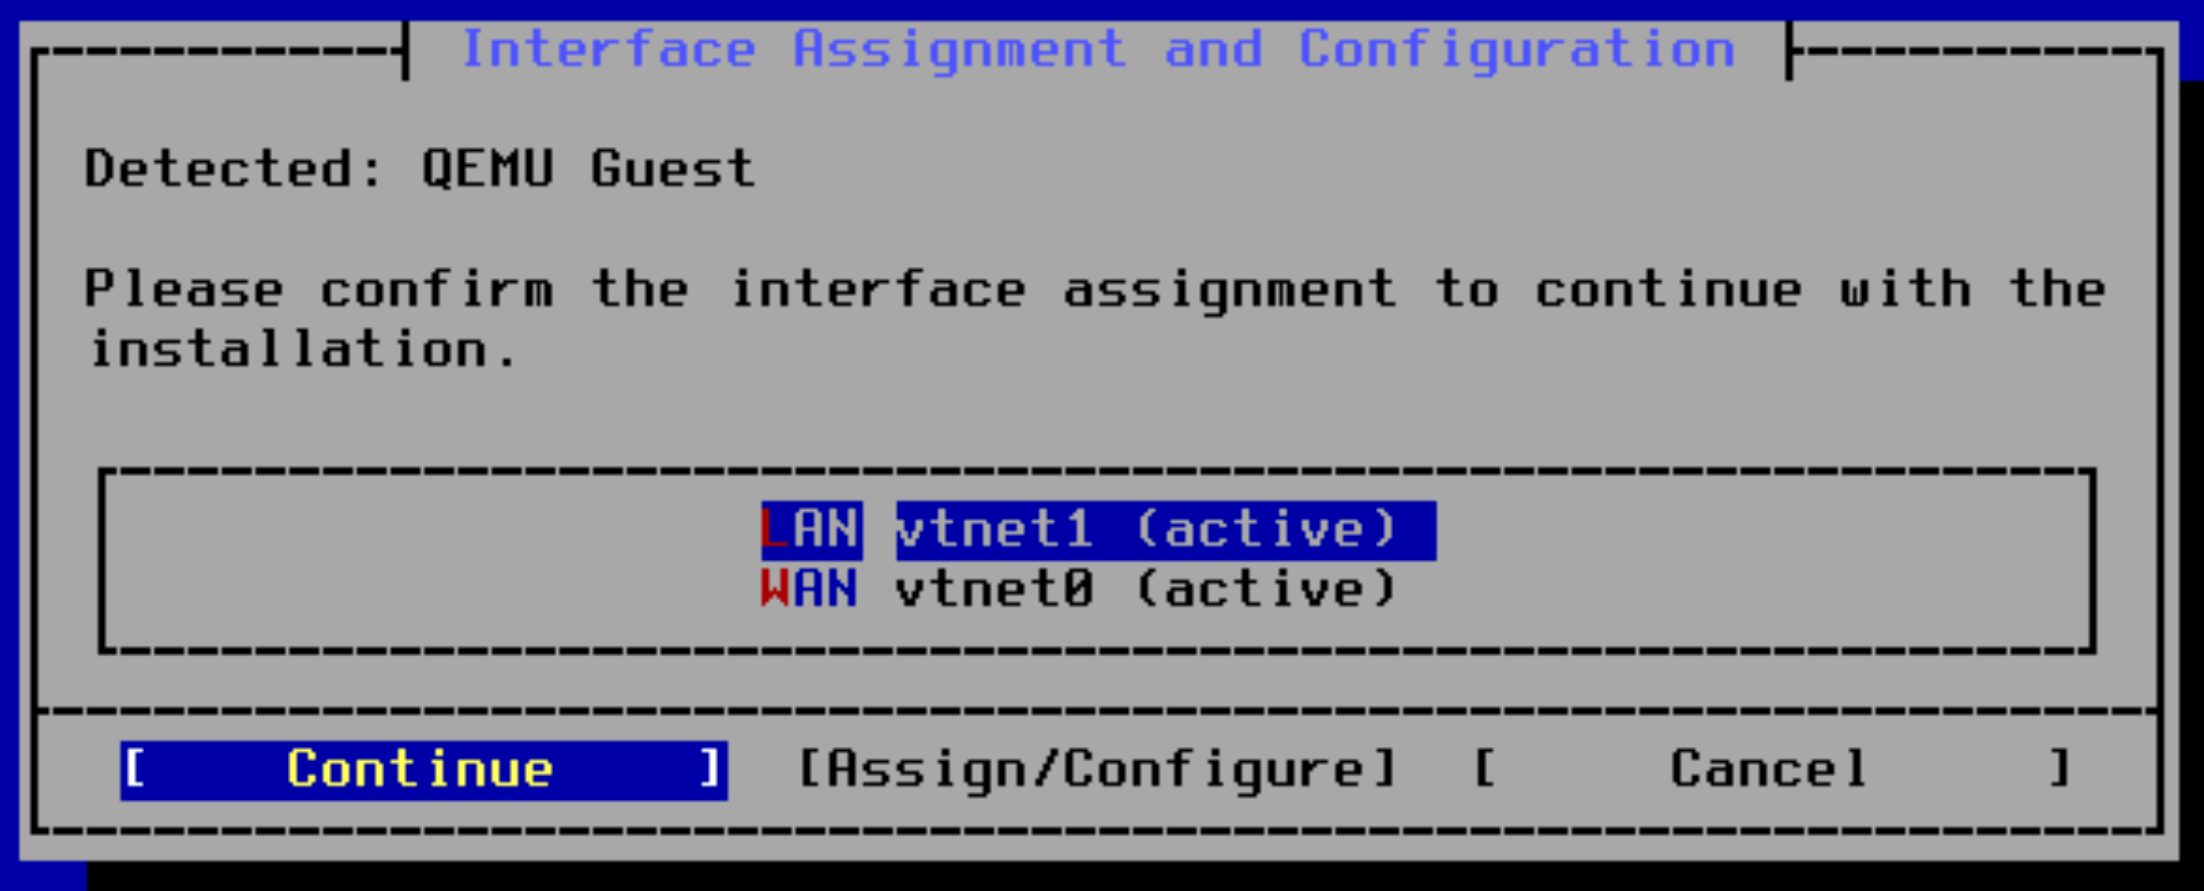
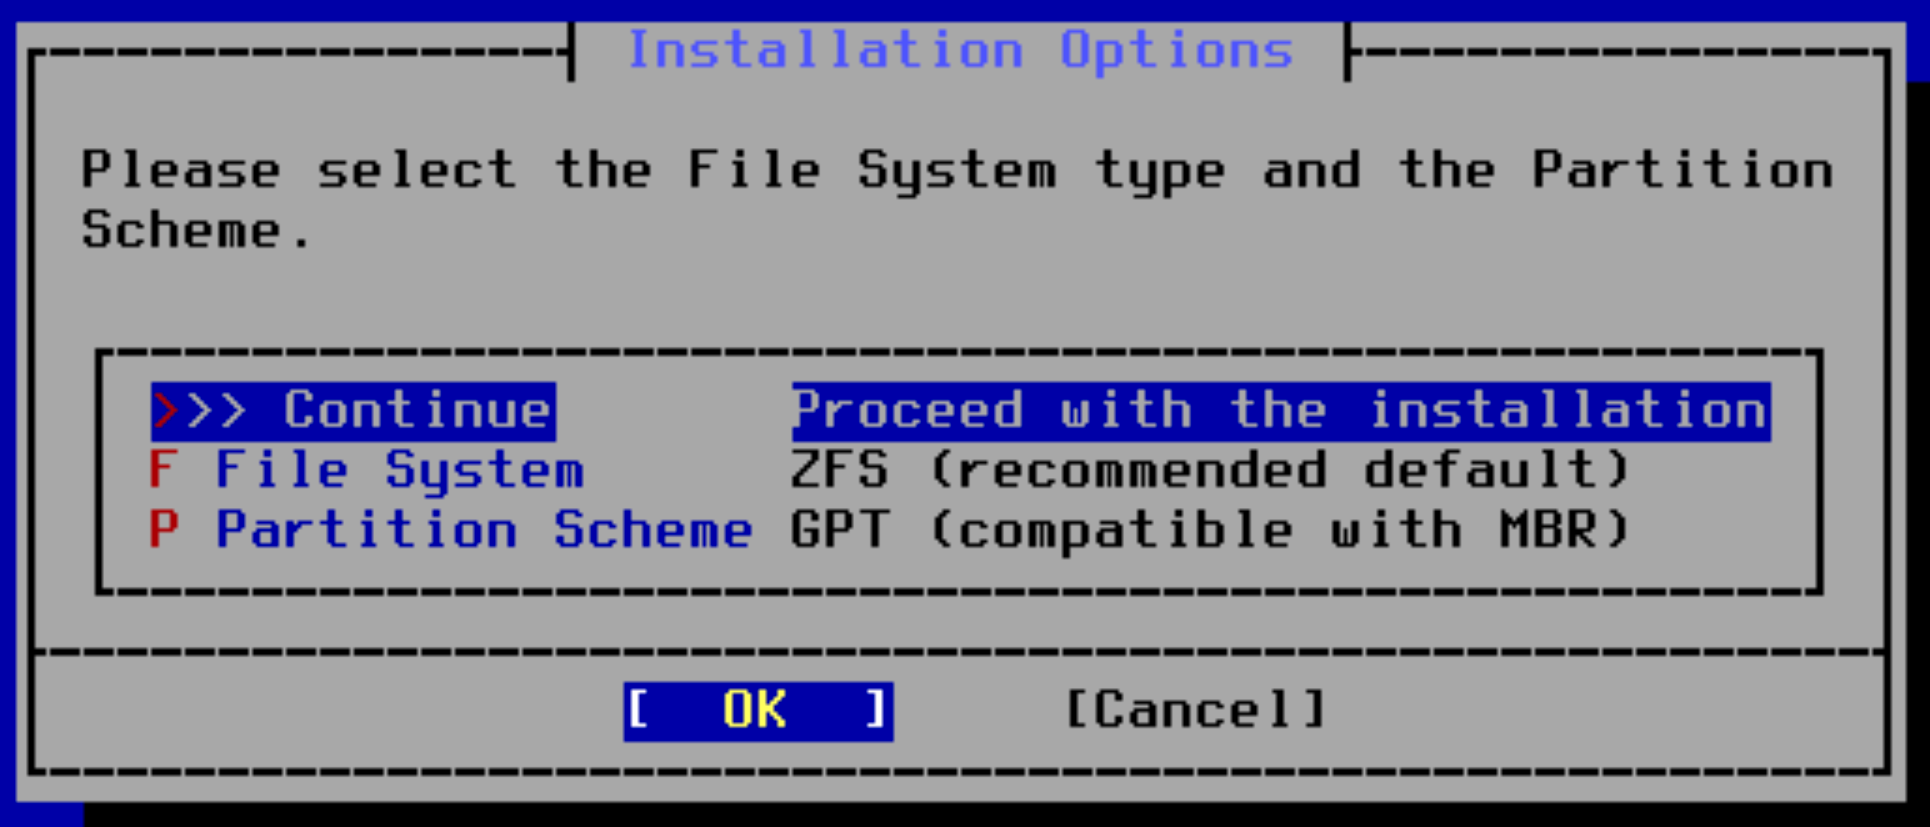
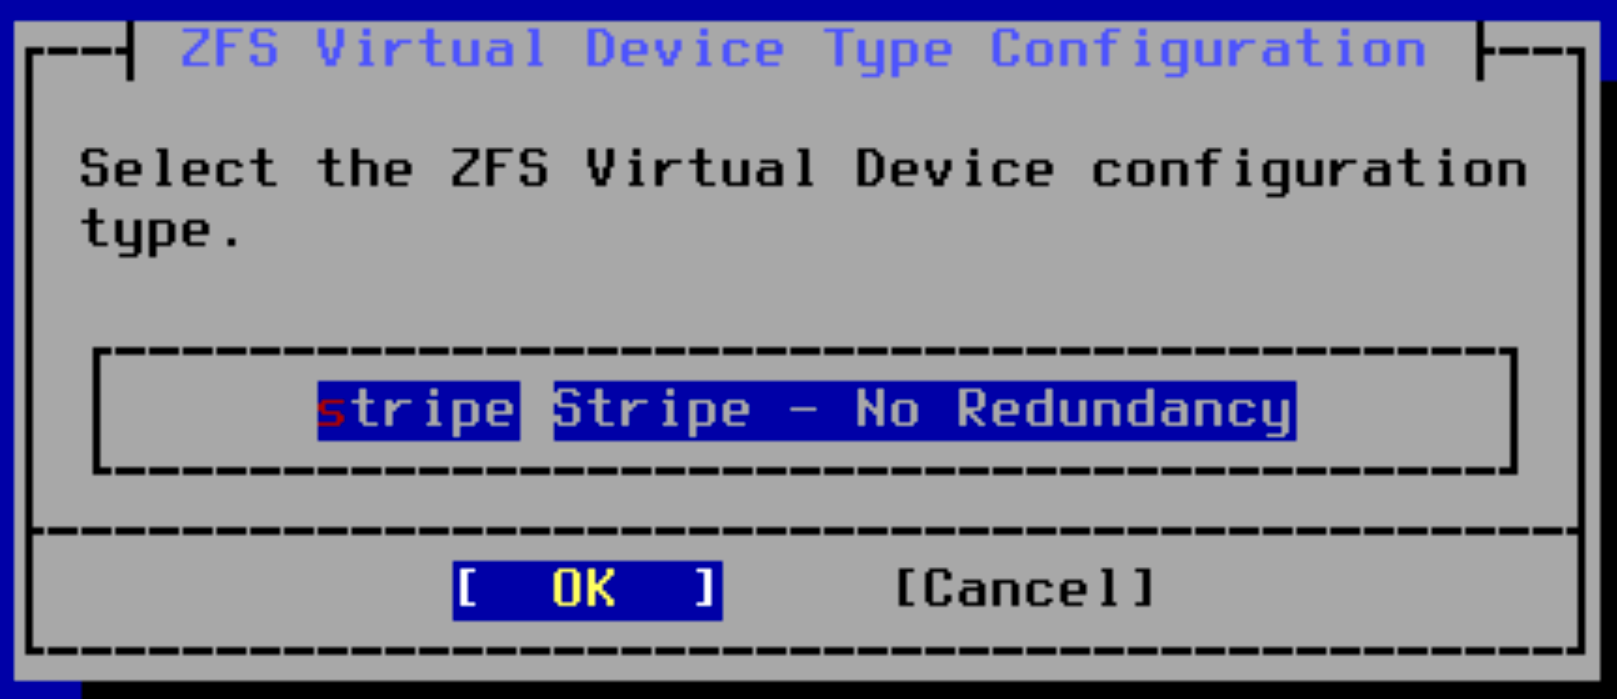
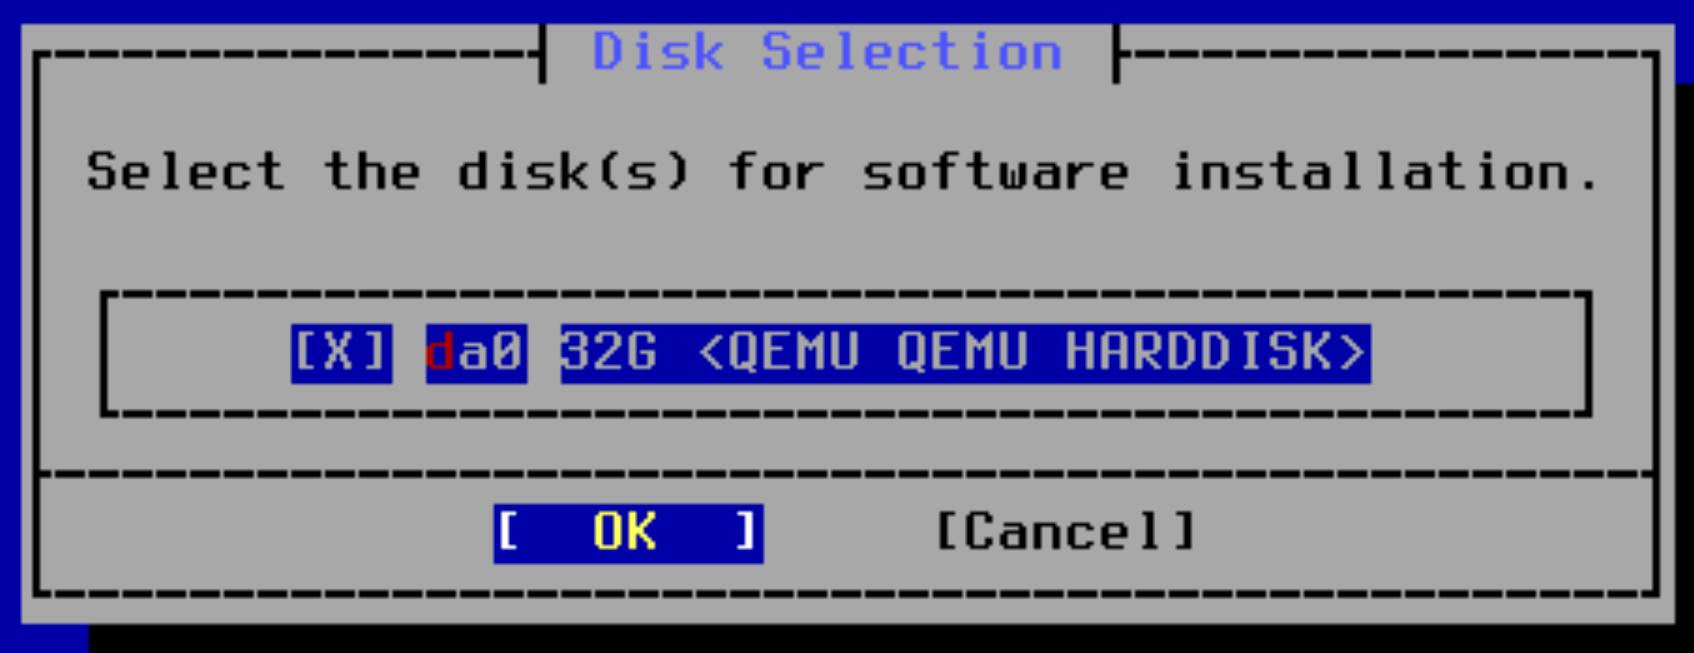
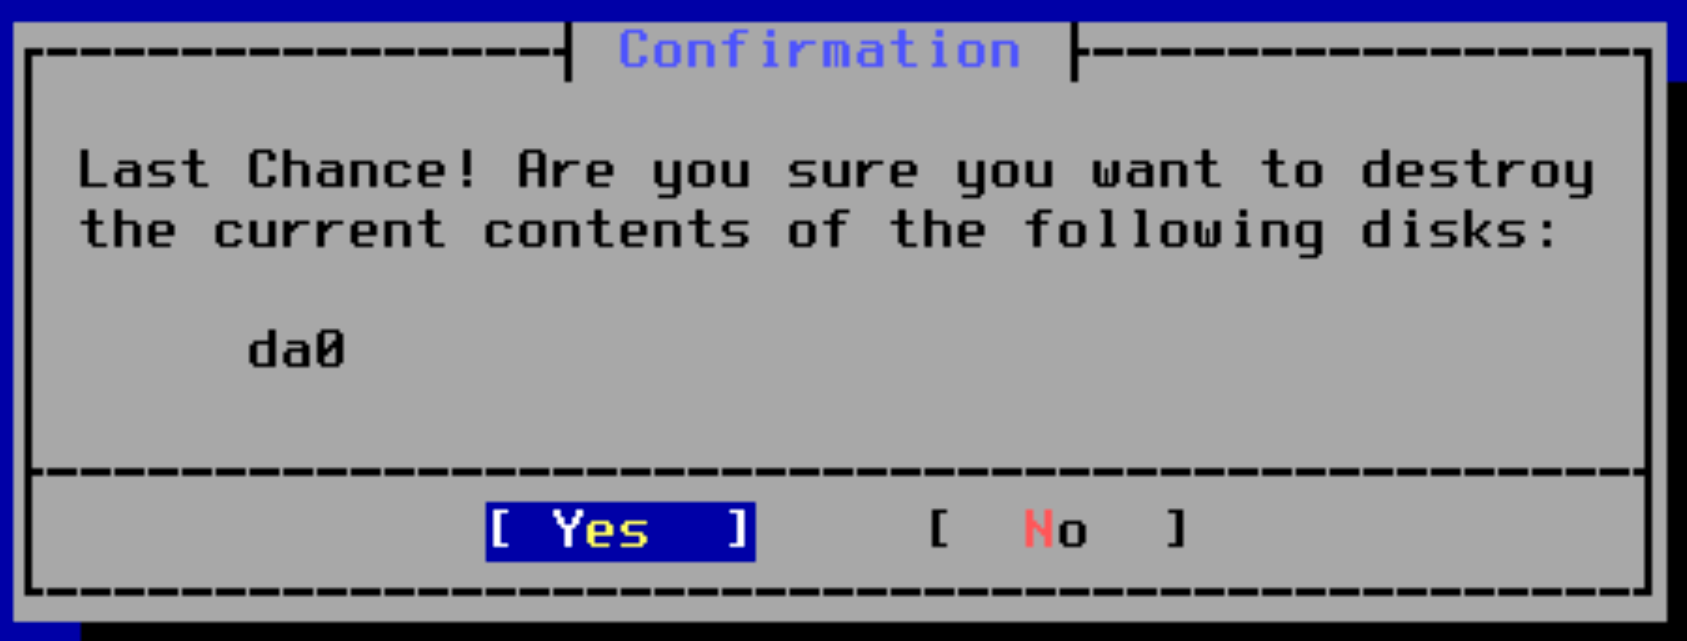
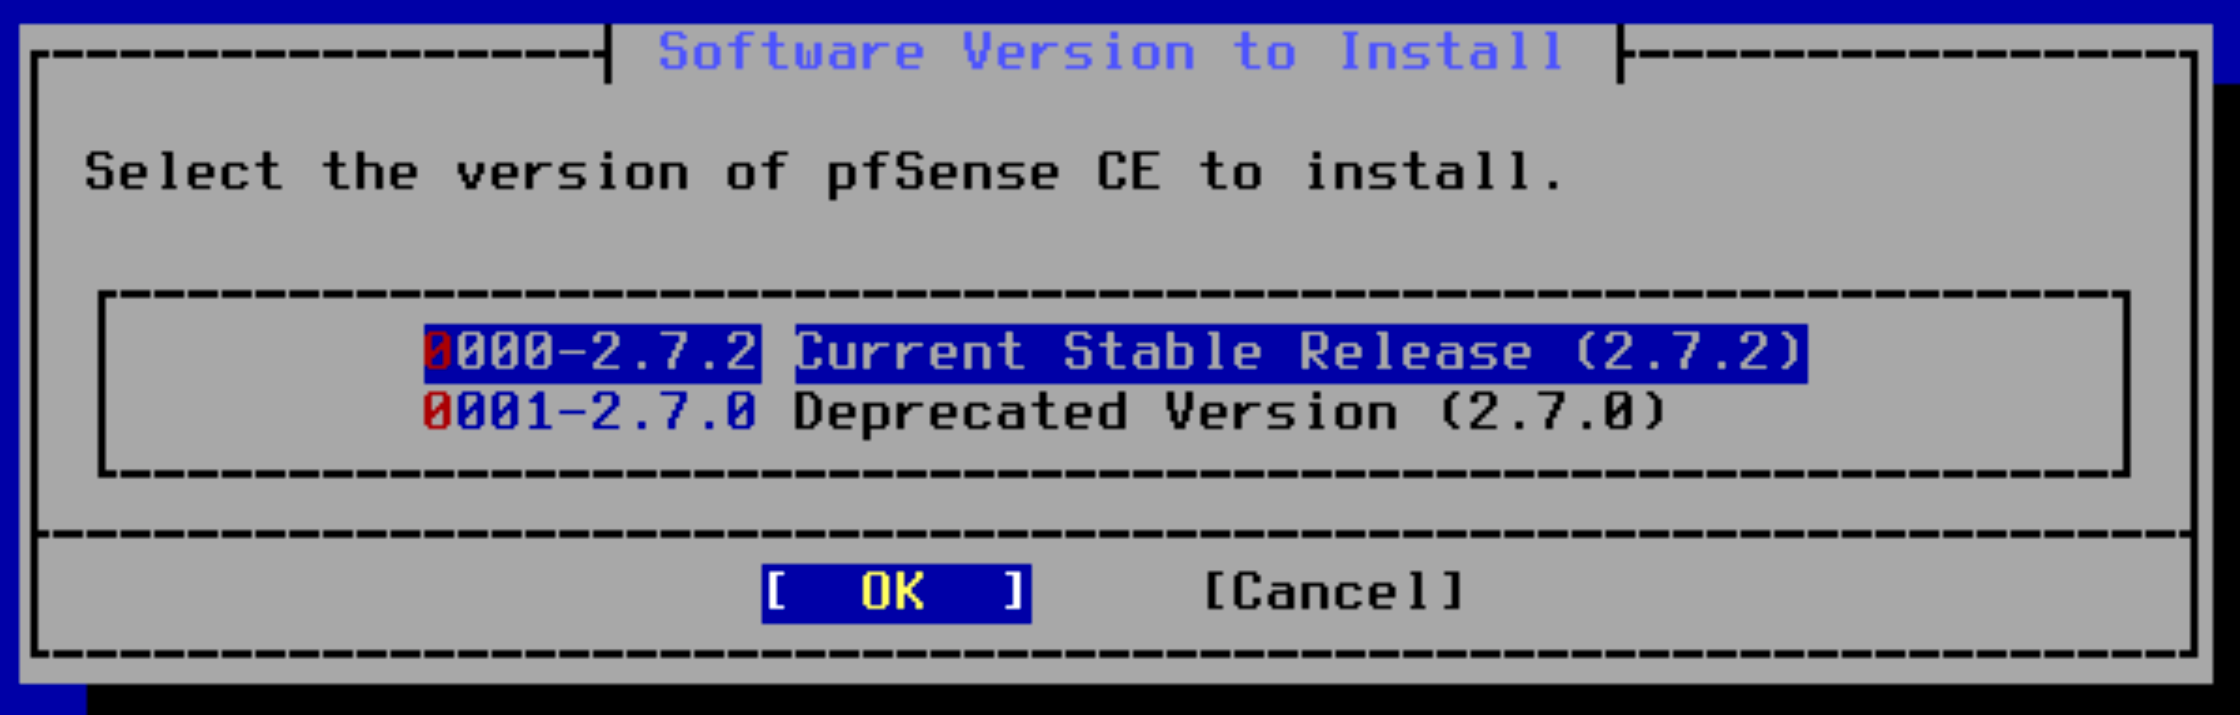
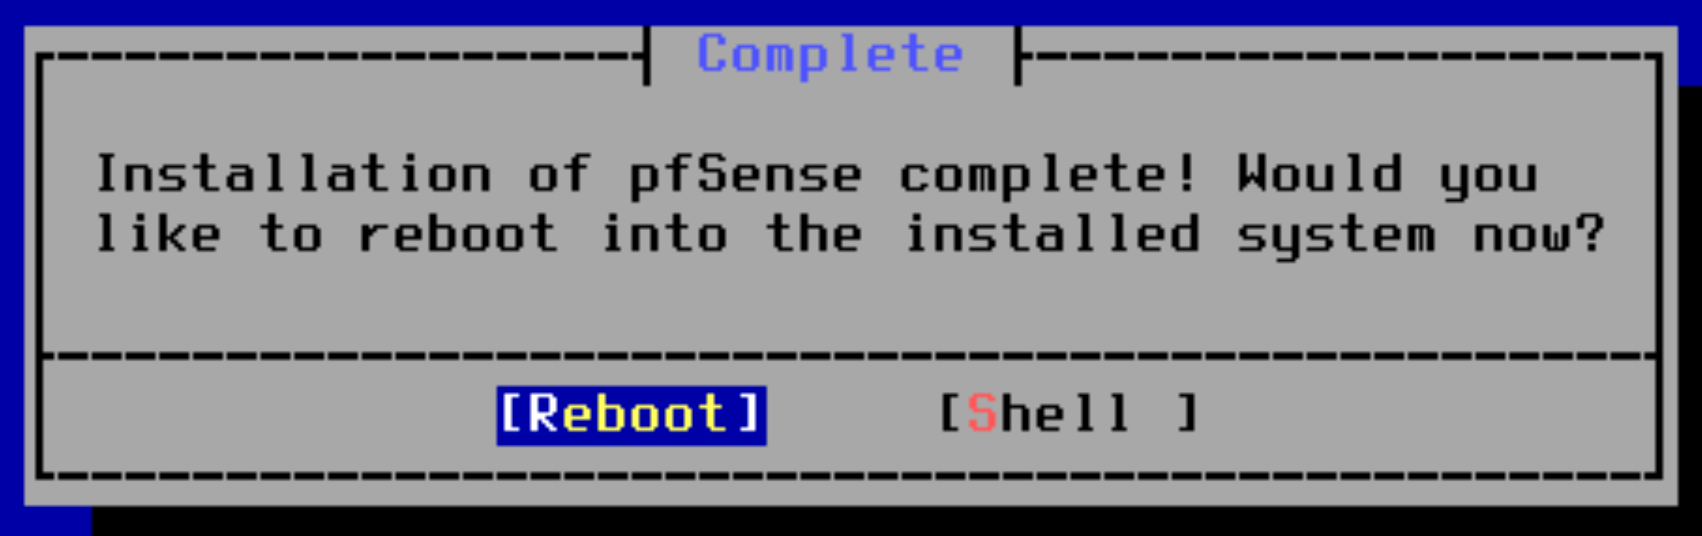
Power on the VM and acceptChoose "Install" and "OK"vtnet0 is the WANContinuevtnet1 is the LANContinueLooks good. Continue.Choose "Install CE"Proceed with the defaultsOKOKYesChoose "Current Stable Release"Be patient while the installer downloads core files and completes the installation...When complete, continue to the next screen and choose "Reboot"
Configuring pfSense
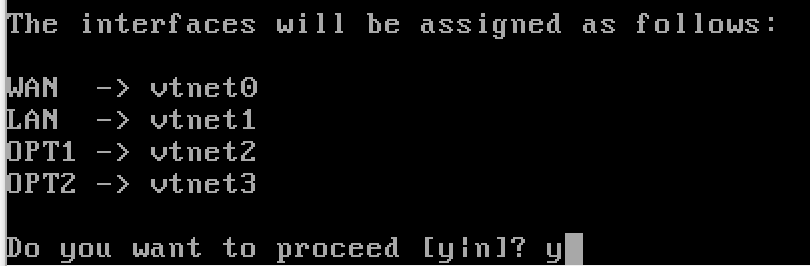
Wait for the VM to finish booting. When asked Should VLANs be set up now [y|n]?, choose n.
The prompt here was interrupted by some log messagesEnter the WAN interfaceEnter the LAN interfaceThis will be the ISOLATED interfaceThis will be the AD_LAB interface
Configuring the Interfaces
ℹ️
You should see something like this
The WAN interface pulled an IP address from my home network.
The Default LAN IP address space is 192.168.1.1/24
OPT1 (optional interface 1) – Isolated – is not yet configured.
OPT2 (optional interface 2) – AD_LAB – is not yet configured.
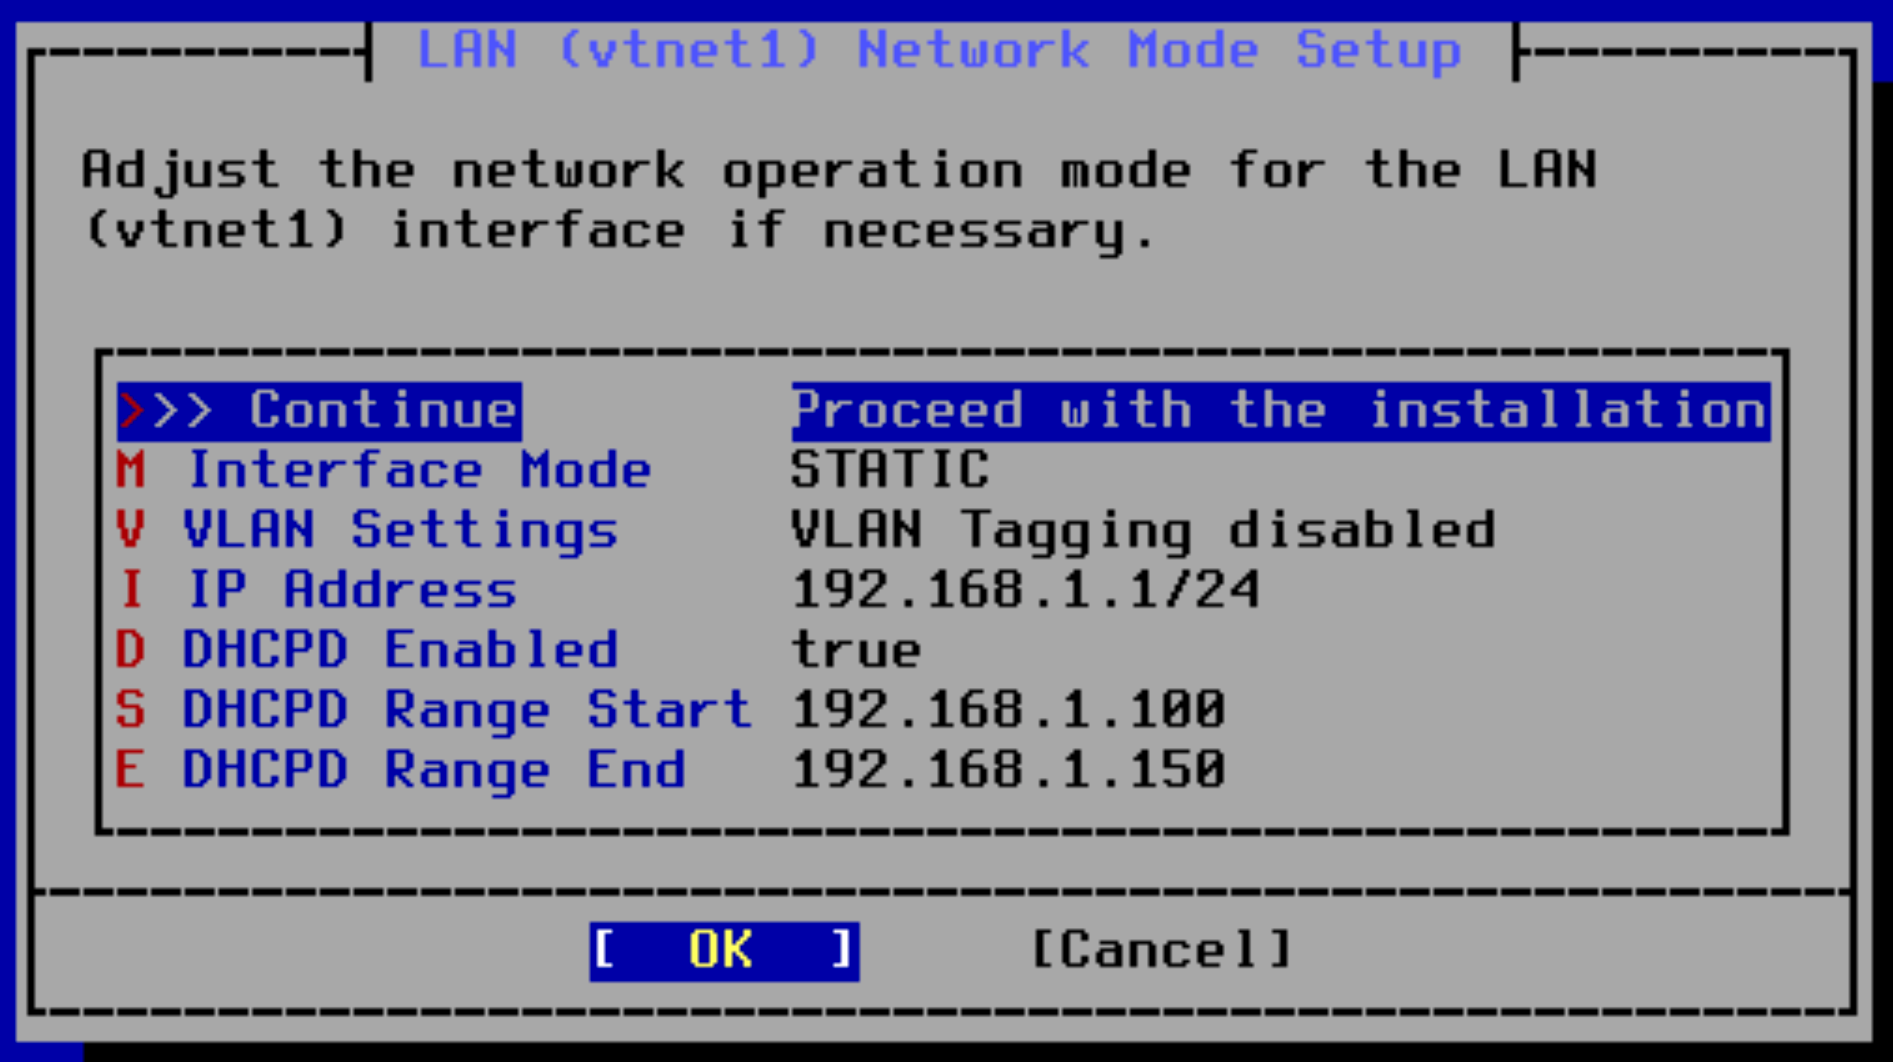
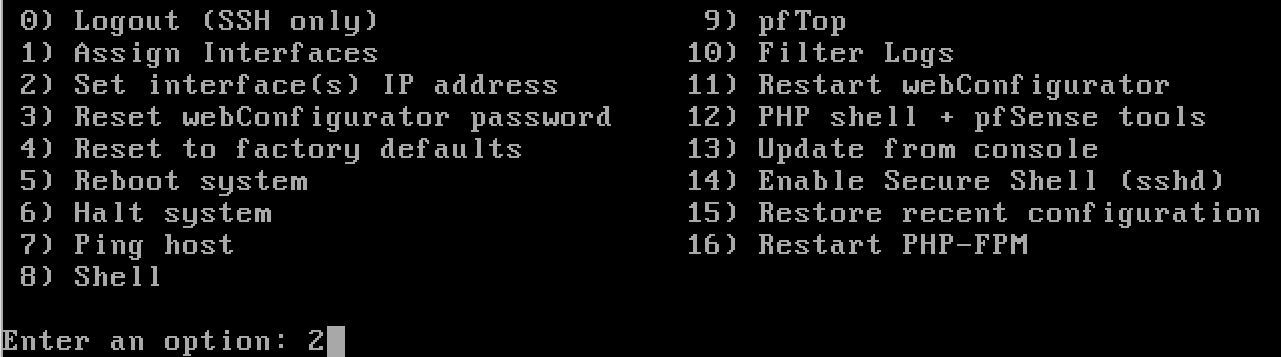
Configure the LAN
Enter option 2Enter option 2 for LANEnter 'n' to configure the address statically
ℹ️
The LAN interface is going to serve DHCP clients, and does not get its IP address from a DHCP server elsewhere. Thus, we configure it statically.
Enter the network addressEnter the subnet mask bitsJust press Enter here. This is a LAN.Enter 'n' as to configure the address staticallyPress Enter. We'll not be using IPv6.Enter y to enable the DHCP serverEnter the start and end rangeEnter n, we want to keep using TLS on the web portal.Press Enter. All done with the LAN.
✅
All finished with the LAN configuration.
Configure the Isolated LAN
Enter option 2Enter option 3 to configure OPT1Enter 'n' to configure the address staticallyEnter the network addressEnter the subnet mask bitsPress Enter here. This is a LAN.Enter 'n' to configure the address staticallyPress Enter. We'll not be using IPv6.Enter y to enable the DHCP serverEnter n, we want to keep using TLS on the web portal.
✅
All finished with the ISOLATED LAN configuration.
Configure the AD Lab LAN
Enter option 2Enter option 4 to configure OPT2Enter 'n' to configure the address staticallyEnter the network addressEnter the subnet mask bitsPress Enter here. This is a LAN.Enter 'n' to configure the address staticallyPress Enter. We'll not be using IPv6.Enter n to disable the DHCP server, as the domain controller will be acting as the DHCP serverEnter n, we want to keep using TLS on the web portal.
✅
All finished with the AD_LAB LAN configuration.
Final Check
You should now see something like this
A Note on Configuring the Firewall
In this guide, we will not be making the pfSense web console available from the WAN.
This is because you may be using a laptop and if you connect to public wireless, then your pfSense web console would be open to the others on that network.
We will be using our Kali VM to configure the pfSense firewall rules in a bit.
In this module, we will take a look at the process setting up a comprehensive Wazuh SIEM, including a NIDS and some HIDS agents, in our VirtualBox home lab.


 0xBEN
0xBEN