Bliss OS Project
Bliss OS For PC
Open Source OS for PC’s, based on AOSP
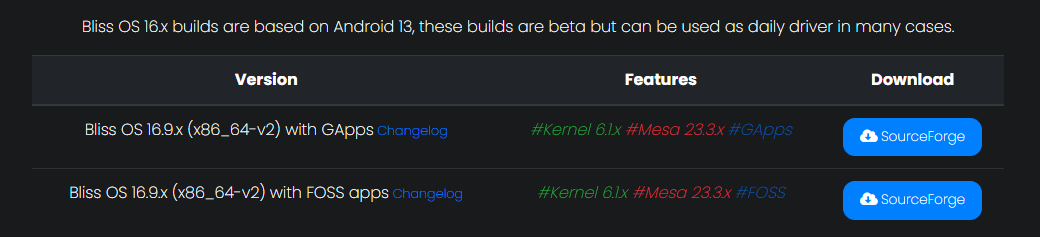
At the time of this writing, Bliss OS 16 is the latest version. I will be basing this tutorial on running that version in Proxmox. The process should be largely the same as the process for Android-x86. However, in this tutorial, I will not be covering setting up a proxy to Burp Suite.
ℹ️
It's your decision, decide if you want to download Bliss OS 16 with the official Google Apps (GApps) or their open-source alternatives FOSS apps.

Upload the ISO to Proxmox
local storage and click Upload. Then, choose your file.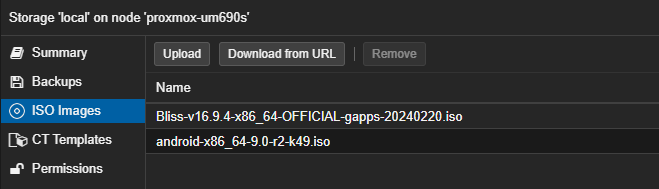
Install Graphics Libraries
Log into your Proxmox node via SSH or via the web console, as you'll need to install some graphics libraries.
apt install libgl1 libegl1
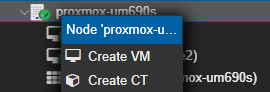
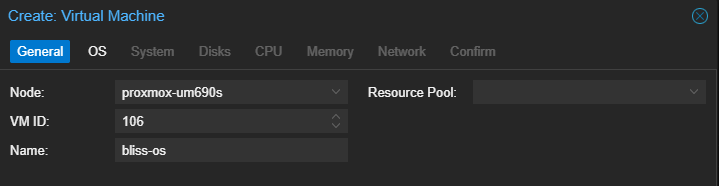
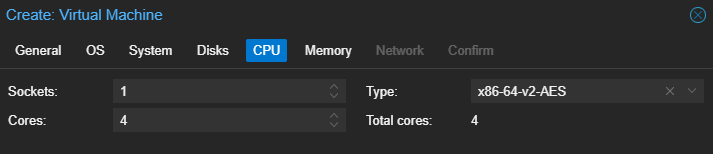
Create a Bliss OS VM


✅
Double-check your settings and start your VM
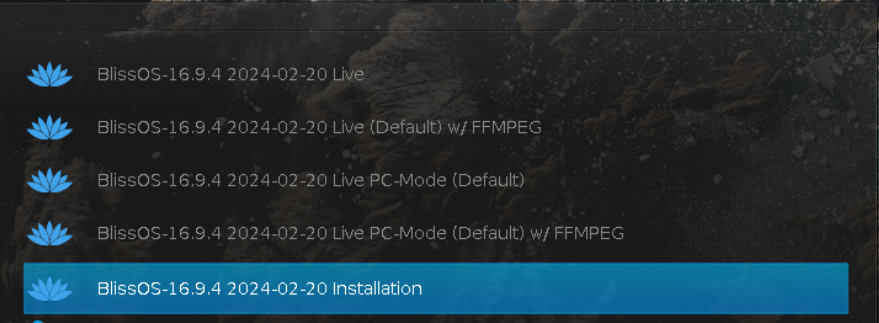
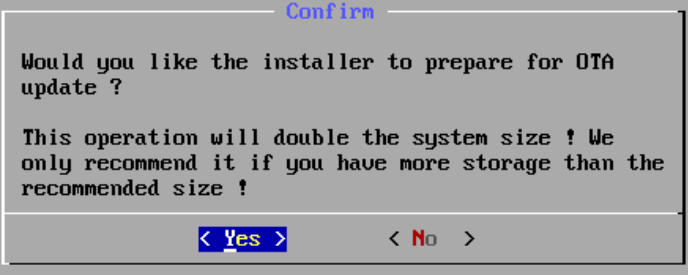
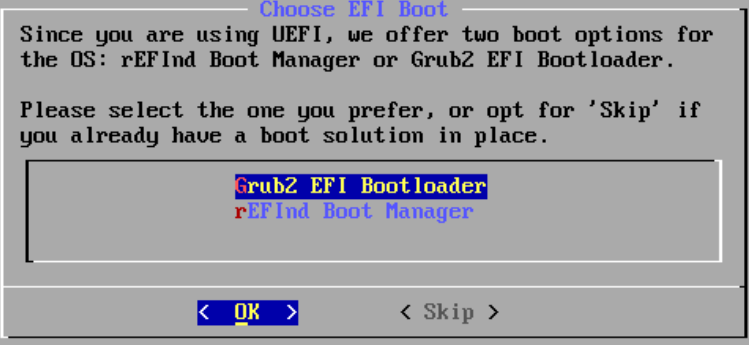
Install the Operating System
Create EFI and System Partitions
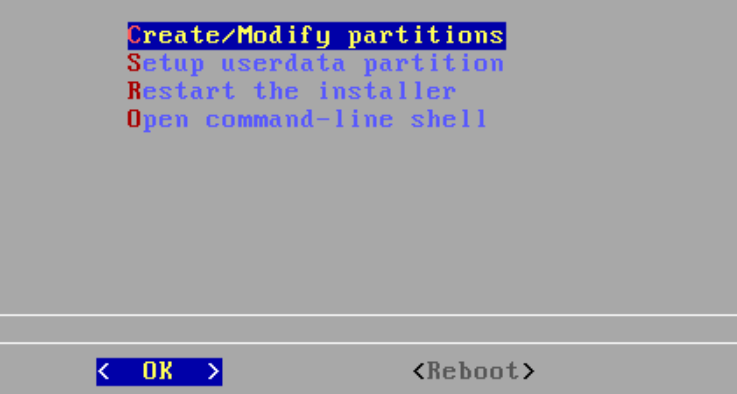

cfdisk is fine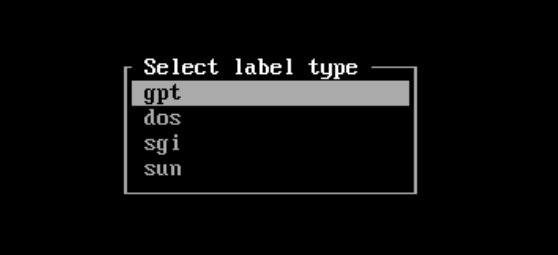
⚠️
Please note that some screenshots contain examples that are unique to my VM (e.g. disk size), so please choose accordingly for your VM
ℹ️
First, we're going to create the EFI partition. The Arch Linux wiki recommends a partition size of 1 GiB, but a smaller size is also fine.


1G for '1 GiB'

✅
Note that
cfdisk conveniently highlights the remaining free disk space in green for us


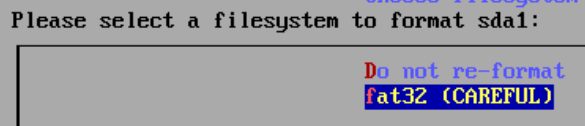
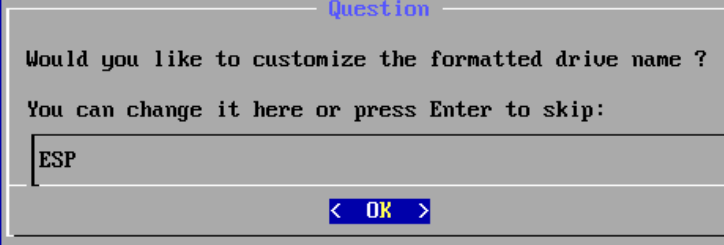
Format the EFI Partition

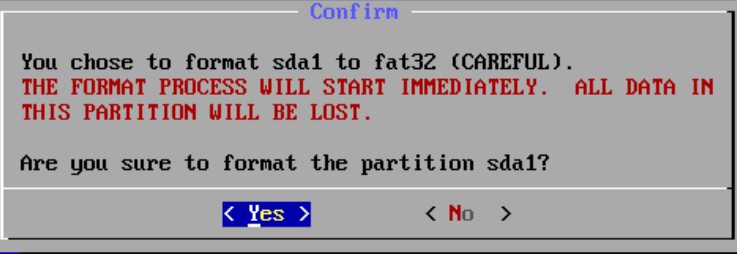
Format the System Partition


Complete Setup Steps


You have now successfully installed Bliss OS on Proxmox. Complete the initial setup steps and have fun.
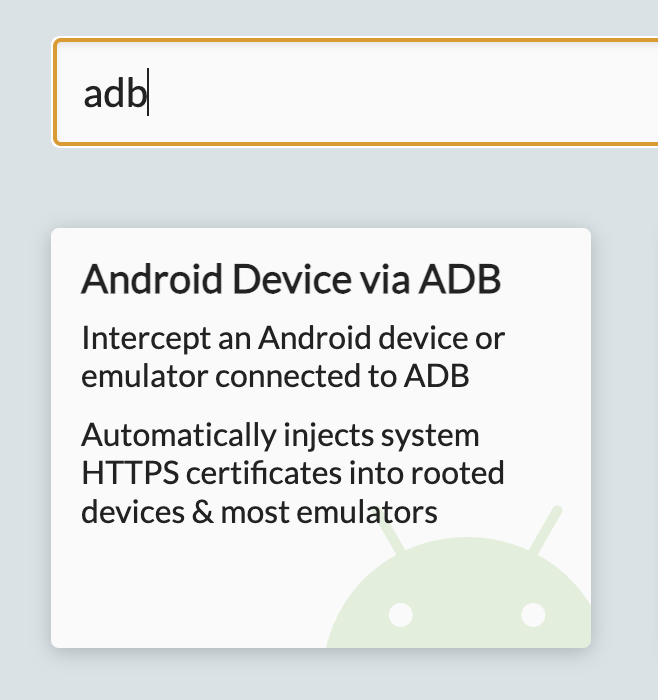
Proxying App Traffic
There is an excellent article by Nelson Dane that covers the process of setting up a proxy and reverse engineering lab using ADB and Bliss OS. If you're interested in doing that with your Bliss OS environment, I'd highly recommend checking it out.
Intercepting Android Apps’ HTTPS Requests on Proxmox
A guide to setting up a Bliss OS VM in Proxmox for intercepting HTTPS requests of Android apps.