Downloading the Android-x86 ISO
The official site for the Android-x86 project can be found here:


Click on the Download button and choose your preferred mirror. I will be using the FOSSHUB mirror, and grabbing a copy of the Android-x86 64-bit ISO file.
Once the file is downloaded, transfer to your ISO storage on your Proxmox node.
Setting Up the VM
Create the VM
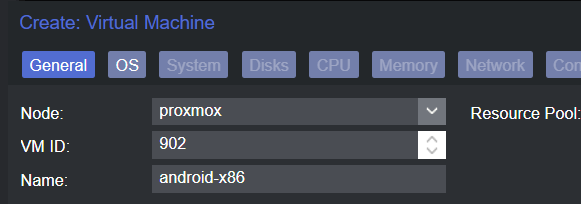
Right-click your Proxmox node and click Create VM.

General Settings
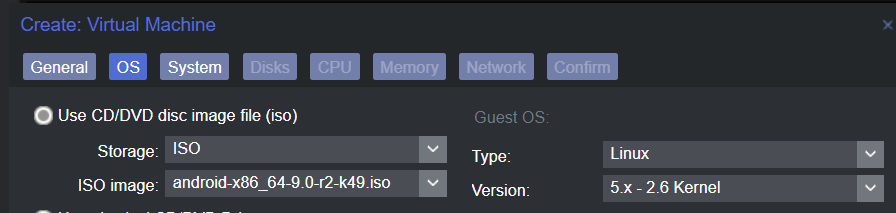
OS Settings
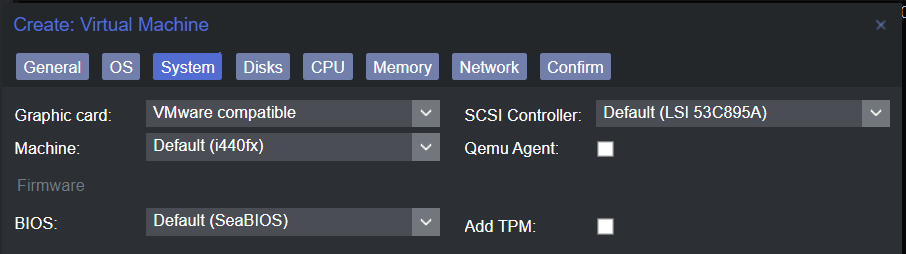
System Settings
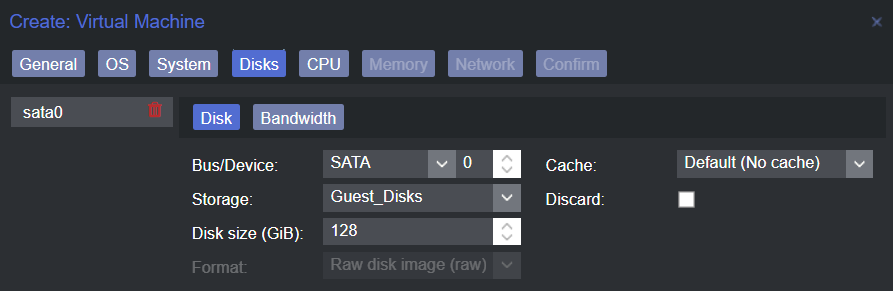
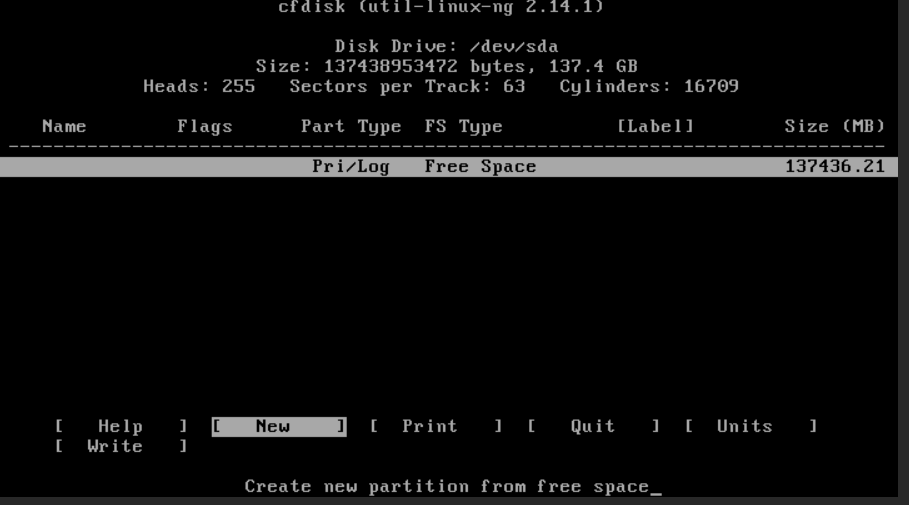
Disk Settings
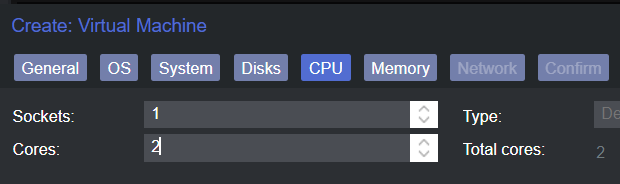
CPU Settings
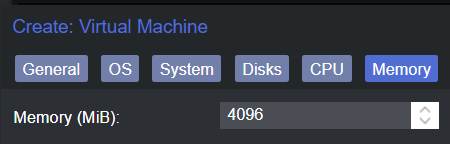
Memory Settings
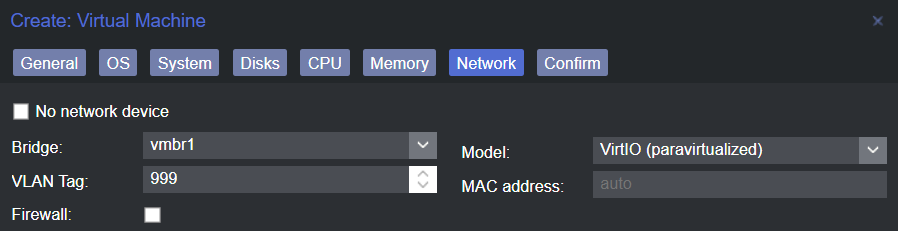
Network Settings
Confirm and Create
Confirm your settings and create the VM.
Power On and Configure the VM
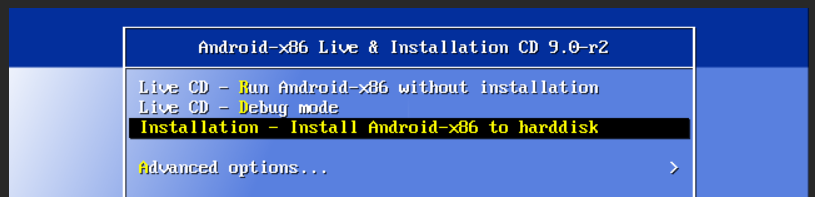
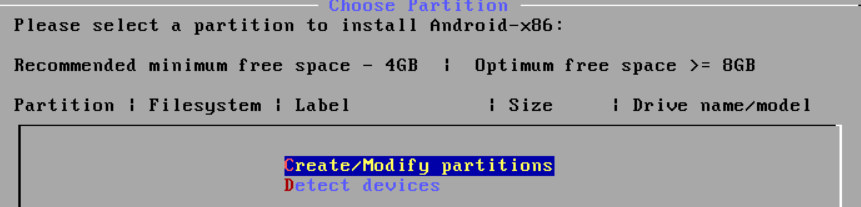
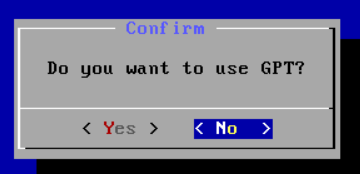
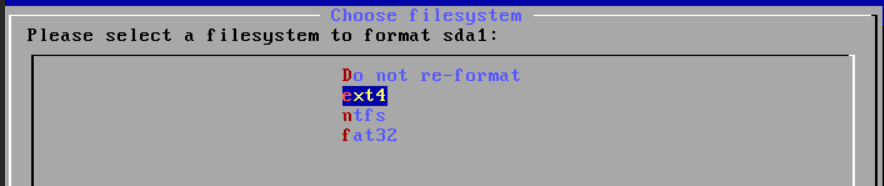
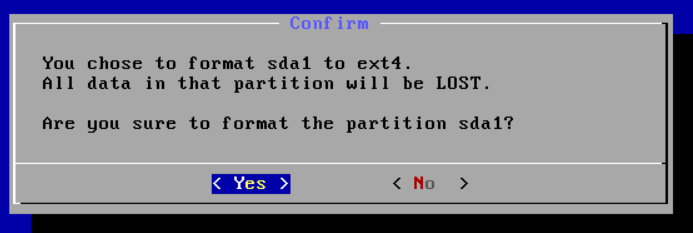
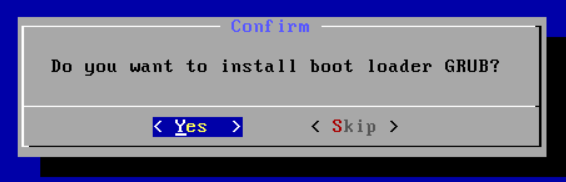
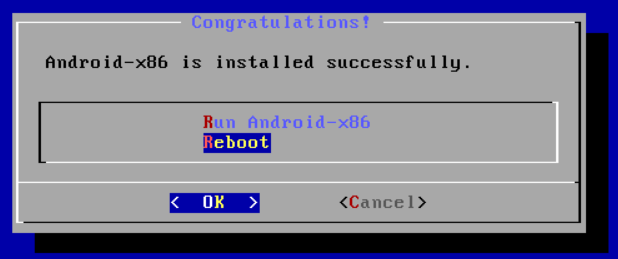
Install Android-x86 to Disk


If all goes well, you should see the Android splash screen. Don't panic if it hangs there for a minute. If it's taking more than a few minutes, there may be a problem with your installation.

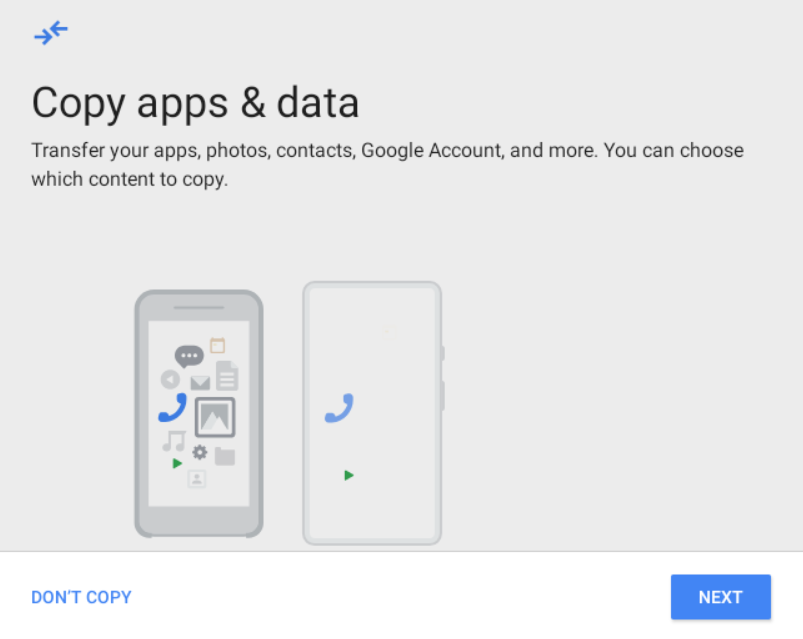
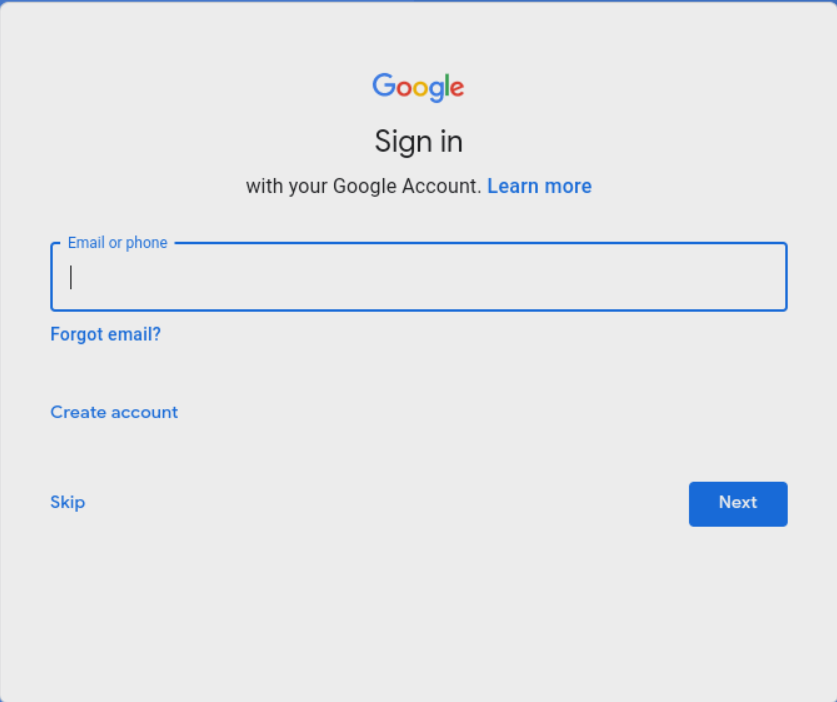
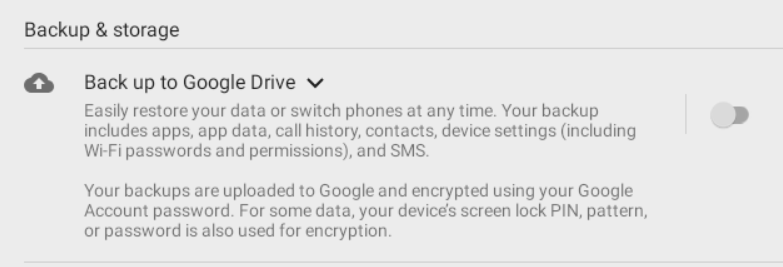
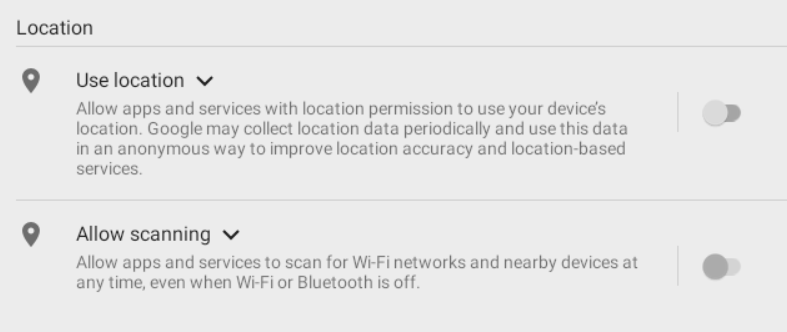
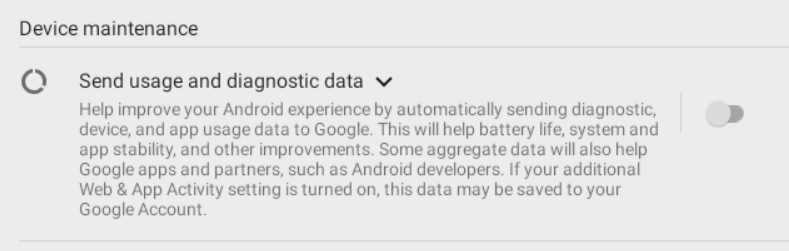
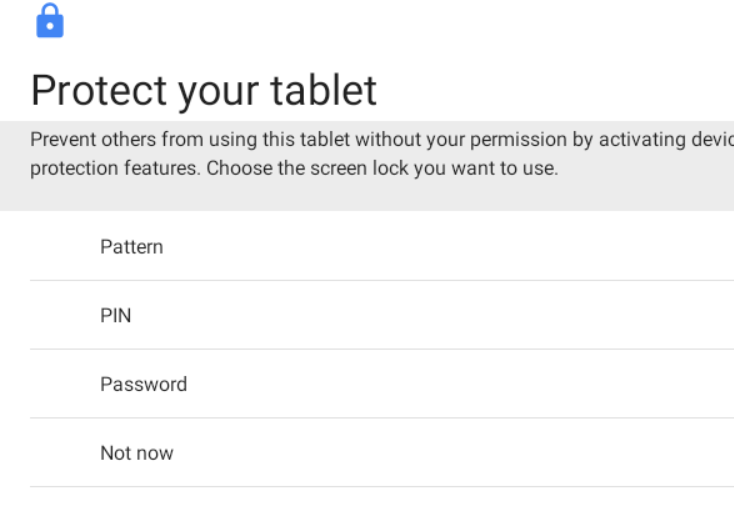
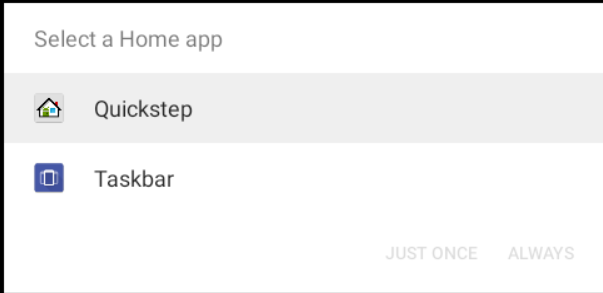
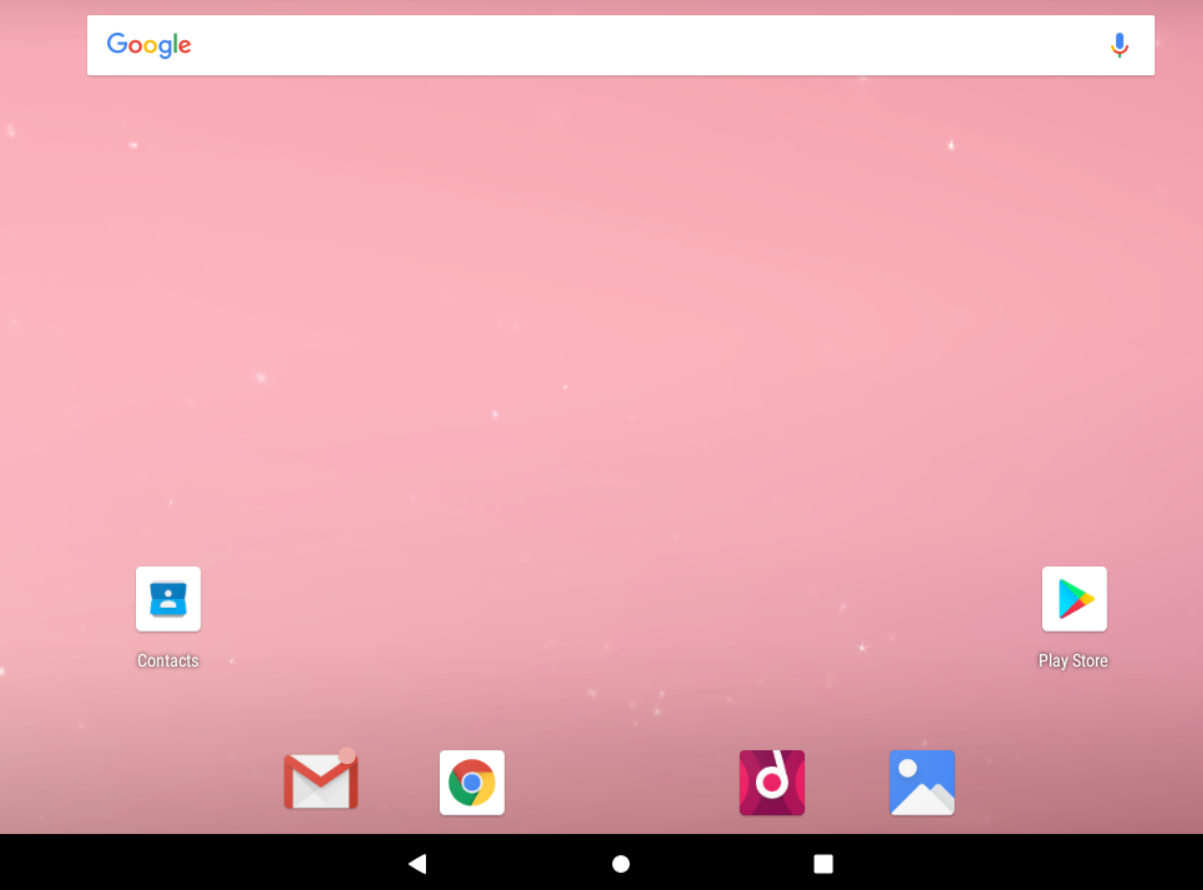
Configure the Operating System

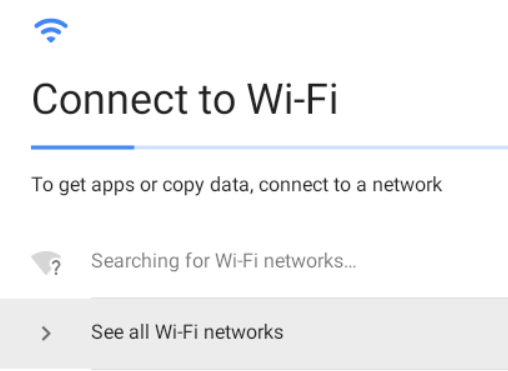
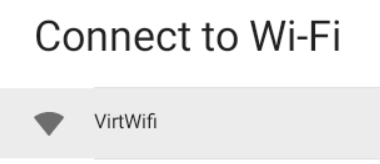
Android will attempt to check for updates upon connecting to the network. So, allow internet access during the initial setup.
More Current Android Release
 0xBEN
0xBENEnable Android Debug Bridge (ADB) over TCP/IP
Console View vs GUI
You can press ALT + F1 to open the root console on your Android-x86 instance. This terminal is running as root, conveniently allowing you to make any necessary modifications to the system.
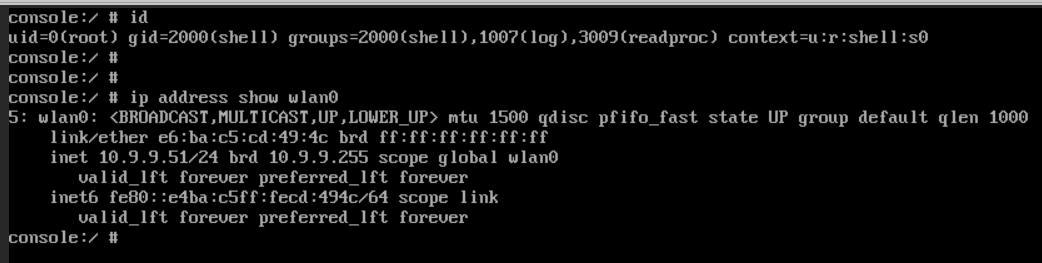
You can press ALT + F7 to return to the Android GUI.
Enable Remote ADB
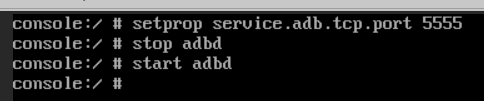
setprop service.adb.tcp.port 5555
stop adbd
start adbd
Connecting to ADB via TCP/IP
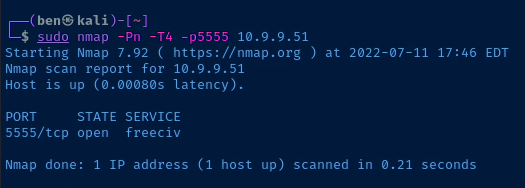
I will scan TCP/5555 from my Kali VM to make sure that ADB is running and that I can access it.
Now, I'll connect to the ADB interface from Kali.
adb connect 10.9.9.51:5555
adb shell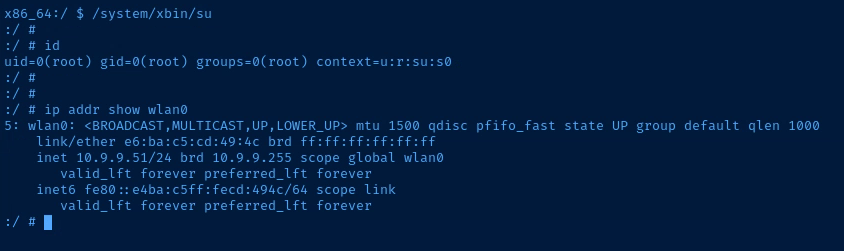
adb disconnect 10.9.9.51:5555Setting Up the Proxy Environment
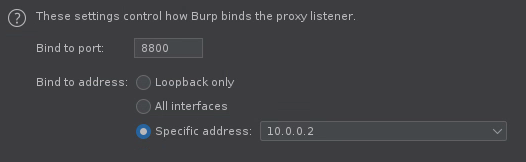
Create an External-Facing Proxy
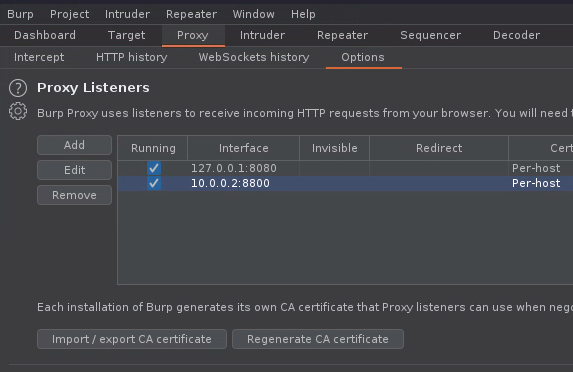
In Burp, go to Proxy > Options and Add a proxy listener.

Importing the BurpSuite CA Certificate
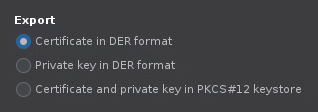
Export the CA Certificate
We need to do this to tell Android to trust the proxy when connecting to sites using TLS.
In Burp, go to Proxy > Options > Import/export CA certificate.

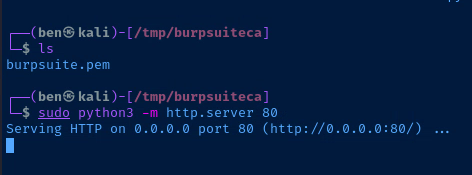
Now, we need to convert the .der certificate to Base64 format. Here is an example command. Adjust your paths accordingly.
openssl x509 -inform der -in ~/Downloads/burpsuite.der -out ./burpsuite.pemConvert the file to burpsuite.pem and save it in the current directory
Transfer the Certificate to Android-x86
I'm in the directory where the burpsuite.pem file is stored and I start a web server, so I can easily download the file using the Chrome browser on Android.
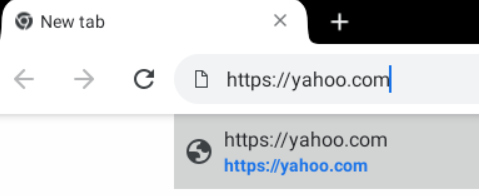
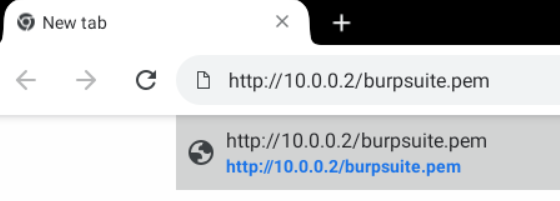
Back on Android-x86, I open the Chrome browser and download the file.
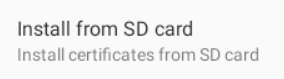
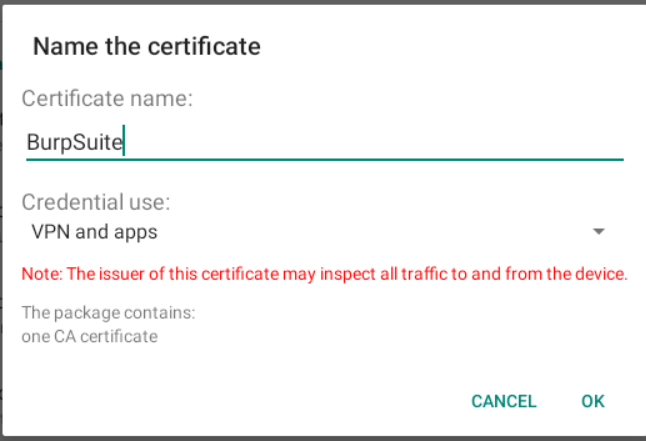
Installing the CA Certificate on Android
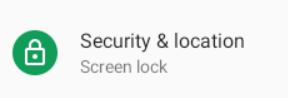
Open the settings app on your Android-x86 instance and go to Security & location.


Android System-Wide HTTP Proxy
ADB Command
adb shell ... syntax is for running ad-hoc shell commands through ADB. If you've already got an interactive shell open on Android-x86 through ADB, then just cut off the adb shell part.Issue this ad-hoc shell command to point Android-x86 at your Burp proxy:
adb shell settings put global http_proxy 10.0.0.2:8800Change your IP and TCP port as needed
To remove the system-wide HTTP proxy:
adb shell settings delete global http_proxyTesting the Proxy
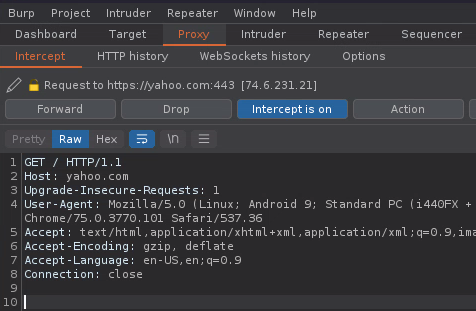
I've got BurpSuite open and intercepting HTTP traffic.