

Previous Step
If you need a Windows 7 ISO, refer back to this page and download one of the 64 bit images.
 0xBEN
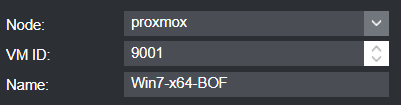
0xBENCreate the VM
General
OS

System

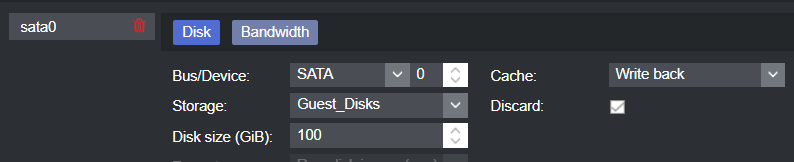
Hard Disk
CPU

Memory

Network
Putting my BOF VM on the untrusted VLAN with internet access. You could put it on VLAN 80 and join it to your domain if you wanted it to be part of your lab.

Installation
Turn on the VM. Install Windows 7 using the .iso file. Create a user account and sign in.
Disable Windows Firewall
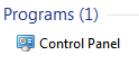
Open the Start Menu and search for Control Panel
Click System Security

Click Windows Firewall
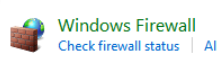
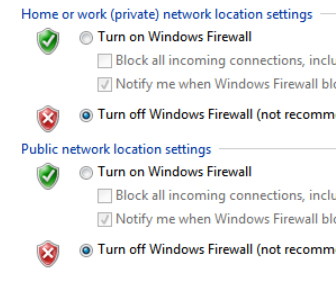
Turn off both zones
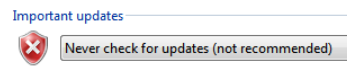
Disable Windows Updates

Disable Windows Defender
In the Control Panel, click the View by option
Change this to small icons.
Go to Tools > Options

Uncheck this box

Click Administrator and uncheck this box
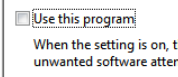
Click Save
Uninstall Security Updates
I wrote a script for just this purpose. All the instructions for running the script can be found on the GitHub repo.
 0xBEN
0xBENInstall Prerequisites on the VM
- Remote Desktop Server (eg. NoMachine Service)
- Google Chrome (or any browser other than IE)
- Git (for cloning mona.py)
- Python 2.7
- Immunity Debugger: https://www.immunityinc.com/products/debugger/
- Fill out the form and download
- You can just provide bogus data
- Mona.py (Goes in C:\Program Files (x86)\Immunity Inc\Immunity Debugger\PyCommands)
- 7-Zip
- Runtime libraries for vulnerable apps (some programs might require this)
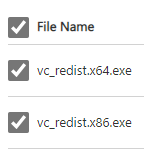
- Visual C++ Redistributable for Visual Studio 2015
- https://www.microsoft.com/en-us/download/details.aspx?id=48145
- Download both files
Install a Vulnerable App on the VM
-
Vulnserver: https://github.com/stephenbradshaw/vulnserver
- Clone the repo to the VM
- Run
vulnserver.exeas admin - Attach the process to Immunity Debugger
- Have fun
-
dostackbufferoverflowgood: https://github.com/justinsteven/dostackbufferoverflowgood
- Clone the repo to the VM
- Run
dostackbufferoverflowgood.exeas admin - Attach the process to Immunity Debugger
- Have fun
Take a Snapshot of the VM
Take a snapshot of the VM in its current state, so that you can revert to a clean slate after running some exploits on the VM, or if any licensing or activation issues occur.
-
Go to the Proxmox GUI
-
Click the Windows 7 VM
-
Click Snapshots
-
Take a snapshot
-
My snapshot settings are
- Name: prereqs_installed
- Description
Configured:
---------------
Disabled Firewall
Disabled Updates
Disabled Defender
Uninstalled security updates

Installed:
------------
Git
Python 2.7
Immunity Debugger
Mona.py
Google Chrome
7zip
Runtime libraries for vulnerable apps
Hack the Vulnerable Applications
I linked you to two vulnerable 32-bit applications to be run on the Windows host. From here, as long as you have a debugger installed, you can get to work on hacking the vulnerable applications.
The best advice would be to go to Google (or your favorite search engine) and find some tutorials on developing exploits to target these vulnerable applications. There is no shortage of walkthroughs on various blogs or YouTube channels. The only difference between the walkthroughs and your environment will be the IP address of the target (and maybe your debugger). So, go have fun.
Finishing Up the Home Lab Guide
0xBENClick here to be taken to the final stretch of the project
