
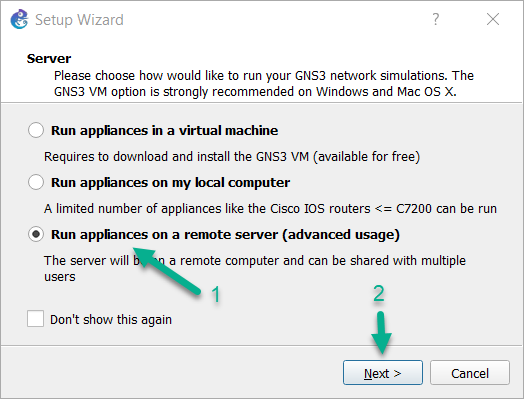
GNS3 Remote Server
A while back, I began curating a list of free IT and Cybersecurity resources on my blog. And, among the list of computer networking resources, I have always wanted to see if I could get this GNS3 lab project running on Proxmox. Since I started running my Proxmox server, I haven't really used VirtualBox or VMware Player that much, so I can't follow along with it in its current form.
I have known about the GNS3 Remote Server option since a couple years ago, but didn't have the opportunity to experiment with it. This past year, I have achieved some of my certification goals and have a bit of free time for a small experiment, so no time like the present to check it out.

Click here to view this diagram in a new tab
Setting up the GNS3 VM
Ensure Nested Virtualization is Enabled
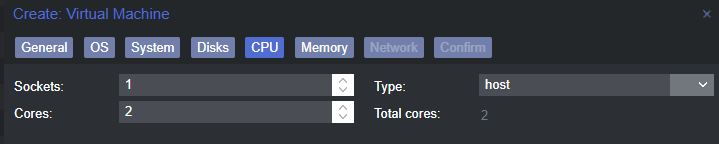
I believe that since PVE 7, nested virtualization is enabled by default, but you will want to double check this setting to be sure. This is because GNS3 will be emulating specific devices and in order for it to virtualize the devices, it will need to expose the host CPU to the guests.
Run one of these commands (depends on CPU) to check if nested hardware virtualization is enabled:
# For Intel processors
cat /sys/module/kvm_intel/parameters/nested

# For AMD processors
cat /sys/module/kvm_amd/parameters/nested
If Nesting is Not Enabled...
1 or Y , then nested hardware virtualization is not enabled.To enable nested virtualization, run one of these commands and PAY ATTENTION that you are running it for the right CPU manufacturer.
# Enable nested virtualization for Intel
echo "options kvm-intel nested=Y" > /etc/modprobe.d/kvm-intel.conf
modprobe -r kvm_intel
modprobe kvm_intel

# Enable nested virtualization for AMD
echo "options kvm-amd nested=Y" > /etc/modprobe.d/kvm-amd.conf
modprobe -r kvm_amd
modprobe kvm_amd
Now, re-run the cat ... commands from above and you should see the output is now Y .
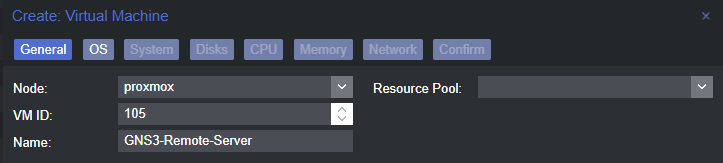
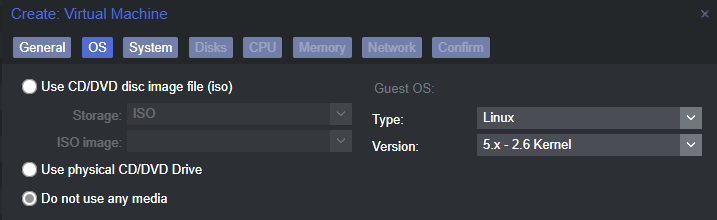
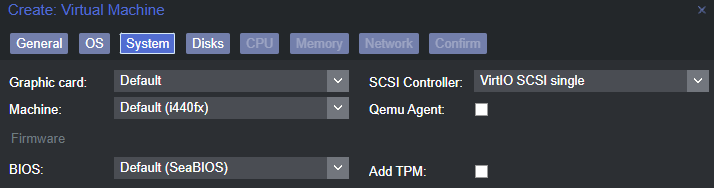
Create the VM Scaffolding

Importing the ESXi VM Disks
You can download the ESXi VM image from here: https://gns3.com/software/download-vm
Right-click the Download button next to the ESXi image and choose Copy link address .
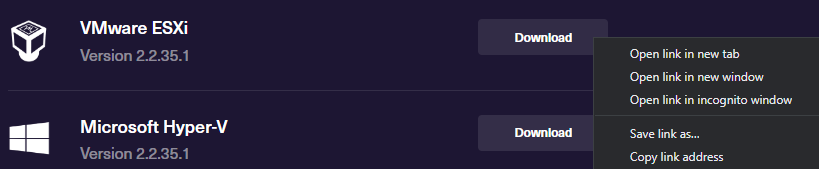
We will be using the ESXi VM image as the base for the Proxmox VM. We are going to complete the next few steps in the Proxmox server shell.
# Set your GNS3 VM ID from Proxmox
gns3_vm_id=105

# Set your guest disk storage volume/partition
# Default is "local-lvm", mine is "Guest_Disks"
guest_disk_storage='Guest_Disks'

cd /tmp
wget https://github.com/GNS3/gns3-gui/releases/download/v2.2.35.1/GNS3.VM.VMware.ESXI.2.2.35.1.zip
unzip GNS3.VM.VMware.ESXI.2.2.35.1.zip
mkdir GNS3_OVA_Files
tar -xvf 'GNS3 VM.ova' -C GNS3_OVA_Files/
cd GNS3_OVA_Files/

# The qemu-img commands don't produce output, so be patient
qemu-img convert -f vmdk -O qcow2 ./GNS3_VM-disk1.vmdk ./GNS3_VM-disk1.qcow2
qemu-img convert -f vmdk -O qcow2 ./GNS3_VM-disk2.vmdk ./GNS3_VM-disk2.qcow2
qm importdisk $gns3_vm_id ./GNS3_VM-disk1.qcow2 $guest_disk_storage --format qcow2
qm importdisk $gns3_vm_id ./GNS3_VM-disk2.qcow2 $guest_disk_storage --format qcow2

# Clean up files
cd /tmp
rm -rf GNS3*
Attaching the Disks to the VM
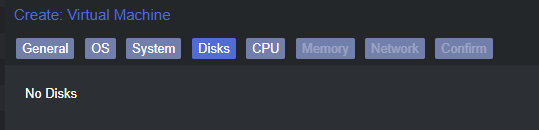
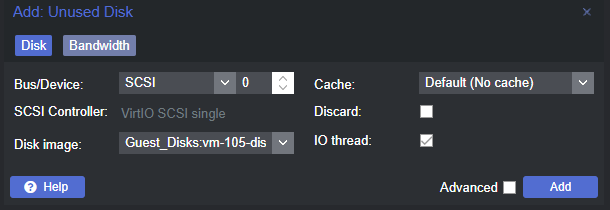
Back in the Proxmox web UI, you should now see two unused disks.

Double click on Unused Disk 0 .
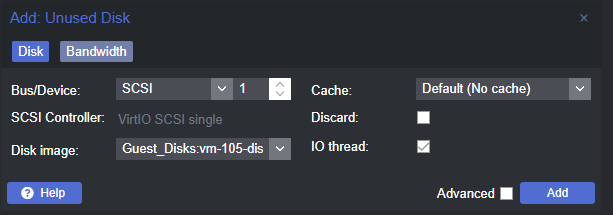
Double click on Unused Disk 1 .
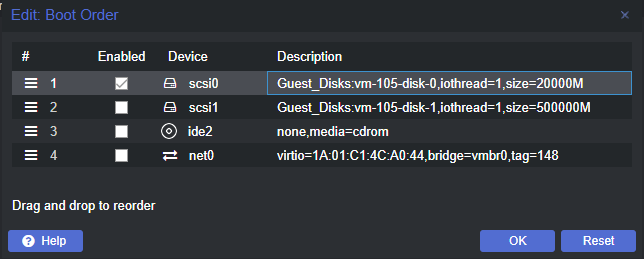
Click on Options . We are going to change the boot order.

Boot up and Verify VM Functionality
Go ahead and start up the VM and make sure that everything is working.
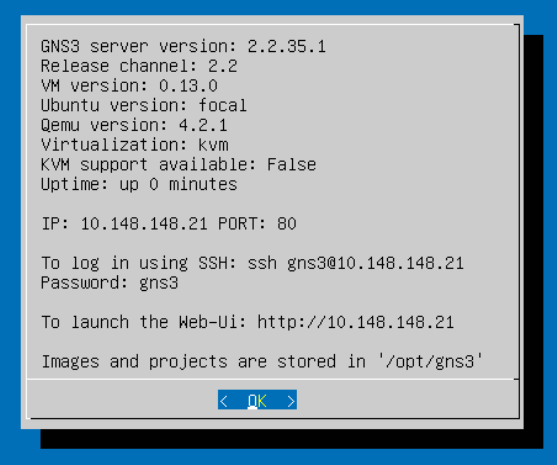
You should see something akin to this on the VM's console. At your next opportunity, take a moment to verify the settings here, change passwords, and harden any settings as necessary.
Connect to the Web UI
As indicated in the welcome screen:
- We can SSH to the server using the
gns3user and the passwordgns3(default) - The Web UI is running at
http://10.148.148.21(in my case) - Any device images and projects will be remotely stored on the VM in
/opt/gns3
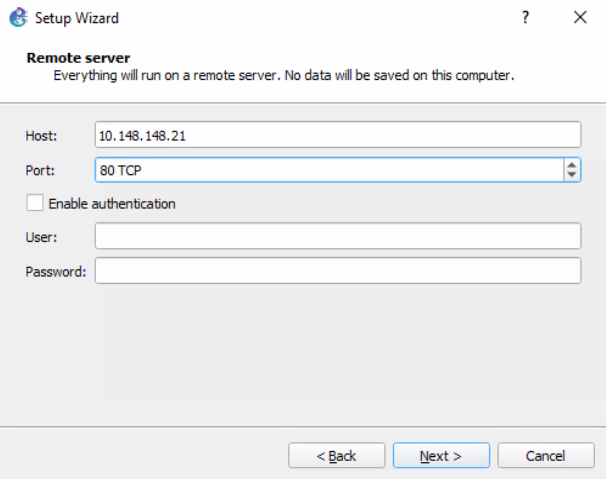
Let's open a web browser and connect to the GNS3 Web UI. In my case, I'll be connecting to http://10.148.148.21 . By default, there is no authentication, so you'll be routed to the Servers landing page.
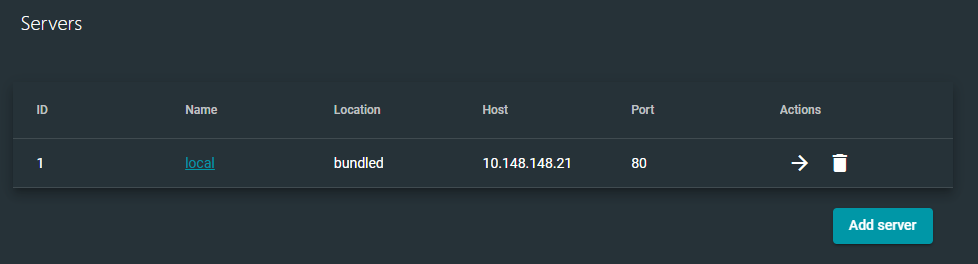
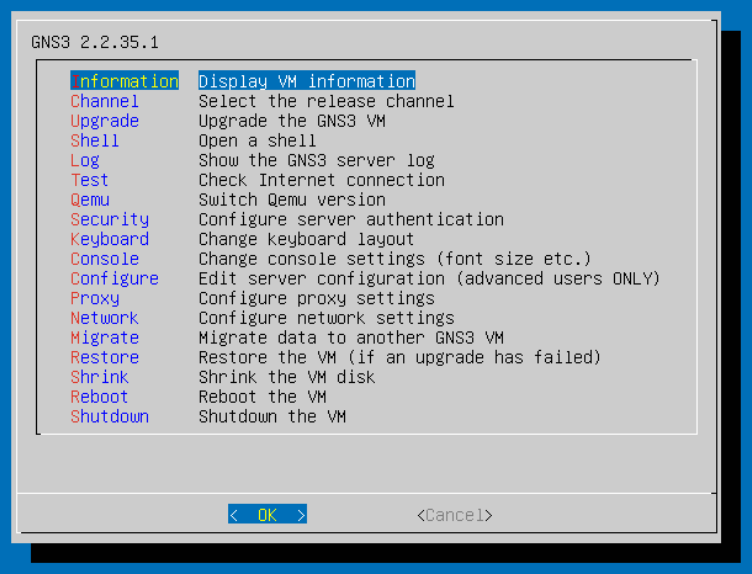
If you'd like to enable authentication on the web server, you can do that from the VM's console here under the Security menu.
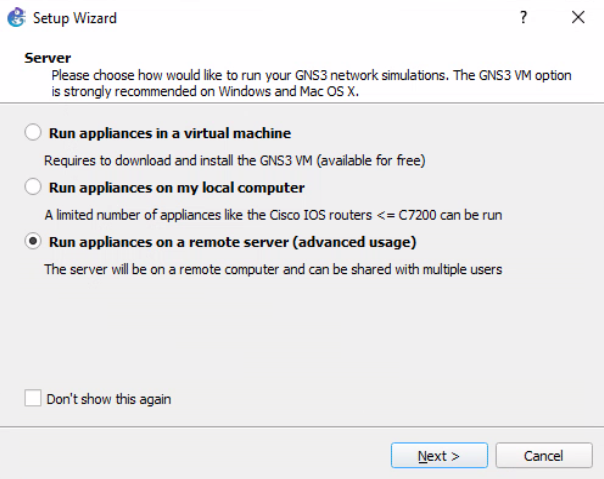
The local server is where we will connect with our GNS3 client.
local will be available to all users.Configuring the GNS3 Client on Windows
I am using a Windows PC, so please consult the documentation for your operating system. You can find the latest GNS3 applications here: https://www.gns3.com/software/download
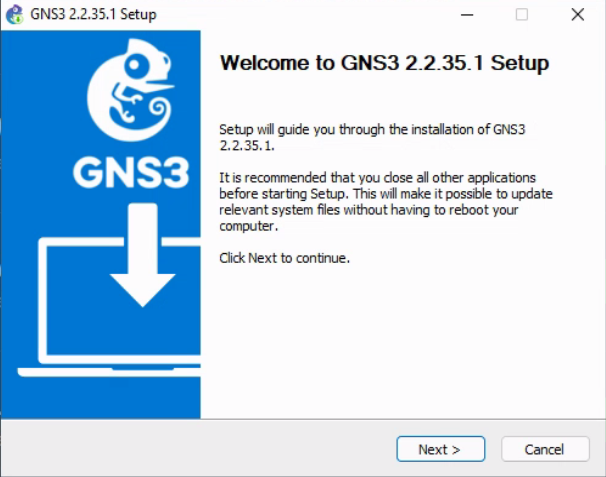
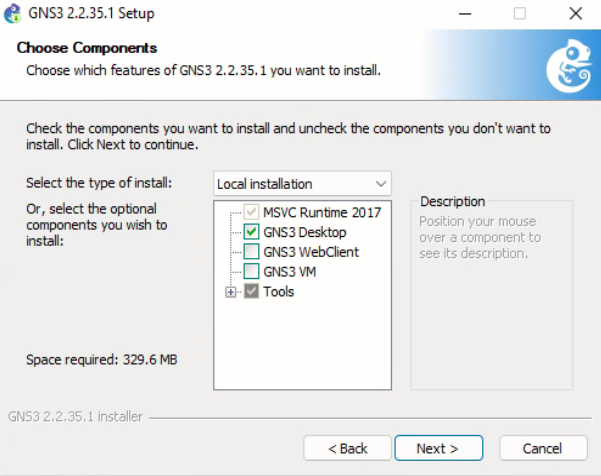
Finish the installation and override any prompts – choosing the default options for all additional installs (except for the SolarPutty install, don't enter your email and don't accept the license).
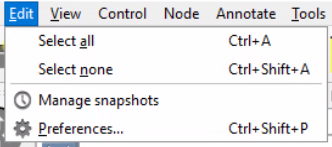
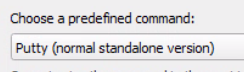
Change the Default Console Handler

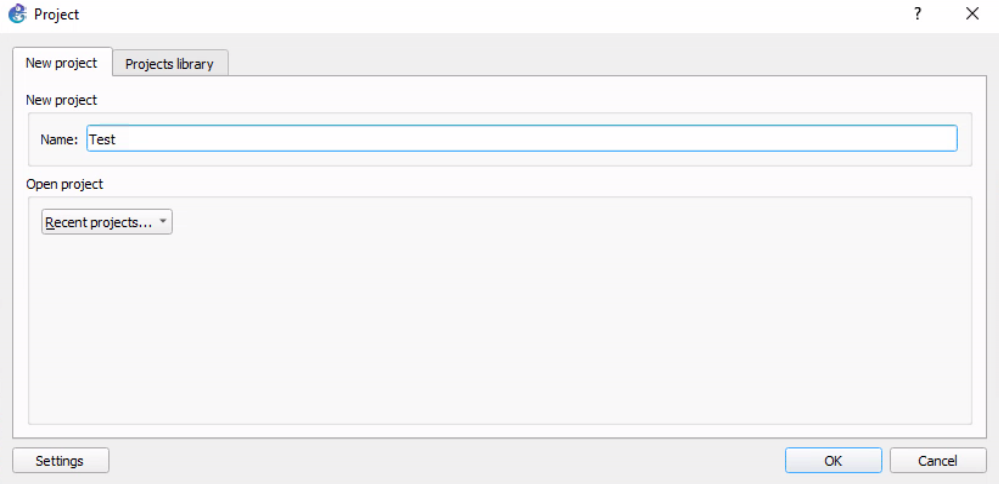
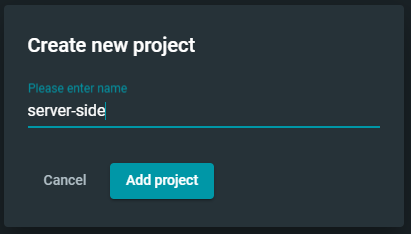
Create a Test Project

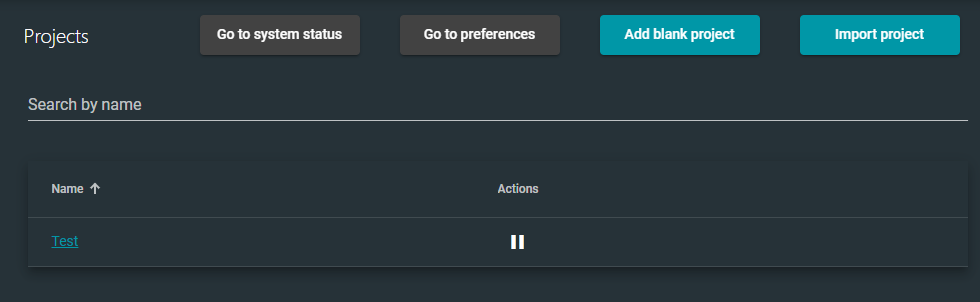
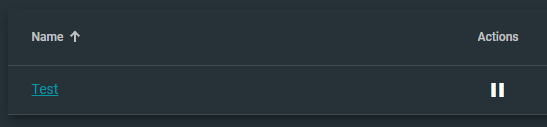
Now, let's see if the GNS3 client pushed the project to the remote server.

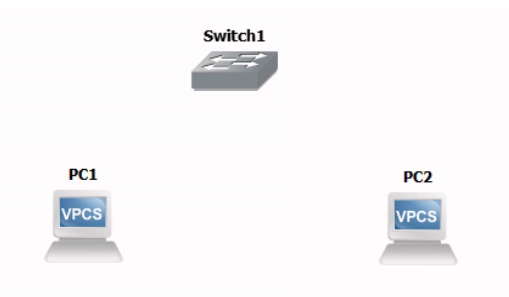
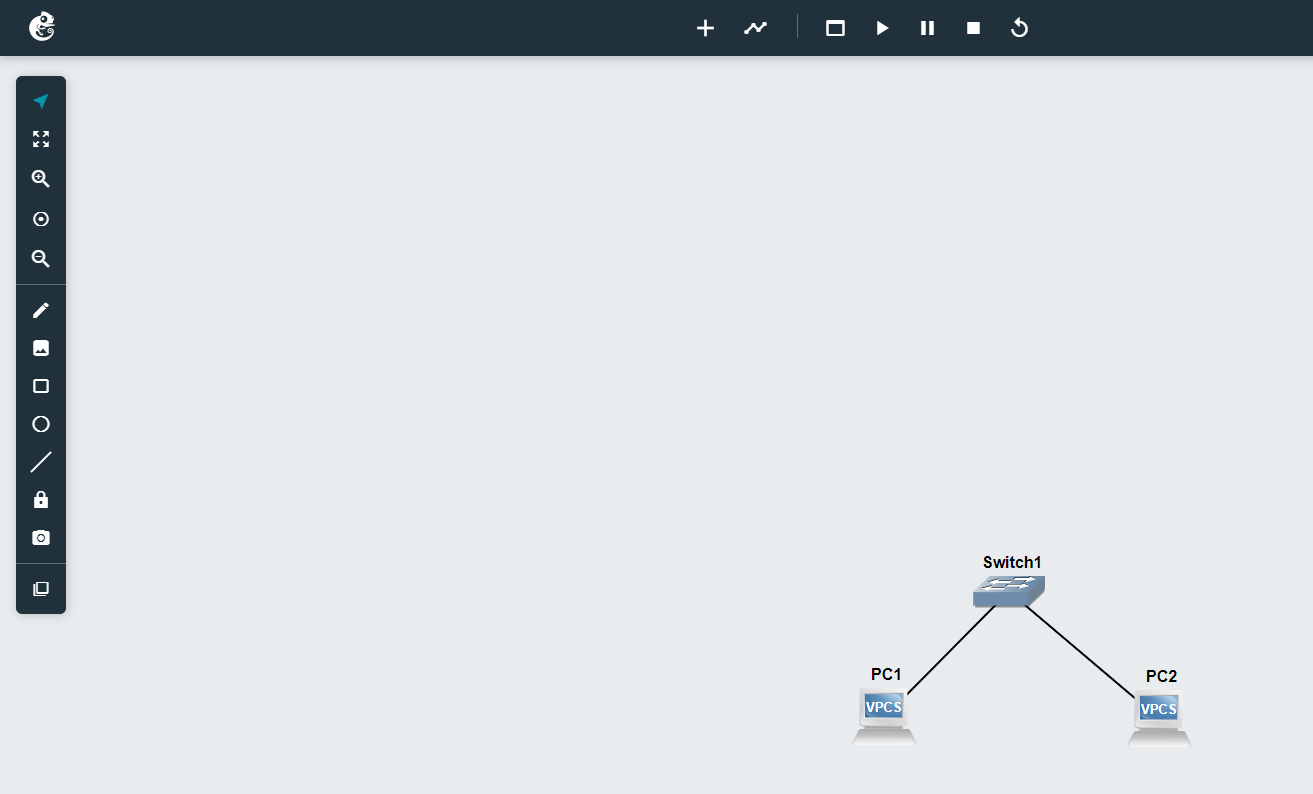
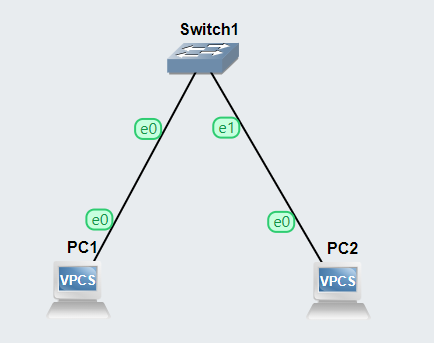
Add a Simple Topology

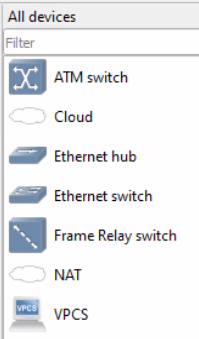
Right now, we don't have many devices to choose from, because we haven't uploaded any device images to GSN3. That's perfectly fine for this test project, as we just want to have a simple test drive.
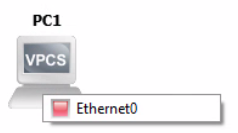
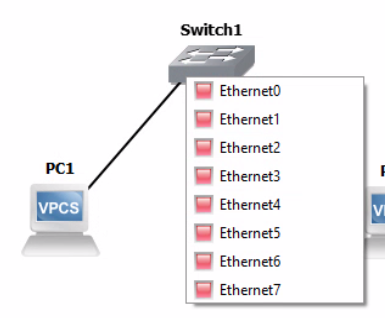
Use your mouse to drag and drop devices onto the workbench and create this topology.


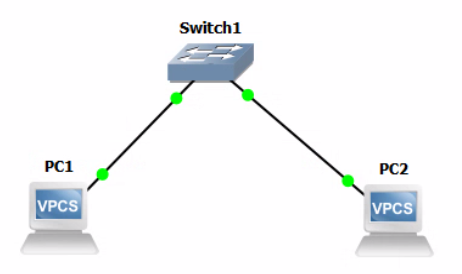
Now that we have connected our nodes in a simple switched topology, we need to configure them with IP addresses before they can communicate.
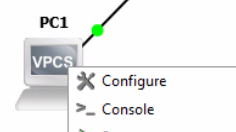
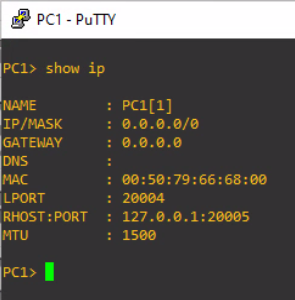
Let's configure PC1 with a static IP address.
ip 172.16.10.10/24 172.16.10.1
Now, let's do the same thing on PC2 .
ip 172.16.10.15/24 172.16.10.1
Finally, let's do a simple ping test between both hosts.
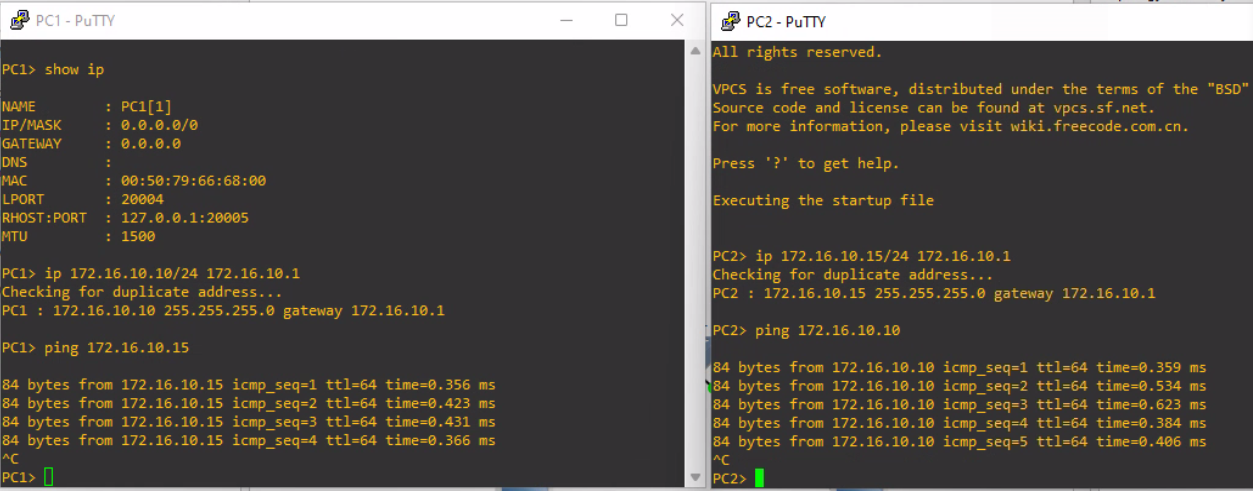
The ping test succeeded between both hosts. We have created our first topology using GNS3 hosted on a remote server.
Verify the Project State Server Side
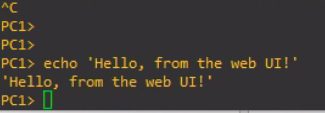
You can even control aspects of the project in the web UI. If you right click one of the nodes, you'll see the option to open a console in your web browser. Let's give it a try.


Test Project Conclusions
- Projects created on the GNS3 client are pushed to the remote server
- Any actions taken on the remote server are reflected on the client
- The server dictates the state of the project
- If a GNS3 client goes offline, and you make changes to the project server-side, the client will pull those changes from the server


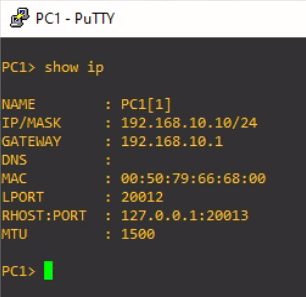
Right click the VPCs and open a web console. Configure their IP addresses.
ip 192.168.10.10/24 192.168.10.1PC1
ip 192.168.10.20/24 192.168.10.1PC2
Now, go back to your GNS3 client on your Windows/Mac/Linux host.


Up Next: Pacific.edu COMP177 Labs
Since I've got GNS3 up and running in Proxmox, I am going to start at Lab 1, Step 5, and get the Mikrotik router OS added to my GNS3 templates.
 University of the Pacific
I'll be linking my work through the labs in my GNS3 VM hosted in Proxmox in a computer networking mini-series. The first and beginning post of that mini-series can be found here: