In the module on importing Vulnhub VMs into your Proxmox home lab, I show you the steps to manually import a Vulnhub VM using Bash. It's good to know how to do it manually before you automate, so you can troubleshoot scripts if something goes wrong.
Proxmox VE runs on top of Debian and since PowerShell 6, PowerShell Core can now run on multiple platforms including Linux. I prefer PowerShell scripting to BASH scripting, because it is object oriented, which enables several powerful features when it comes to systems administration tasks.
Installing PowerShell on Proxmox VE 8
You can install PowerShell on Proxmox VE 7 – which runs on Debian 11 (bullseye) – by running these commands in Bash.
# Download the Microsoft repository GPG keys
wget https://packages.microsoft.com/config/debian/11/packages-microsoft-prod.deb

# Register the Microsoft repository GPG keys
sudo dpkg -i packages-microsoft-prod.deb

# Update the list of products
sudo apt-get update

# Install PowerShell
sudo apt-get install -y powershell
Download the PowerShell Script
I keep my PowerShell lab scripts in this GitHub repository. This particular script is the one I wrote to automate the Vulnhub VM import.
 0xBEN
0xBENYou can click Raw button to download the script to your Proxmox host:
# Navigate to the root user's home directory
cd /root

# Create a Scripts directory
mkdir -p ./Scripts/PowerShell

# Move into the directory
cd ./Scripts/PowerShell

# Download the script
wget https://raw.githubusercontent.com/0xBEN/Proxmox-Lab-Scripts/master/New-VulnhubVM.ps1
You now have the script downloaded to your Machine. Running it is very simple.
Start PowerShell and Import a VM
Start PowerShell
To start PowerShell in Proxmox, just run this command:
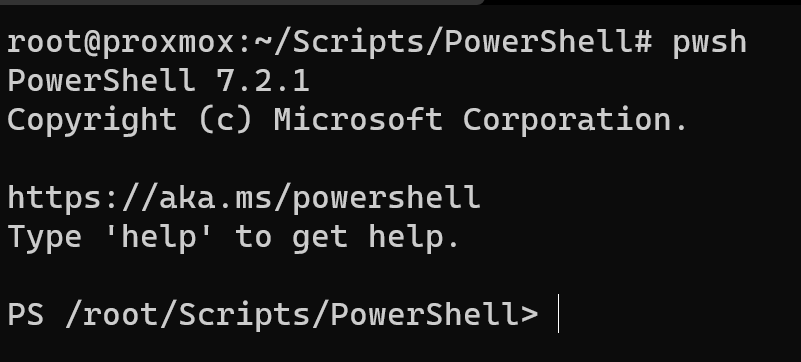
# Start PowerShell
pwsh
PowerShell should now be running. You should see something like this:

Checking the Script Syntax
Get-Help ./New-VulnhubVM.ps1
We can see it takes the following parameters:
-VulnhubURIthe download URI of the Vulnhub VM-DownloadDirectorywhere to download the VM file for processing-VMIDthe numeric ID in Proxmox-GuestOSTypepress theTabkey here to auto-complete-VMDiskStorageVolumesomething likelocal-lvmbut depends on your setup-NetworkBridgethe switch in Proxmox to attach to-VlanTagany VLAN tag you want to assign-VMNamethe name for the VM in Proxmox-MemoryMiBthe amount of RAM to give the VM-CommonParametersare not related to the script and are provided by[CmdletBinding()]and not in the scope of this article
Running the Script
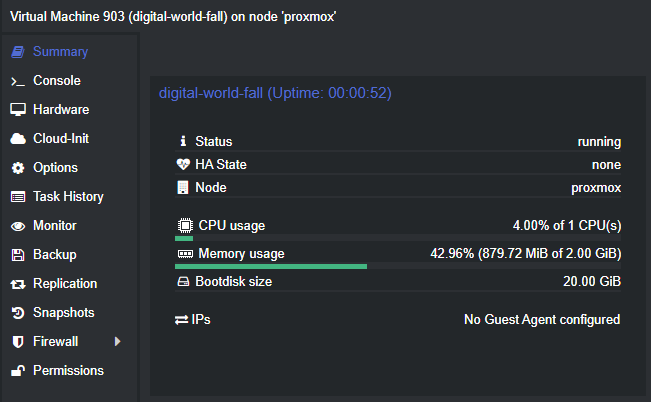
Here's an example of an import I did.
./New-VulnhubVM.ps1 -VulnhubURI https://download.vulnhub.com/digitalworld/FALL.7z -DownloadDirectory /tmp -VMID 903 -GuestOSType l26 -VMDiskStorageVolume Guest_Disks -NetworkBridge vmbr1 -VlanTag 999 -VMName digital-world-fall -MemoryMiB 2048