
MITRE ATT&CK Framework
MITRE's ATT&CK framework is an extremely modular and extensive catalogue of observed tactics, techniques, and procedures used by adversaries in the real world.
With a SIEM like Wazuh, and a very powerful Windows event logger like Sysmon, it is useful to be able to correlate event data to the various framework IDs to make it easier to hunt and recognize potential threat actors.
Extending Wazuh Rules
This GitHub repo has some very useful rules files for the aforementioned purpose.
 Hestat
The reason, I decided to write this post, is to document my steps to work around some issues while implementing the rulesets, as Wazuh was throwing errors when I tried to restart it.
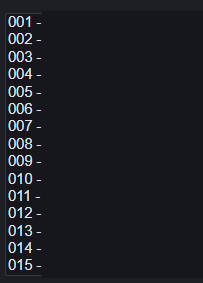
Based on my trial and error, it looks like Wazuh loads rules files – built-in and custom – in order by their numerical ID. So, if you have a custom rules file named 0001-custom-rules.xml, that is going to be loaded first by Wazuh due to its name.
Implementing the Ruleset
These commands are being run on the server where the Wazuh Manager is installed.
cd /tmp
git clone https://github.com/0xBEN/ossec-sysmon

cd ossec-sysmon

# This file has a group ID that needs to be loaded first
mv 0805-v10-sysmon-modular_rules.xml 0330-v10-sysmon-modular_rules.xml

# Need to push all the rules files lower down the chain
# They reference some identities that are loaded later if not renamed
# All we're doing here is adding a '1' in front of the file name
# So, 0330 becomes 10330
for file in `ls 0*.xml`; do oldName=$file; newName="1$file"; mv $oldName $newName; done

# Copy the rules files to the custom rules location
sudo cp ./10*.xml /var/ossec/etc/rules

# Set the correct ownership on the files
sudo chown -R wazuh:wazuh /var/ossec/etc/rules/

# Restart the Manager service
sudo systemctl restart wazuh-manager
Uses my GitHub repo with correct MITRE ATT&CK IDs
Installing Sysmon
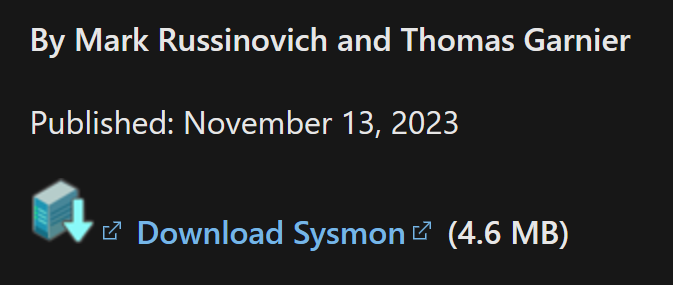
Download Sysmon Binary
You can download the latest Sysmon binary from here:

Download the file and place it on the host(s) where Sysmon is to be installed.
Download Baseline Sysmon Config
SwiftOnSecurity (of Twitter renown) has an excellent baseline configuration for Sysmon that is widely used by the security community.
 SwiftOnSecurity
Download the sysmonconfig-export.xml file to the host(s) where Sysmon is to be installed.
Install Sysmon with the Configuration File
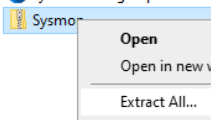
Right-click the Sysmon.zip file and choose Extract All... then follow the prompts to extract to the Sysmon folder.
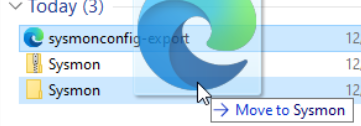
Move the sysmonconfig-export.xml file to the Sysmon folder.
Open a PowerShell console as Administrator. And, run the following commands:
cd ~/Downloads/Sysmon
.\Sysmon.exe -accepteula -i .\sysmonconfig-export.xml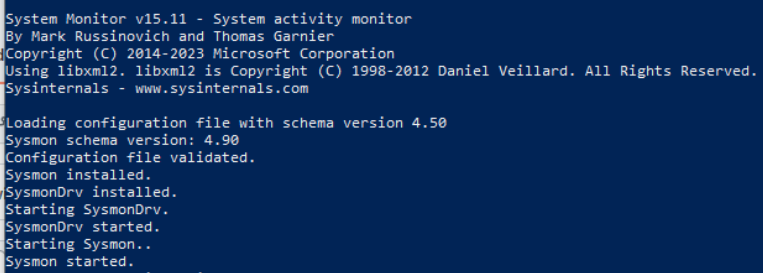
Sysmon has now been installed as a system service and will run at every boot.
Ingesting Sysmon Logs
Create a Windows Agent Group
Log into Wazuh Dashboards and you should be redirected to the Wazuh Management app.
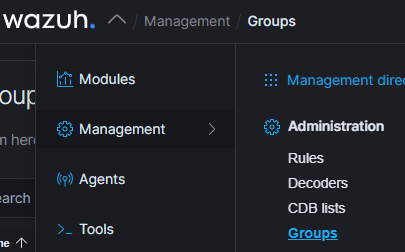
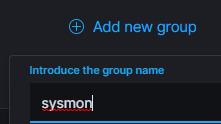
Click on Management > Groups. Add a new group and call it sysmon.
Create a Shared Configuration
With Wazuh, it is possible to create a shared agent configuration that will be applied to any agents that belong to a member of a group. This centralized configuration will take precedence over any configurations in the local ossec.conf configuration.
Next to your new sysmon group, click the Edit (pencil icon) button to modify the shared configuration.

<agent_config>
    <localfile>
        <location>Microsoft-Windows-Sysmon/Operational</location>
        <log_format>eventchannel</log_format>
    </localfile>
</agent_config>
Once you've added the configuration to the agent.conf template in the editor, click the Save button in the top right of the screen.
Add Agents to the Group
Right now, your sysmon group has 0 agents assigned to it. We are going to click the group and add any Windows agents where the Sysmon service has been installed.

Click Manage agents.

Go throguh and select your Windows agents that have been configured with the Sysmon service.
Click the Add selected items button and click Apply changes button.

Now with your agents added to the group, the Wazuh Manager should push the shared configuration to your agent(s) and cause a restart of the agent.