
OpenCTI Project Links
System Requirements
| CPU | RAM | Disk Space |
|---|---|---|
| 6 Cores | 16GiB | >32GB |
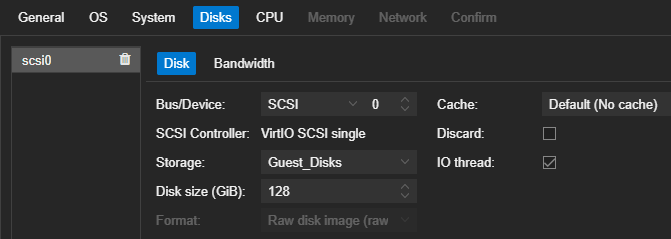
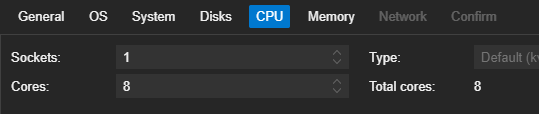
I'll be running my VM with:
- 8 Cores
- 16 GiB RAM
- 128 GB disk
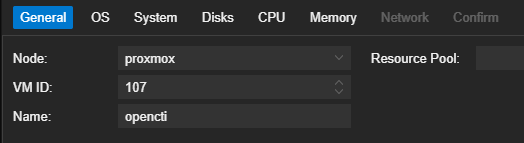
Creating the VM
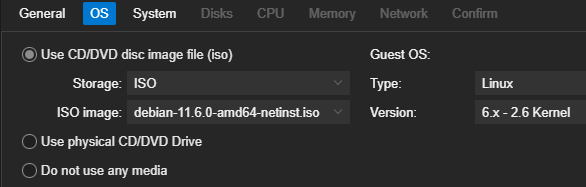
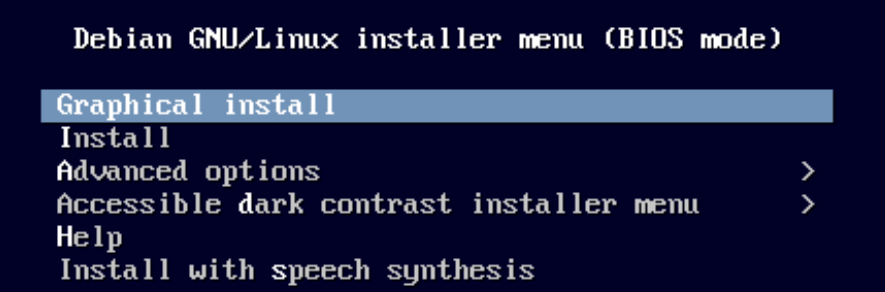
Debian ISO

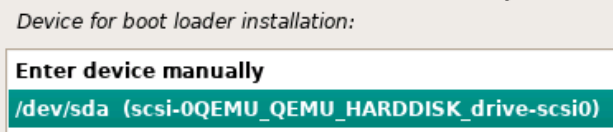
I'll be using the amd64 small ISO from the official Debian page. Create your VM using the hardware specifications above, or your own hardware specifications. Attach the .iso file and boot the VM.
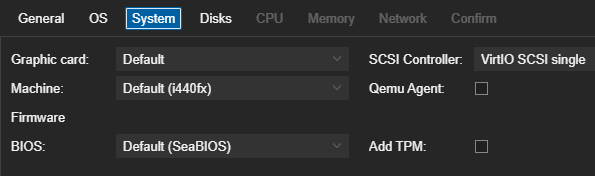
VM Hardware


Installing the Operating System
Next, choose your language, location, and keyboard mapping.
Next, set a password for the root user.
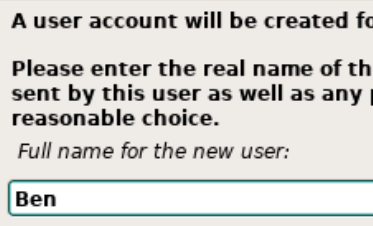

Set a password for your non-root user.
Set your timezone.


Choose your country for the proper Debian package mirror. Then, choose your mirror. deb.debian.org should work in most cases.


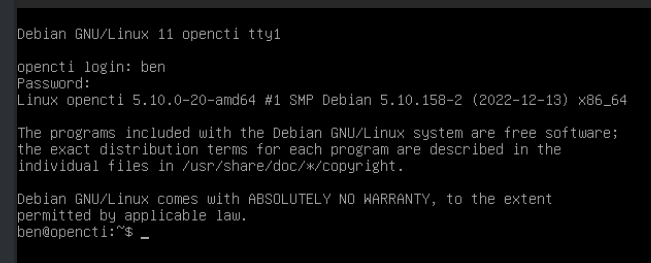
sudo binary is not installed...- Run the command
su rootand enter the 'root' user's password - Install
sudoby running:
# Install operating system upgrades and install sudo
apt clean && apt update && apt upgrade -y && apt install -y sudo
# Add your non-root user to the sudo group
/usr/sbin/usermod -a -G sudo <username>
# Add the /usr/sbin directory to root's path at login
echo 'export PATH=/usr/sbin:$PATH' >> ~/.bashrc
# Exit out of your root session
exit

# Now running as your non-root user again
# Add the /usr/sbin directory to your non-root user's path at login
echo 'export PATH=/usr/sbin:$PATH' >> ~/.bashrc
- Logoff from your non-root user's session and log back in
- Now, verify your sudo privileges
Installing OpenCTI
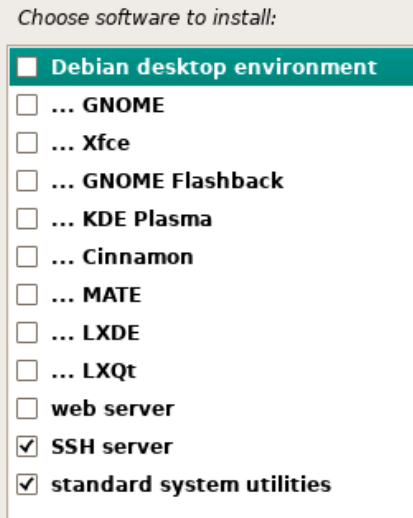
The official documentation states that Docker is the recommended method to run the OpenCTI components, so that's what we'll be doing in this write-up.
Create an OpenCTI Service Account
sudo useradd -r -s /bin/bash -m -d /opt/opencti opencti_svc
sudo passwd opencti_svc
Increase Virtual Memory for ElasticSearch
sudo sysctl -w vm.max_map_count=1048575
echo 'vm.max_map_count=1048575' | sudo tee --append /etc/sysctl.conf
Install Docker Engine
sudo apt install -y ca-certificates curl gnupg lsb-release
sudo mkdir -p /etc/apt/keyrings
curl -fsSL https://download.docker.com/linux/debian/gpg | sudo gpg --dearmor -o /etc/apt/keyrings/docker.gpg
echo "deb [arch=$(dpkg --print-architecture) signed-by=/etc/apt/keyrings/docker.gpg] https://download.docker.com/linux/debian $(lsb_release -cs) stable" | sudo tee /etc/apt/sources.list.d/docker.list > /dev/null
sudo apt update && sudo apt install -y docker-ce docker-ce-cli containerd.io docker-compose-plugin docker-compose
sudo systemctl enable --now docker
sudo usermod -a -G docker opencti_svc
Adds the user 'opencti_svc' to the 'docker' group
Log in as OpenCTI Service Account
Docker Compose File
When logging in as the opencti_svc user, you should be operating in /opt/opencti as the home directory. The first thing we'll do is grab the docker-compose.yml contents from this GitHub repository.
 OpenCTI-Platform
cd /opt/opencti
wget https://github.com/OpenCTI-Platform/docker/raw/master/docker-compose.yml -O docker-compose.ymlnano docker-compose.yml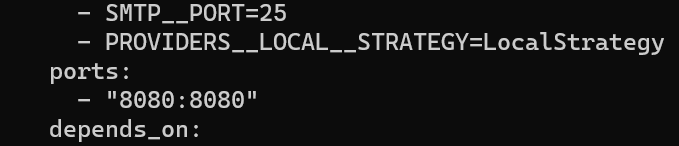
Environment Variables
Generate some environment variables by running this command:
cat << EOF > .env
CONNECTOR_EXPORT_FILE_CSV_ID=$(cat /proc/sys/kernel/random/uuid)
CONNECTOR_EXPORT_FILE_STIX_ID=$(cat /proc/sys/kernel/random/uuid)
CONNECTOR_HISTORY_ID=$(cat /proc/sys/kernel/random/uuid)
CONNECTOR_IMPORT_FILE_STIX_ID=$(cat /proc/sys/kernel/random/uuid)
CONNECTOR_IMPORT_REPORT_ID=$(cat /proc/sys/kernel/random/uuid)
ELASTIC_MEMORY_SIZE=8G
MINIO_ROOT_PASSWORD=$(cat /proc/sys/kernel/random/uuid)
MINIO_ROOT_USER=$(cat /proc/sys/kernel/random/uuid)
OPENCTI_ADMIN_EMAIL=admin@opencti.io
OPENCTI_ADMIN_PASSWORD=CHANGEMEPLEASE
OPENCTI_ADMIN_TOKEN=$(cat /proc/sys/kernel/random/uuid)
OPENCTI_BASE_URL=http://localhost
RABBITMQ_DEFAULT_PASS=guest
RABBITMQ_DEFAULT_USER=guest
SMTP_HOSTNAME=$(hostname)
EOF
At this point you should have the following files in /opt/opencti
docker-compose.yml.env
nano .envOPENCTI_ADMIN_EMAIL- Used to log into OpenCTI
- Also, used for system and other alerts
OPENCTI_ADMIN_PASSWORD- Password to log into OpenCTI
- Change this and store in a password vault
OPENCTI_BASE_URL- Change
localhostto your FQDN or IP address - Example:
http://10.148.148.3orhttp://opencti.home.lab
- Change
RABBITMQ_DEFAULT_USER- Change this and store in a password vault
RABBITMQ_DEFAULT_PASS- Change this and store in a password vault
Launch the OpenCTI Stack
If the OpenCTI interface is not immediately available, be patient.
docker-compose up -d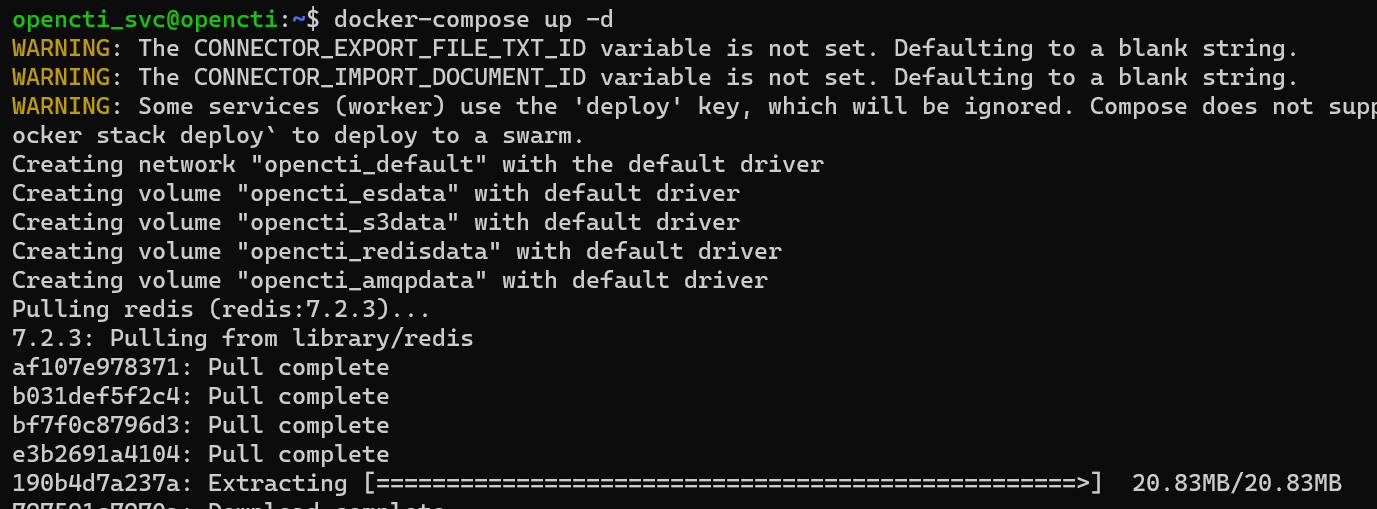
To monitor any docker container logs after the stack is fully deployed, run the command docker-compose logs -f.
Logging into OpenCTI
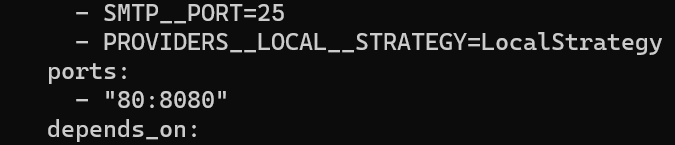
In your web browser, navigate to http://ipaddress or http://fqdn. Remember, we configured the application to be served over TCP port 80, whereas most documentation references TCP port 8080.

The username and password were set by you in the .env variables file in OPENCTI_ADMIN_EMAIL and OPENCTI_ADMIN_PASSWORD respectively.
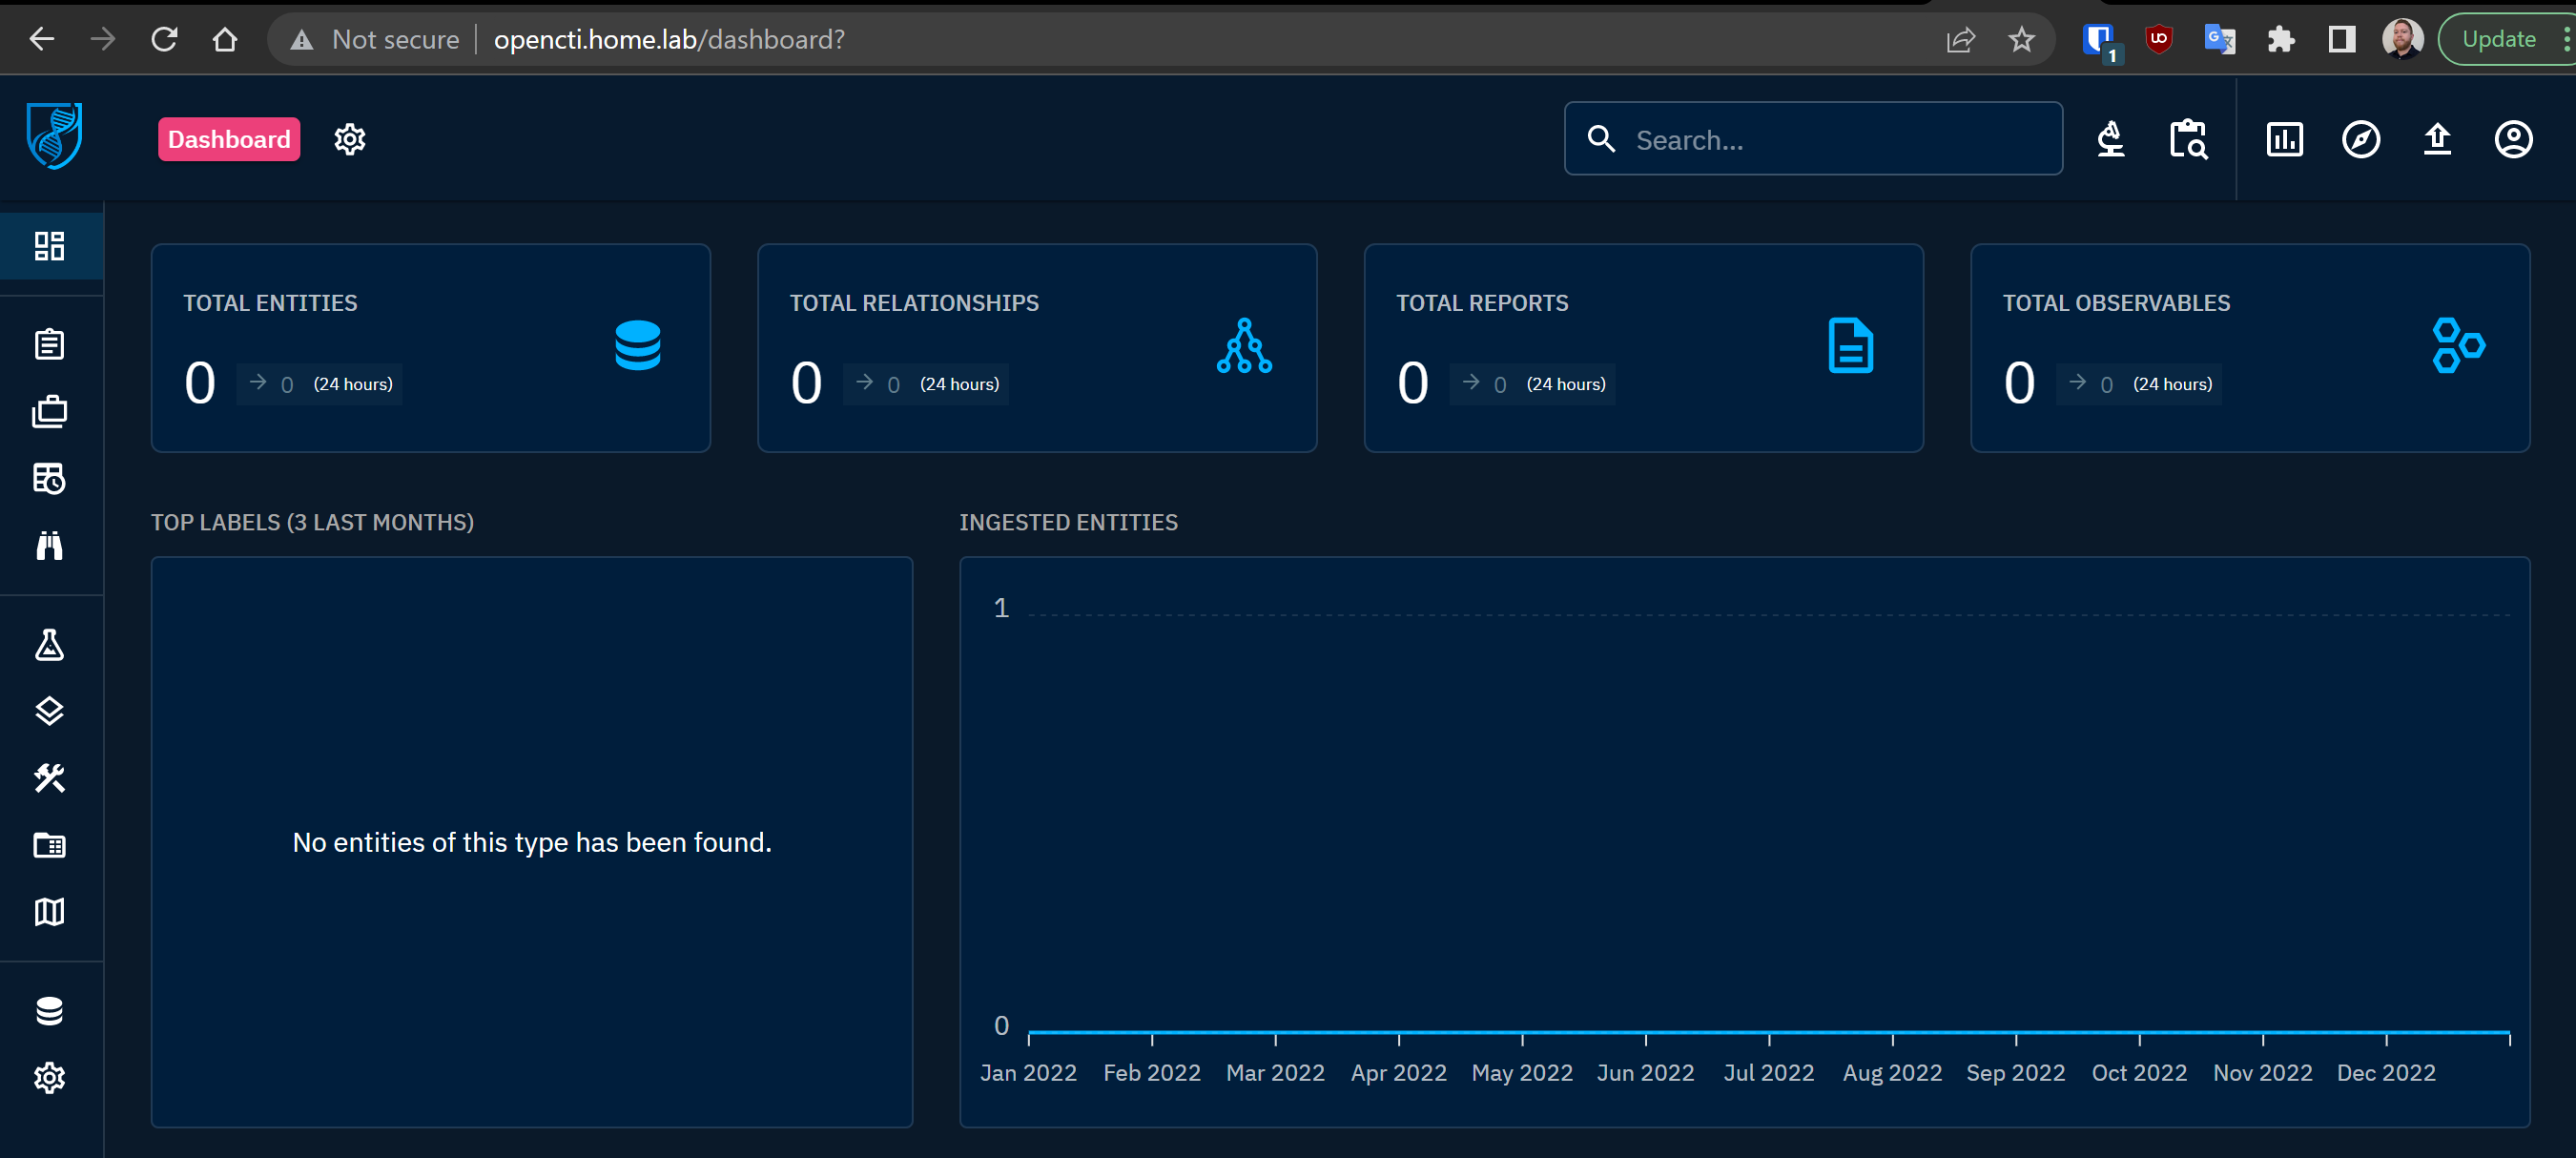
Upon first glance, the empty canvas on the OpenCTI UI can be a little underwhelming. OpenCTI does not ship with any data, so you either have to import it manually or use connectors to programmatically pull data.
Configuring OpenCTI Connectors
A list of officially supported connectors (and their configurations) is available on their GitHub repo.
 OpenCTI-Platform
Connectors are divided into several categories:
- External Import
- Internal Enrichment
- Internal Export File
- Internal Import File
- Stream
Configure an External Import Connector
AlienVault OTX
For the sake of this walkthrough, let's configure the AlienVault OTX external connector, since this is a very powerful and widely used threat intel exchange.
Connector Roles and Permissions
According to the official documentation, the proper way to add connectors to OpenCTI is:
- Create a specific role for connectors
- Create an account per connector and attach the role to it


Create the Connector Account
We're still working in the Accesses tab from above.


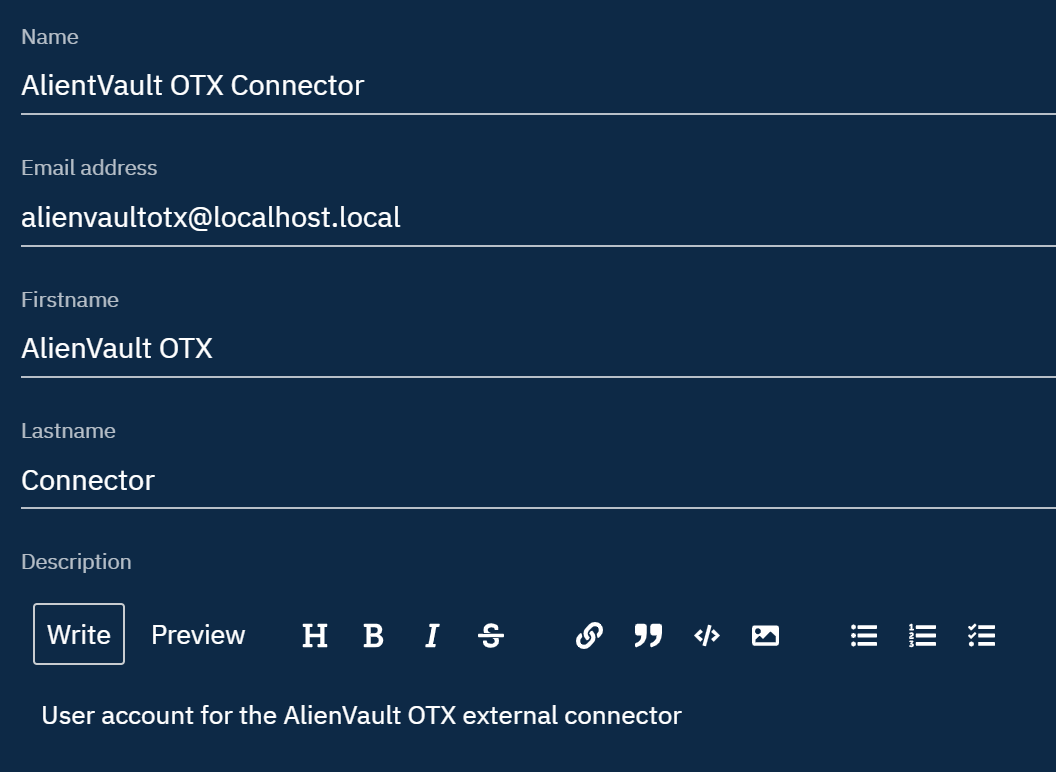
Specify a password for the connector account and click Create.
Update the Account Roles


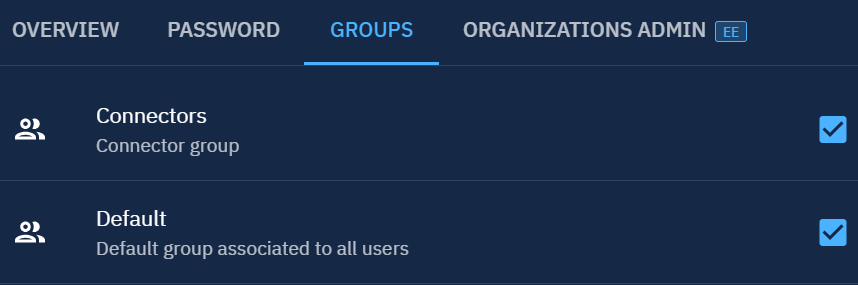

Click anywhere outside of the pane to return to the main view.
Update the Docker-Compose Configuration
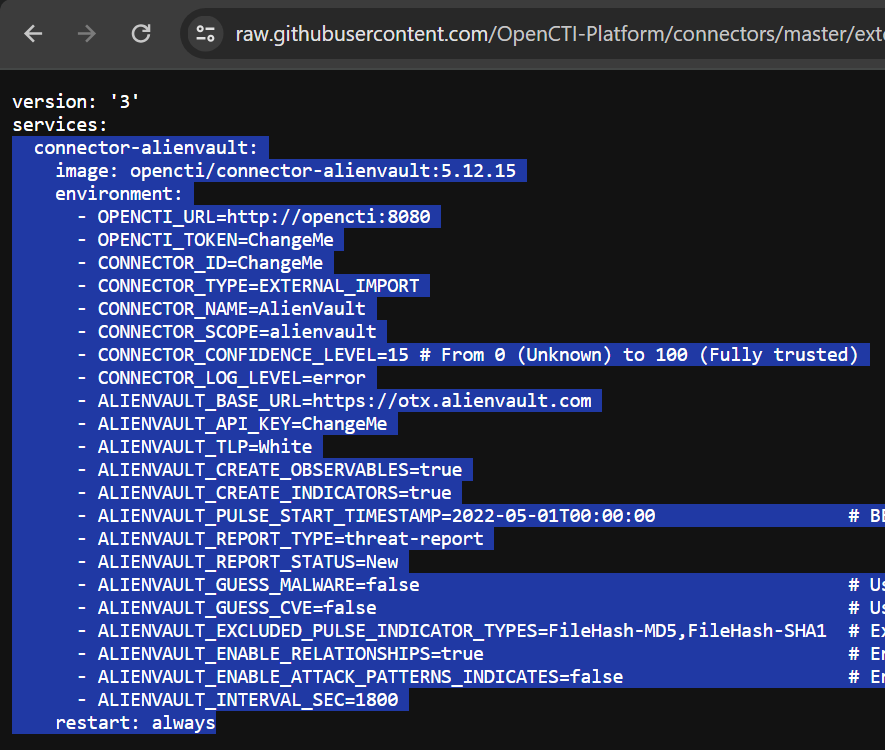
We are going to use the docker-compose.yml template for the AlienVault connector directly from the project GitHub. We'll be borrowing a portion of this file and injecting into the main docker-compose.yml.
OpenCTI-PlatformI'm going to copy and paste only the text highlighted in the screenshot:
cd /opt/opencti
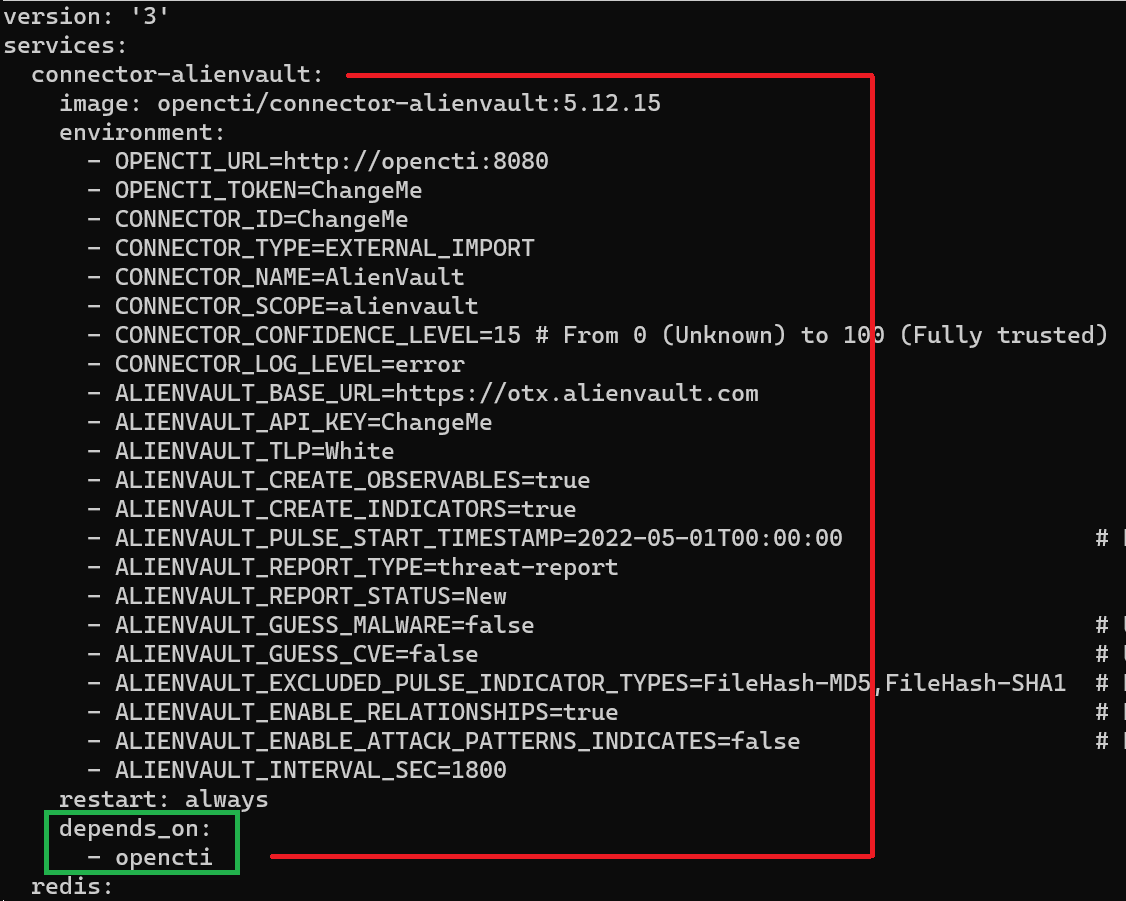
nano docker-compose.ymlThe screenshot below indicates how I copied and pasted the YAML syntax right above the redis and below the services keywords in the original file. I've also appended the following YAML syntax to the connector:
    depends_on:
      - opencti
This causes Docker Compose to pause initialization of the connector until the opencti container has been brought up. Add this to all of your connector YAML syntax.
- OPENCTI_TOKEN=ChangeMeBefore
- OPENCTI_TOKEN=connector-api-token-hereAfter: paste your API token for the AlienVault user here
- CONNECTOR_ID=ChangeMeBefore
Every connector must have a unique CONNECTOR_ID. There are UUID4 random generators on the web that you can use. Or, you can generate them in PowerShell or bash.
Bash: echo $(cat /proc/sys/kernel/random/uuid)
PowerShell: [Guid]::NewGuid().Guid
Then paste the output into the CONNECTOR_ID variable.
- CONNECTOR_ID=random-uuid-v4-hereAfter
- ALIENVAULT_API_KEY=ChangeMeBefore
- ALIENVAULT_API_KEY=alienvault-otx-api-keyAfter: log into your AlienVault account and retrieve this
You can now save the changes to your docker-compose.yml file. Once you've done that, you'll need to restart the OpenCTI stack by issuing these commands.
cd /opt/opencti
docker-compose down && docker-compose up -d
Again, you can watch the Docker container logs by running:
docker-compose logs -fExploring the Platform
In this tutorial, we got the platform installed and configured with a single external connector, the AlienVault connector. That is only scratching the surface in terms of available connectors and information you can import to the platform. Some other recommended external connectors to check out:
abuse-sslabuseipdb-ipblacklistcvemitreopencti(yes, that is the name of the connector)urlhaus
That is just to name a few. Remember the process generally follows these steps:
- Take the
docker-compose.ymlcontents from the connector on GitHub - Plug them into
/opt/opencti/docker-compose.ymlwhile being sure to maintain the indentation.
Upgrading OpenCTI
Make a Snapshot of Your VM
Log into Proxmox and click on your OpenCTI VM. Click on Snapshots > Take Snapshot. You could name it something like pre_upgrade_YYYYMMdd. You should see TASK OK in the output when the snapshot has been successfully created.
Update the OpenCTI Stack
cd /opt/opencti
docker-compose down && docker-compose pull && docker-compose up -d
Serving OpenCTI over TLS
Stop the OpenCTI Stack
cd /opt/opencti
docker-compose down
Create a Local Volume to Store TLS Cert and Key
nano docker-compose.ymlvolumes:
esdata:
s3data:
redisdata:
amqpdata:
opencti_https:Append the 'opencti_https' volume to the list
  opencti:
    image: opencti/platform:5.12.15
    environment:
      # ...
      # Removed by author for brevity
      # ...
    ports:
      - "80:8080"
    volumes:
      - opencti_https:/certs
    # ...
      # ...
Run these chained commands to start the stack and create the volume, then shut it down, so we can add our certificates there.
docker-compose up -d && docker-compose downThis will create the following path /var/lib/docker/volumes/opencti_opencti_https/_data/. Once created, place your .crt and .key TLS files in this directory, which will require root privileges.
Update the OpenCTI Stack
Update the Environment Variables
Let's say you got a TLS certificate for your OpenCTI instance with the hostname, opencti.domain.tld. This is the hostname we'll be referencing throughout this configuration example.
cd /opt/opencti
nano .envOPENCTI_BASE_URL=http://opencti.domain.tldbefore
OPENCTI_BASE_URL=https://opencti.domain.tldafter
Save your changes.
Update Docker Compose
Let's use sed to easily update the OPENCTI_URL variable in the docker-compose.yml file. The command below, will do the following.
- Backup the original
docker-compose.ymltodocker-compose.yml.bak - Update the
OPENCTI_URLvariable with yourhttps://opencti.domain.tldURL
sed -i.bak -e 's/OPENCTI_URL=http:\/\/opencti\:8080/OPENCTI_URL=https:\/\/opencti\.domain\.tld/g' docker-compose.ymlChange 'opencti\.domain\.tld' accordingly
nano docker-compose.yml opencti:
image: opencti/platform:5.12.15
environment:
# ...
# ...
# ...
- APP__HTTPS_CERT__KEY=/certs/opencti.key
- APP__HTTPS_CERT__CRT=/certs/opencti.crt
#- APP__HTTPS_CERT__REJECT_UNAUTHORIZED=false
ports:
- "443:8080"Change '80:8080' to '443:8080'
Effectively, what we're doing is this:
- Map
/var/lib/docker/volumes/opencti_opencti_https/_data/opencti.keyto/certs/opencti.keyinternally to the container - Map
/var/lib/docker/volumes/opencti_opencti_https/_data/opencti.crtto/certs/opencti.crtinternally to the container - Listen on
TCP/443— the default port for HTTP over TLS - Uncomment
APP__HTTPS_CERT__REJECT_UNAUTHORIZEDif you're testing with a self-signed certificate that does not have a valid CA.
Bring up the Stack
docker-compose up -dOnce you've made all of the designated changes to the stack, it's time to update the stack with your changes. This will redploy the entire stack, so be patient while all of the changes are loaded and your containers are deployed.
Verify HTTPS Functionality
In your browser, try navigating to your new URL, https://opencti.domain.tld. You should find that your site loads normally and that your browser trusts the connection as evidenced by the padlock icon in the URL bar.

Also, make sure your containers are not reporting any issues with connecting to the API.
docker-compose logs -fInspect your worker and connector logs and ensure there are no error logs regarding API connectivity issues.
Conclusion
If you've followed along up to this point, I want to thank you for reading. I hope that this blog has helped you successfully get your OpenCTI instance running and configured. OpenCTI is a powerful cyber threat intelligence engine that can aggregate and enhance data from multiple sources. Check out their documentation for more ways to enhance your OpenCTI instance.
