Download Link
You can find all the necessary information and download links for the target here:
I recommend using the Download (Mirror) link.
Create the VM from the Shell
Open a shell on your Proxmox node and follow along. Remember that any line starting with a # is a comment and there to guide you along with the commands.
# Install the unar utility
apt update && apt install -y unar

# Change directory to /tmp
cd /tmp

# Download Kioptrix: 1
wget https://download.vulnhub.com/kioptrix/Kioptrix_Level_1.rar

# Expand the .rar archive
unar Kioptrix_Level_1.rar

# Change directory into the target folder
cd 'Kioptrix Level 1'

# Create a VM with an ID of 789
qm create 789 --memory 1024 --cores 1 --name 'Kioptrix1' --ostype l24

# Import the .vmdk disk to the VM
# Assumes your guest disk partition is local-lvm
# Format qcow2 to support snapshots
qm importdisk 789 'Kioptrix Level 1.vmdk' local-lvm --format qcow2

# Attach the disk to the VM
qm set 789 --ide0 local-lvm:vm-789-disk-0

# Set the boot order with sata0 as the main boot target
# Give the VM a Realtek NIC on VM Bridge 1, Proxmox firewall off
qm set 789 --boot order=ide0 --net0 model=rtl8139,bridge=vmbr1,firewall=0

# Clean up
cd /tmp
rm -rf ./Kiopt*
Power on and Configure the VM
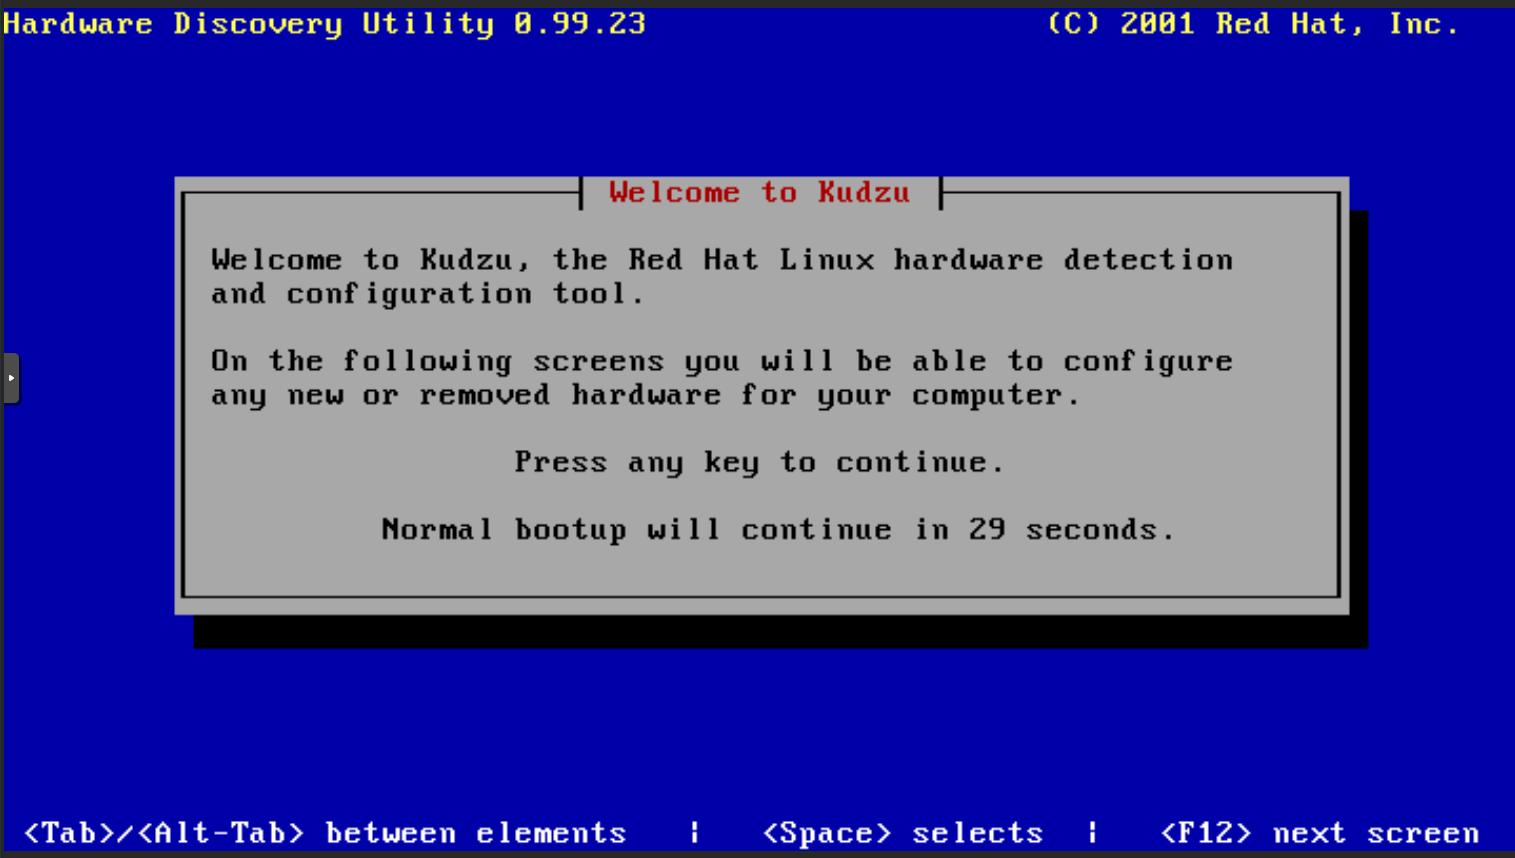
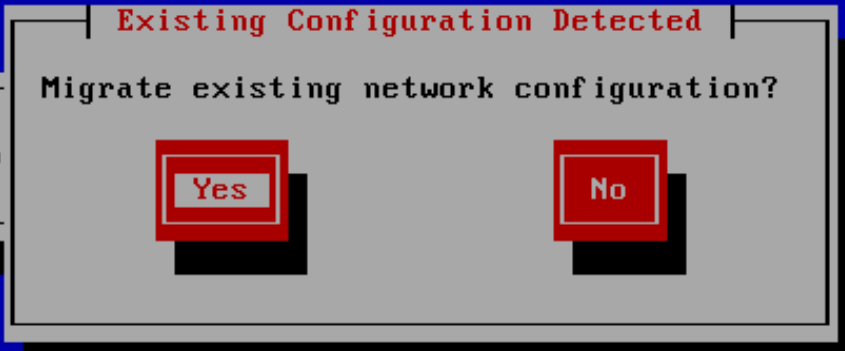
The first thing you'll notice is the Hardware Discovery Utility pops up here. Press any key at this screen to enter the setup wizard. This happens because the NIC drivers that the box shipped with are different than the one's we provided (Realtek). You only have to do this once at first setup.
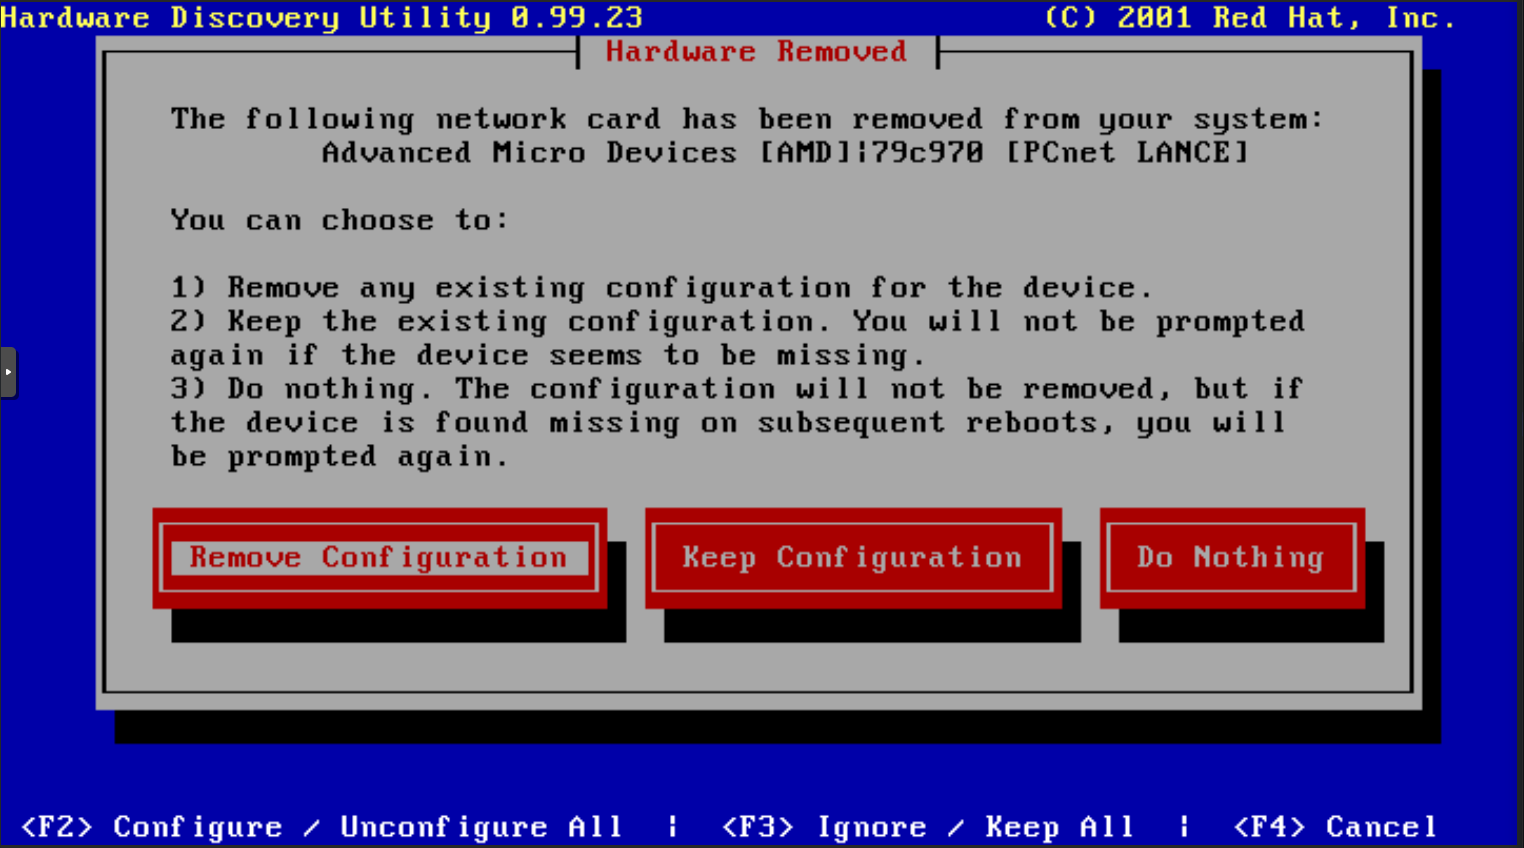
Choose Remove Configuration at this screen to remove the old AMD configuration.
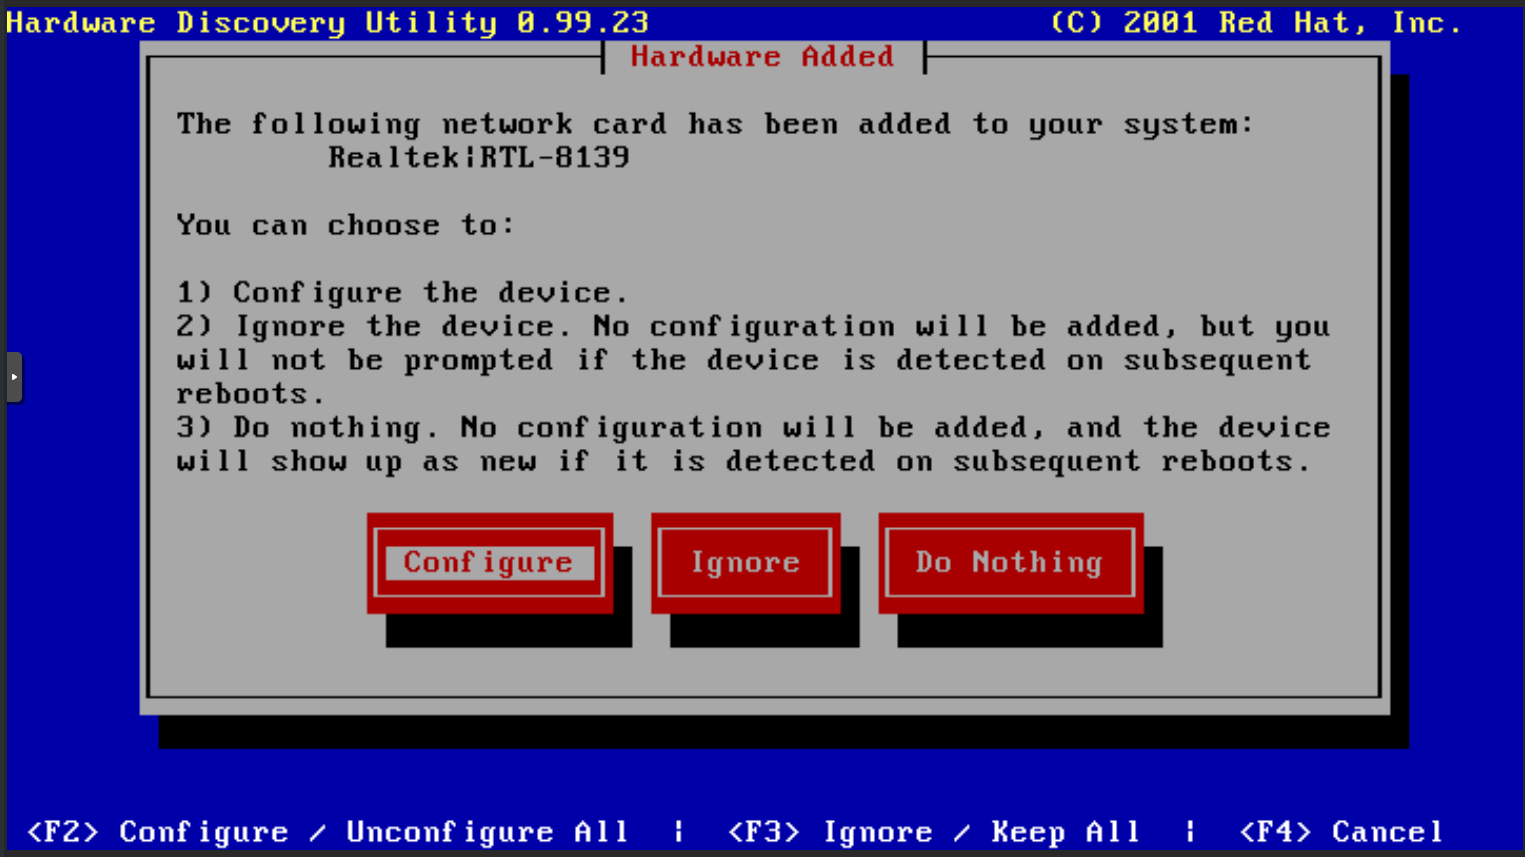
Choose Configure at this screen to add the new Realtek NIC.


Take a Snapshot
Under the Kioptrix VM settings in Proxmox, go to Snapshots and take a snapshot at its current baseline configuration. That way if you break anything while you are exploiting the box, you can easily roll it back to a default state.
That's it, have fun!