

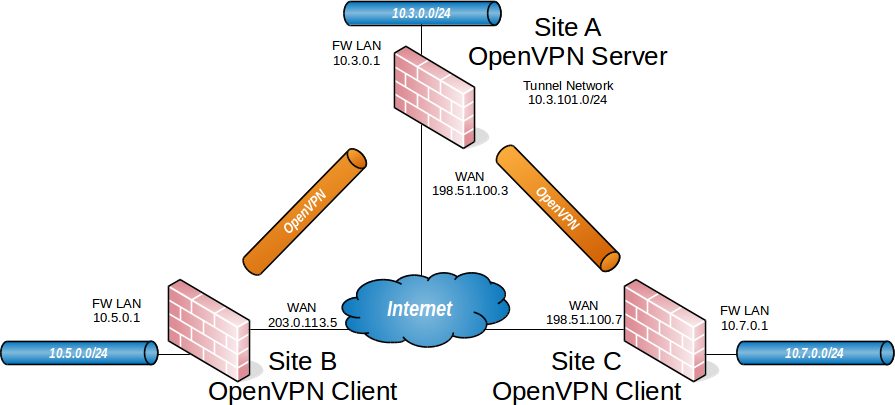
Network Diagram
Click here to view this diagram in a new tab
The Question
I saw someone ask about it in the HackTheBox Discord server and I wanted the challenge. The question was (copied and pasted from the server):
can I have a PFSense vm running with htb vpn then connect my kali vm and other vm to that router vm and access htb network ?
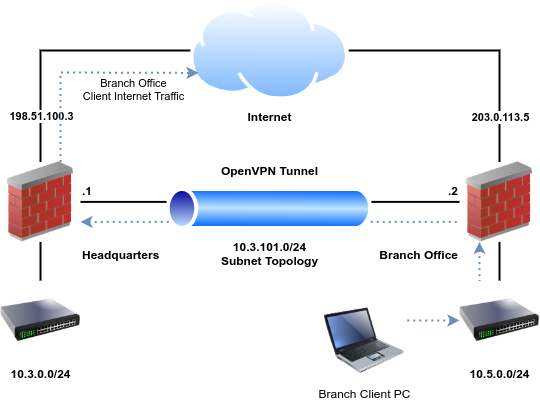
And that got me thinking that it should be quite similar to setting up a site-to-site tunnel. Except in this case, we'd only be configuring a client and have no control of the connection on the other side. So, I dug into the Netgate documentation.
The Solution
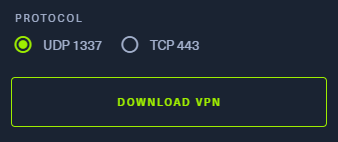
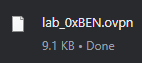
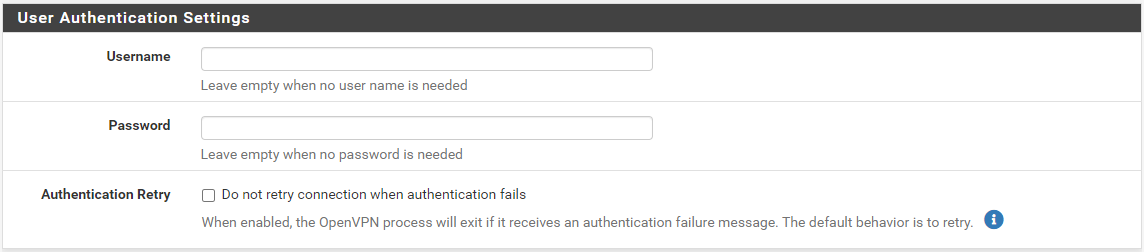
Download Your HTB VPN File


Import the VPN Configuration
pfSense Plus Users
Install the OpenVPN Client Import Package

Import the .OVPN Configuration File


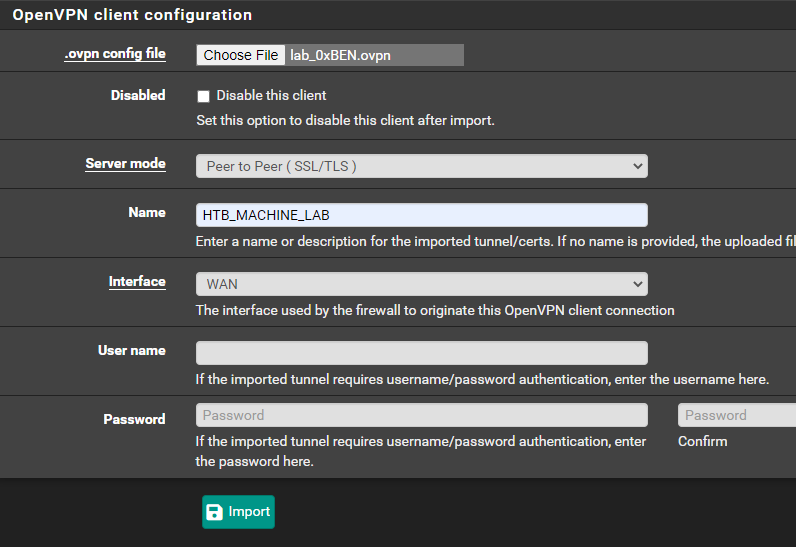


NOTE: If you're not a pfSense CE user, you can skip down to the next section.
pfSense CE Users
Unfortunately, Netgate no longer offers the option to upgrade pfSense CE to pfSense Plus Home+Lab. So, I've had to re-write this article to include the .ovpn import instructions for both user sets.
HTB .OVPN File Structure
HackTheBox .OVPN Example
client
opevpn-option1
opevpn-option2
opevpn-option3
opevpn-option4
<ca>
-----BEGIN CERTIFICATE-----
blahblahblahblahblahblahblahblahblahblahblahblahblahblahblahblah
blahblahblahblahblahblahblahblahblahblahblahblahblahblahblahblah
blahblahblahblahblahblahblahblahblahblahblahblahblahblahblahblah
-----END CERTIFICATE-----
</ca>
<cert>
Certificate:
    Data: blahblahblahblahblahblahblah
    More data: blahblahblahblahblah

-----BEGIN CERTIFICATE-----
blahblahblahblahblahblahblahblahblahblahblahblahblahblahblahblah
blahblahblahblahblahblahblahblahblahblahblahblahblahblahblahblah
blahblahblahblahblahblahblahblahblahblahblahblahblahblahblahblah
-----END CERTIFICATE-----
</cert>
<key>
-----BEGIN PRIVATE KEY-----
blahblahblahblahblahblahblahblahblahblahblahblahblahblahblahblah
blahblahblahblahblahblahblahblahblahblahblahblahblahblahblahblah
blahblahblahblahblahblahblahblahblahblahblahblahblahblahblahblah
-----END PRIVATE KEY-----
</key>
<tls-auth>
#
# 2048 bit OpenVPN static key
#
-----BEGIN OpenVPN Static key V1-----
blahblahblahblahblahblahblahblahblahblahblahblahblahblahblahblah
blahblahblahblahblahblahblahblahblahblahblahblahblahblahblahblah
blahblahblahblahblahblahblahblahblahblahblahblahblahblahblahblah
-----END OpenVPN Static key V1-----
</tls-auth>
This file contains the following sections:
client- client options
<ca></ca><cert></cert><key></key><tls-auth></tls-auth>
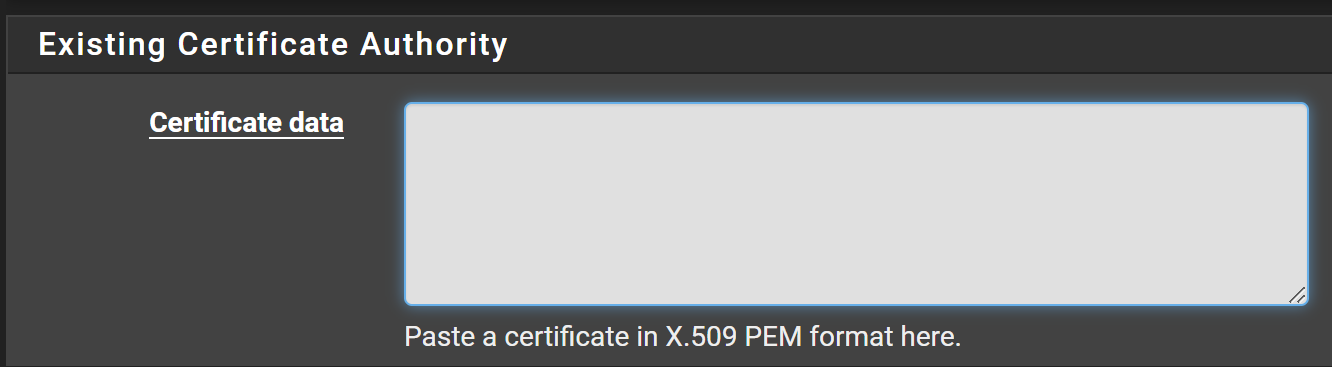
Create the Certificate Authority


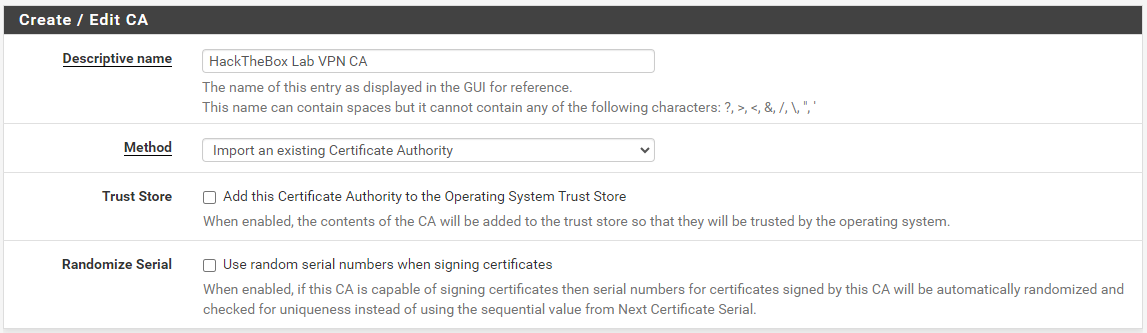
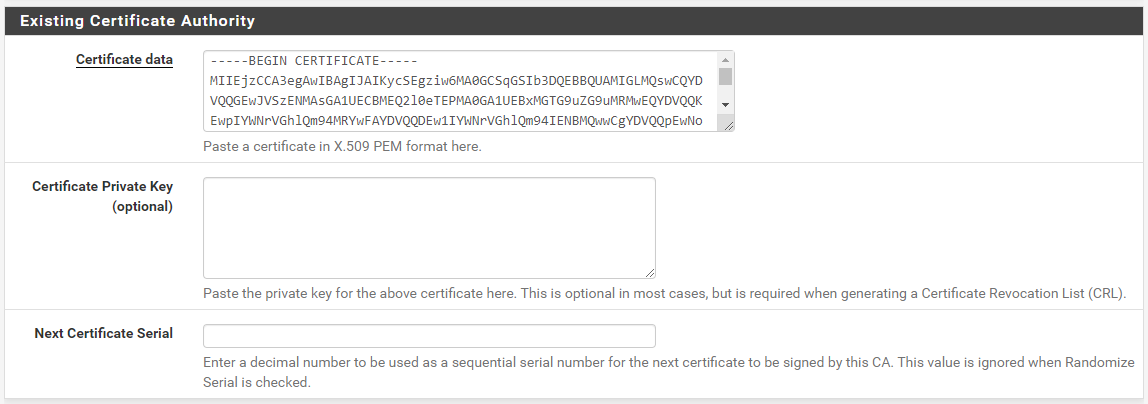
In the .ovpn file, you'll need EVERYTHING between the <ca> and </ca> tags. Copy and paste this info into the Certificate data textbox.

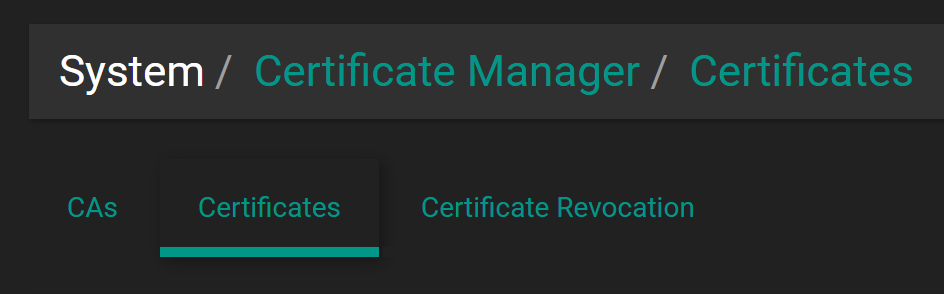
Add the HackTheBox Labs VPN Certificate
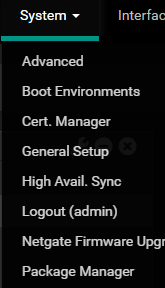
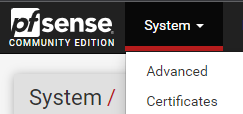
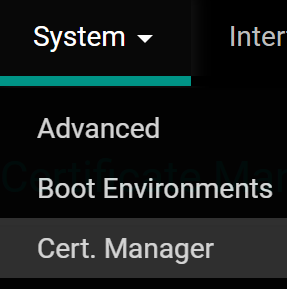
Go to System > Certificates.


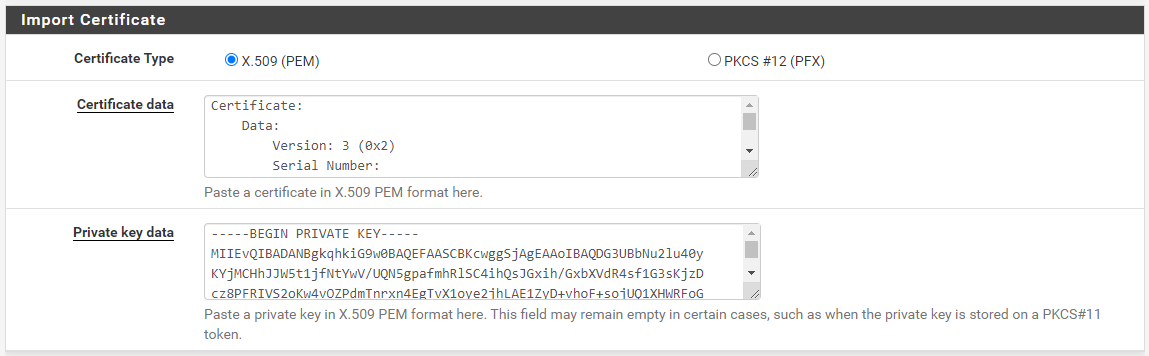
In the .ovpn file, you'll need EVERYTHING between the <cert> and </cert> tags. Copy and paste this info into the Certificate data textbox.
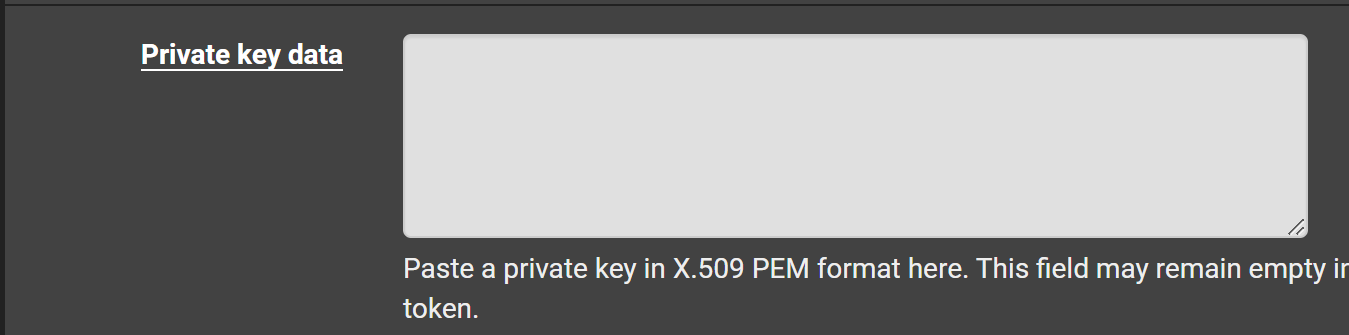
In the .ovpn file, you'll need EVERYTHING between the <key> and </key> tags. Copy and paste this info into the Private key data textbox.
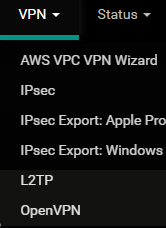
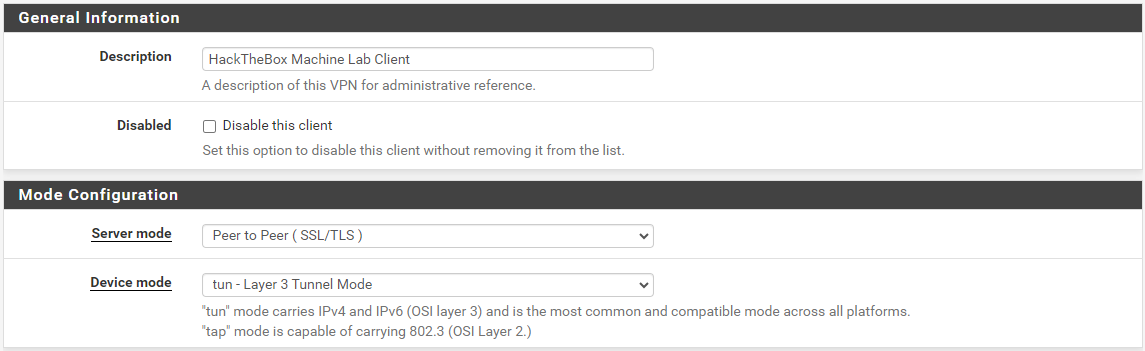
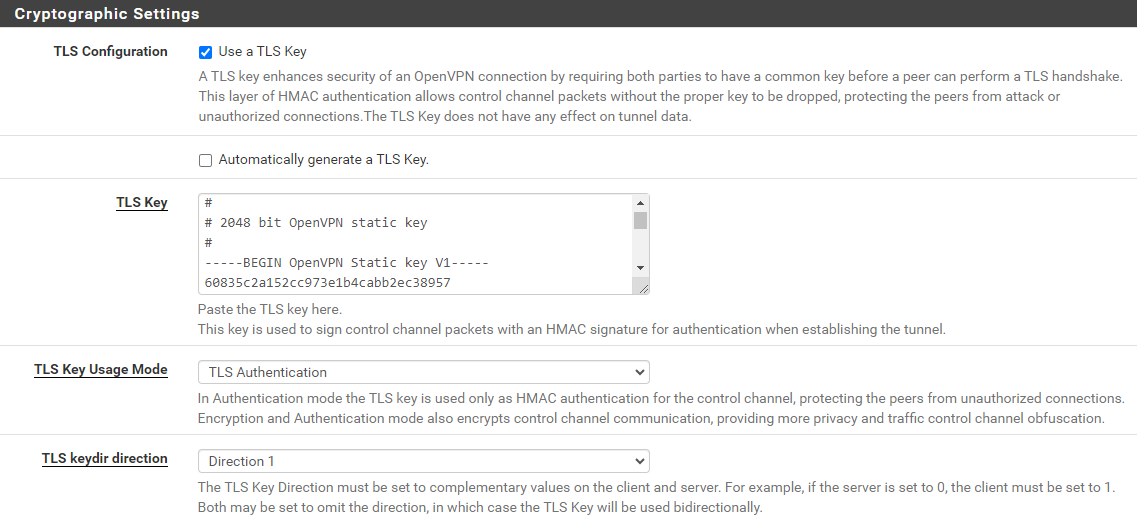
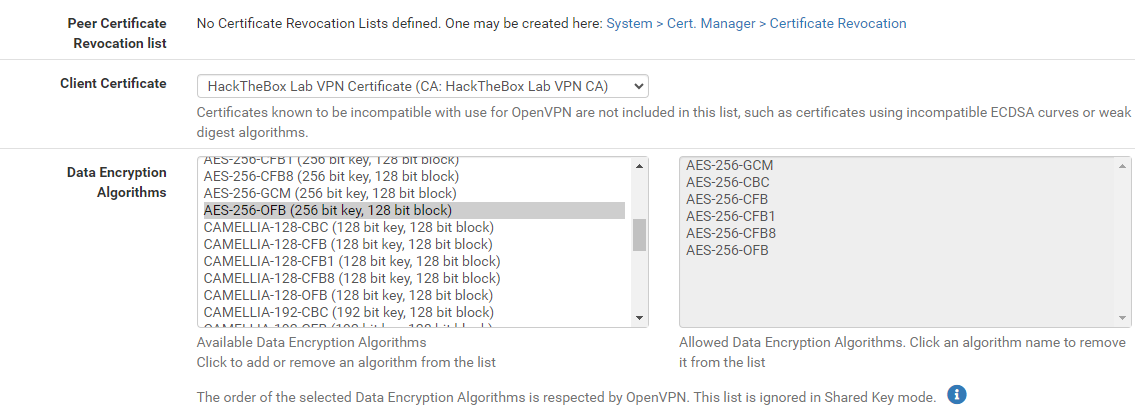
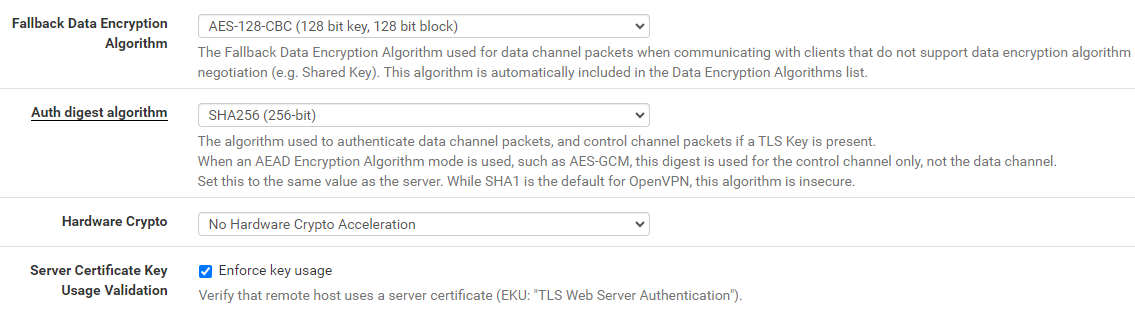
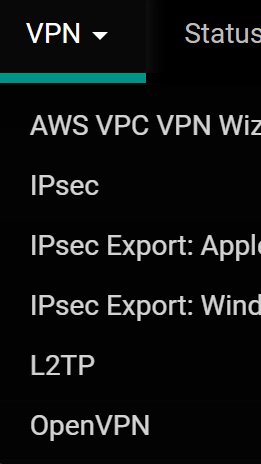
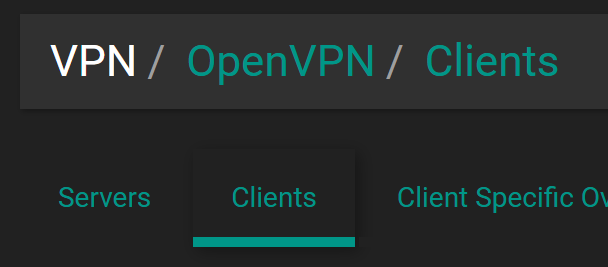
Create the OpenVPN Client


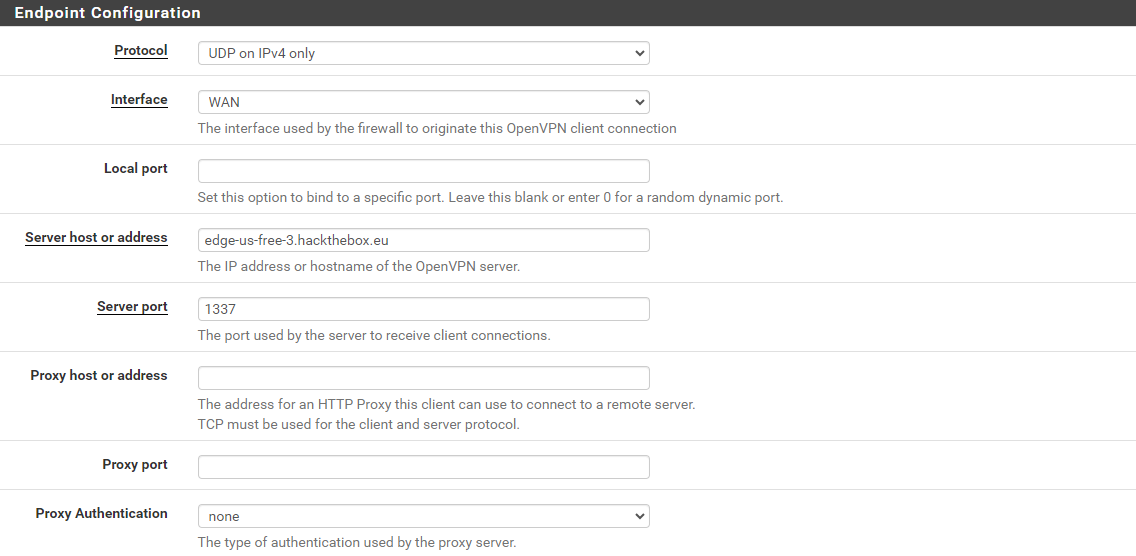
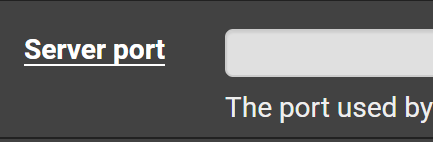
In the next part, you'll need the remote ... and proto options from the .ovpn file. This defines the HackTheBox OpenVPN server's hostname, transport protocol, and port. For example, in my configuration, I have:
proto udpremote edge-us-free-3.hackthebox.eu 1337
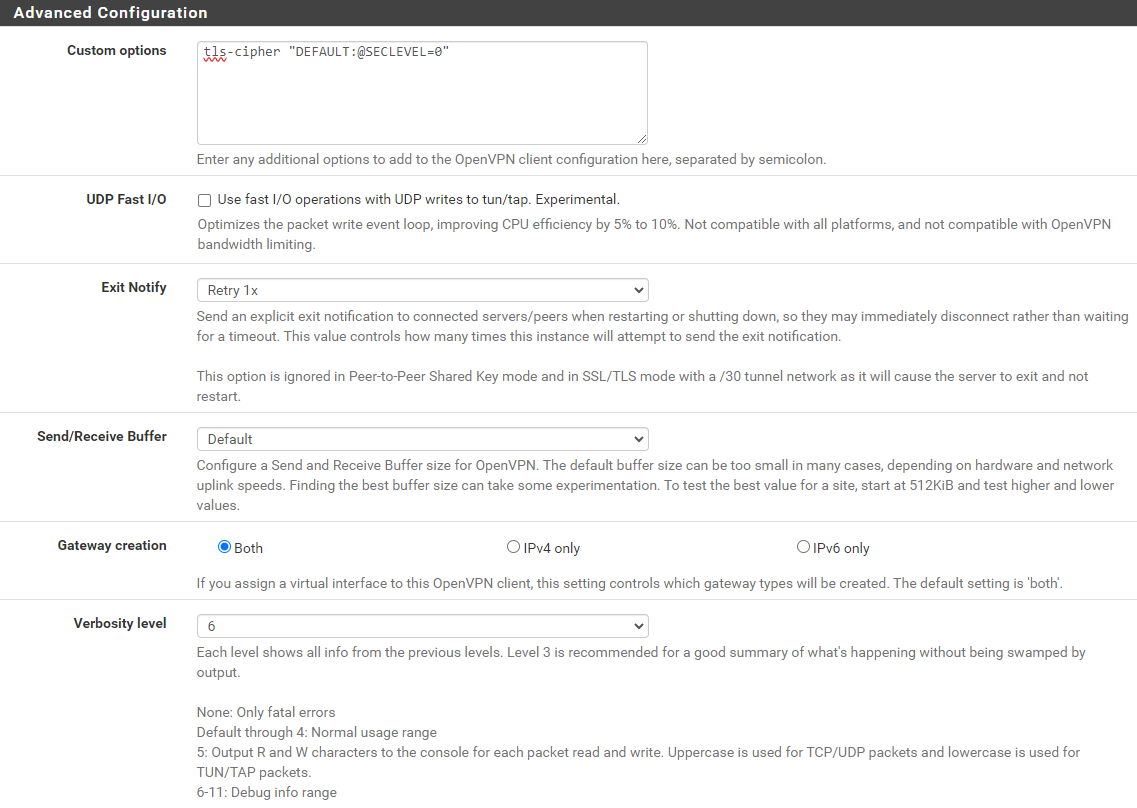
In the next part, you'll need the following sections from the .ovpn file:
data-ciphers ...data-ciphers-fallback ...auth ...key-direction ...tls-cipher ...
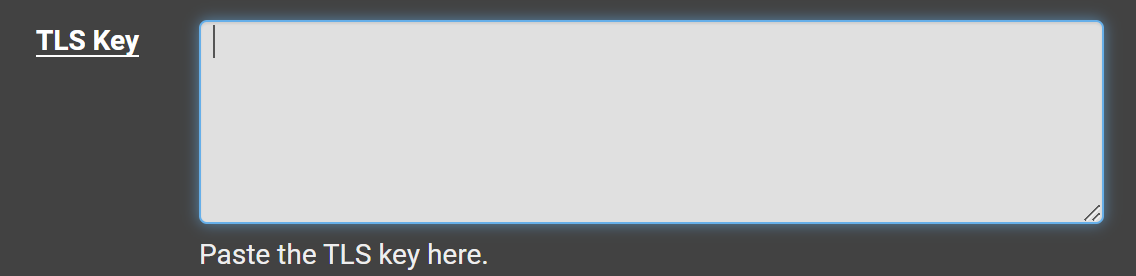
You'll also need everything between the <tls-auth> and </tls-auth> tags. This defines the cryptographic algorithms the client will use when communicating with the server, as well as the client authentication key.
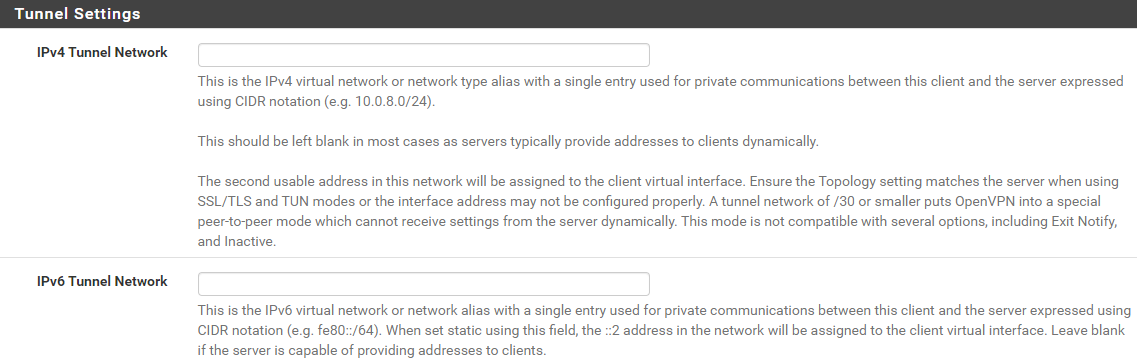
In the next part, you'll configure the Tunnel Settings, all of which will remain unchanged.

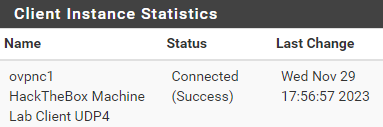
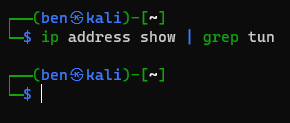
Verify the Client is Connected
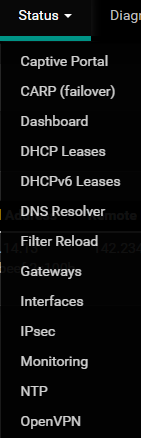
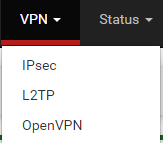
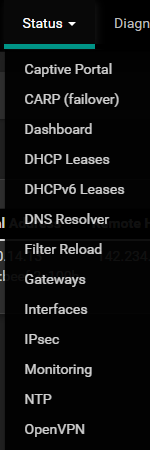
Go to Status > OpenVPN and you should see the status of the OpenVPN client.
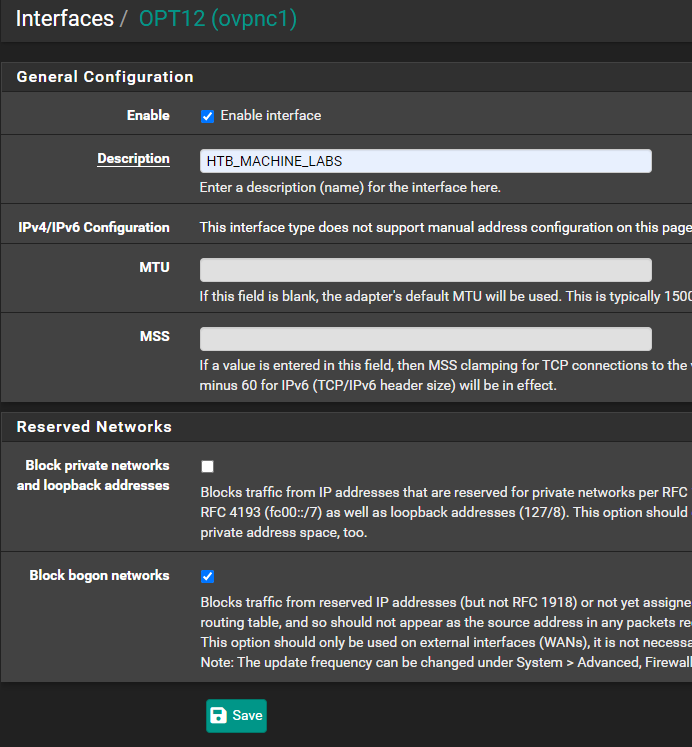
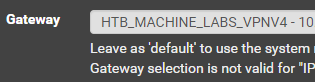
Create the Gateway


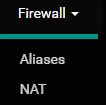
Add NAT Processing Rules
pfSense creates some NAT rules automatically when first setup to NAT traffic through the Default WAN gateway. However, now that we have a VPN tunnel acting as a gateway, we need configure pfSense to route only certain traffic out the VPN.
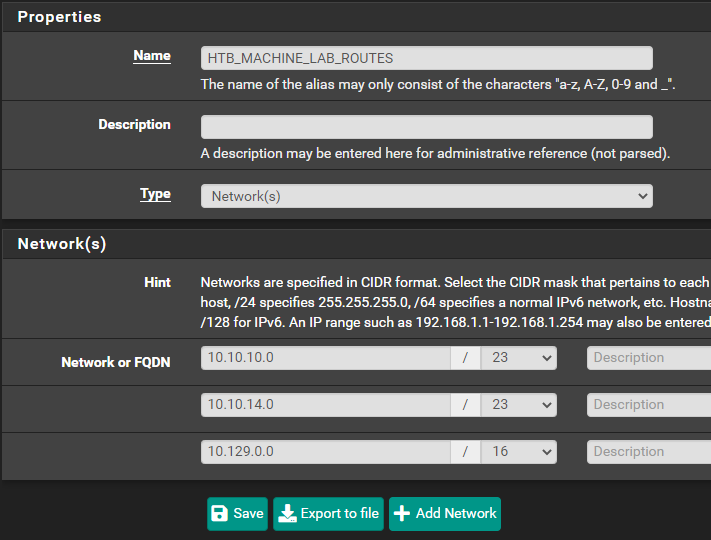
Make a Note of the IPv4 Routes
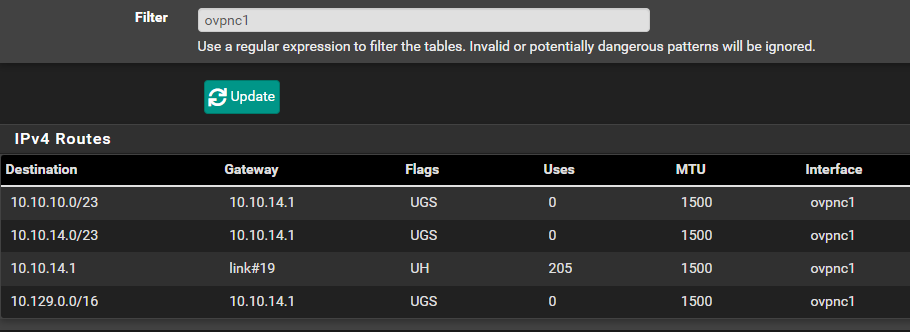
There are three routes we need to note here:
10.10.10.0/2310.10.14.0/2310.129.0.0/16
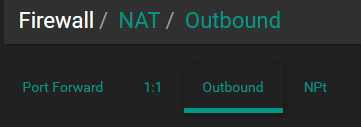
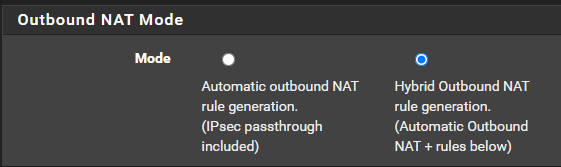
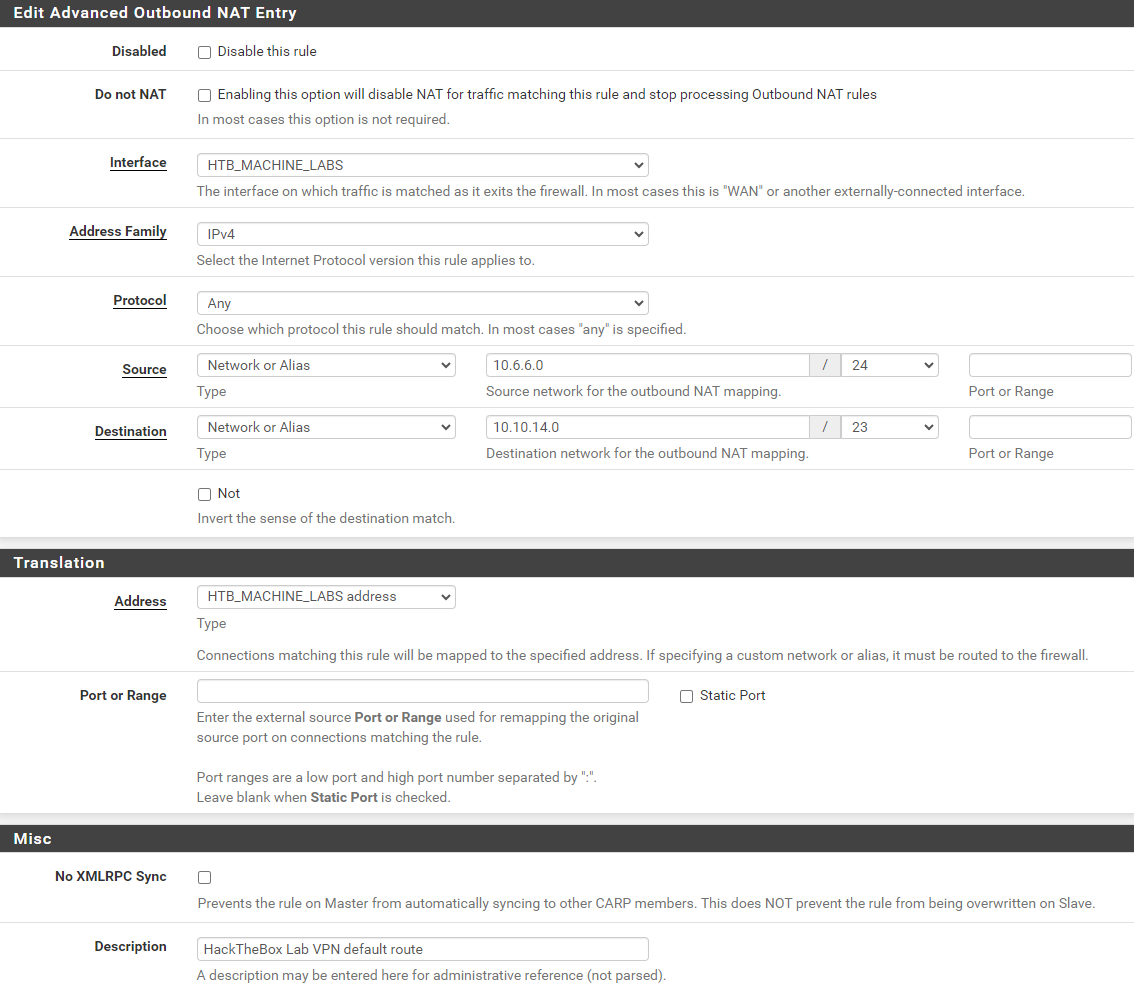
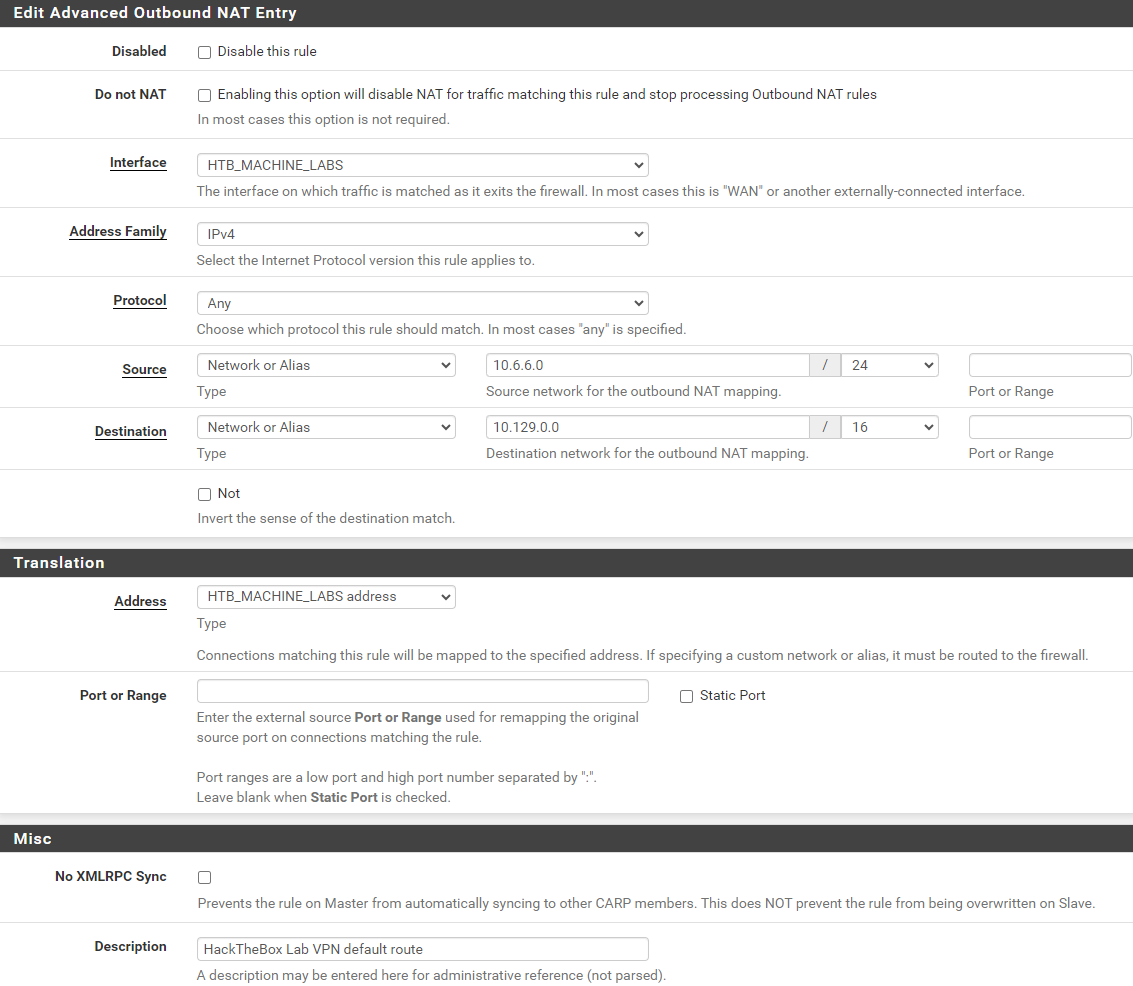
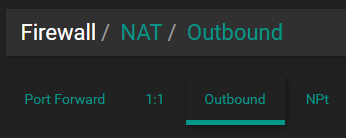
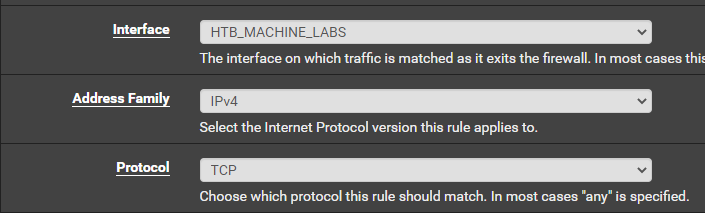
Create Outbound NAT Rules
For example, if you wanted to NAT two networks through the tunnel:
10.6.6.0/24- And,
172.16.1.0/24
There are three routes mentioned above, so you'd need a total of six NAT rules; three for each source network.

10.6.6.0/24 as my source network here, as this is the subnet where I keep most of my security infrastucture; including my Kali VM.


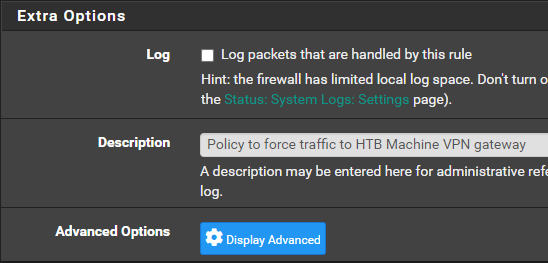
Add Policy Based Routing Rules to Firewall
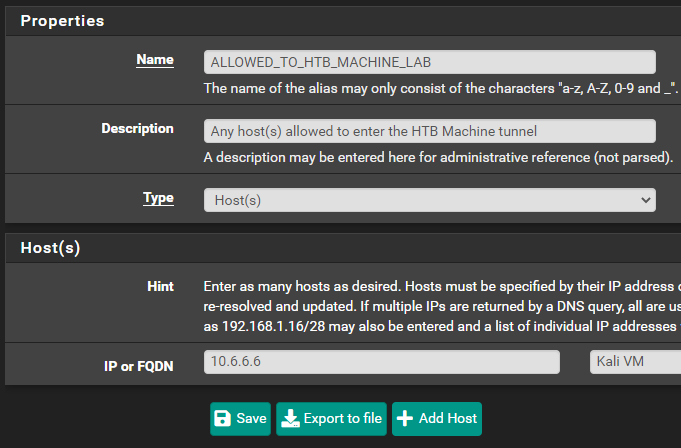
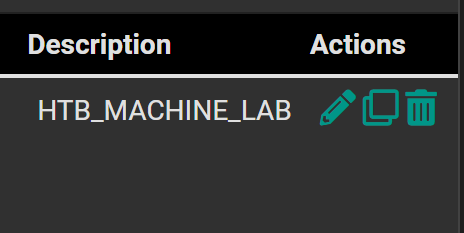
Create some Firewall Aliases for Easy Reference


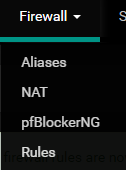
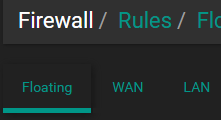
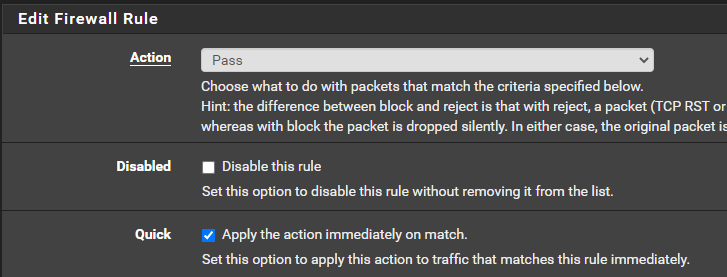
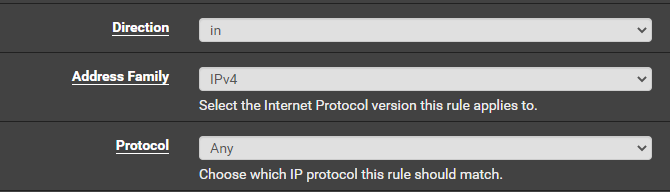
Create a Floating Firewall Rule
ALLOWED_TO_HTB_MACHINE_LAB alias could span multiple subnets. It's just a good catch-all for any future changes.


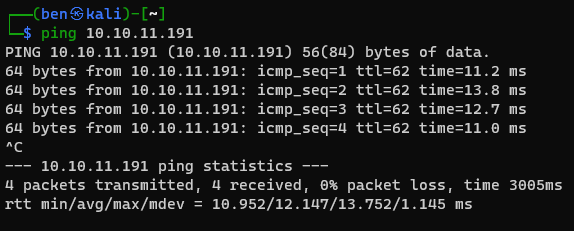
Ping Test
Key Differences with a Point-to-Site VPN
Since the connections to the HackTheBox targets are going out over NAT, be ready to troubleshoot issues with connectivity. I am going to detail some issues I had with the NAT connection as well as the more intricate way of receiving reverse shell connections (bind shells are not affected).
Example Issue 1: NFS
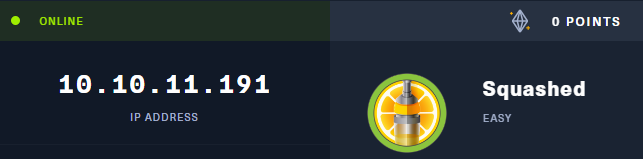
Continuing with the reference to the Squashed target in the HTB machine labs, I ran into some issues when I was doing quality-of-life testing with this Site-to-Site VPN setup.
When mapping a NFS share through NAT, our traffic is going to flow like this:
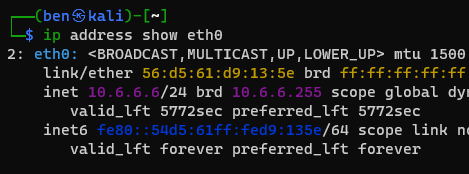
[Kali VM] ======> [pfSense] ==[tunnel]==> [10.10.11.191]
NFS client                NAT                  NFS Server
10.6.6.6:54789         10.10.x.x:64588         10.10.11.191:2049
The problem here is that because of the NAT connection, pfSense is going to forward our NFS client's traffic over a high port and the NFS server is going to reject this. This is because the NFS server is expecting a client connection from a reserved port.
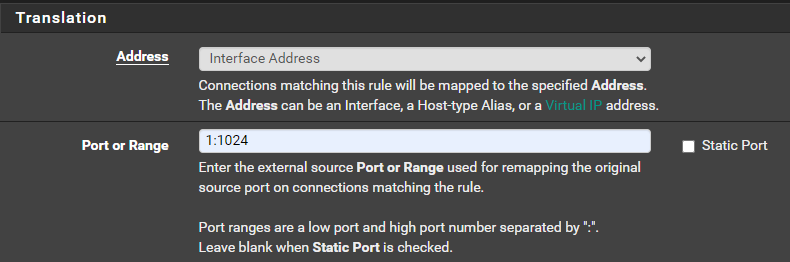
Therefore, we need to configure another NAT rule for NFS connections, so that pfSense will forward them over low port numbers.
Configuring the NAT Rule for NFS

You can't use aliases here, so you'll have to configure for each network. Since the Squashed target is on the 10.10.10.0/24 network, I'm only going to add the NAT outbound rule for this network. Always start small when troubleshooting and expand scope as needed.

Example Issue 2: Catching Reverse Shells
Continuing with the Squashed target, I am not going to over how to get the initial foothold, but I'll show you how to catch your reverse shell in the event you try this target.
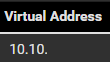
Get Your VPN Address
Create Your Reverse Shell
I am using this PHP reverse shell for a quick and easy test.
 pentestmonkey
Change your variables for your listener:
$ip = '10.10.?.?';  // CHANGE THIS
$port = 8443;       // CHANGE THIS
I am going to have my listener on TCP/8443
Save your reverse shell payload in the writable directory.
Create a Port Forward in pfSense

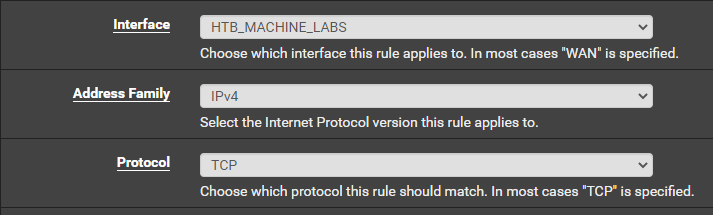
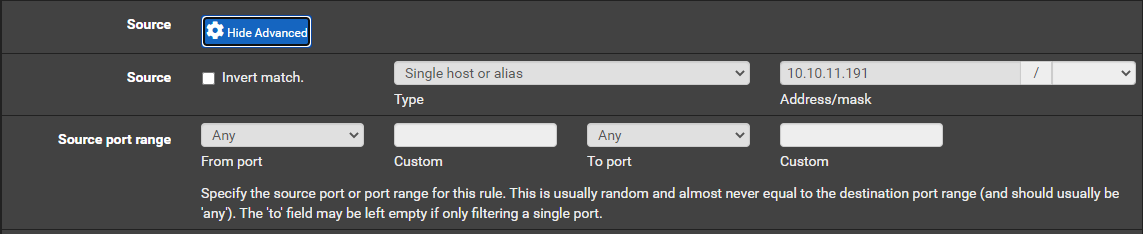


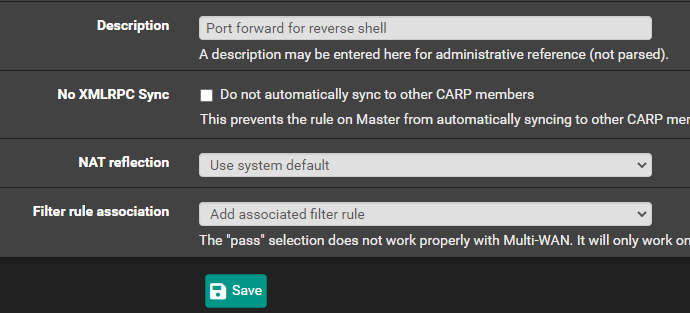
So effectively, any connections from 10.10.11.191 to your-vpn-address on TCP port 8443 will be forwarded internally to your attack VM listening on TCP 8443.

Updating the VPN Client Config
Let's say for example your HackTheBox subscription changes or you need to regenerate your VPN configuration. This will cause your existing OpenVPN tunnel to break. The bright side is that you don't need to tear down start from scratch, but you will need to update some certificates.
Importing the New Data
For the next few steps, you'll be extracting some information from your .ovpn configuration file. When you've downloaded your fresh copy, open it up and follow along.
Editing the CA Data
Copy everything between the <ca> and </ca> tags and paste it into here:
Editing Certificate Data

Copy everything between the <cert> and </cert> tags and paste it here:

Copy everything between the <key> and </key> tags and paste it here:
Click Save and Apply Changes.
Updating the Client Config
For the next few steps you'll need the following bits of information from your .ovpn file:
protoudportcp
remoteserver DNS nameserver port

If the port changes from 1337 to another port, update it here:
Copy everything between the <tls-auth> and </tls-auth> tags and paste it here:
Test Your New Config

Conclusion
I don't know if I'd use this as my regular means of connecting to the HackTheBox labs. It feels over-engineered and a lot more cumbersome to complete simple tasks, but I can see how this might have its benefits in situations where you are using something like a team server for C2 activities.
This was a great learning experience for me and a very rewarding challenge to explore and overcome. If you've read up to this point, I want to thank you for reading. Have fun out there!
