This page is part of a larger series on building a cybersecurity lab using VMware Workstation Pro. Click here to be taken back to the project home page.
Once finished downloading, extract the contents of the .zip archive.
As we did with the Kali VM, we will press CTRL + x to cut the folder and paste it in C:\Users\user.name\Documents\Virtual Machines\.
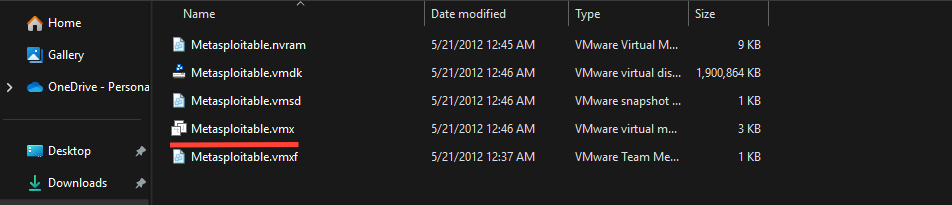
Press CTRL + x to cut this folderPaste here with your other VMware VMsDouble-click the .vmx file to import it into VMware WorkstationYou should now see the Metasploitable2 VM in the VMware Workstation GUI
⚠️
Do not start the VM!
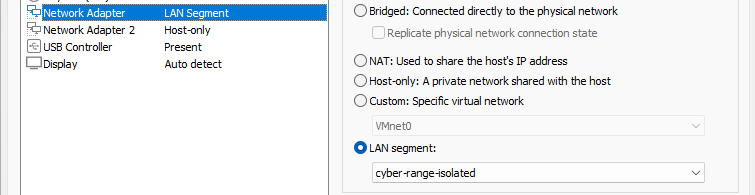
Click "Edit the virtual machine settings"Change "Network Adapter" to "cyber-range-isolated"
✅
You may now start the VM.
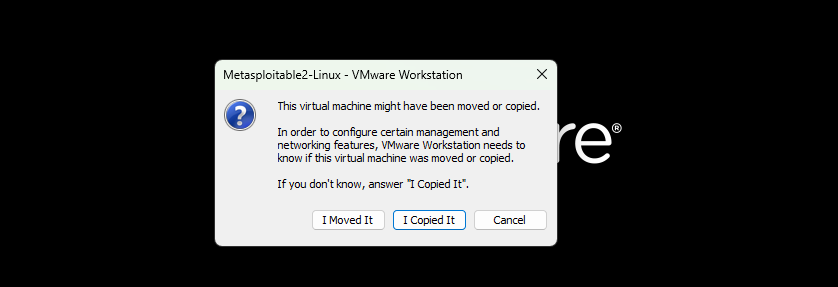
Choose "I Copied It"
ℹ️
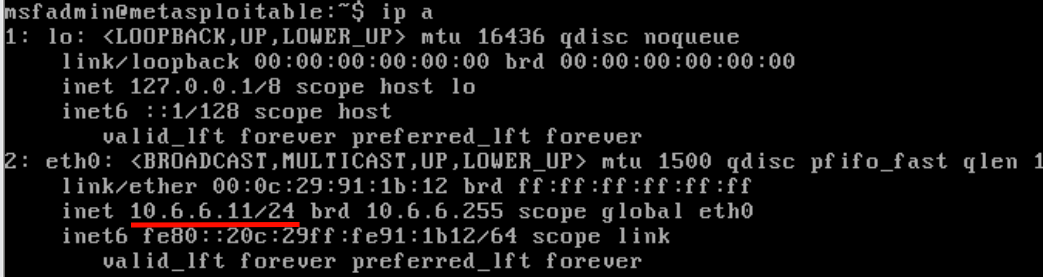
If you wish, you can login with msfadmin:msfadmin to check that the system grabbed an IP from the DHCP server. I got the IP address 10.6.6.11 which is right what we want.
Metaspoitable2 got a DHCP IP on the ISOLATED subnet!
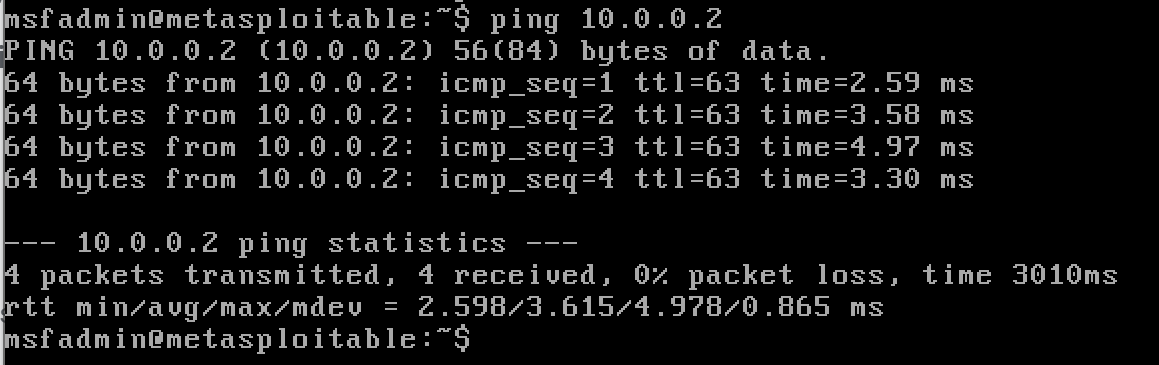
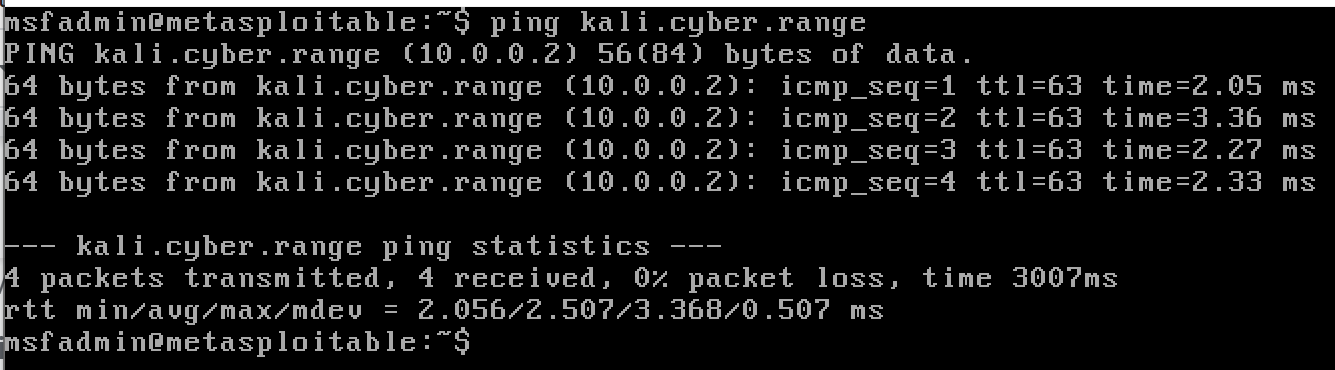
Ping Kali from Metasploitable2
Using the IP addressUsing the local DNS suffix
Ping google.com from Metasploitable2
Ping test fails, as it should
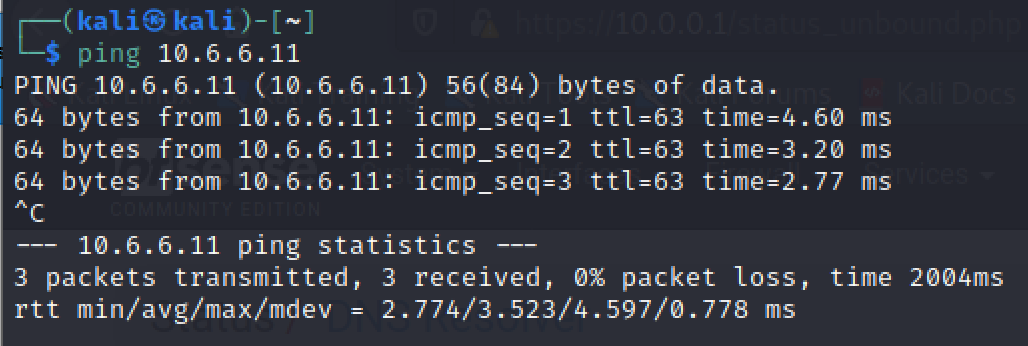
Ping Metasploitable2 from Kali
Ping test succeeds, as it should
💡
Now that you've had a chance to power on and test the VM, power it back off and take a snapshot of it at its last known good state. That way you can roll back to the snapshot in case anything breaks during your penetration test.
With this method, we are going to download VM from Vulnhub and import it using the .ova file.
.OVA File
This is an Open Virtual Appliancefile and is an open standard for packaging virtual machines for reuse with other hypervisors. The .ovaformat is directly compatible with VMware Workstation.
Import the VM
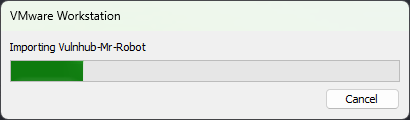
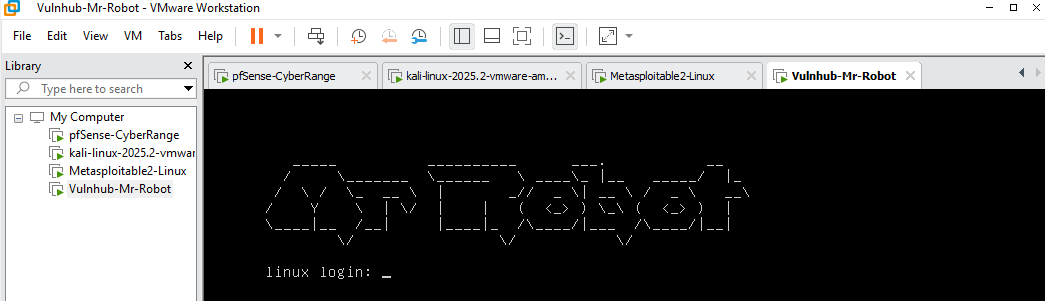
Double-click the mrRobot.ova file and fill out the fieldsBe patient while the import completes...You should now see the Mr. Robot VM in the VMware Workstation GUI
⚠️
Do not start the VM yet!
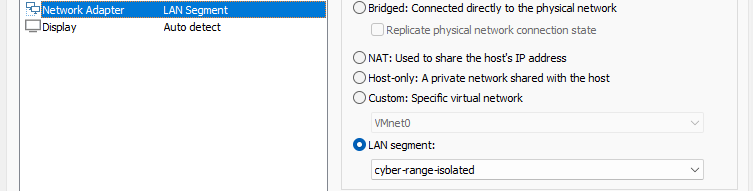
Click "Edit virtual machine settings""Network Adapter" goes on the "cyber-range-isolated" LAN segmentAssign 4 GB RAM and 2 CPU
✅
You may now start the VM.
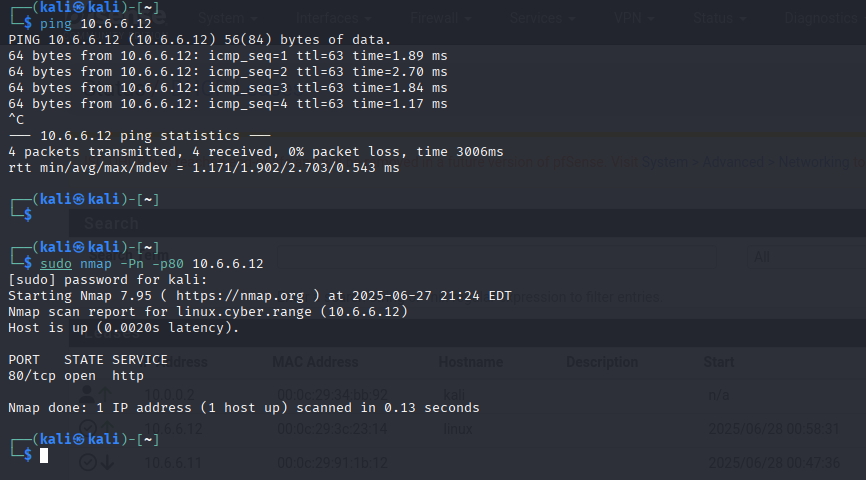
Start up will hang for a while, ignore this message ...... Eventually, we'll see the login screenLog into pfSense > Status > DHCP Leases and note that Mr. Robot has a DHCP address of 10.6.6.12 on the ISOLATED LANPing test to Mr. Robot and successful nmap probe
💡
Power Mr. Robot back off and take a snapshot of it in its last working state, so you can revert back to this snapshot in case anything breaks during the penetration test.
Continued Practice: OSCP-Like Boxes
Now, that I've shown you two examples of importing Vulnhub boxes into your cyber range, don't stop there. TJ Null and the folks at NetSecFocus have curated a list of OSCP-like boxes.
Among these boxes is a long list of Vulnhub targets. Follow along with the steps shown above and continue your Vulnhub adventures. You can find a list of any write-ups I've done from the list of targets linked above.
In this project, broken up into multiple modules, you will build a comprehensive cybersecurity home lab using VMware Workstation Pro. Upon completion, you will have an environment where you can safely practice penetration testing against a wide variety of targets, as well as detection in your SIEM.