This page is part of a larger series on building a cybersecurity lab using VMware Workstation Pro. Click here to be taken back to the project home page.
Download pfSense
⚠️
pfSense is acting as the NAT router and firewall for the lab environment. Therefore, pfSense will need to be the first VM to boot when running your lab. After pfSense boots, you can start your other VMs.
Whenever you are building a lab – whether in the cloud or on premise – you should always plan your network first. You should factor in future growth as well. It's much more difficult to change network design later than planning for it now.
❗
As of recently, Netgate is requiring users to create an account and provide personal information in order to download the pfSense CE ISO images, which I am not thrilled to see.
I understand that this is a mitigation strategy to combat piracy of their pfSense Plus software by third-party firewall appliance vendors (among other reasons).
Download an archive file handler such as 7-Zip or simialr
The .iso file will be stored in this folder
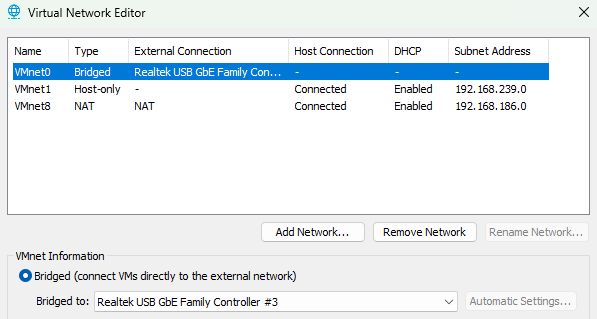
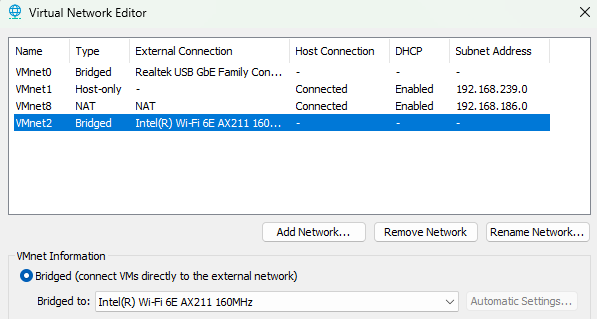
Edit Network Settings
ℹ️
My VMware host has multiple network interfaces and I find auto-bridging doesn't work that well. So, I'm going to define some bridged interfaces that I can manually select when I need to.
Edit > Virtual Network Editor ...Click the "Change Settings" button (requires Administrative privileges)VMnet0 is statically bridged to my host's Ethernet NICAdd Network > VMnet2 > now bridged to my Wi-Fi card > Click "OK"
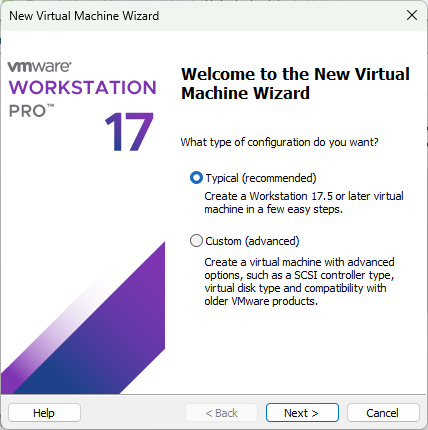
Create the VM
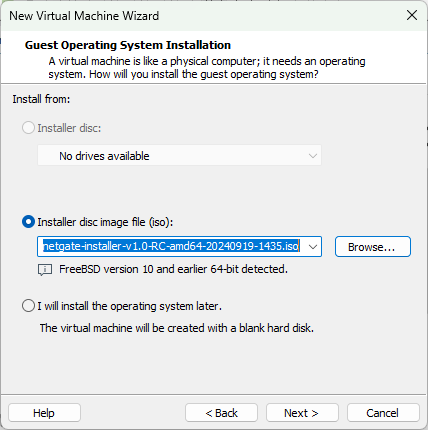
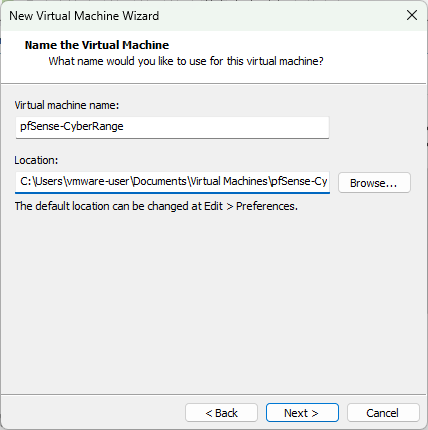
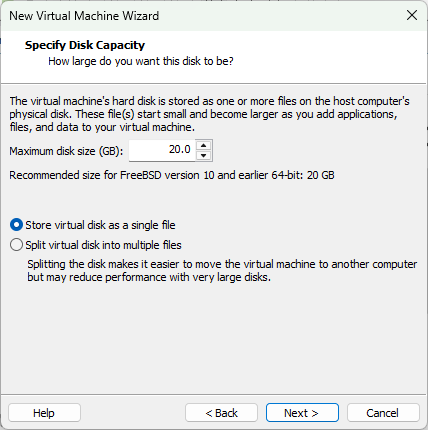
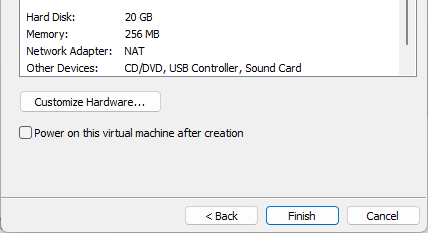
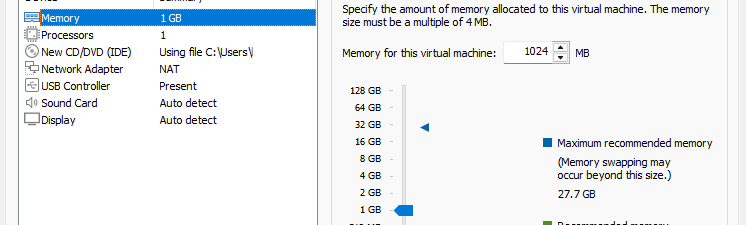
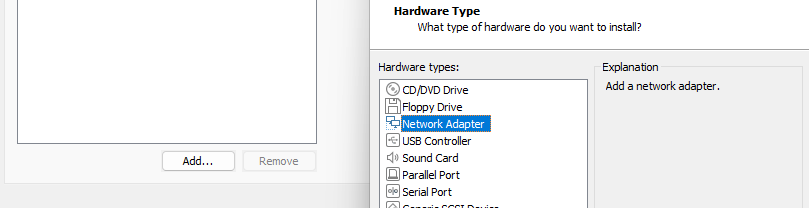
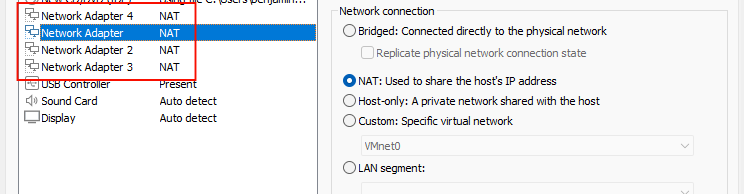
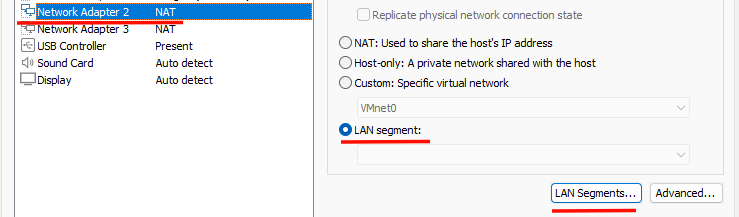
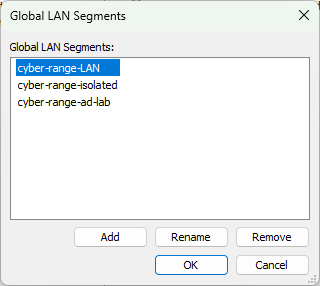
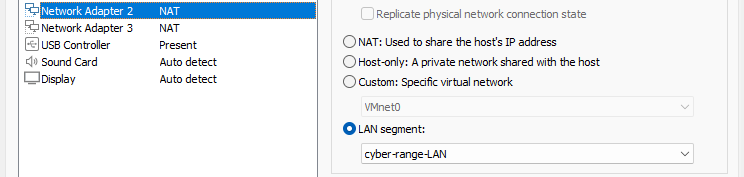
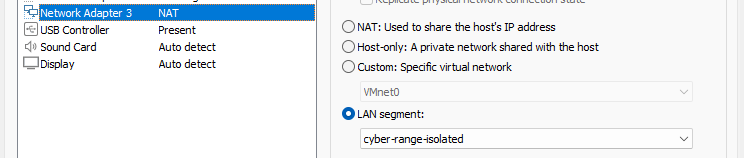
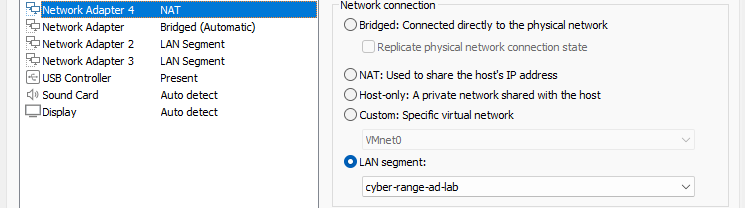
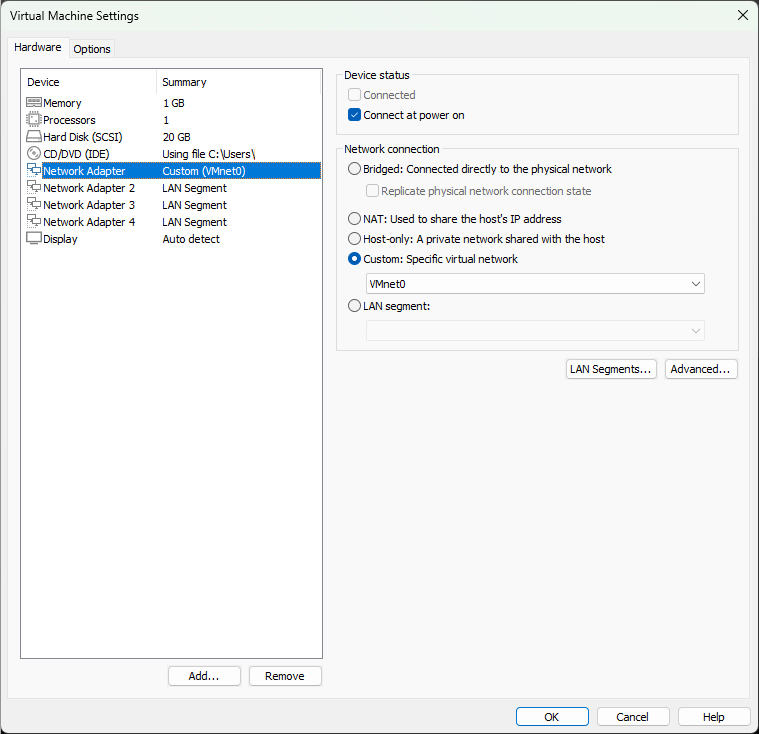
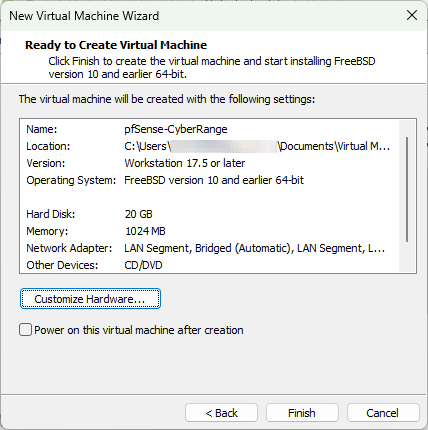
Create a New Virtual MachineTypicalChoose your .iso file according to the one you downloaded beforeGive the VM a better nameUse the default of 20 GB and store as a single fileClick "Customize Hardware"Give the VM 1 GB of RAMClick Add > Network Adapter, do this three timesYou should have four network adapters"Network Adapter" > VMnet0 (bridged to Ethernet)Network Adapter 2 > LAN segment > LAN Segments ...Click Add > Add these three LAN segments > select cyber-range-LANNetwork Adapter 2 > LAN segment > choose cyber-range-LANNetwork Adapter 3 > LAN segment > choose cyber-range-isolatedNetwork Adapter 4 > LAN segment > choose cyber-range-ad-labSelect USB Controller, Sound Card and click RemoveFinal overview of the VM hardware settings (VMnet0 is bridged to Ethernet) > Click CloseClick "Finish"
Optimizing Network Performance
In the VirtualBox counterpart to this guide, I advise readers to change the network adapter to virtio-net, a paravirtualized network adapter that enables higher network throughput to the pfSense VM, as opposed to emulating an Intel E1000 NIC.
Press "CTRL + H" to bring up find/replace. Replace every instance of "e1000" with "vmxnet3"
✅
Save your changes and close the text editor when finished.
Installing pfSense
Press the "Power on this virtual machine" buttonPower on the VM and accept
💡
If you click inside the VM and can't get your mouse cursor back out of the VM, pressing CTRL + ALT should release the mouse cursor.
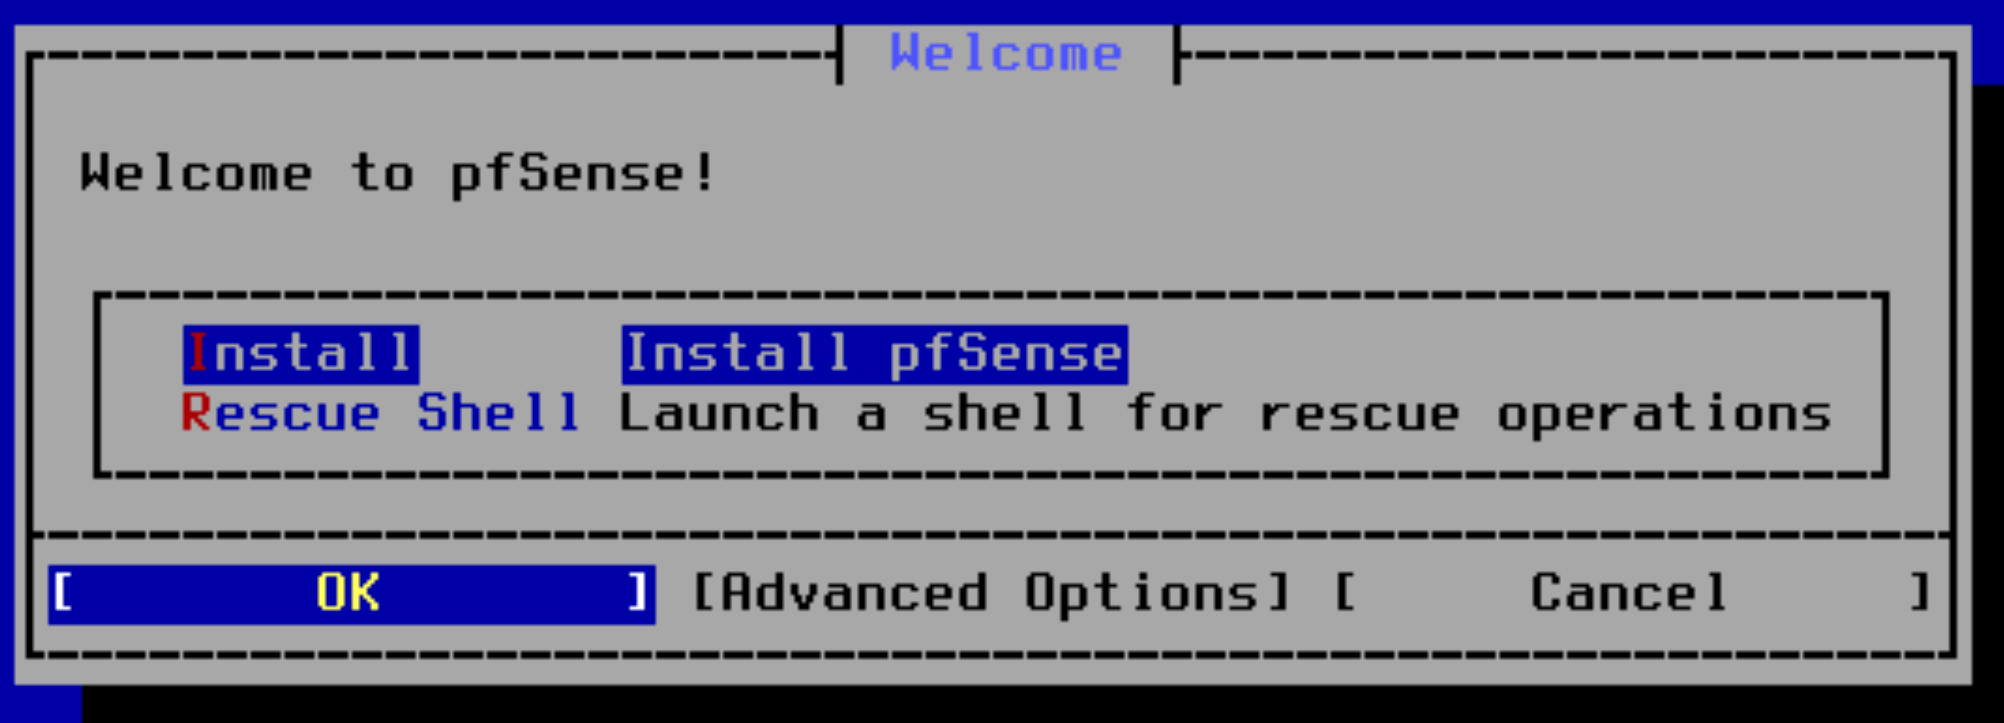
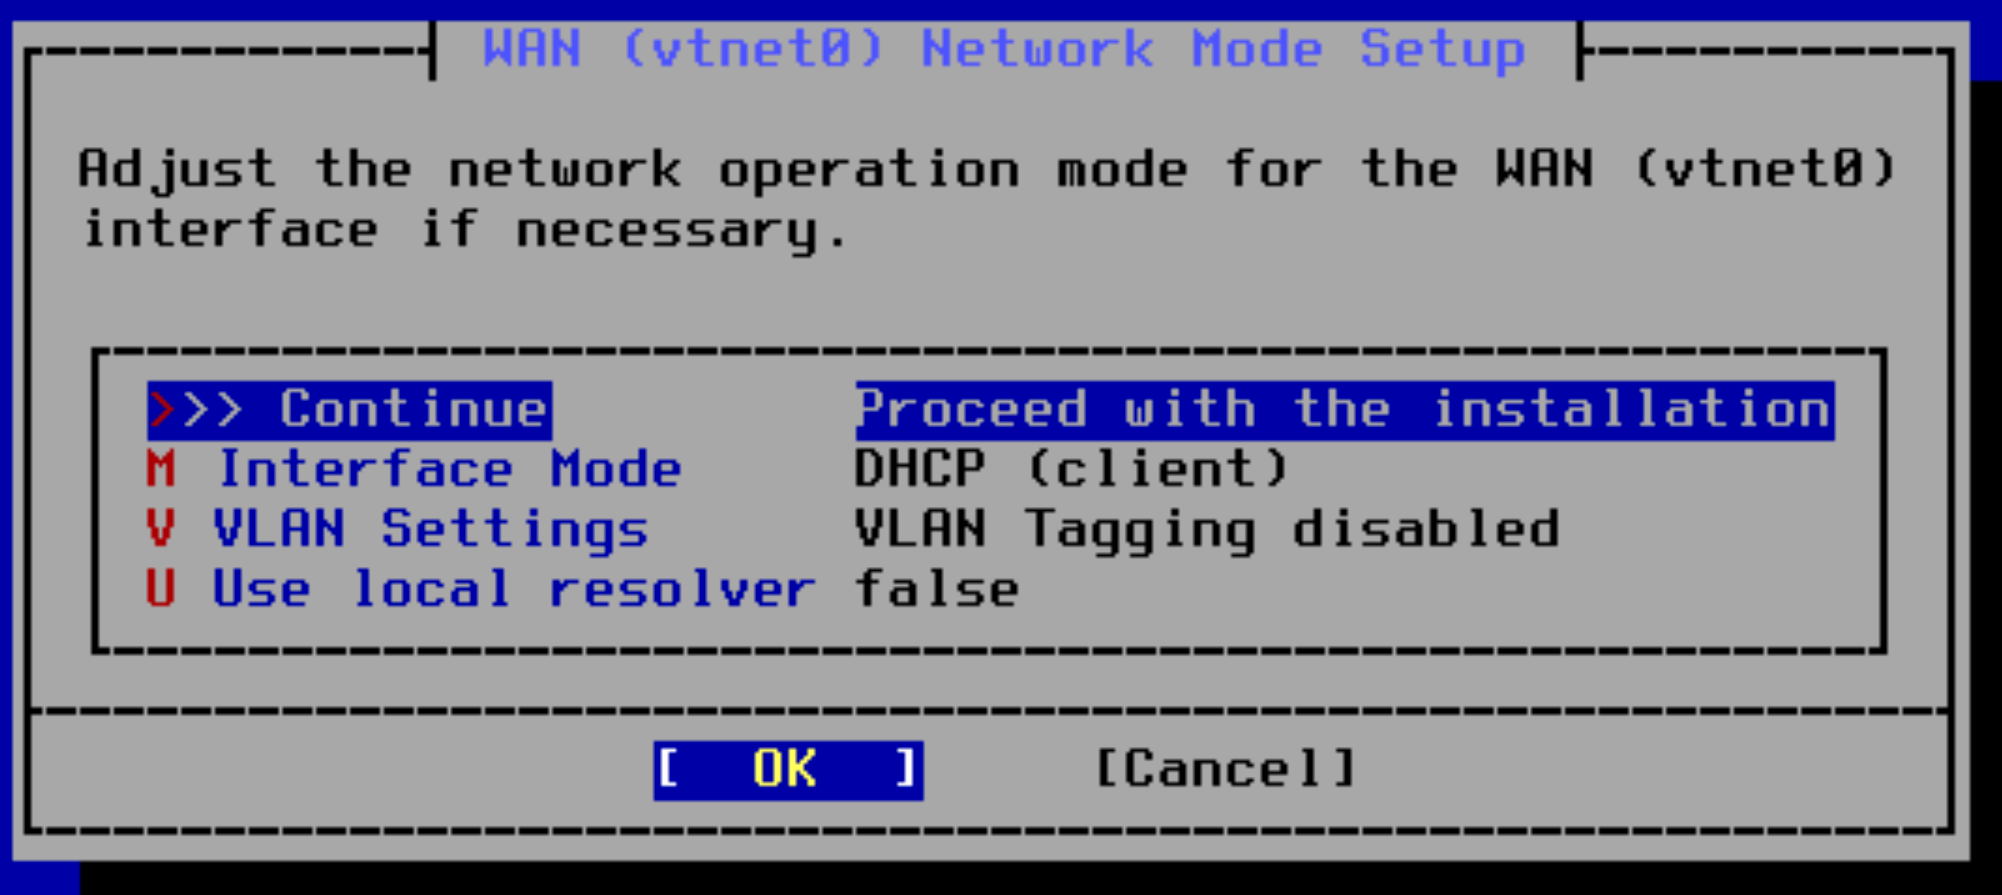
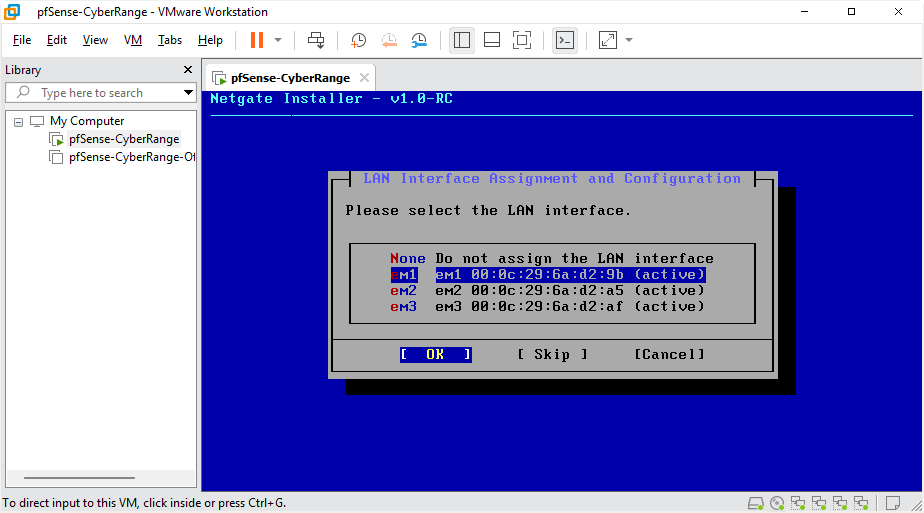
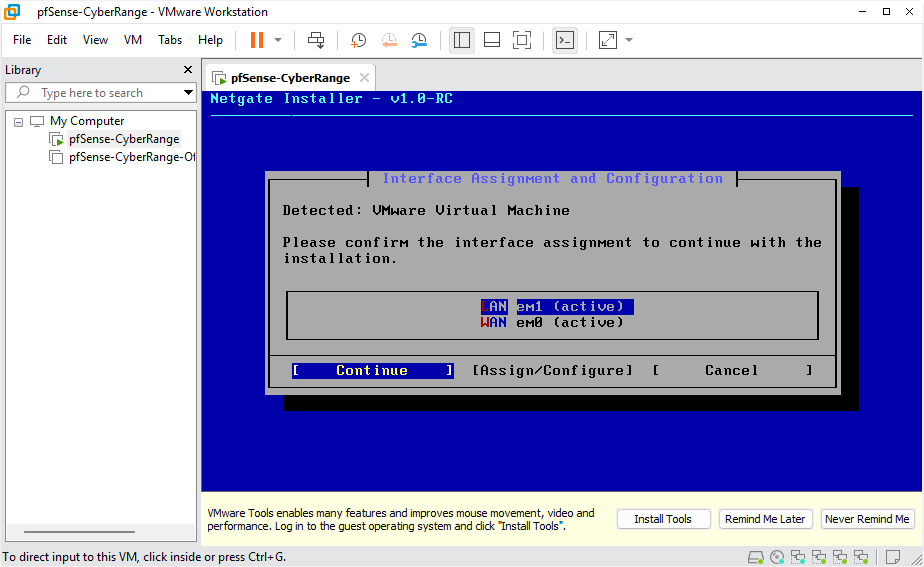
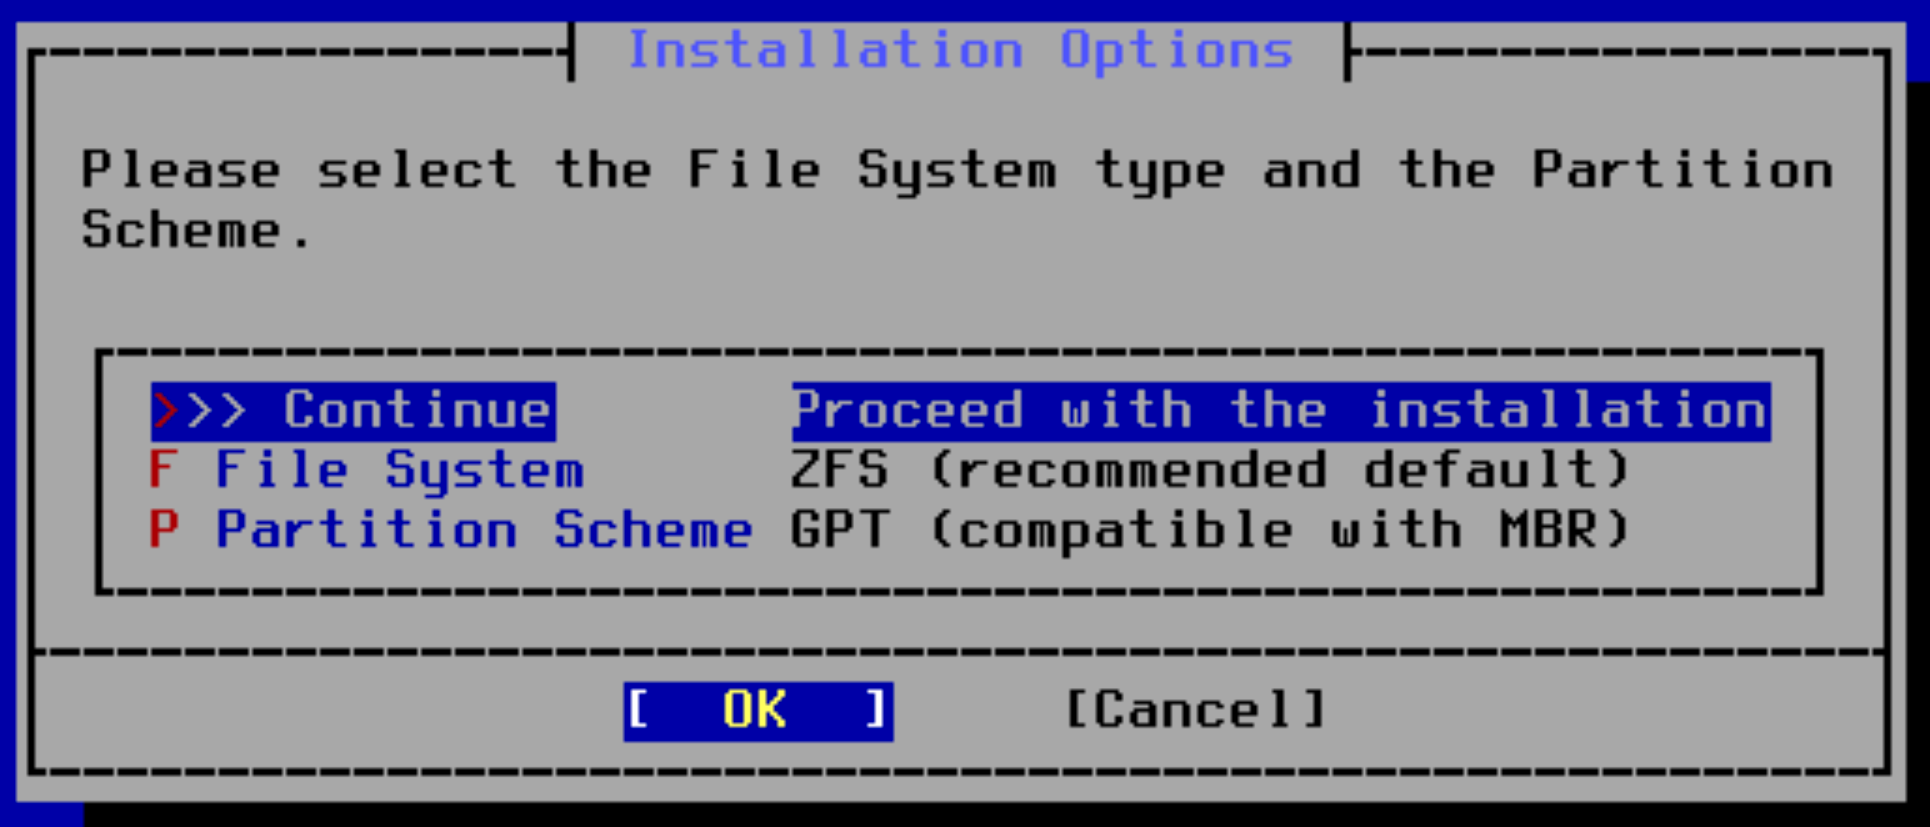
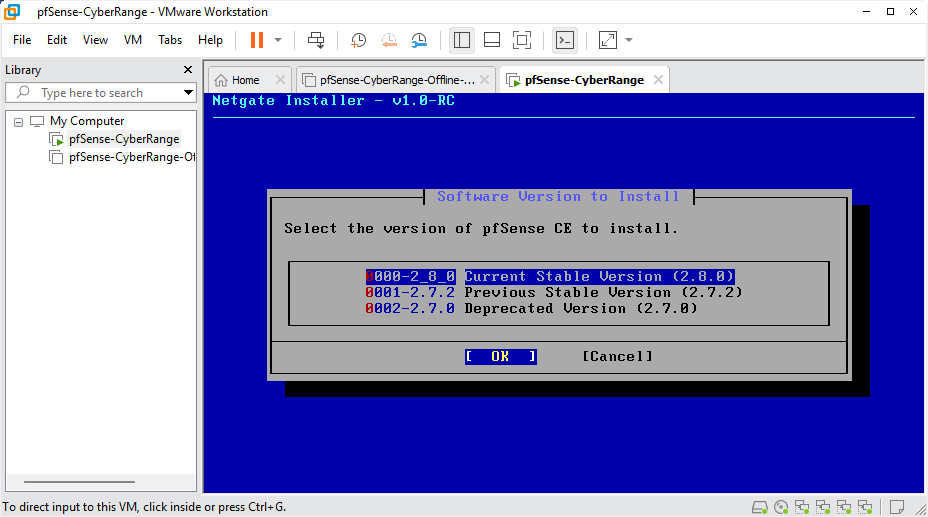
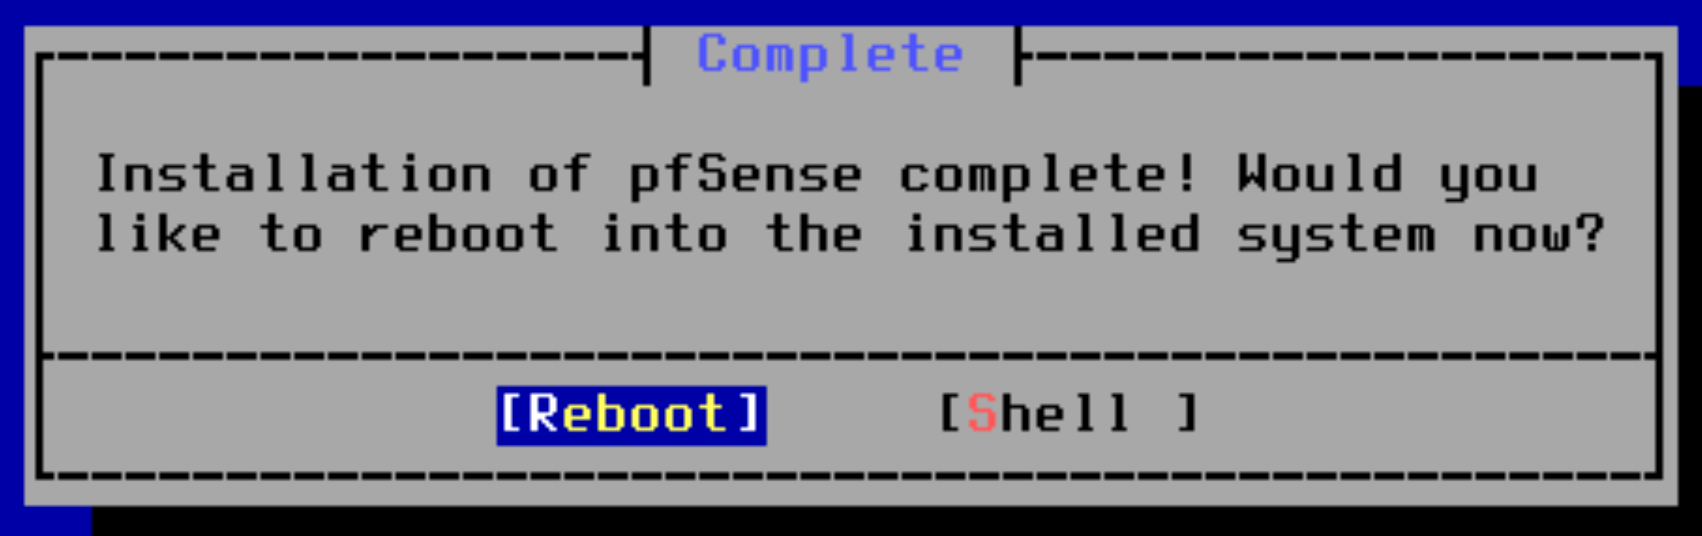
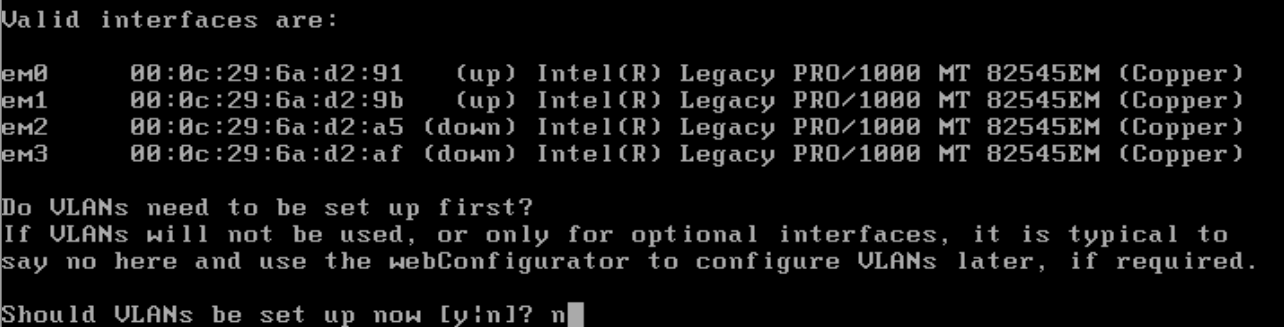
Choose "Install" and "OK"em0 is the WAN interfaceContinueem1 is the LAN interfaceContinueLooks good. Continue.Choose "Install CE"Proceed with the defaultsOKYesChoose "Current Stable Version"Be patient while the installer downloads core files and completes the installation...When complete, continue to the next screen and choose "Reboot"
Configuring pfSense
Assigning the Interfaces
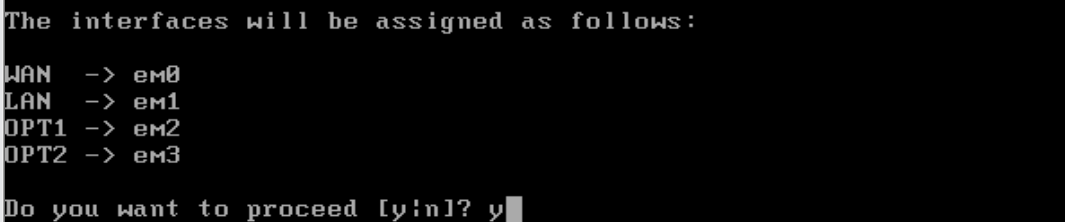
Enter Option 1Enter "n"em0 is the WAN interfaceem1 is the LAN interfaceem2 is the "Optional 1" interfaceem3 is the "Optional 2" interfaceEnter "y" to proceedFinal settings should now look like this
Configuring the Interfaces
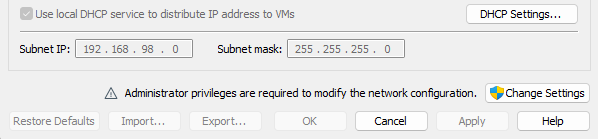
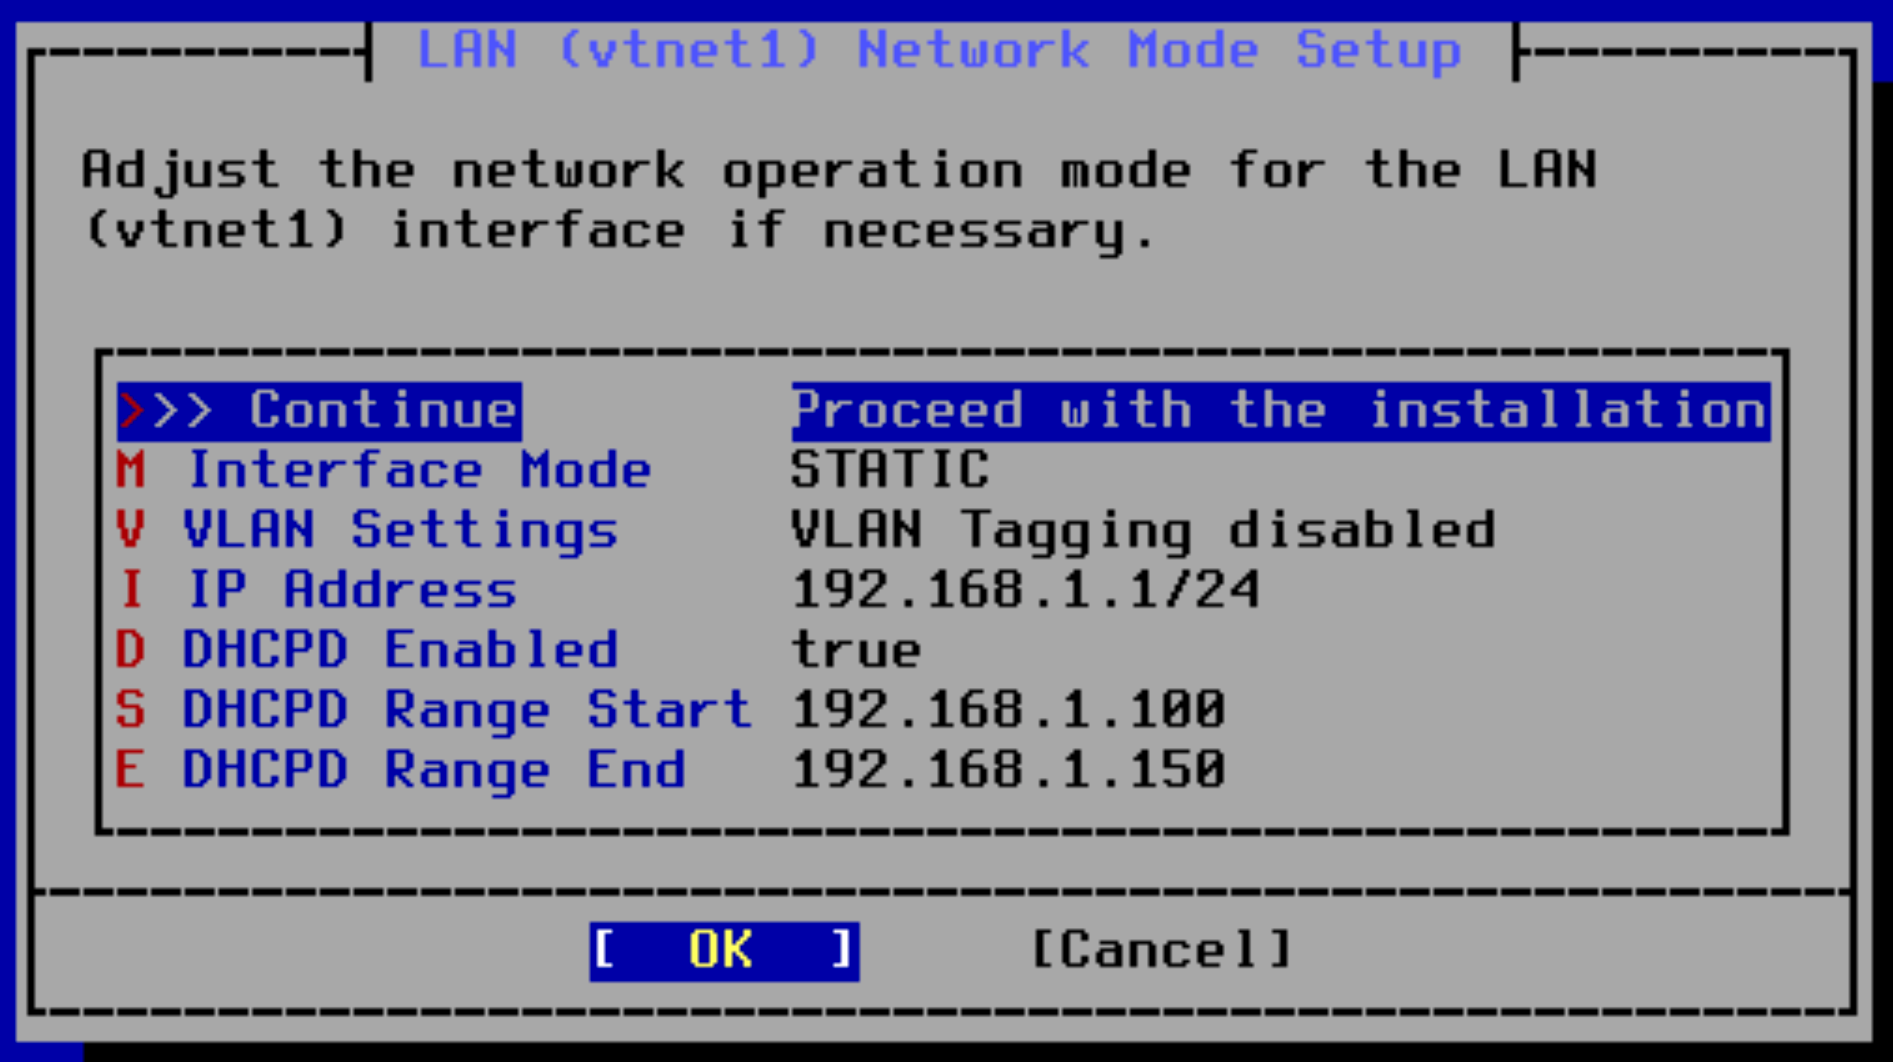
Configuring the LAN
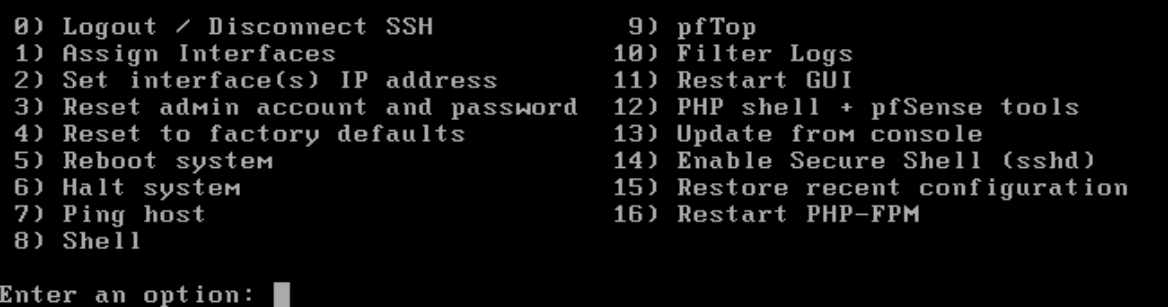
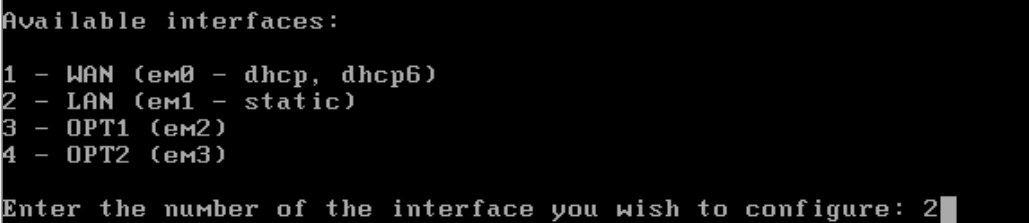
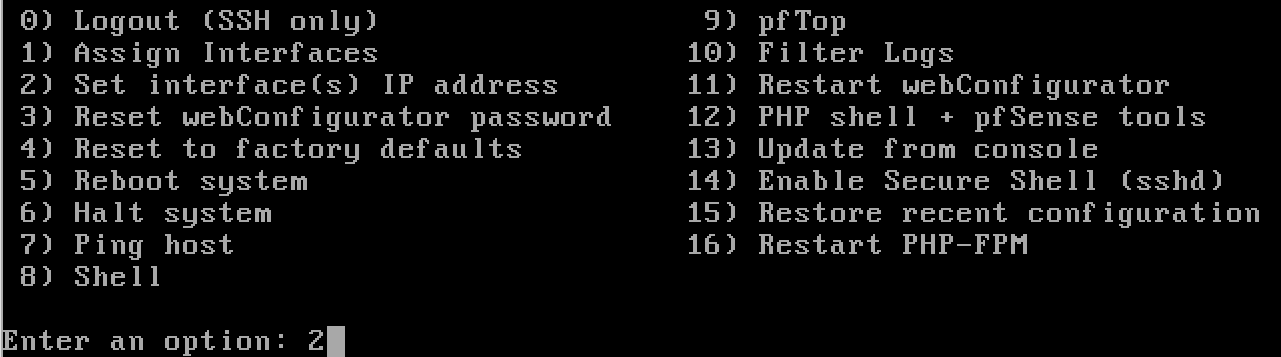
Enter option "2"Enter option "2" again to configure the LANEnter 'n' to configure the address statically
ℹ️
The LAN interface is going to serve DHCP clients, and does not get its IP address from a DHCP server elsewhere. Thus, we configure it statically.
Enter "24" as the subnet bit maskJust press "Enter" here, since this is a LAN interfaceEnter 'n' as to configure the address staticallyPress Enter. We'll not be using IPv6.Enter y to enable the DHCP serverEnter the start and end rangeEnter n, we want to keep using TLS on the web portal.Press Enter.
✅
All finished with the LAN configuration.
Configure the ISOLATED LAN
Enter option 2Enter option 3 to configure OPT1Enter 'n' to configure the address staticallyEnter the network addressEnter "24" as the subnet bit maskEnter 'n' to configure the address staticallyPress Enter. We'll not be using IPv6.Enter y to enable the DHCP serverEnter n, we want to keep using TLS on the web portal.
✅
All finished with the ISOLATED LAN configuration.
Configure the AD LAB LAN
Enter option 2Enter option 4 to configure OPT2Enter 'n' to configure the address staticallyEnter the network addressEnter "24" as the subnet bit maskPress Enter here. This is a LAN.Enter 'n' to configure the address staticallyPress Enter. We'll not be using IPv6.
⚠️
Pay careful attention to the DHCP settings just below ...
Enter n to disable the DHCP server, as the domain controller will be acting as the DHCP serverEnter n, we want to keep using TLS on the web portal.
✅
All finished with the AD_LAB LAN configuration.
Final Check
You should now see something like this
A Note on Configuring the Firewall
In this guide, we will not be making the pfSense web console available from the WAN.
This is because you may be using a laptop and if you connect to public wireless, then your pfSense web console would be open to the others on that network.
In this project, broken up into multiple modules, you will build a comprehensive cybersecurity home lab using VMware Workstation Pro. Upon completion, you will have an environment where you can safely practice penetration testing against a wide variety of targets, as well as detection in your SIEM.