

ℹ️
This page is part of a larger series on building a cybersecurity lab using VMware Workstation Pro. Click here to be taken back to the project home page.
Previous Step
Building a pfSense VM for Our VMware Cyber Range
In this module, we will look at setting up a pfSense firewall VM in VMware Workstation to segment our home lab network
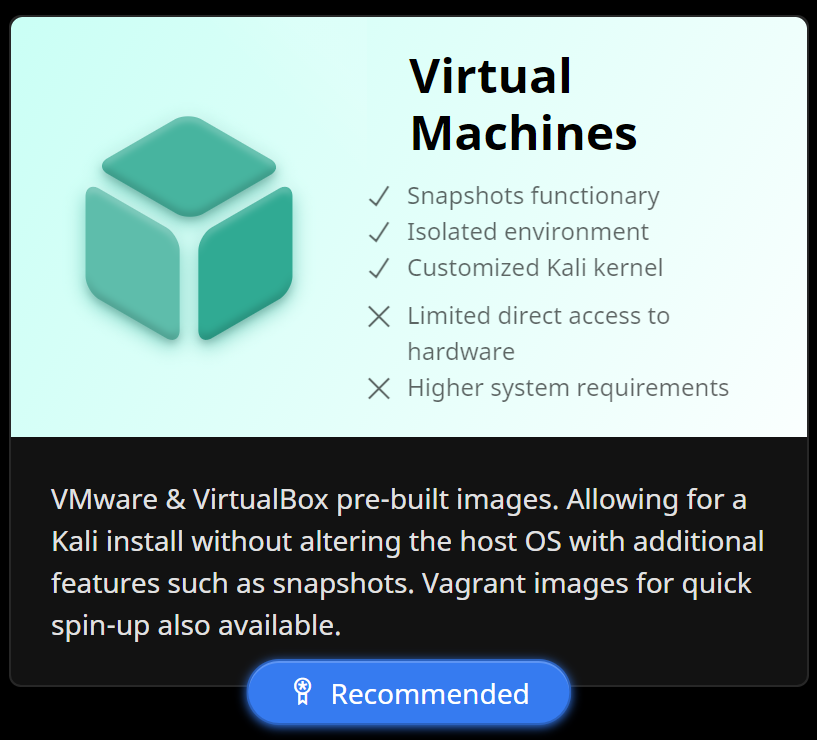
Importing Kali from Official Sources
Go to https://kali.org/get-kali/

⚠️
It's a big file, be patient while the download finishes ...
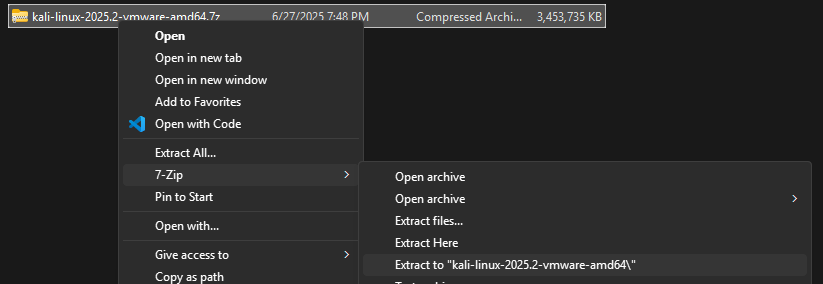
.7z archive
CTRL + X to cut the directory for moving
CTRL + v -- in C:\Users\user.name\Documents\Virtual Machines alongside pfSense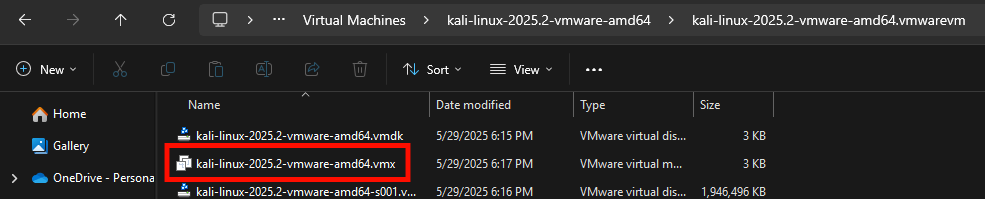
.vmx file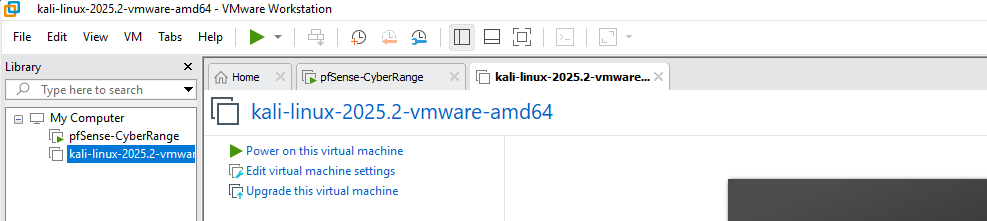
❗
Do not start the VM yet

✅
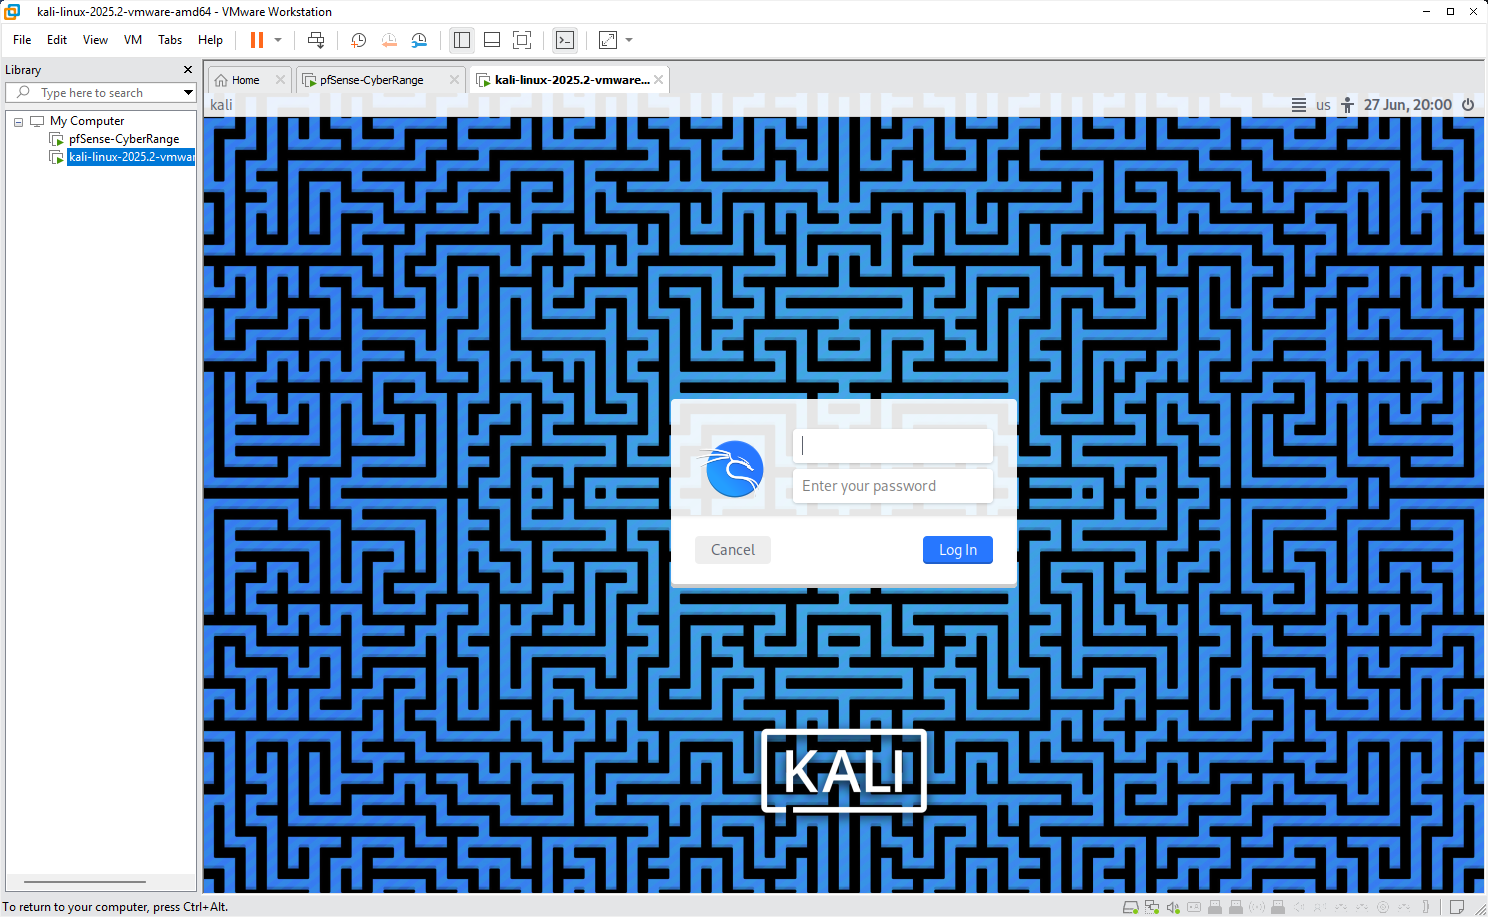
You may now start the VM
The default credentials are:
Username:
Password:
Please change the password promptly!
The default credentials are:
Username:
kaliPassword:
kaliPlease change the password promptly!
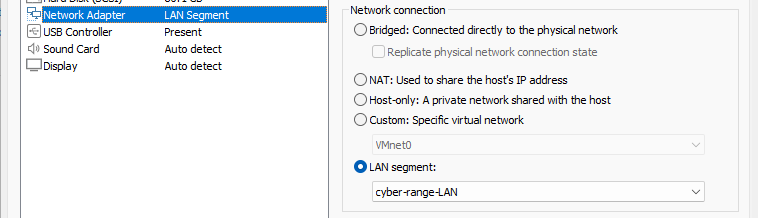
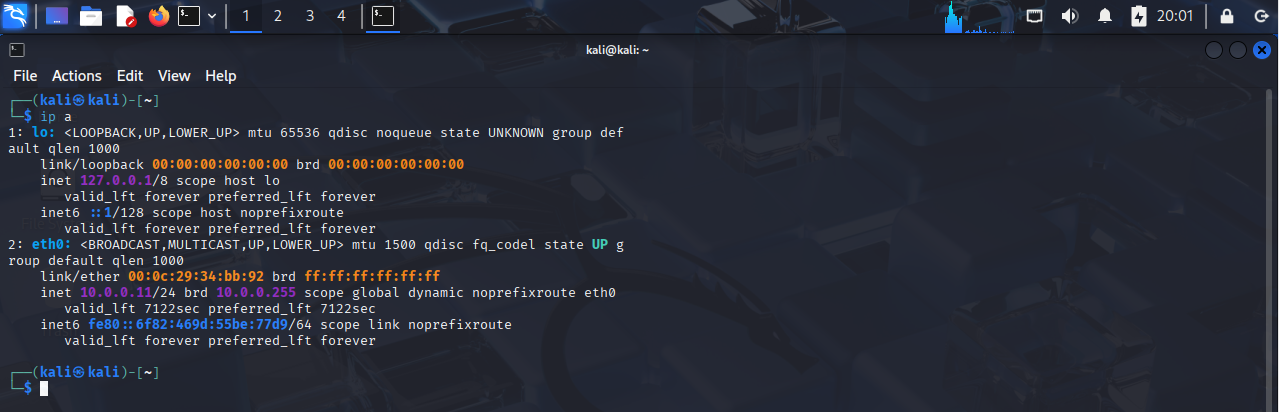
We can check in the terminal to ensure we’re on the LAN. We got the IP address 10.0.0.11 from the DHCP server on pfSense.
Next Step
Configuring the pfSense Firewall for Our VMware Lab
In this module, we will log into the pfSense web portal and configure firewall rules for our VMware Workstation lab using our Kali VM.
