

I roast both regular and decaf coffee beans at home. I drink decaf in the evening, as I find that regular coffee disrupts my sleep and increases my anxiety if I drink it too late in the day.
I was running low on decaf coffee, so I decided to roast some today and this presented a good opportunity to cover coffee roasting in my blog.
Fortunately, there's not much of a difference when roasting decaf or regular coffee beans. In fact, I think that using decaf beans to write this post is a net positive, because they are generally a bit more difficult to master.
What Makes Decaf Beans Different?
- Due to the decaffeination process – and there are a few ways to decaffeinate – decaf coffee beans tend to be a darker shade of green
- Decaf coffee beans typically do not shed any chaff – the outer skin that remains on green coffee after processing – because the decaffeination process has removed most of it
The Roasting Process
You can see the equipment I use to roast coffee here if you scroll down and check out my roasting gear:
 0xBEN
0xBEN
1. Weigh Your Coffee Beans
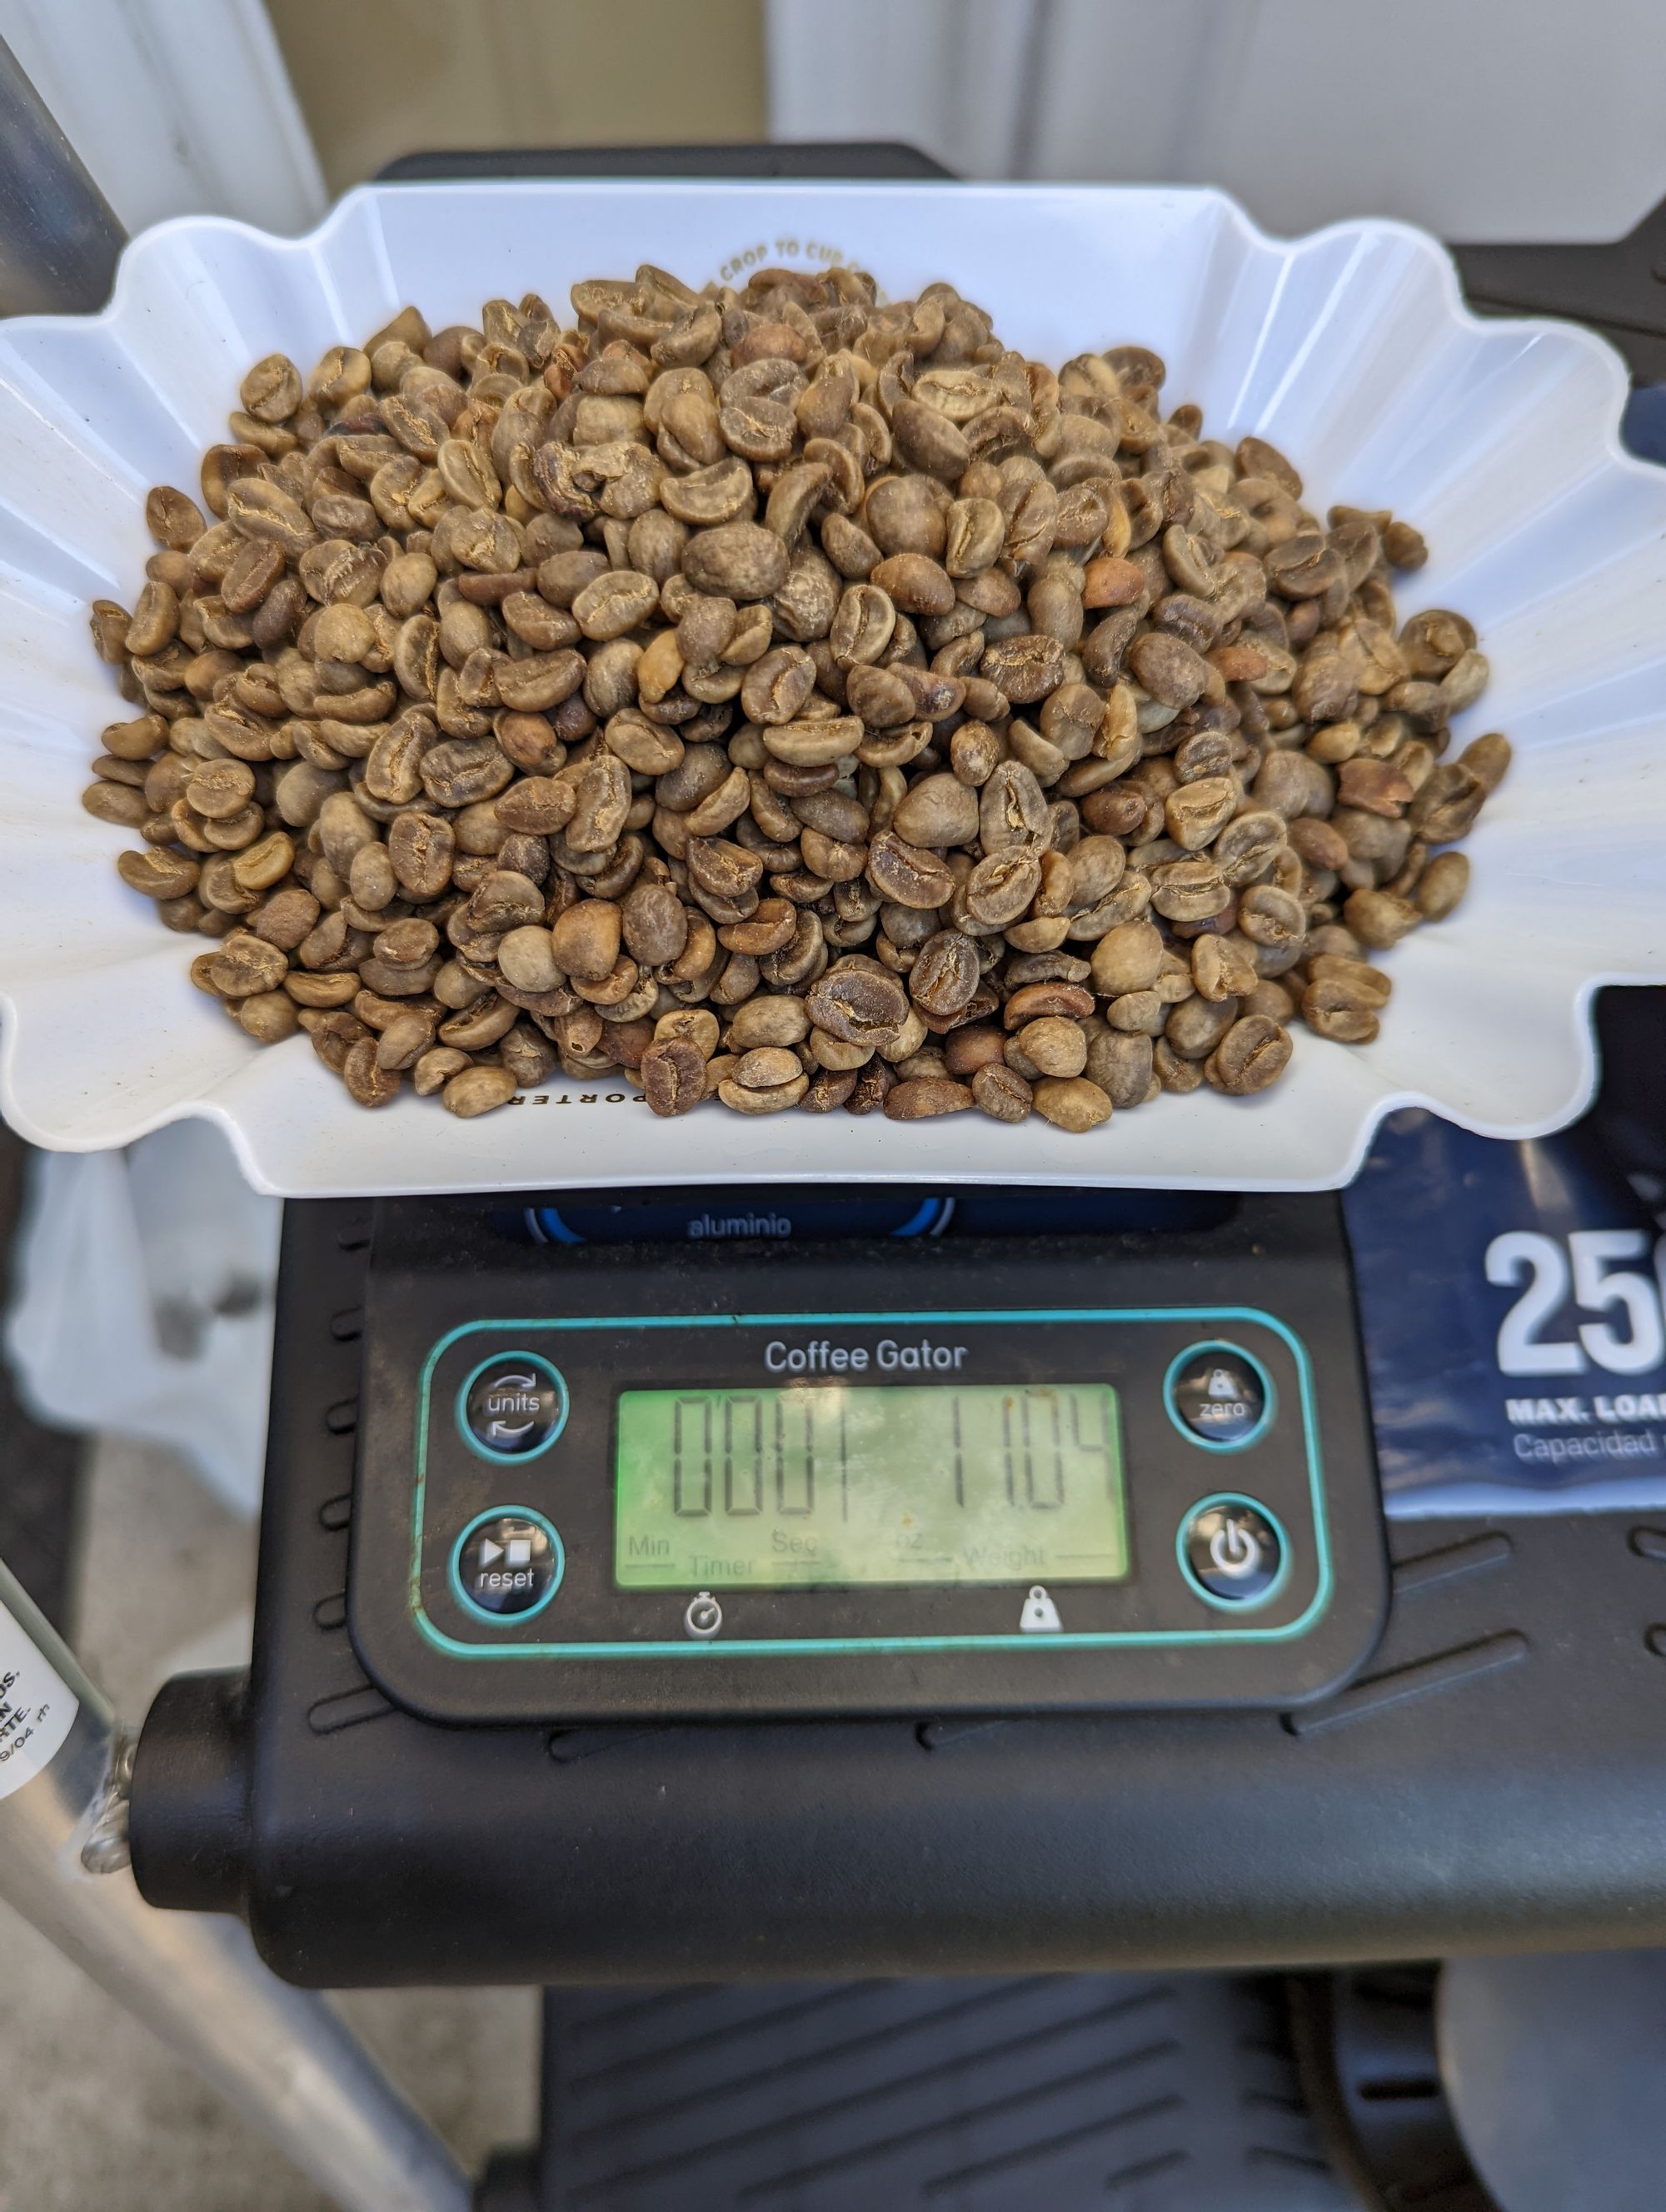
I use the RazzoRoasting 12" roasting chamber instead of the stock chamber that comes with roaster itself. I find that going over 11 ounces is generally not a good idea, as the coffee tends to flow up into the chaff collector towards the end of the roast.
2. Preparing the Roaster
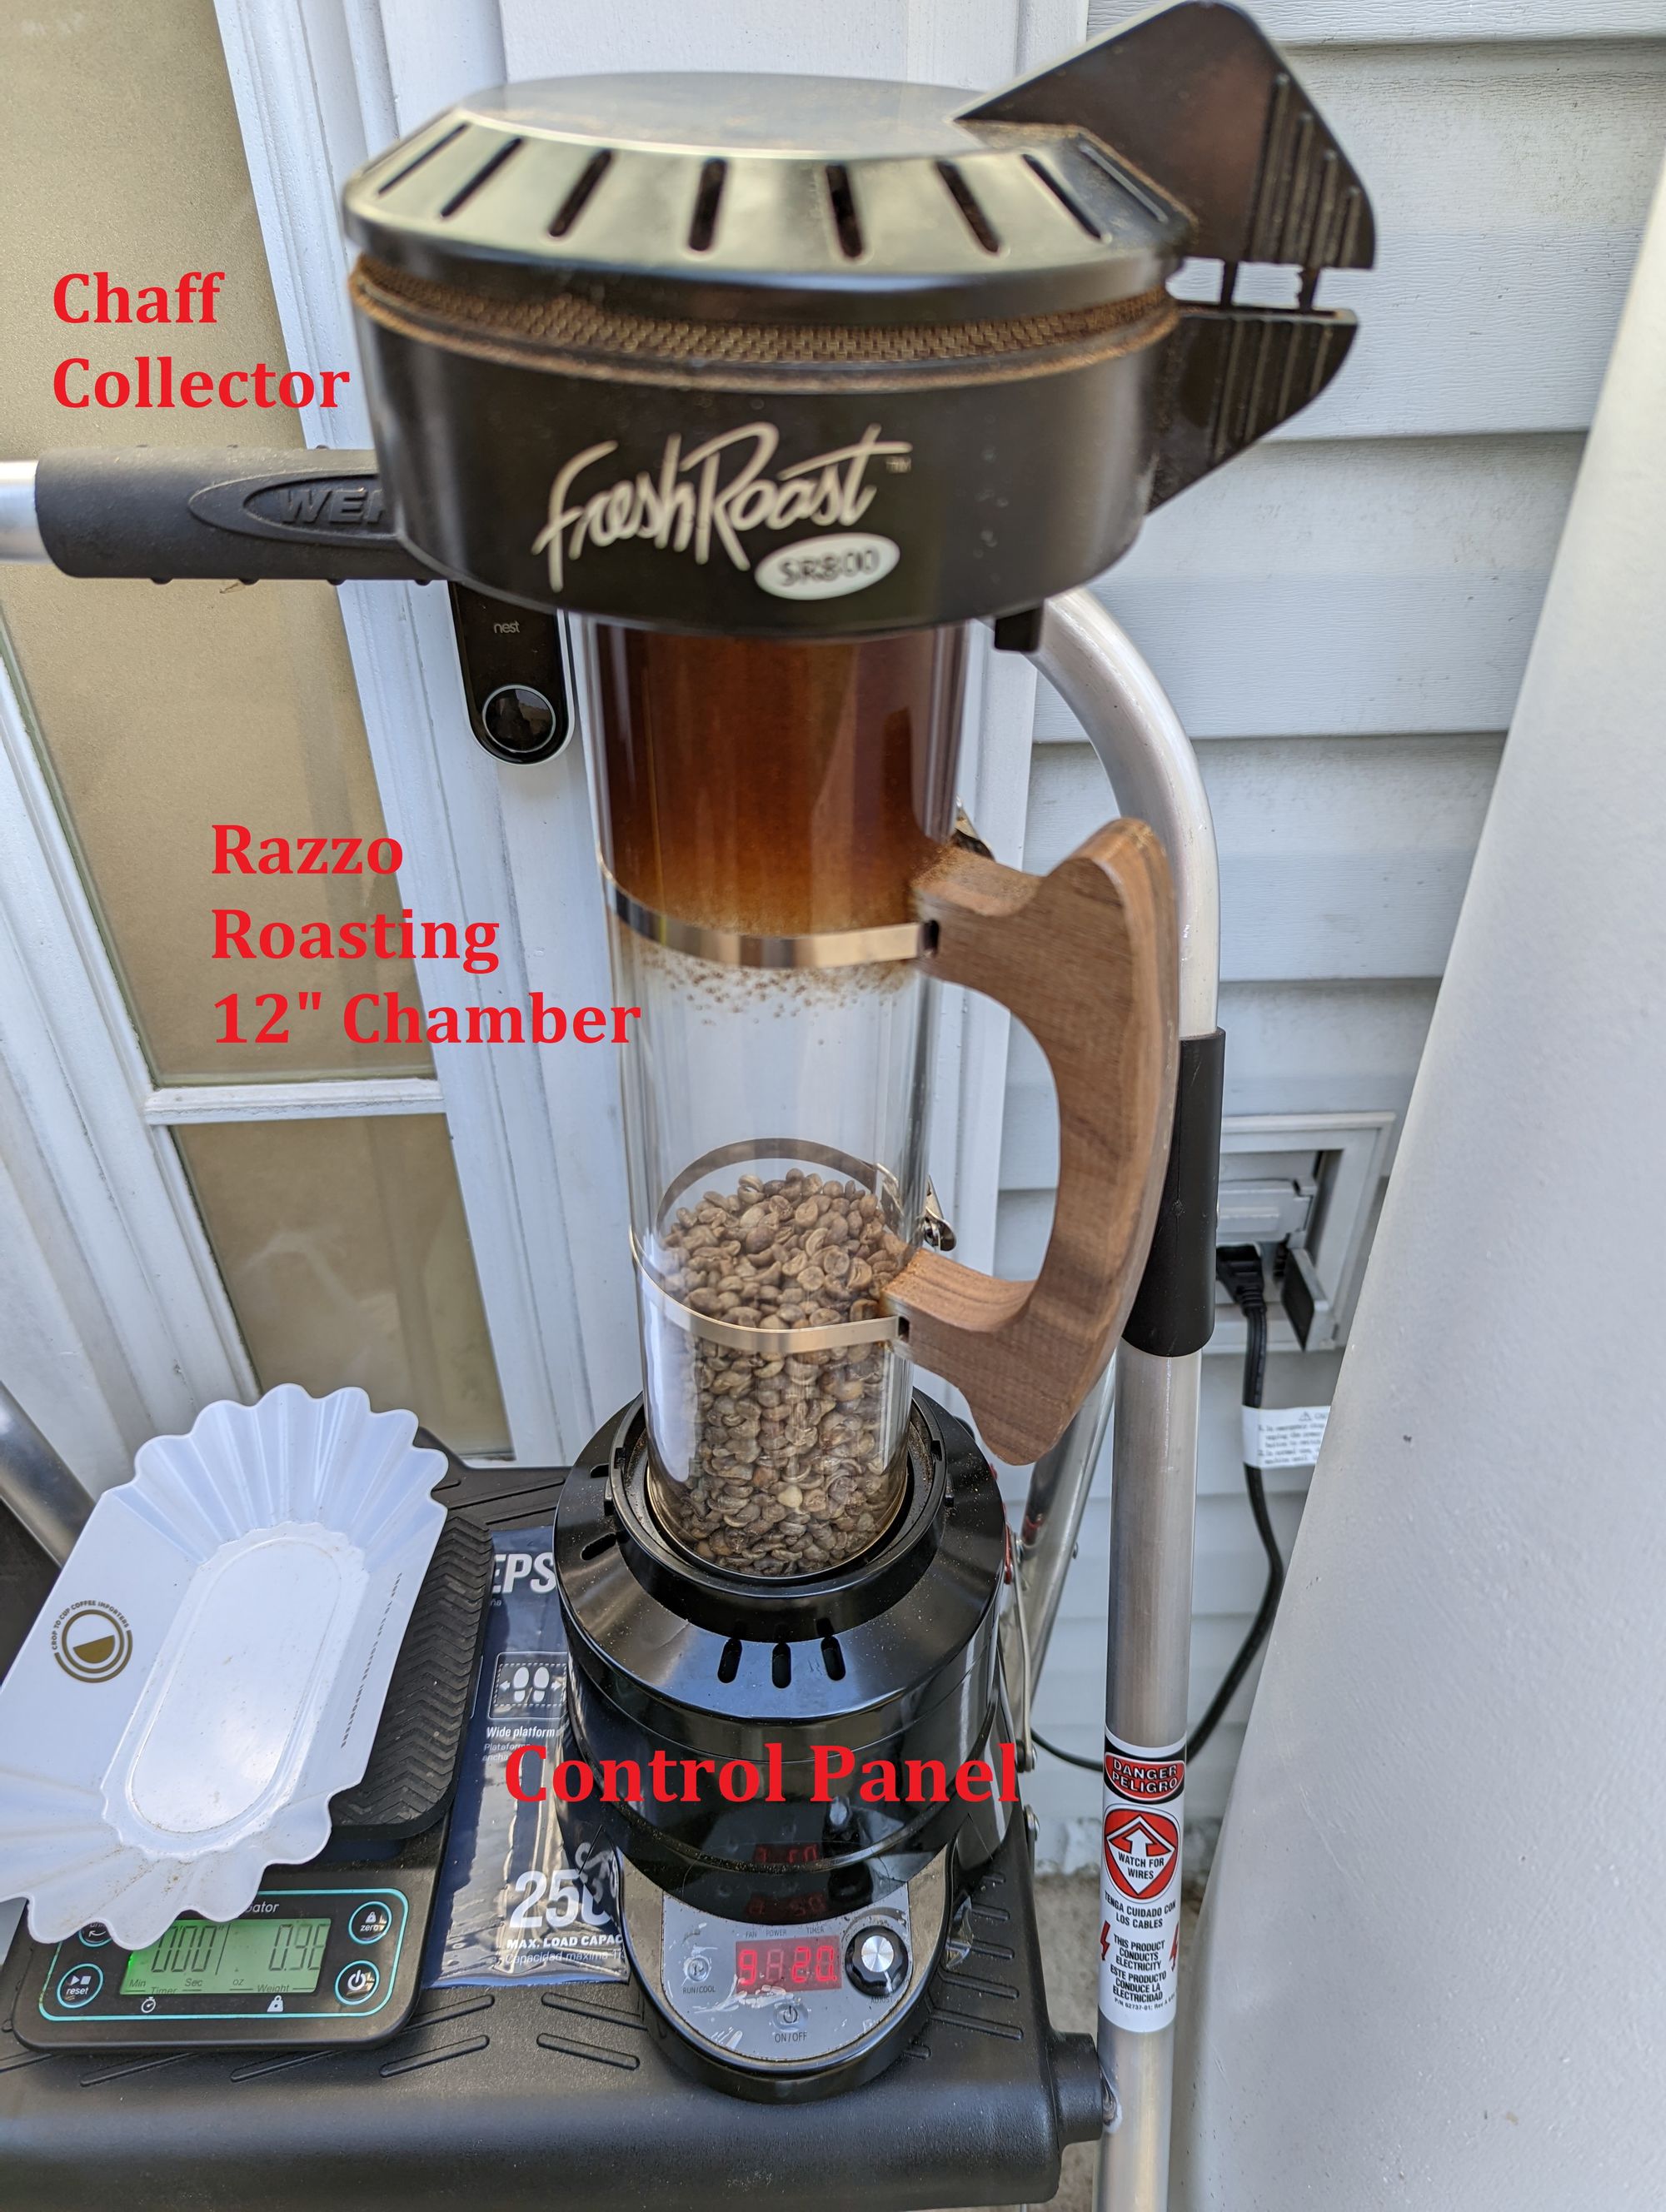
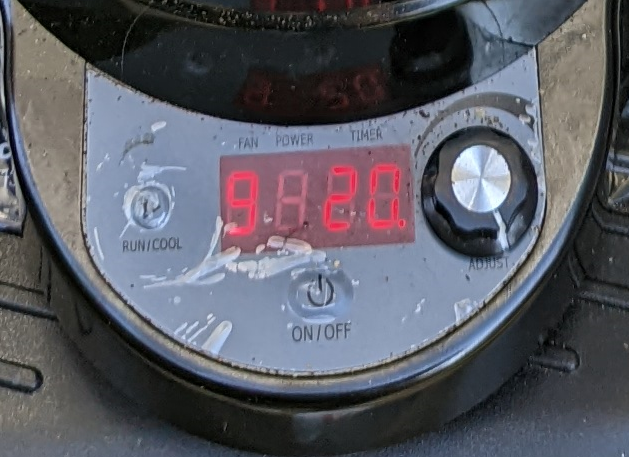
Place the green beans in the roasting chamber and adjust your settings. I typically start with the following options:
- Fan: 9
- Power: 4
- Timer: 20
If the weather is cold outside, I may put the power to 5. That's the nice thing about the RazzoRoasting chamber, you can roast with it even when the weather is chilly, because it is so thick and insulating. It would likely be very difficult to do the same with the stock chamber.
When ready, press the RUN button.
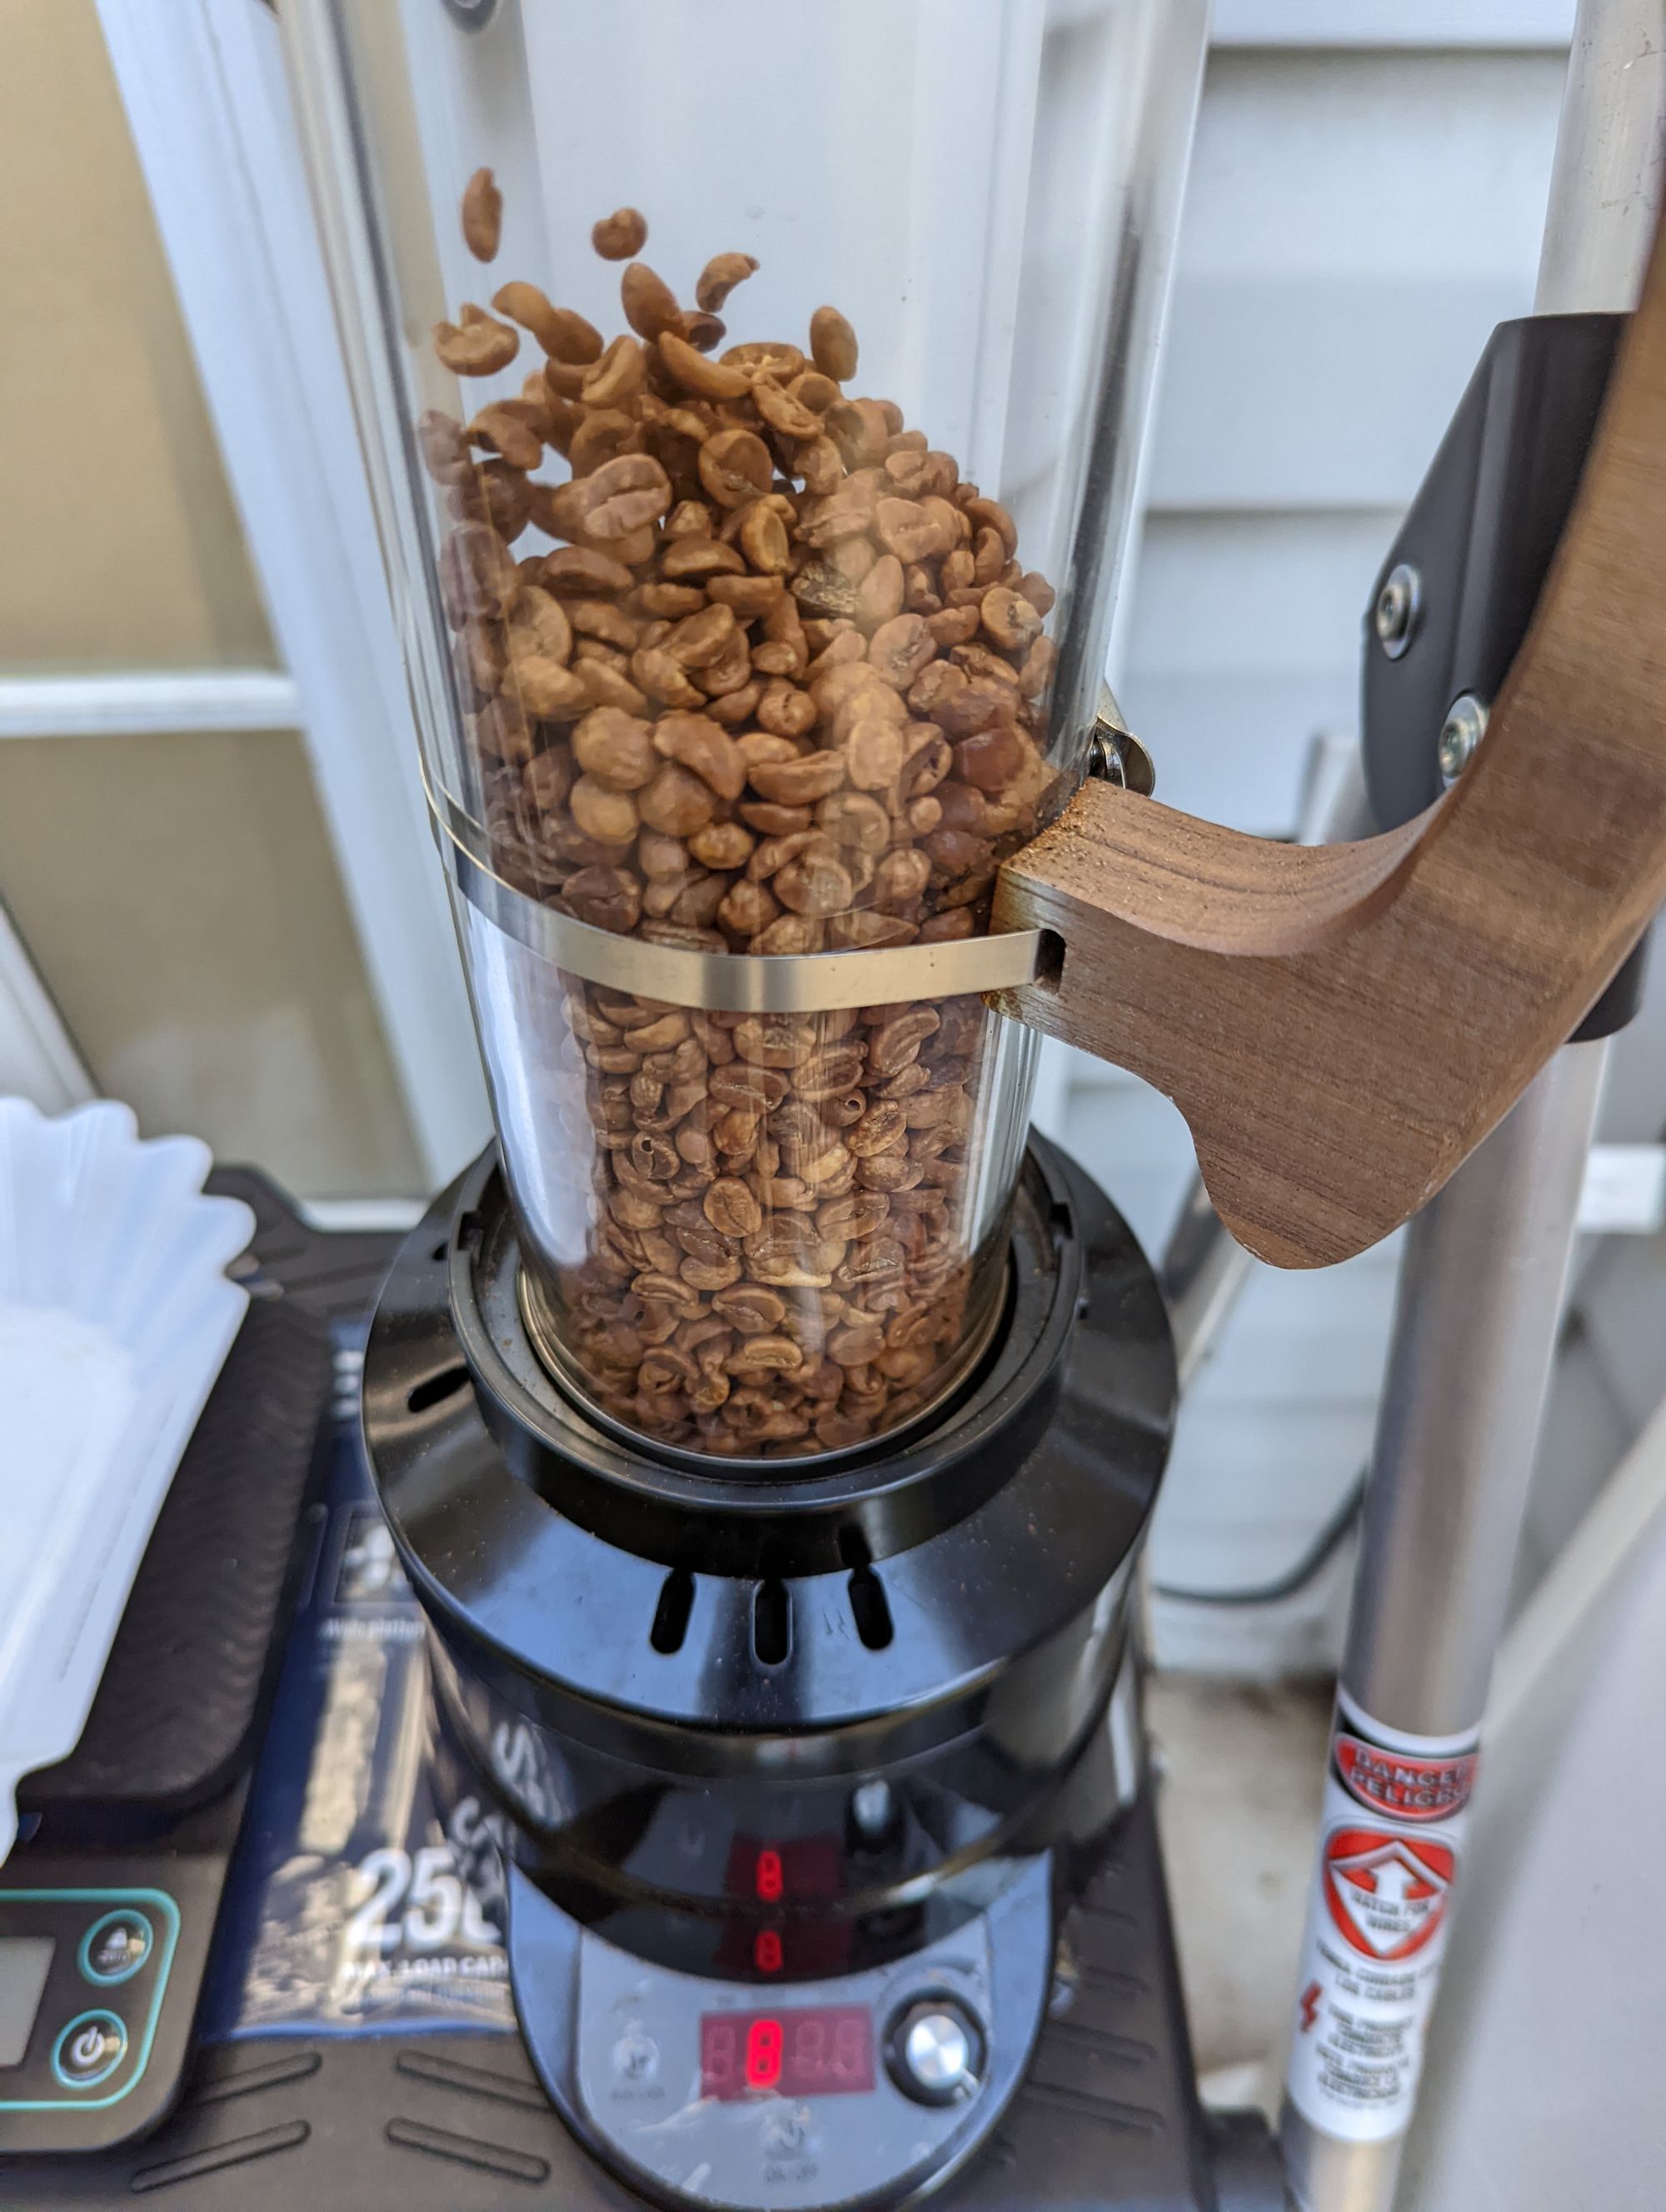
3. The Drying Phase
Green coffee beans still contain a lot of water content. The reason I start with a power of 4 early on is to avoid scorching the beans. I typically run the drying phase for about 5 minutes until the beans turn a tan color.
Quick Note: Adjust the fan incrementally lower as needed in order to prevent the beans from jumping into the chaff collector. In my video here, they're jumping a little too high and I couldn't adjust it while recording.
4. First Crack
Once the beans reach a tan color, I increase the heat power to 8 (or sometimes 9 depending on how cold it is). With the SR800, you can spin the knob to get a rough temperature reading. It's not as accurate as a thermocouple, but it works well enough. I want to make sure the temperature reads above 515 degrees Fahrenheit (268 degrees Celsius).
Coffee beans go through a phase called "first crack". This is due to the moisture trapped in the beans. As you roast the beans, the internal temperature rises and causes steam to build up and burst out of the bean. This causes the outer layer of the bean to crack, causing a popping sound akin to popcorn.
Quick Note: Once the beans reach first crack, turn the heat power down to 4 or 5, so the temperature reading stays around 495 to 510 degrees Fahrenheit (257 to 265 degrees Celsius).
This is essential to prevent the beans from scorching. In my video, I was a little too concentrated on recording to adjust them sooner and I got a few beans that cooked a little more than I wanted.
4a. Second Crack
If you like your beans on the darker side, you can keep your heat power around 4 or 5 and allow your beans to roast some more until they reach "second crack". This is darker than I like my beans, so I don't have any video of this, but I wanted to mention it for you dark roast drinkers out there.
You have to be very careful when roasting to second crack. Continue too long and your beans are going to taste like nothing but ash. It's a fine line to walk between dark roast and burnt to smithereens.
5. Cooling
When your beans are just a tiny bit lighter than your desired roast, hit the COOL button to disable the heating element and bring the beans down in temperature. During this time, they will continue to cook and develop, so that's why I advise you to cool when they are just a tiny bit lighter than your desired roast color.
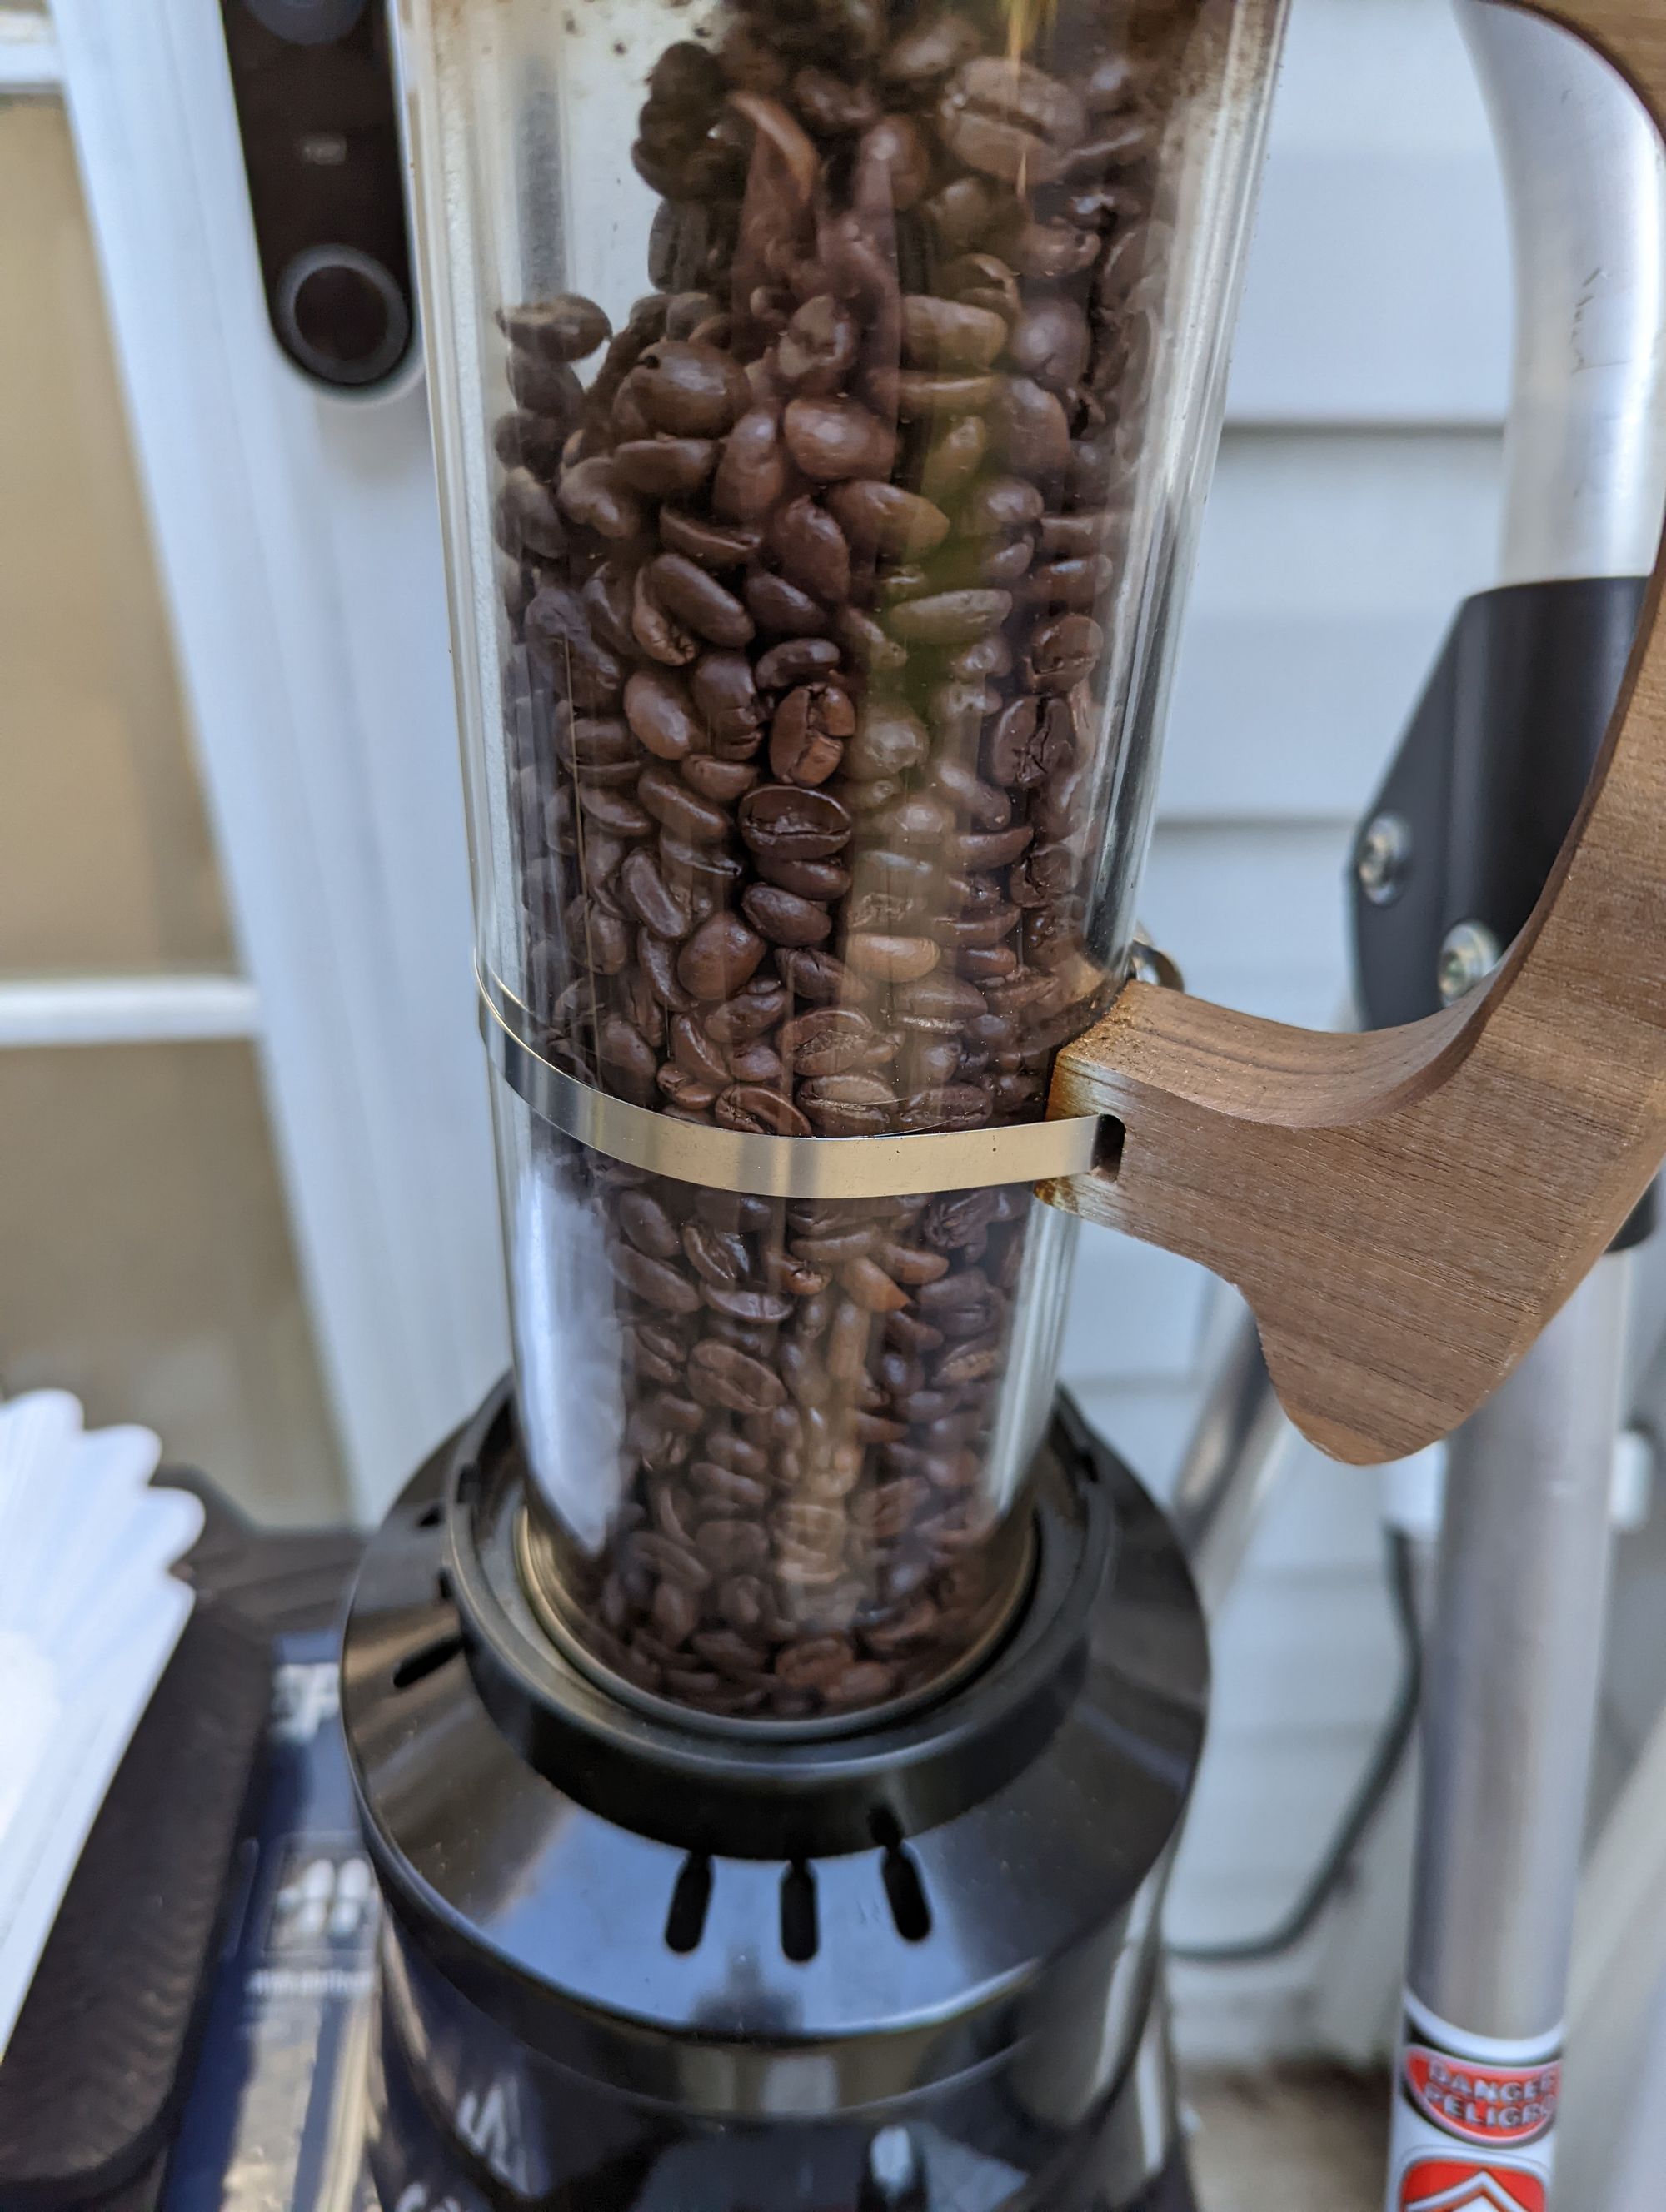
These are the decaf beans pictured above. They were this color when I hit the cool button. Decaf beans are a darker color when they are raw, therefore they will tend to finish darker at the end of the process. It's much trickier to rely on color alone when gauging decaf beans, so listen for first crack and remember that they usually finish a littler darker than their regular counterpart.
6. Let Your Beans Rest
I recommend letting your beans rest and develop for a minimum of 48 hours before brewing them. It's not going to hurt if you brew them before this window has elapsed, but they are still going to taste a bit raw. Something about letting them rest for a couple of days lets things settle out and they taste much better.
7. Brew and Enjoy
Enjoy the fruits of your labor.