
Blue Team Level 1
I am currently preparing for the Blue Team Level 1 certification offered by Security Blue Team. It is a 24-hour practical exam that requires the student to run through an entire incident response lifecycle; looking at simulated data and reporting how a security breach occurred.


At this time, I have completed the training material and my lab time has expired. And while I could purchase additional lab time, I am currently seeking some free hands-on training materials to brush up my Splunk investigative skills.
Boss of the SOC v1

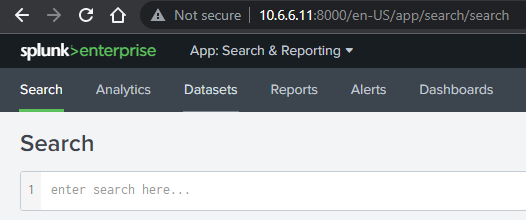
This is an interactive Splunk challenge with simulated security data already bundled in. The only requirement is that you host the machine, boot it up, open the Splunk search console, and get to work.
That said, this challenge was designed for VirtualBox and VMware. I am going to demonstrate how to get it running on Proxmox.
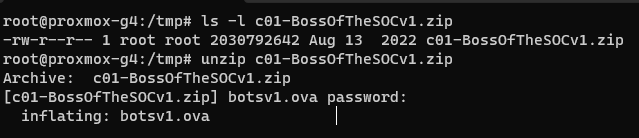
Download the Challenge Files
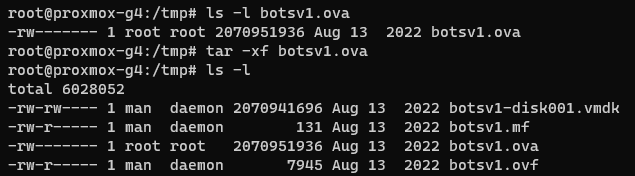
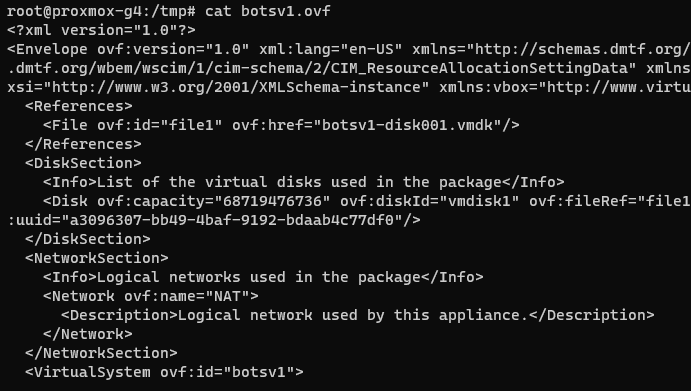
Unzip and Inspect the Files
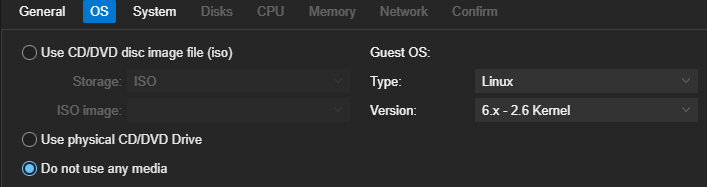
    <OperatingSystemSection ovf:id="94">
      <Info>The kind of installed guest operating system</Info>
      <Description>Ubuntu_64</Description>
      <vbox:OSType ovf:required="false">Ubuntu_64</vbox:OSType>
    </OperatingSystemSection>
It's a 64-bit Ubuntu VM
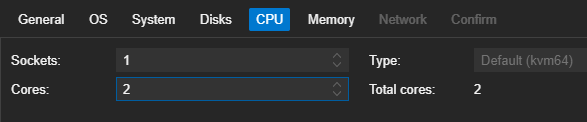
      <Item>
        <rasd:Caption>2 virtual CPU</rasd:Caption>
        <rasd:Description>Number of virtual CPUs</rasd:Description>
        <rasd:ElementName>2 virtual CPU</rasd:ElementName>
        <rasd:InstanceID>1</rasd:InstanceID>
        <rasd:ResourceType>3</rasd:ResourceType>
        <rasd:VirtualQuantity>2</rasd:VirtualQuantity>
      </Item>
It has 2 CPU cores
      <Item>
        <rasd:AllocationUnits>MegaBytes</rasd:AllocationUnits>
        <rasd:Caption>4096 MB of memory</rasd:Caption>
        <rasd:Description>Memory Size</rasd:Description>
        <rasd:ElementName>4096 MB of memory</rasd:ElementName>
        <rasd:InstanceID>2</rasd:InstanceID>
        <rasd:ResourceType>4</rasd:ResourceType>
        <rasd:VirtualQuantity>4096</rasd:VirtualQuantity>
      </Item>
It has 4096 MB of RAM
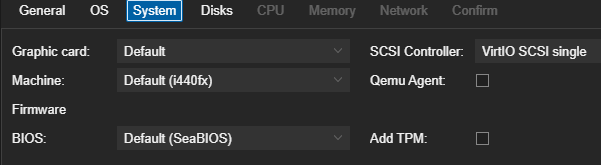
      <Item>
        <rasd:Address>0</rasd:Address>
        <rasd:Caption>sataController0</rasd:Caption>
        <rasd:Description>SATA Controller</rasd:Description>
        <rasd:ElementName>sataController0</rasd:ElementName>
        <rasd:InstanceID>5</rasd:InstanceID>
        <rasd:ResourceSubType>AHCI</rasd:ResourceSubType>
        <rasd:ResourceType>20</rasd:ResourceType>
      </Item>
It uses a SATA controller for the VM disk
Stage the VM


Import and Attach the Disk
# Change your VMID and storage pool as needed
# This is just an example command
qm importdisk 610 botsv1-disk001.vmdk local-lvm --format qcow2
Import the disk file to the storage pool for Proxmox guests

# Change the VMID and storage pool as needed
# This is just an example command
qm set 610 --sata0 local-lvm:vm-610-disk-0
# Update the VMID as needed
# This is just an example command
qm set 610 --boot order=sata0
Set the disk as the primary boot method

Let the Fun Begin


Consult the challenge home page for any questions and write-ups